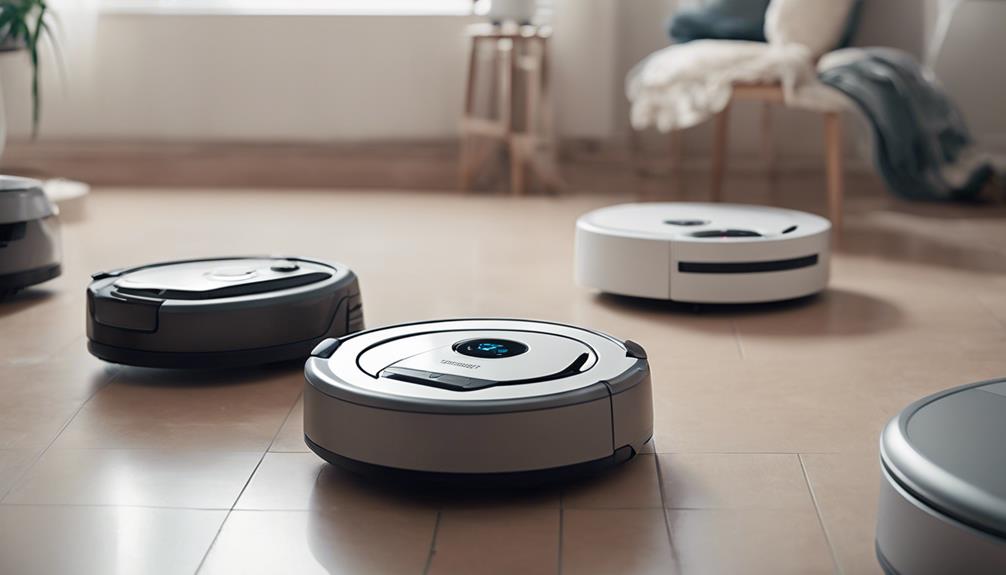
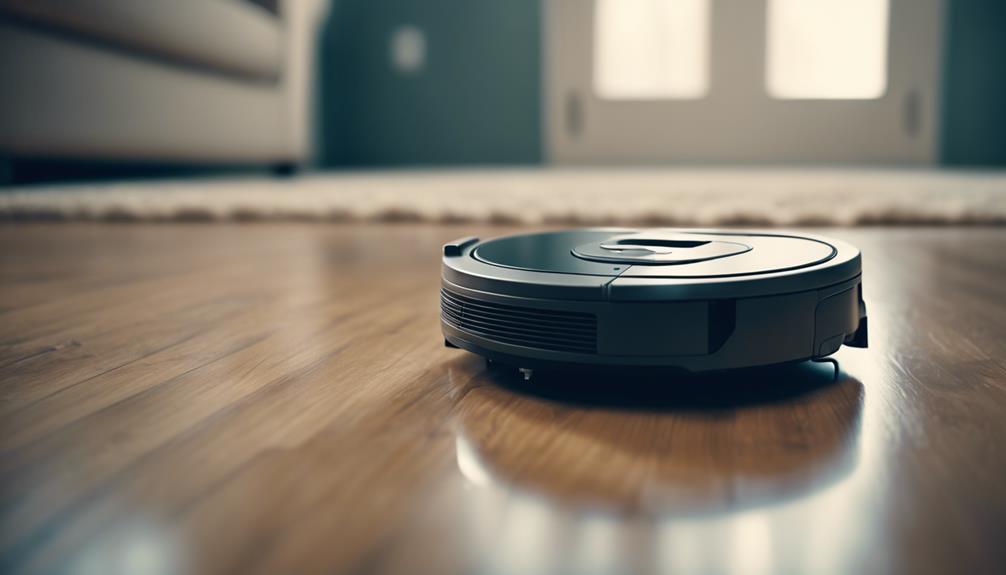
In order to create a mini robot vacuum, you will need materials such as a small DC motor, wheels, chassis, power source, and switch. Carefully assemble these components by connecting the motor to the power source and attaching a cleaning mechanism. Incorporate sensors for navigation and ensure everything is securely in place. When wiring, make sure to double-check connections, solder for security, and organize neatly using color-coded wires. Utilize a microcontroller, implement algorithms, and thoroughly test the robot. Continuously improve its performance over time by optimizing navigation and cleaning efficiency. DIY robot vacuums offer customization, educational benefits, cost-effectiveness, and skill development. Dive into this exciting project! Once your small robot vacuum is operational, experiment with different cleaning attachments and sensor configurations to determine the most effective setup. You can also program your microcontroller to include smart features like scheduling, remote control, and room mapping. When it comes to building your own small robot vacuum, the possibilities for customization are limitless. With dedication and effort, you can design a personalized cleaning partner that fits your individual needs and preferences.
Key Takeaways
- Assemble motor, wheels, chassis, and sensors for navigation.
- Connect power source securely to the motor.
- Implement wiring with a microcontroller for control.
- Test thoroughly for efficient cleaning performance.
- Refine and optimize design based on testing results.
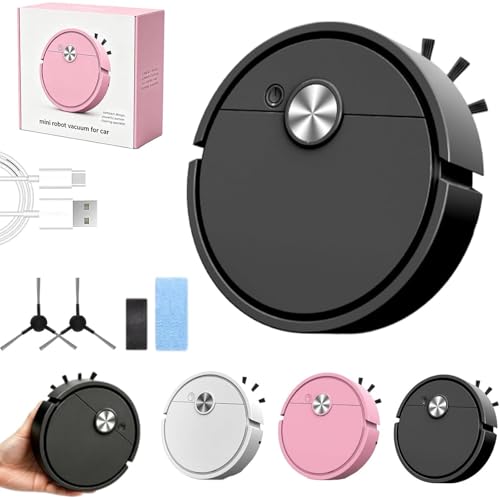
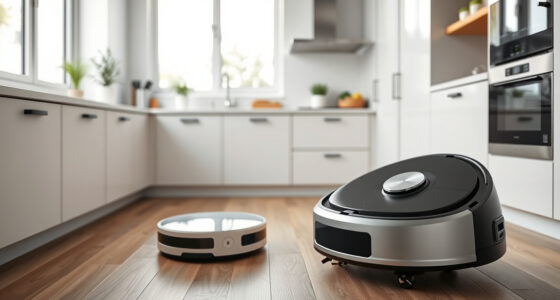
2026 New Mini Car Robot Vacuum Cleaner, Compact 3 in 1 Rechargeable Sweeping & Mopping Robot for Home and Car, Smart Auto Cleaning for Pet Hair, Dust, Hard Floors, Carpet, Desk (Black)
- Compact Design: Ideal for small spaces and tight corners
- 3-in-1 Functionality: Sweeps, vacuums, and mops in one device
- Smart Obstacle Avoidance: Automatically navigates around furniture and obstacles
As an affiliate, we earn on qualifying purchases.
As an affiliate, we earn on qualifying purchases.
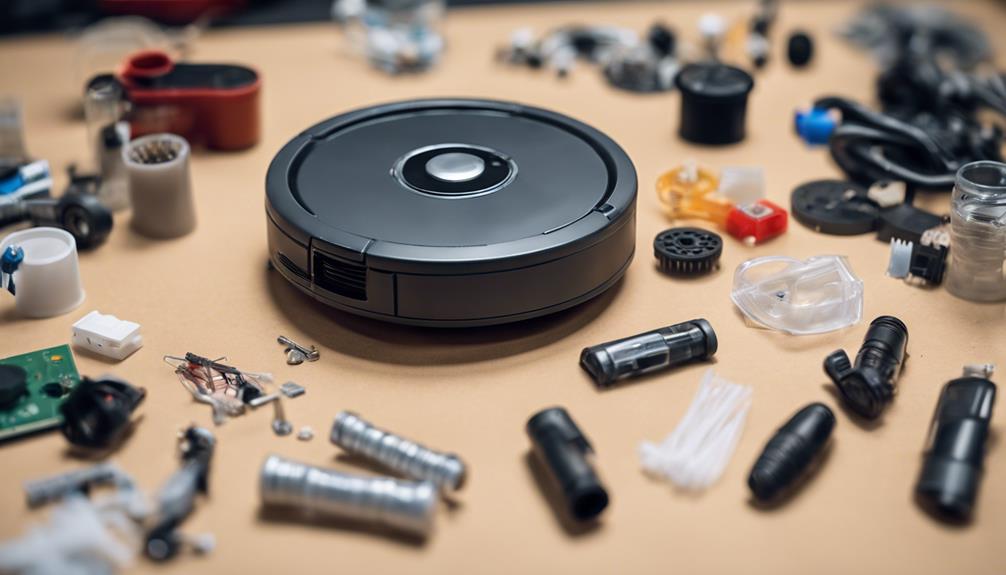
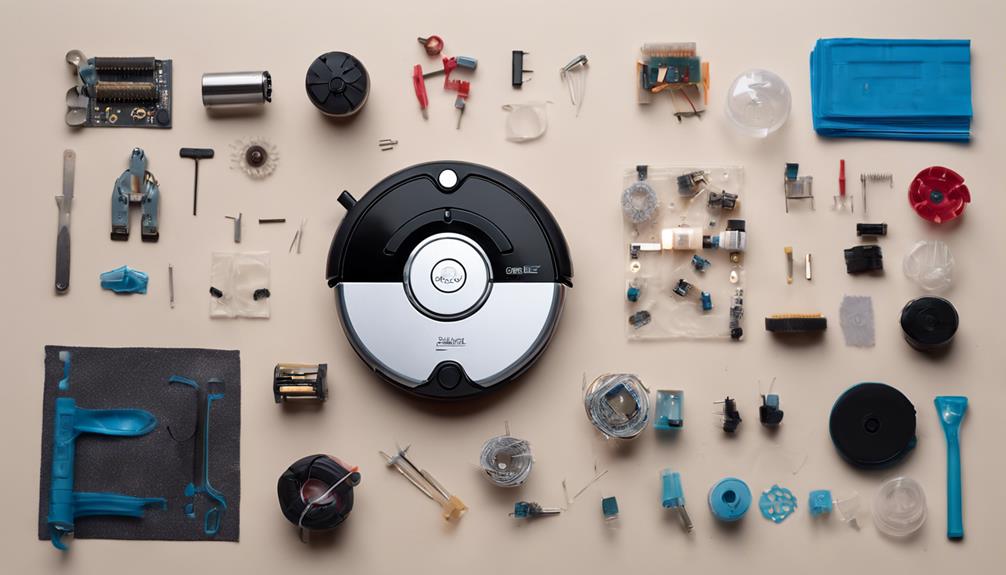
Materials Needed
To create a mini robot vacuum cleaner, you'll need a small DC motor, wheels, a chassis, a power source, a switch, and various sensors. Depending on the design complexity, additional components like a microcontroller, motor driver, and cleaning mechanism may also be necessary. Common materials for the chassis include acrylic sheets, 3D-printed parts, or recycled items like plastic containers.
Sensors such as infrared, ultrasonic sensors, or a camera module aid in obstacle detection and navigation. It's important to make sure all materials are compatible, durable, and appropriately sized for the project to work effectively. The small DC motor powers the movement of the vacuum cleaner, while the wheels provide mobility.
The chassis acts as the body of the robot, holding all components together. The power source supplies energy, the switch controls the robot's operation, and the sensors enhance its functionality by detecting obstacles. As you gather these materials, remember to choose quality components for a successful mini robot vacuum cleaner build.
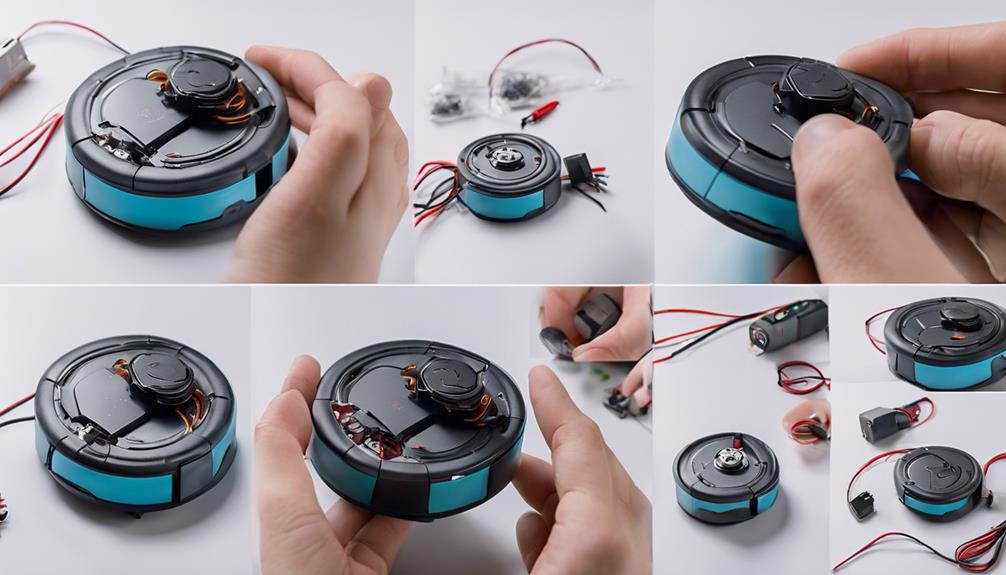
Assembly Instructions
You should begin the assembly process by first assembling the motor, wheels, and chassis according to the provided instructions. Connect the power source to the motor to verify it functions correctly.
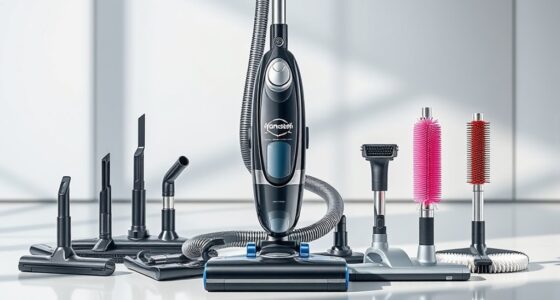
Once the basic structure is in place, attach the cleaning brush or suction mechanism to the bottom of the robot. This component is essential for the efficient cleaning operation of your mini robot vacuum cleaner.
Enhance the robot's navigation capabilities by installing sensors or obstacle detection features. These additions will help the robot navigate around furniture and other obstacles in its cleaning path effectively.
Make sure to secure all components properly to avoid any issues during operation.
Before testing the mini robot vacuum cleaner, double-check all connections and components to confirm everything is in place. This step is important to guarantee the proper functioning of your DIY project.
Once you've verified everything is secure, you can proceed to test the movement and cleaning capabilities of your mini robot vacuum cleaner.
Wiring and Programming Tips
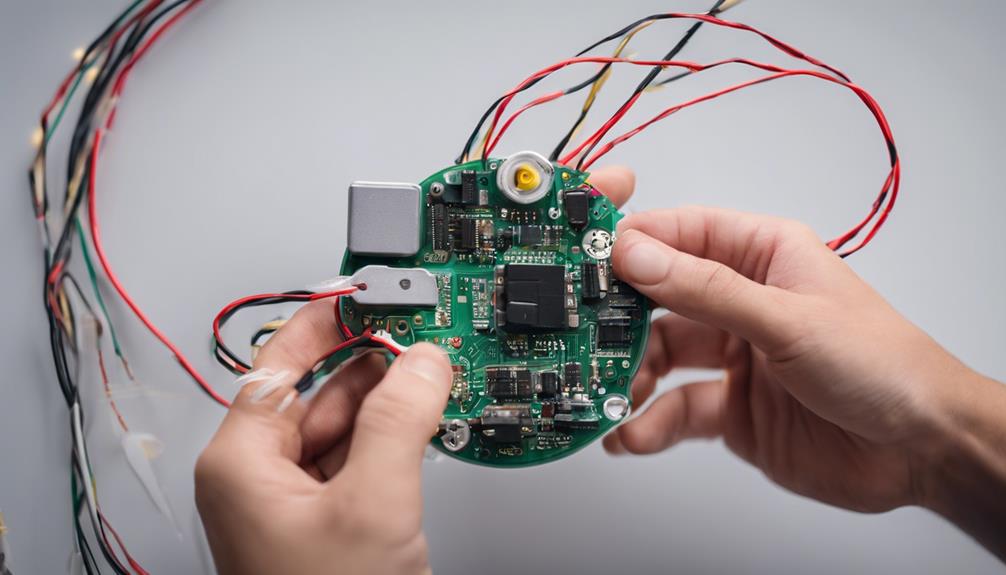
To maximize the performance of your mini robot vacuum cleaner, make sure that the wiring connections for the motors and sensors are securely in place. Utilize a microcontroller such as Arduino to program the robot vacuum cleaner's movements and sensor responses effectively. Implement obstacle detection algorithms in the programming to enable the robot vacuum cleaner to autonomously navigate around objects. Testing the wiring and programming thoroughly is crucial to identify and resolve any issues before the final assembly of the mini robot vacuum cleaner. Regularly updating and fine-tuning the programming will optimize the cleaning efficiency and overall performance of your DIY project.
| Wiring Tips | Programming Tips |
|---|---|
| Double-check connections | Utilize microcontroller |
| Secure with soldering | Implement algorithms |
| Organize wiring neatly | Test thoroughly |
| Use color-coded wires | Update and fine-tune |
| Insulate exposed wires | Optimize efficiency |
Testing and Refining
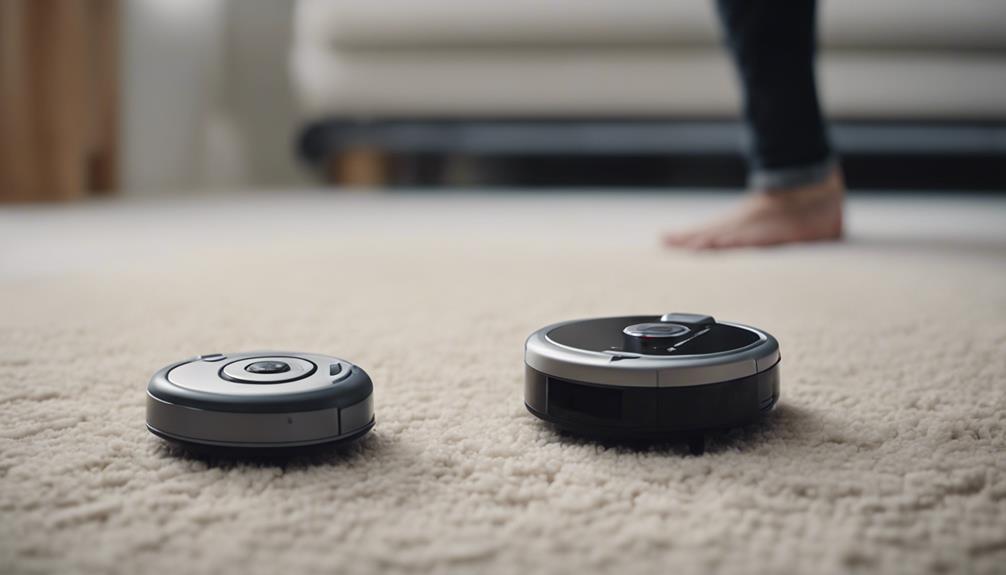
After thoroughly testing the wiring and programming of your mini robot vacuum cleaner, the next step is to focus on refining its performance and functionality.
Conduct multiple test runs on various surfaces to evaluate its cleaning efficiency. Take note of any areas where the robot may struggle or get stuck.
Refine the design and functionality based on user feedback and testing results to enhance its overall effectiveness. Adjust the programming and sensors to optimize navigation, ensuring smoother operation and better obstacle detection.
Fine-tune the suction power and brush mechanisms to guarantee thorough cleaning of different debris types and sizes. If any issues or limitations are discovered during testing, implement upgrades or modifications to address them.
Benefits of DIY Robot Vacuum
Customization is a key advantage of DIY robot vacuums, allowing for tailored solutions to specific cleaning needs and preferences. When you decide to construct your own robot vacuum, you open up a range of benefits that can enhance your cleaning experience:
- Personalization: You can customize the size, shape, and cleaning capabilities of your robot vacuum to suit your unique requirements, ensuring it meets your exact specifications.
- Educational Value: Building a mini robot vacuum can be a fun and educational project for individuals of all ages, promoting creativity and problem-solving skills while offering a hands-on learning experience in electronics and robotics.
- Cost-Effectiveness: DIY robot vacuums are often more budget-friendly than commercial models, providing a cost-effective alternative for automating cleaning tasks without compromising on quality.
- Skill Development: By creating your own robot vacuum, you have the opportunity to explore electronics, programming, and robotics, expanding your knowledge and skills in these areas while gaining valuable troubleshooting and maintenance experience.
Frequently Asked Questions
How to Make a Small Robot Vacuum Cleaner?
To make a small robot vacuum cleaner, you'll need basic materials like a motor, wheels, battery, and debris container. Add sensors for obstacle detection, program movements with a microcontroller, and customize features for effective cleaning in small areas.
How to Make a Simple Robot at Home With Household Items?
You can craft a basic robot by using common items around your home. Try assembling a simple structure with a motor, battery, and switch. Add a makeshift brush for cleaning and experiment with different designs for best performance.
How to Make a Mini Robot Toy?
To make a mini robot toy, gather materials like a motor, wheels, battery, and a container. Assemble by attaching the motor to the wheels and connecting it to the battery. Design a body and add sensors for navigation.
How to Make a Vacuum Cleaner at Home Step by Step?
To make a vacuum cleaner at home step by step, you'll need basic materials like a motor, wheels, and a container. Assemble the components carefully, ensuring secure attachments and proper wiring. Test its functionality before customizing with extra features for improved performance.
Can I Use the Same Instructions to Make a Mini Robot Vacuum Cleaner as a Small Robot Vacuum Cleaner?
Yes, you can use the same DIY tips for small robot vacuum to make a mini robot vacuum cleaner. The key is to scale down the size of the components and ensure that everything fits within the smaller dimensions. With some modifications, you can create a functional mini robot vacuum cleaner using the same instructions.
Conclusion
To sum up, embarking on the journey of creating your own mini robot vacuum cleaner is a fun and rewarding DIY project that can save you time and effort in cleaning your home.
With the right materials and assembly instructions, you can easily build a functional robot vacuum that will help keep your space clean and tidy.
So why wait? Start now and get started on this project today – after all, the early bird catches the worm!