
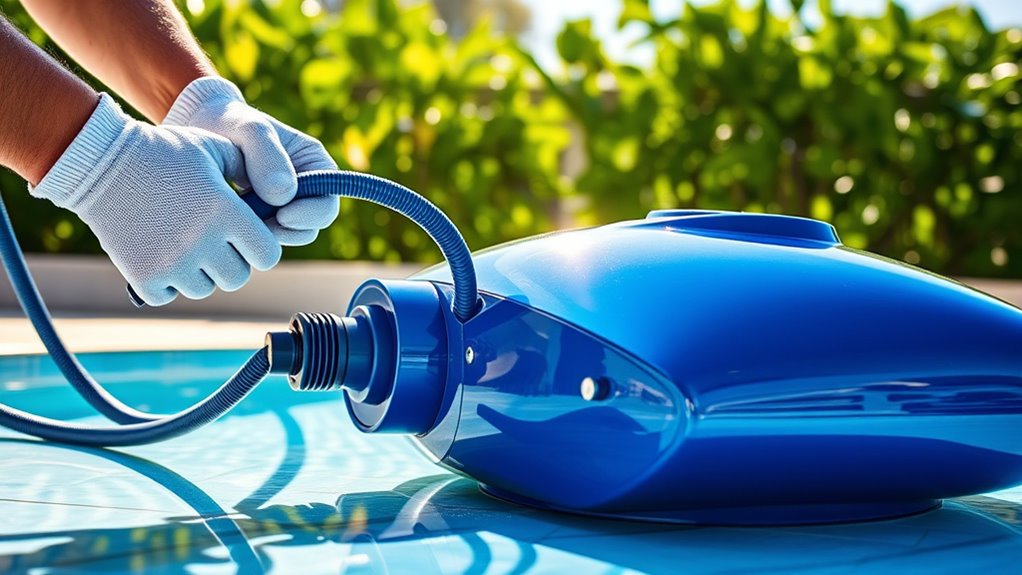
To install a pressure-side pool cleaner, start by gathering your tools and making sure your pool is clean, balanced, and free of debris. Attach the hose firmly to the cleaner and connect it securely to your skimmer or suction port. Fit the hose with your pool pump, making sure all connections are tight and leak-free. Position the cleaner for ideal water flow, then turn on the pump to test and fine-tune the system. Continuing the process helps guarantee smooth operation.
Key Takeaways
- Gather tools, replacement parts, and ensure pool chemical levels are balanced before starting installation.
- Clean pool surfaces thoroughly and prepare the pool for cleaner attachment, verifying all fittings are secure.
- Connect the hose to the cleaner and skimmer or suction port, ensuring tight, leak-proof fittings and proper hose length.
- Turn off the pool pump, then securely attach the hose to the pump’s suction port and position the cleaner for optimal water flow.
- Power on the system, monitor cleaner operation, and make necessary flow or pressure adjustments to optimize cleaning.
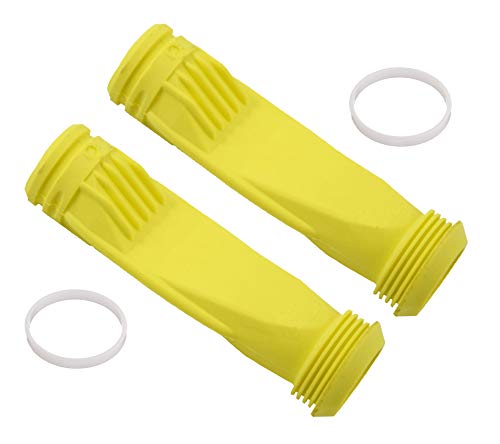
![MAKHOON [Upgraded] Pool Cleaner Feed Hose Replacement for Zodiac Polaris 280 380 180 3900 Pool Cleaner Feed Hose G5(Not Compatible with Polaris 360)](https://m.media-amazon.com/images/I/31vFP8crYfS._SL500_.jpg)
MAKHOON [Upgraded] Pool Cleaner Feed Hose Replacement for Zodiac Polaris 280 380 180 3900 Pool Cleaner Feed Hose G5(Not Compatible with Polaris 360)
COMPATIBILITY: The G5 is white in color and is engineered to Compatible with pressure-side pool cleaner(s): Polaris Zodiac…
As an affiliate, we earn on qualifying purchases.
As an affiliate, we earn on qualifying purchases.
Gathering Necessary Tools and Materials
Before you begin installing your pressure-side pool cleaner, gather all the necessary tools and materials. Ensuring proper pool chemical balance is essential before installation, as it helps your cleaner operate efficiently and prevents debris buildup. You’ll need basic tools like screwdrivers, pliers, and possibly a wrench, along with replacement parts such as hoses and fittings specified for your model. Don’t forget to check your pool surface preparation—making sure the pool is clean and free of large debris will make installation smoother. Having a clean, balanced pool reduces the risk of clogs and damage during setup. Additionally, considering the design features of your pool can influence the installation process and the cleaner’s effectiveness. It’s also helpful to review angel number symbolism to stay aligned with positive energy during your project. Double-check that you have everything at hand, so you don’t have to pause mid-installation. Proper preparation now, including understanding the maintenance requirements of your system, and familiarizing yourself with common installation challenges, saves you time and effort later.

Rebuild Kit, Lower Body, The Pool Cleaner 4-Wheel
Tailor the cleaning intensity to your pool's specific needs, ensuring efficient debris removal with this lower-body conversion pool…
As an affiliate, we earn on qualifying purchases.
As an affiliate, we earn on qualifying purchases.
Preparing Your Pool for Installation
To guarantee a smooth installation process, you should prepare your pool by thoroughly cleaning its surface and removing any large debris. Check that your water has proper chemical balance to prevent algae and equipment issues. Also, ensure the water temperature is within the cleaner’s recommended range for optimal operation. Adjust chemicals as needed and run your filter to clear out dirt. Additionally, maintaining proper water chemistry helps safeguard your equipment’s longevity and efficiency. Regularly inspecting pool equipment ensures all parts are functioning correctly before installation. Keep in mind that understanding dog names can make choosing a fitting name more enjoyable. Use the following table to help you prepare:
| Task | Details |
|---|---|
| Clean the surface | Scrub walls and floor to remove dirt and algae |
| Remove debris | Clear leaves, sticks, and large particles |
| Check chemical balance | pH, alkalinity, and sanitizer levels |
| Confirm water temperature | Within the cleaner’s specified range |
Proper preparation guarantees your pressure-side cleaner functions effectively and lasts longer.
ATIE Pool Cleaner Long Life Diaphragm W69698 with Retaining Ring W81600 Replacement Compatible with Zodiac G3, G3 PRO, G4 Pool Cleaner Diaphragm W69698 (2 Pack)
Compatible with Zodiac G3, G3 PRO, G4 pool cleaners
As an affiliate, we earn on qualifying purchases.
As an affiliate, we earn on qualifying purchases.
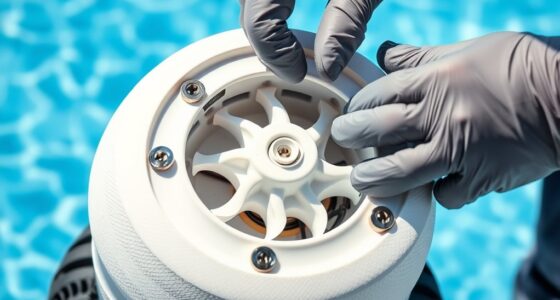
Assembling the Pressure-Side Cleaner
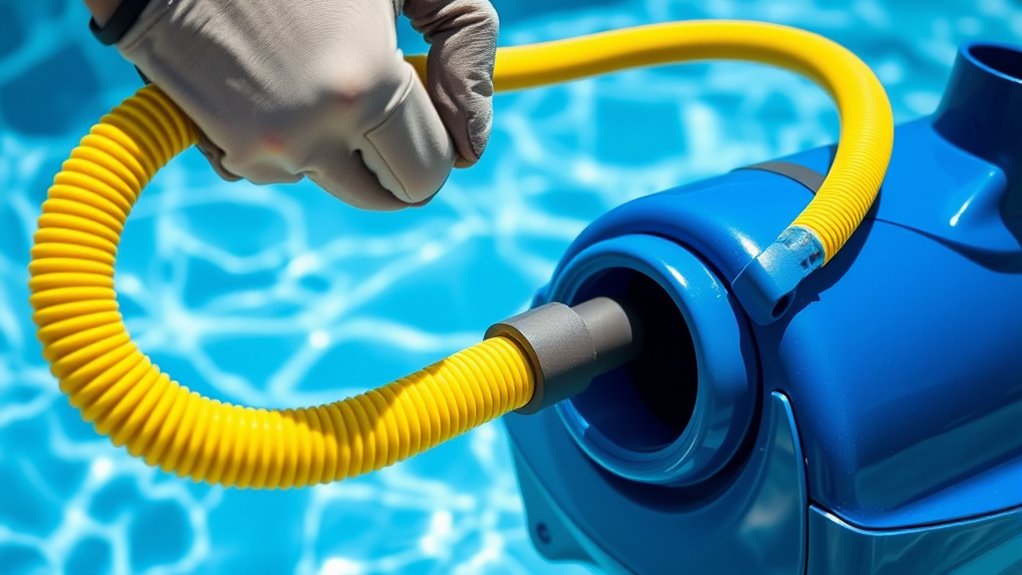
Now, it’s time to connect the hose to your cleaner and secure it properly. Make sure each connection is tight to prevent leaks and guarantee smooth operation. Once everything is secure, you’re ready to move on to testing the cleaner in your pool. Proper performance tuning can further optimize the cleaner’s efficiency and longevity. Additionally, ensuring your pool equipment is well-maintained can improve overall cleaning performance. For optimal results, consider contrast ratio adjustments to enhance visibility of fine debris during cleaning sessions. Incorporating tuning techniques used in automotive modifications can also help fine-tune your cleaning system for better results.
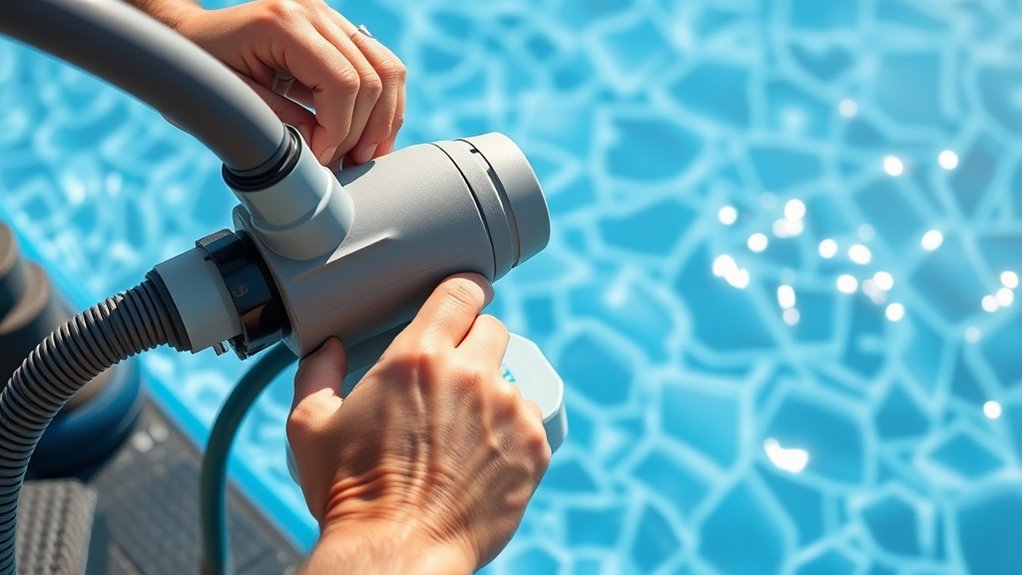
Connecting the Hose
Connecting the hose is a straightforward step that guarantees your pressure-side pool cleaner functions properly. Begin by selecting the right hose material, such as durable rubber or reinforced vinyl, suited for pool chemicals and UV exposure. Next, attach the hose to the cleaner using the appropriate connector types—whether threaded, quick-connect, or swivel fittings—ensuring a secure fit. Check that all connections are tight to prevent leaks and maintain ideal pressure. If your pool hose has multiple sections, connect them firmly, aligning the connectors correctly. Once assembled, double-check each connection for stability. Properly connecting the hose ensures smooth operation, better coverage, and prevents interruptions during cleaning. Take your time to confirm all fittings are secure before moving on. Additionally, inspecting filtration and pump protection components can help maintain optimal performance throughout the cleaning process. Ensuring that pressure regulation is maintained can also extend the life of your equipment and improve cleaning efficiency. Regularly inspecting the hose connections for wear or damage can help prevent unexpected issues during operation. Remember that choosing hoses with UV-resistant materials can also prolong the lifespan of your equipment and keep your pool cleaner functioning effectively.
Securing the Cleaner
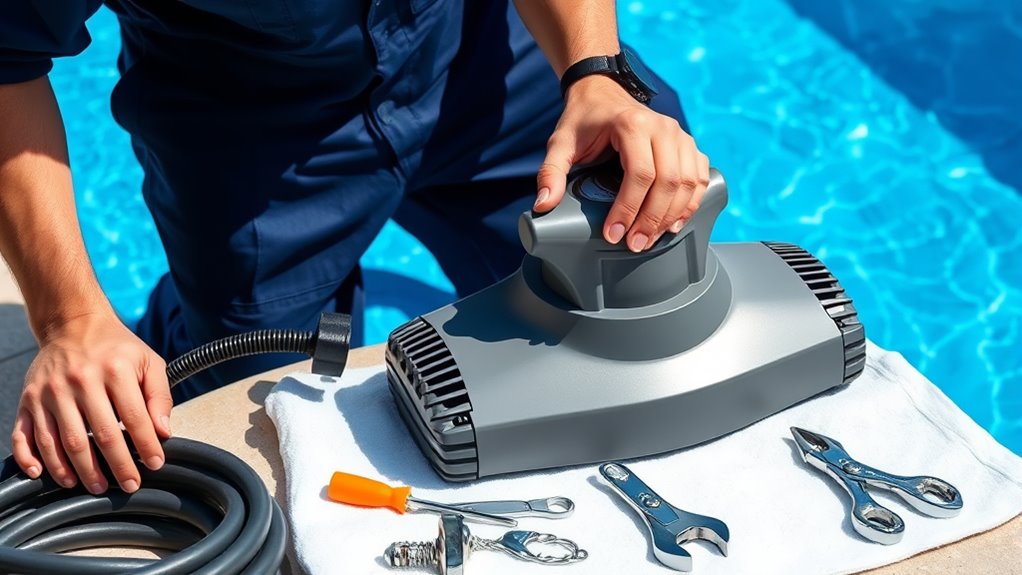
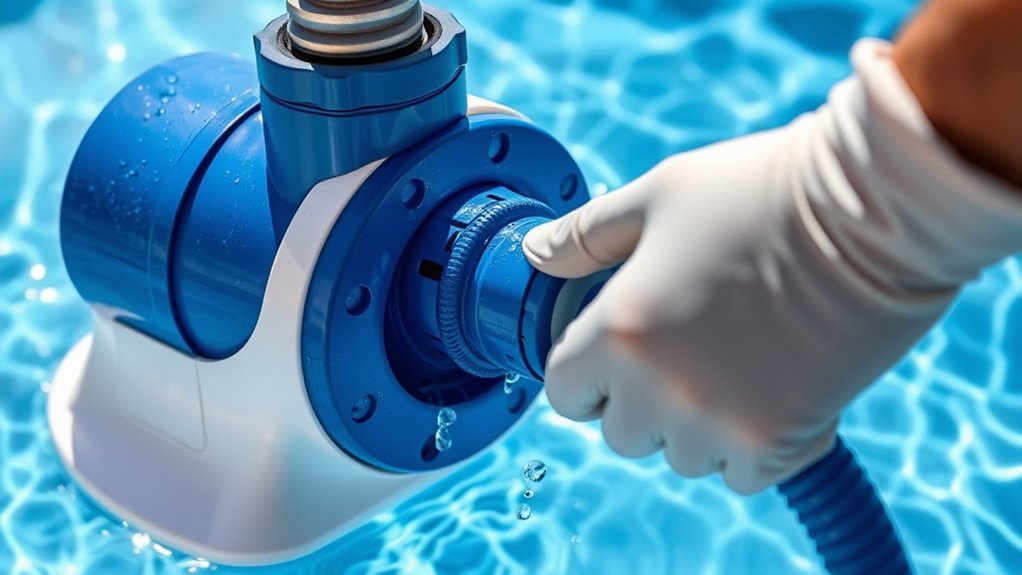
Before securing the cleaner, lay out all the components and verify you have everything needed for assembly. Properly fastening the pressure-side cleaner ensures it operates efficiently and safely. Start by attaching the hose firmly to the cleaner and the dedicated skimmer or suction port, making sure connections are tight to prevent leaks. Check that your pool’s chemical balance is appropriate, as unbalanced chemicals can affect cleaner performance. While assembling, keep pool safety tips in mind—turn off the pump and avoid working near the water’s edge to prevent accidents. Once everything is connected securely, double-check all fittings and ensure the cleaner moves freely without obstruction. Proper securing not only optimizes cleaning but also maintains a safe environment for everyone around the pool. Understanding pool maintenance can help ensure all aspects are properly managed for optimal cleaner performance. Additionally, verifying proper assembly techniques ensures the cleaner functions correctly and prolongs its lifespan. Maintaining proper pool water chemistry can also enhance the efficiency of your pressure-side cleaner.
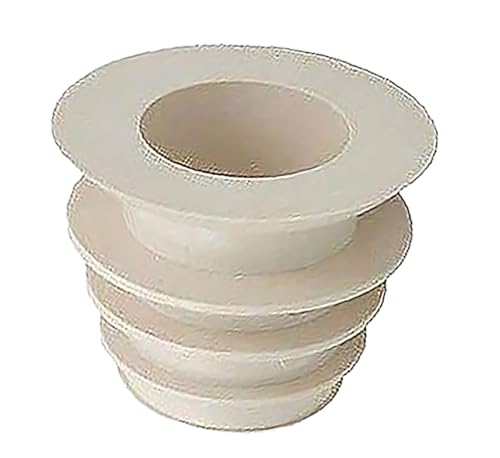
ATIE In-ground Pool Skimmer Cone Adapter Valve Cuff Compatible with Zodiac Baracuda Valve Cuff W70263, R0527600, W63900 to Connect Automatic Pool Cleaner or Vacuum Hose to Skimmer (1 Pack)
***Buyers BEWARE: This cone adapter ONLY fits 2" suction port of pool skimmer. It DOES NOT fit 1.5"…
As an affiliate, we earn on qualifying purchases.
As an affiliate, we earn on qualifying purchases.
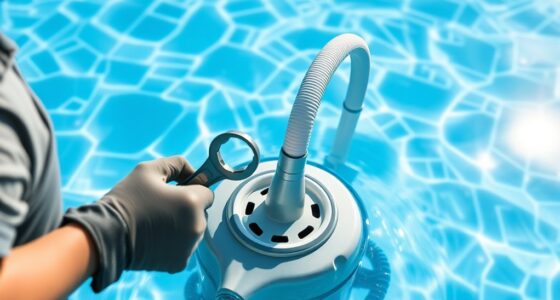
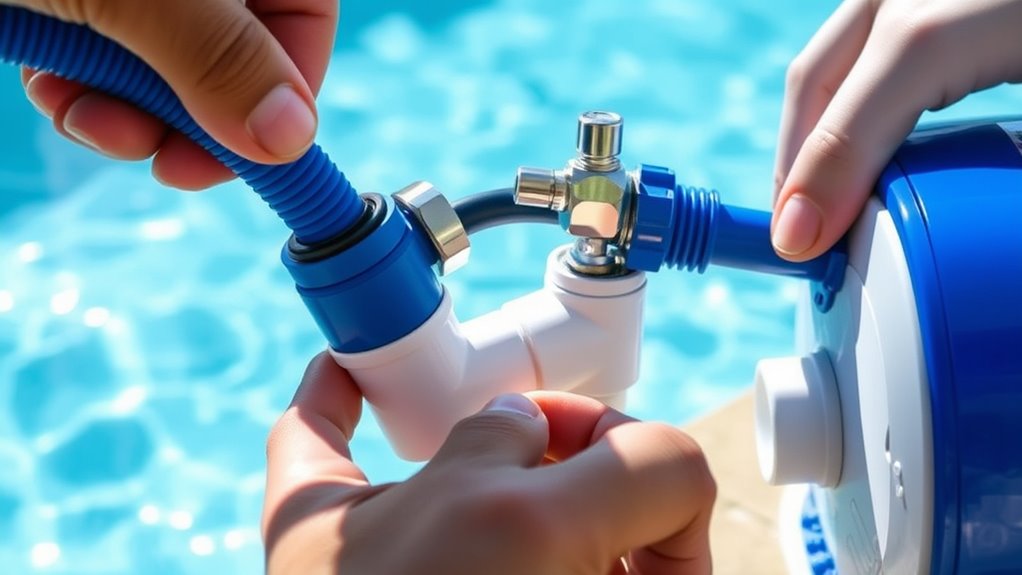
Attaching the Hose to the Cleaner and Skimmer
When attaching the hose to your cleaner and skimmer, make sure you connect the sections properly to prevent leaks. Check that each connection is secure and snug, so the hose stays in place during operation. Position the hose for ideal water flow to guarantee your cleaner works efficiently across the pool. Using a high-quality hose with durable fittings can also improve overall performance and longevity of your system hydrocolloid technology. Incorporating predictive analytics in your maintenance routine can help identify potential issues before they become costly repairs, ensuring your pool stays clean and functional. Additionally, selecting hoses designed for highlighted hair can help maintain optimal water flow and reduce wear over time.
Proper Hose Connection Techniques
To guarantee your pressure-side pool cleaner functions effectively, it’s important to attach the hose properly to both the cleaner and the skimmer. Start by selecting the correct hose length to ensure smooth movement around the pool. Make sure you’re using the right connector types, compatible with your cleaner and skimmer. Proper connection prevents leaks and reduces strain on the system. Additionally, using automation technologies can help monitor and optimize your pool maintenance routines for better efficiency.
- Check that the hose length matches your pool size to avoid kinks or slack.
- Use the appropriate connector types for a snug fit, ensuring no water leaks.
- Connect the hose securely to both the cleaner and the skimmer, following manufacturer instructions.
Taking these steps guarantees efficient cleaning and prolongs your equipment’s lifespan.
Ensuring Secure Fitment
Ensuring the hose is securely attached to the cleaner and skimmer is essential for optimum operation. A loose connection can cause the cleaner to malfunction or fall off, reducing cleaning efficiency. To maintain pool safety, double-check that all fittings are tight and properly seated. This prevents debris from escaping and guarantees consistent water flow. Proper fitment also helps maintain the chemical balance by reducing debris buildup that can lead to bacteria growth. Before starting, inspect the hose for any cracks or leaks, replacing damaged sections. Secure connections minimize the risk of the cleaner disconnecting during operation, which could pose safety hazards or damage the equipment. Taking these steps guarantees your pressure-side cleaner works effectively while keeping your pool safe and balanced.
Positioning for Optimal Flow
Attaching the hose to the cleaner and skimmer correctly is essential for achieving maximum water flow and cleaning performance. Proper positioning ensures ideal flow, which improves debris clearance and overall efficiency. To maximize flow enhancement, make sure the hose is securely connected without kinks or twists. Position the hose so it curves naturally, avoiding sharp bends that restrict water flow. Check that the skimmer port is clear and unobstructed to maintain steady water circulation. Additionally, ensure the hose is submerged properly and reaches all pool areas evenly. This setup helps the cleaner move smoothly, increasing debris clearance and keeping your pool sparkling. Proper positioning of the hose creates the ideal environment for effective cleaning and ideal flow throughout your pool.
Connecting the Hose to the Pool Pump
Connecting the hose to your pool pump is a straightforward process that guarantees your pressure-side cleaner operates effectively. Before starting, verify your pool chemical balance is proper to prevent equipment damage. Always follow safety precautions, like turning off the pump during setup. Attach the hose to the designated suction port, securing it tightly to prevent leaks. Use the table below to understand the importance of proper connection:
| Aspect | Significance |
|---|---|
| Secure Connection | Prevents loss of suction and cleaner mishaps |
| Proper Placement | Ensures ideal cleaning coverage |
| Safety Precautions | Protects you from electrical hazards |
| Pool Chemical Balance | Maintains equipment efficiency |
Following these steps ensures your cleaner functions smoothly and safely.
Positioning the Cleaner in the Pool
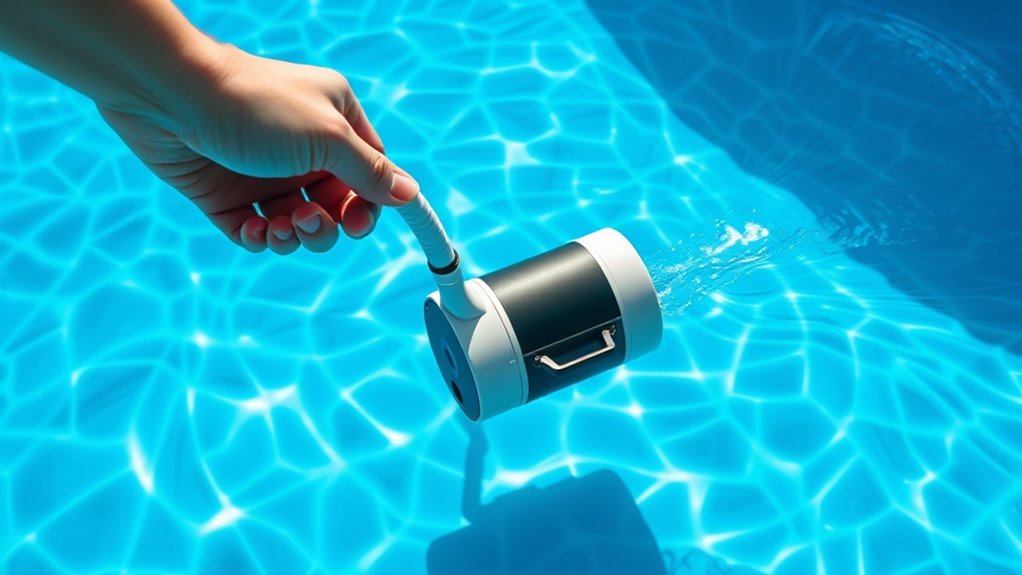
Once you’ve connected the hose to your pool pump, the next step is to position the cleaner correctly in the pool. Start by placing it in an area with good water circulation to ensure effective cleaning. Avoid placing the cleaner near the skimmer or drain to prevent interference with pool chemistry balance. Make sure the cleaner is fully submerged before turning on the pump to prevent air from entering the system. Check safety precautions by removing any obstacles or debris that could damage the hose or cleaner during operation. Position the cleaner so it has room to move freely, avoiding tight corners or shallow areas. Proper placement maximizes cleaning efficiency while maintaining safe pool conditions and preventing damage to the equipment.
Testing the System and Adjusting Settings
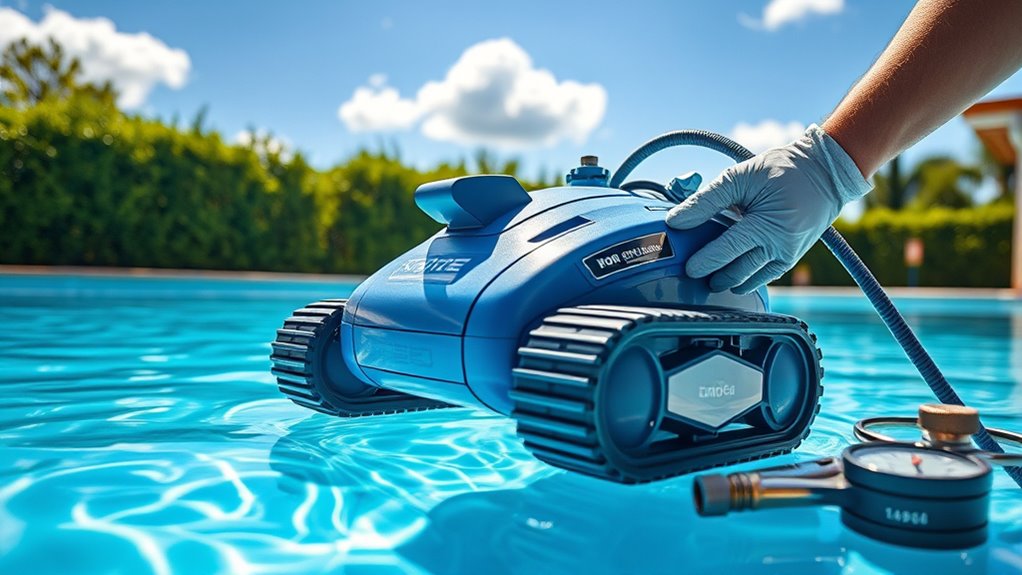
After positioning your cleaner, turn on the pool pump and observe its operation. Perform pressure testing by ensuring the pressure gauge reads within the recommended range. If pressure is too high or low, you’ll need to modify the flow. Use flow adjustment valves to fine-tune water flow to the cleaner, optimizing cleaning performance. Check the table below for common pressure and flow recommendations:
| Issue | Solution |
|---|---|
| Low pressure | Increase flow with valve |
| High pressure | Decrease flow with valve |
| Uneven cleaning | Adjust flow for uniform coverage |
| Excess noise | Reduce flow to quiet operation |
Regularly testing pressure and making flow adjustments ensures your cleaner operates efficiently, saving energy and prolonging its lifespan.
Monitoring the Cleaner During Initial Operation
How can you confirm your pressure-side pool cleaner is working correctly during its initial run? First, observe its movement to ensure it covers all pool areas. Use remote monitoring if available to track its progress and detect issues early. Check that the cleaner is staying attached to the hose and not tangling. Keep safety precautions in mind by staying nearby, especially during the first run, to respond quickly if problems arise.
Be sure to:
- Watch for consistent movement and coverage
- Ensure the hose remains free of tangles
- Use remote monitoring tools for real-time updates
Monitoring during this phase helps verify proper operation, prevents damage, and guarantees effective cleaning from the start.
Performing Regular Maintenance and Troubleshooting

Regular maintenance is vital to keep your pressure-side pool cleaner functioning efficiently. You should regularly check and replace the filter when it becomes dirty or clogged to guarantee optimal cleaning performance. A clean filter prevents debris from recirculating and helps maintain proper water flow. Additionally, maintaining proper chemical balancing is essential; imbalanced chemicals can cause algae buildup and reduce the cleaner’s effectiveness. Test the water regularly and adjust chemicals as needed to keep pH, chlorine, and alkalinity within recommended ranges. If you notice the cleaner isn’t moving properly or missing spots, inspect for blockages, and clean any debris from the hoses. Troubleshooting common issues and performing routine filter replacement and chemical balancing will extend your cleaner’s lifespan and keep your pool pristine.
Frequently Asked Questions
How Often Should I Replace Parts of My Pressure-Side Pool Cleaner?
You might wonder about maintenance schedule and replacement frequency for your pressure-side pool cleaner. Typically, you should check parts like hoses and brushes every few months, replacing them as needed. For guaranteed performance, replace worn or damaged parts promptly. Usually, key components like hoses may last a season, while brushes might need replacement more often. Staying on top of maintenance ensures your cleaner works efficiently and lasts longer.
Can I Use a Pressure-Side Cleaner in an Above-Ground Pool?
Thinking about your pool maintenance routine, you might wonder if a pressure-side cleaner can work well in an above-ground pool. While these cleaners are typically designed for in-ground pools, some models are compatible with above-ground setups. You’ll want to check the cleaner compatibility and verify your pool’s pump can support it. If it’s a good fit, a pressure-side cleaner can help keep your above-ground pool tidy with less effort.
What Safety Precautions Should I Take During Installation?
When installing your pool cleaner, prioritize pool safety and electrical precautions. Make certain the power is off before starting, and keep electrical devices away from the water to prevent shocks. Use GFCI outlets and check for proper grounding. Handle connections carefully, and follow the manufacturer’s instructions. By taking these steps, you protect yourself and your pool while ensuring the cleaner works effectively and safely.
How Do I Store the Cleaner During the Off-Season?
Imagine you’re preparing for winter, and your pool sits unused. To guarantee your pressure-side cleaner stays in top shape, you should store it properly during off-season maintenance. Drain and clean the cleaner thoroughly, then store it in a dry, cool place away from direct sunlight. Keep the hoses coiled neatly, and avoid compressing any parts. Proper pool storage helps extend your cleaner’s lifespan and keeps it ready for use next season.
Are There Eco-Friendly or Energy-Efficient Models Available?
You’re curious if eco-friendly options and energy-efficient models are available. Many brands now offer models designed to reduce energy consumption and use environmentally friendly materials. Look for pressure-side pool cleaners labeled as energy-efficient or eco-friendly options, which often feature improved motor technology and sustainable components. These models help you save on power costs while minimizing environmental impact, making your pool maintenance more sustainable and cost-effective.
Conclusion
Think of your pressure-side pool cleaner as a loyal ship steering your pool’s waters. With proper setup and care, it’ll sail smoothly, keeping your pool crystal clear. Regular maintenance is like tending to the ship’s crew, ensuring everything runs smoothly. When you understand its needs and give it attention, your cleaner will be your steadfast companion—never stranded, always ready—making pool maintenance feel like a breezy voyage rather than a stormy voyage.