
To change a vacuum belt, I recommend using a specialized tool like the Dyson Vacuum Cleaner Belt Lifter for quick, easy access, or simply replacing the belt with a Bissell Lift-Off replacement belt for a straightforward DIY fix. First, check your model’s compatibility, then follow step-by-step instructions for removal and installation. If you want detailed guidance on each method, keep going — you’ll find everything you need.
Key Takeaways
- Identify signs of belt wear, such as reduced suction or brush roll stoppage, to determine if replacement is needed.
- Use a specialized Dyson Vacuum Cleaner Belt Lifter or compatible tool for easy, secure removal of the belt and brushroll.
- Follow manufacturer instructions carefully to install the new belt, ensuring proper fit and tension for optimal performance.
- Verify the replacement belt’s compatibility with your vacuum model before installation to prevent damage.
- Regularly inspect and replace the belt every 3-6 months or as signs of wear appear to maintain effective cleaning.
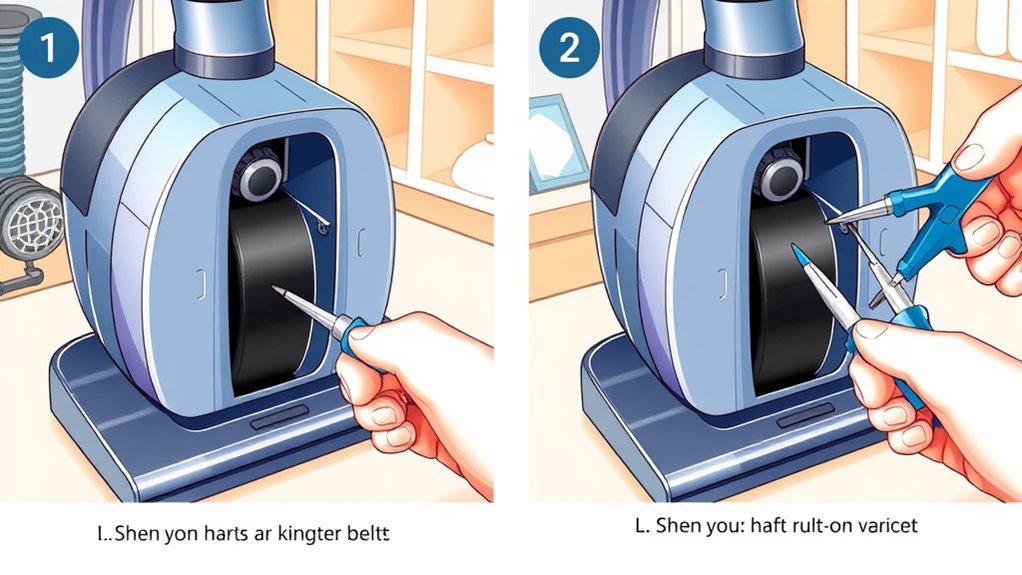
Dyson Vacuum Cleaner Belt Lifter Changing Tool
If you’re looking for an easy way to change your Dyson vacuum belt, the Dyson Vacuum Cleaner Belt Lifter Changing Tool is a must-have. I find it incredibly handy for removing the brushroll and replacing belts on compatible models like DC01, DC02, DC04, DC05, DC07, and DC14. This specialized tool simplifies the entire maintenance process, making it quicker and less frustrating. It’s designed specifically for Dyson vacuums, so it fits perfectly and helps you avoid damaging delicate parts. With this tool, you can easily access the belt and brushroll, ensuring your vacuum stays in top shape with minimal effort.
Best For: DIY enthusiasts and homeowners seeking an easy and effective tool to maintain and repair their Dyson vacuum cleaners.
Pros:
- Simplifies belt and brushroll removal, saving time and effort
- Compatible with multiple Dyson models for versatile use
- Designed to prevent damage to delicate vacuum parts during maintenance
Cons:
- May only be suitable for specific Dyson models listed
- Requires manual operation, which might be challenging for some users
- Does not include additional tools or accessories for comprehensive cleaning
BISSELL Lift-Off Replacement Belt, 2 pk, 3200
The BISSELL Lift-Off Replacement Belt, 2-pack, model 3200, is an excellent choice for those looking to maintain their vacuum’s ideal performance without hassle. These belts fit all Lift-Off Bagless Models and are designed to keep your brush roll turning smoothly, ensuring peak cleaning. With two belts included, you’ll have a spare on hand for quick replacements. They’re made in the USA, require no assembly, and come with clear instructions. When you notice a drop in cleaning efficiency or the brush roll stops spinning, it’s time to replace the belt. This product offers a cost-effective, straightforward way to keep your vacuum running like new.
Best For: homeowners with Lift-Off Bagless Vacuum Models seeking an affordable, reliable replacement belt to maintain optimal cleaning performance.
Pros:
- Compatible with all Lift-Off Bagless Models, ensuring versatile use across various vacuum types.
- Comes with two belts, providing a convenient spare for quick replacements.
- Made in the USA with clear instructions, making installation straightforward and hassle-free.
Cons:
- Product has been discontinued, so it may be harder to find or purchase new.
- No warranty included, which might be a concern if the belts fail prematurely.
- Limited to specific vacuum models; not suitable for other brands or models outside the listed compatibility.
Factors to Consider When Choosing How to Change a Vacuum Belt

When choosing how to change a vacuum belt, I consider factors like compatibility with my vacuum model and how effective and easy the tool is to use. I also look at the quality of replacement parts and how much they cost to fit my budget. These points help me decide the best method for a quick and reliable repair.
Compatible Vacuum Models
Choosing the right vacuum belt requires ensuring compatibility with your specific model. I always verify the model number on my vacuum to find belts or tools designed for that make and series. Checking the manufacturer’s specifications is essential—these details confirm whether a replacement part fits properly. Different vacuum models often need different belt sizes, shapes, or attachment mechanisms, so I avoid generic options that might not work. I also look at the packaging or product descriptions, which typically list compatible models, to prevent mismatches. Ensuring compatibility not only makes installation easier but also helps maintain peak vacuum performance. Taking a moment to verify these details saves time and prevents potential damage during the replacement process.
Tool Effectiveness and Design
Have you ever struggled to remove or install a vacuum belt because your tool wasn’t compatible or easy to handle? The right tool’s effectiveness hinges on its compatibility with your vacuum model and its ability to grip and lift the belt or brushroll securely. An ergonomically designed tool helps reduce fatigue and allows precise maneuvering, especially in tight or hard-to-reach spots. Features like a belt lifter or hook make the process smoother and lower the risk of damage. Durability matters too—tools made from reinforced plastic or metal last longer through repeated use. A well-designed vacuum belt changer provides quick access to internal parts without disassembly or extra tools, streamlining the entire process and making your job easier and more efficient.
Ease of Installation
The ease of installing a vacuum belt largely depends on its design and whether it requires special tools for replacement. Belts with straightforward designs and clear access make the process much simpler, especially if the vacuum’s belt compartment is easy to reach. Using tools specifically made for belt removal can save time and reduce frustration, as they help you handle the belt and pulleys more efficiently. Flexibility and length also matter; a belt that’s easy to loop around the brushroll and motor pulley speeds up installation. Additionally, having clear instructions or guides can be a big help, guiding you through each step and minimizing mistakes. Overall, choosing a belt and vacuum model with these factors in mind can make the replacement process smoother and less intimidating.
Replacement Parts Quality
Selecting high-quality replacement belts is essential because durable materials guarantee your vacuum lasts longer and performs reliably. I always look for belts made from sturdy materials that resist wear and tear, which helps extend the lifespan of my vacuum. It’s important that the tension and elasticity match the original specifications to ensure proper functioning and avoid damaging the motor or brushroll. I prefer genuine or manufacturer-approved parts since they tend to fit better and work more reliably than generic or cheap alternatives. The thickness and width of the belt also matter because they directly affect how well the brushroll rotates and grips. I avoid poorly made belts, as they can slip, break, or make noise during operation, so I rely on reviews and verified quality to make the right choice.
Price and Budget
Choosing the right vacuum belt and tools often comes down to balancing cost and quality. I recommend considering the price of replacement belts and tools to make sure they fit within your budget. Cheaper options might save you money upfront but often lack durability, leading to more frequent replacements and higher long-term costs. It’s also essential to verify that budget-friendly tools are compatible with your vacuum model to avoid additional expenses. Sometimes, investing a bit more in higher-quality belts and tools pays off by reducing the need for repairs and replacements over time. I suggest comparing prices across different retailers to find the best deals without sacrificing quality. This approach helps you make smarter choices that save money in the long run while keeping your vacuum running smoothly.
Brand Reputation
Ever wonder why some vacuum belts last longer than others? It often boils down to brand reputation. Reputable brands usually offer higher-quality, more durable belts, meaning fewer replacements over time. They also tend to provide better customer support and clearer instructions, making the replacement process smoother. Brands with a strong reputation typically use better materials, which can extend the lifespan of both the belt and your vacuum’s components. Choosing a trusted brand can also ensure compatibility with your specific model, reducing installation issues. Plus, customer reviews and ratings often highlight how easy it is to replace belts and how reliable the product is. Overall, investing in a reputable brand can save you time, money, and frustration in the long run.
Maintenance Frequency
How often you should replace your vacuum belt depends largely on how frequently and intensely you use your vacuum. I recommend inspecting your belt every 3 to 6 months to catch signs of wear before it fails completely. Heavy or daily use can cause the belt to wear out faster, requiring more frequent replacements. Keep an eye out for reduced suction, a brush roll that won’t turn, or strange noises during operation—these are signs it’s time for a new belt. Following your manufacturer’s maintenance schedule helps prevent unexpected breakdowns and prolongs your vacuum’s lifespan. Regular checks and prompt replacements not only maintain ideal cleaning performance but also save you money in the long run by avoiding more costly repairs.
Frequently Asked Questions
How Often Should I Replace My Vacuum Belt?
I recommend replacing your vacuum belt every 6 to 12 months, depending on usage and wear. If you notice reduced suction, strange noises, or the belt looks cracked or frayed, it’s time for a change sooner. Regular inspections can help you catch issues early, ensuring your vacuum runs smoothly. Staying on top of belt replacements keeps your vacuum performing at its best and extends its lifespan.
Can I Change the Belt Without Professional Help?
Absolutely, you can change the belt yourself! It’s easier than trying to untangle your hair after a tornado. With just a few simple tools and some patience, I’ve replaced belts without professional help countless times. Just unplug your vacuum, open the cover, and follow a step-by-step guide. I promise, it’s satisfying to see your vacuum roaring back to life without calling in a pro!
What Signs Indicate a Worn-Out Vacuum Belt?
If your vacuum belt is worn out, you’ll notice it struggles to pick up debris, and the brush roll might stop spinning or spin slowly. You might also hear a squealing noise or see the belt slipping off. Sometimes, cracks or fraying become visible on the belt itself. When these signs appear, it’s time to substitute the belt to guarantee your vacuum works efficiently again.
Are Universal Belts Compatible With All Vacuum Models?
Universal belts aren’t compatible with all vacuum models. I’ve found that while they might fit many brands, it’s crucial to check your vacuum’s make and model first. I always compare the belt’s size and specifications with the manufacturer’s recommendations. If you’re unsure, I suggest sticking to the original belt or consulting your vacuum’s manual to guarantee proper fit and maximum performance.
How Do I Prevent Belt Damage During Replacement?
Think of replacing your vacuum belt as delicate surgery—precision matters. To prevent damage, I always guarantee the new belt is correctly aligned and gently stretch it into place without forcing. I avoid pulling or twisting excessively, as if coaxing a shy flower into bloom. Regularly inspecting the belt for cracks or wear also helps catch issues early, so I can replace it before it becomes a tangled mess, preserving its lifespan and performance.
Conclusion
So, whether you’re wielding the Dyson Belt Lifter or the BISSELL Lift-Off, mastering these belt-changing methods will turn you into a vacuum superhero. With just a few simple steps, you’ll conquer dirt and debris like a true professional—no dust bunny will stand a chance! Trust me, once you’ve got this down, your vacuum will perform so flawlessly, it’ll feel like it’s powered by magic. Get ready to elevate your cleaning game to legendary status!