For effective cleaning of unsealed floors, it is important to focus on methods that use minimal moisture. Create a DIY solution using vinegar and essential oils for a gentle cleaning experience. Use a flat head mop for better control while cleaning. Make sure the floors are thoroughly dried to prevent any water-related damage. Essential oils not only clean but also leave a fresh scent in the area. Take necessary precautions to protect unsealed floors and ensure longevity with proper care. Use specific cleaning products designed for unsealed floors. Establish a regular maintenance routine to keep your floors looking pristine. Explore more about caring for unsealed floors for additional insights.
Key Takeaways
- Use minimal moisture cleaning methods to prevent floor damage.
- Create a DIY floor cleaning solution with vinegar and essential oils.
- Opt for flat head mops for efficient and safe cleaning.
- Ensure proper drying techniques to avoid warping.
- Maintain unsealed floors with regular cleaning and protection.

Microfiber Mops for Hardwood Floor Cleaning – BPAWA Flat Floor Mop with 4 Washable Pads for Laminate Wood Tile Vinyl Home Kitchen Bathroom – 59" Adjustable Handle
Microfiber Mops for Floor Cleaning: Flat floor mop with adjustable long handle, flexible lightweight but sturdy, great for…
As an affiliate, we earn on qualifying purchases.
As an affiliate, we earn on qualifying purchases.
Importance of Minimal Moisture Cleaning
Using minimal moisture cleaning methods is essential for maintaining the quality and longevity of unsealed floors. Clean unsealed wood floors are susceptible to warping, buckling, and damage when exposed to excess moisture. By avoiding wet mops and excessive water, you can prevent water penetration and potential deterioration of your floors.
Minimal moisture cleaning not only helps in preserving the natural beauty and integrity of unsealed wood floors but also reduces the risk of mold and mildew growth. Regularly employing these cleaning techniques ensures that your floors remain in top condition for years to come.

Aunt Fannie's Ultra Concentrated Floor Cleaner Vinegar Wash, Multi-Surface Solution For Mopping, Makes 16 Gallons, Eucalyptus Scent, 32 oz. (Pack of 1)
Aunt Fannie's Floor Cleaner Vinegar Wash & Multi-Surface Floor Cleaner: Contains 32 ounces of fresh smelling eucalyptus natural…
As an affiliate, we earn on qualifying purchases.
As an affiliate, we earn on qualifying purchases.
DIY Floor Cleaning Solution
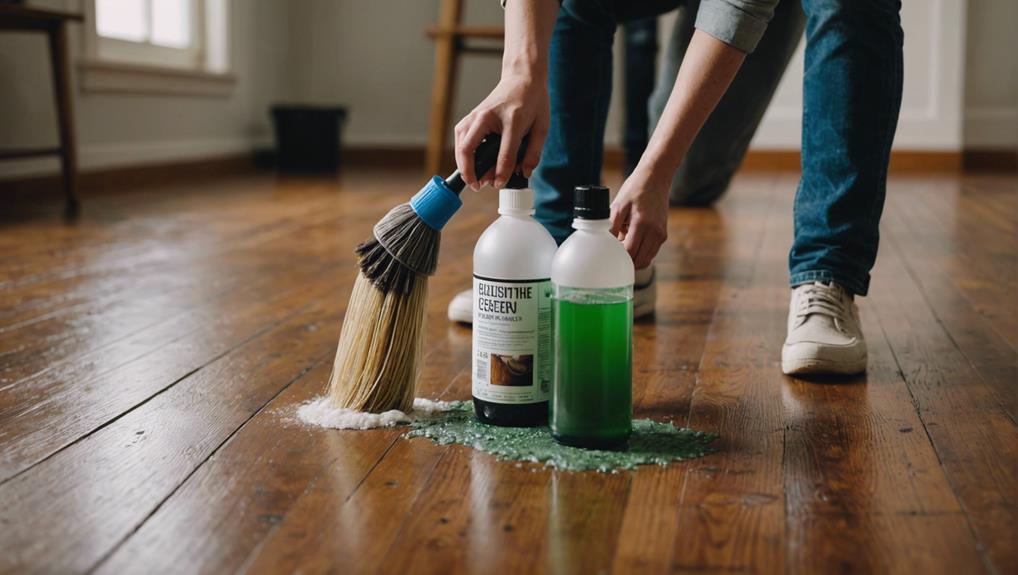
Craft your own floor cleaning solution by combining warm water, white vinegar, rubbing alcohol, dish soap, and essential oil for optimal cleaning results. Dilute this mixture properly to prevent any stickiness and guarantee it cleans effectively.
This DIY solution is versatile and suitable for all hard floor surfaces, making it ideal for unsealed wood floors. Be cautious with the amount used on unsealed wood to avoid excessive moisture. You can conveniently apply this solution using a spray bottle or bucket.
The combination of white vinegar and essential oil helps in disinfecting and providing a pleasant scent while cleaning. Remember, using natural ingredients like white vinegar and essential oil not only cleans your floors but also minimizes exposure to harsh chemicals.
This homemade solution offers an eco-friendly and cost-effective way to keep your floors clean and fresh.

VEVOR Air Mover, 1/4 HP 1000 CFM Carpet Dryer for Cooling and Ventilating, Portable Floor Blower Fan with 4 Blowing Angles and Time Function, for Janitorial, Home, Commercial Use
3 Blow Speeds: Power: 1/4 hp, 115V/60Hz. This carpet dryer offers three adjustable airflow options: 600, 800, and…
As an affiliate, we earn on qualifying purchases.
As an affiliate, we earn on qualifying purchases.
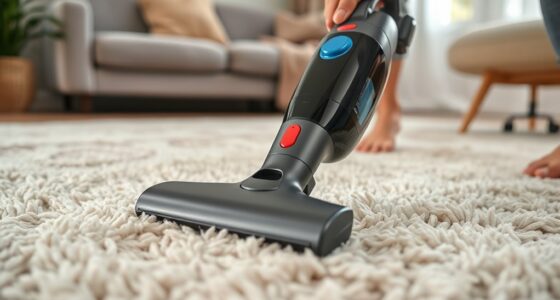
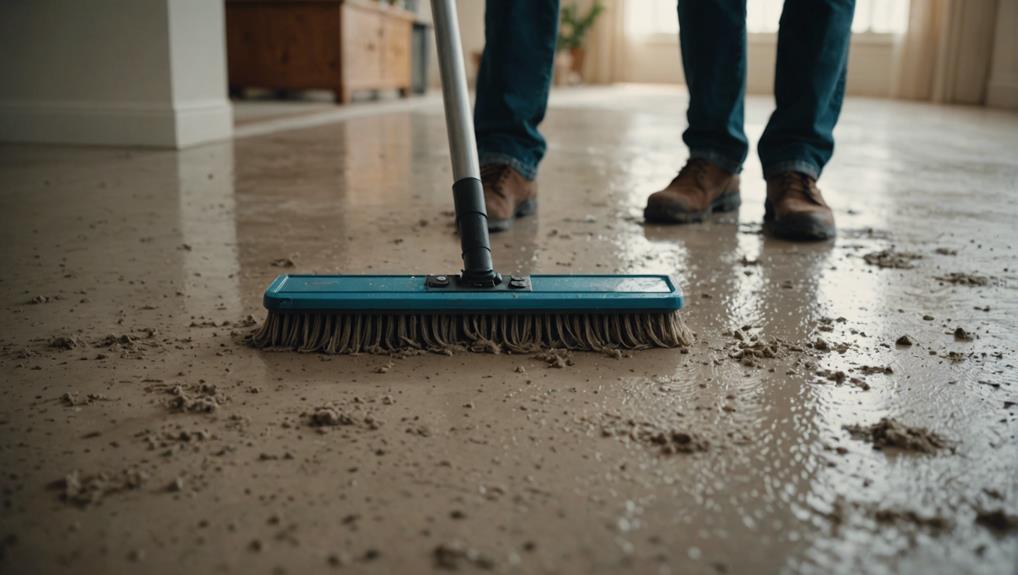
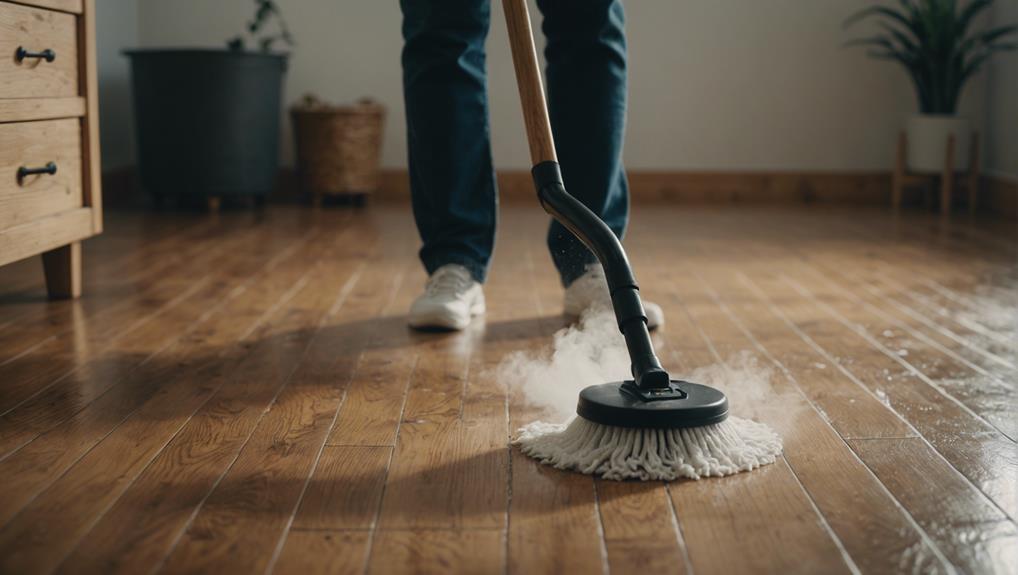
Flat Head Mop Usage
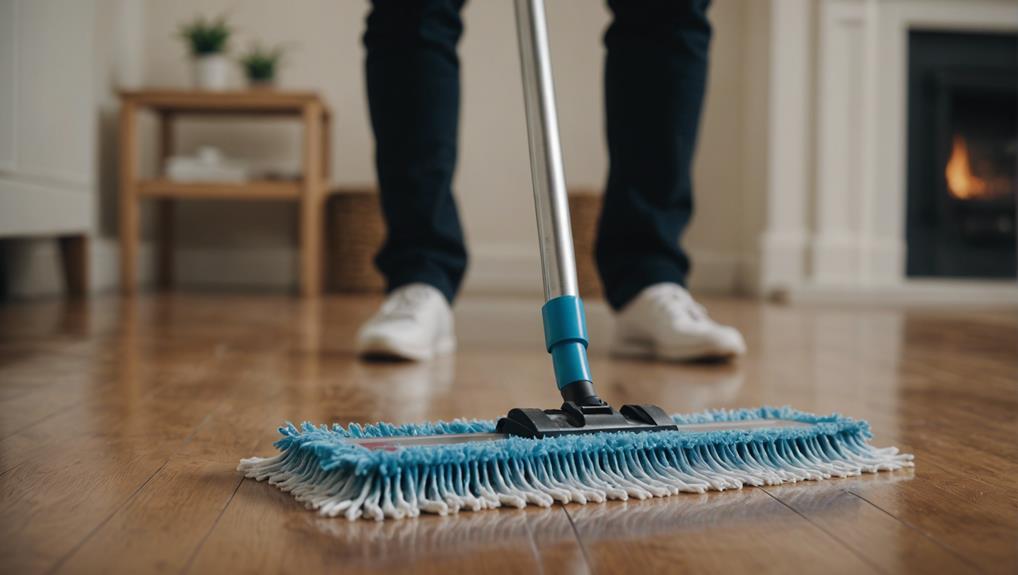
To ensure proper care and maintenance of unsealed wood floors, consider utilizing flat head mops due to their superior control and coverage capabilities.
Flat head mops are specifically designed to tackle unsealed wood floors efficiently. Their flat design allows for easy maneuvering in tight spaces and corners, ensuring a thorough clean without missing any spots. These mops are gentle on unsealed wood floors, preventing damage from excessive moisture and harsh cleaning.
With a flat head mop, you can easily maintain your unsealed wood floors regularly, keeping them looking their best. To prevent water damage and warping, it's crucial to use a flat head mop with minimal moisture.

Method Squirt + Mop Hardwood Floor Cleaner, Almond, 25 Ounce, 1 pack, Packaging May Vary
Contains (1) 25 ounce bottle of hardwood floor cleaner.
As an affiliate, we earn on qualifying purchases.
As an affiliate, we earn on qualifying purchases.
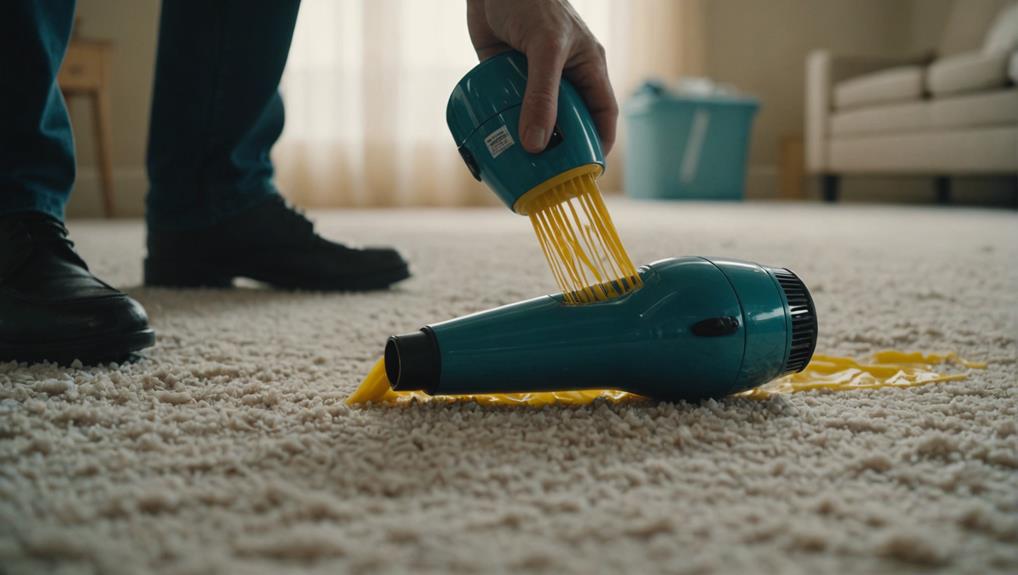
Drying Technique for Unsealed Floors
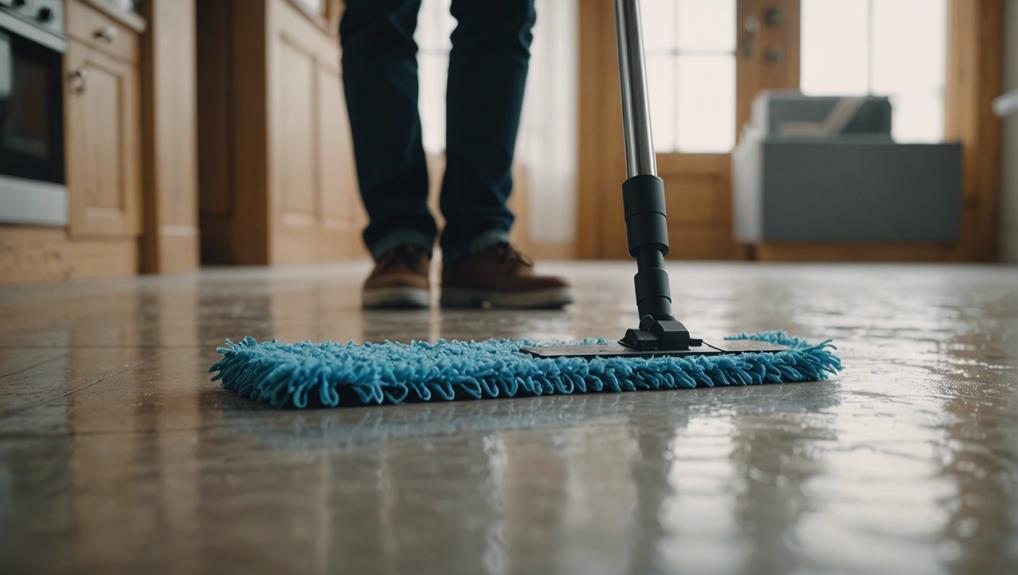
Guarantee thorough drying of unsealed floors after cleaning by utilizing a dry mop or towel to prevent water damage.
To guarantee the effectiveness of your drying technique, consider the following tips:
- Use a dry mop: Immediately follow up the cleaning process with a dry mop to absorb any remaining moisture on unsealed floors.
- Change towels if needed: If the initial towel becomes saturated, switch to a new one to continue drying the floor thoroughly.
- Focus on high-moisture areas: Pay extra attention to spots that tend to retain more water, such as near sinks or entryways.
- Allow for air circulation: Open windows or use fans to promote faster drying, particularly in areas with high humidity levels.
- Check for complete dryness: Regularly inspect the floor to confirm it's entirely dry, preventing potential damage like warping or mold growth on unsealed floors.
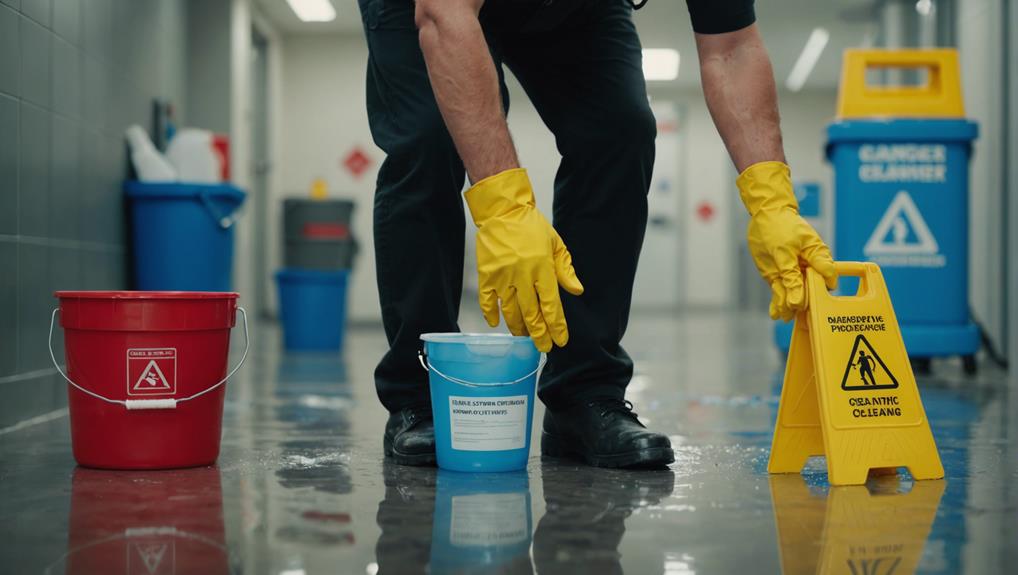
Vulnerability to Water Damage
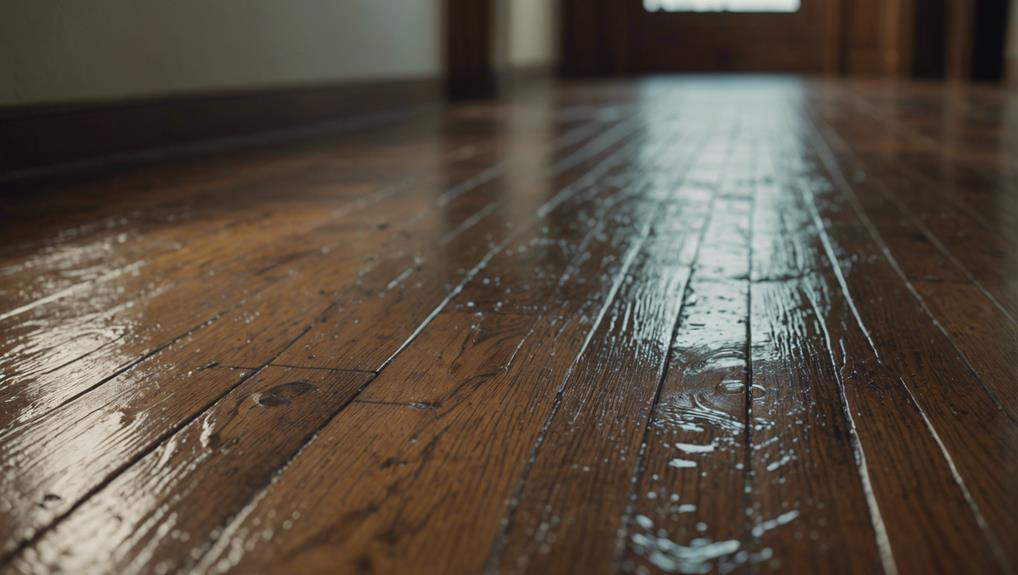
To protect unsealed wood floors from water damage, it's important to be mindful of the potential risks associated with moisture exposure. Unsealed floors are highly susceptible to water damage, as water can seep into the wood, leading to warping, staining, and the growth of mold.
To prevent such damage, avoid using excessive water or wet mops when cleaning wood floors that are unsealed. Water damage not only compromises the appearance of the flooring but can also result in costly repairs or even the need to replace the entire floor.
It's essential to focus on regular cleaning and maintenance practices that shield unsealed floors from water exposure, preserving their natural beauty and integrity. By implementing proper cleaning techniques and ensuring minimal contact with water, you can greatly reduce the risk of water damage and extend the lifespan of your unsealed wood floors.
Benefits of Essential Oils
Using essential oils in your cleaning routine can provide numerous benefits for maintaining unsealed wood floors. Here are some advantages of incorporating essential oils into your cleaning regimen:
- Essential oils like lemon, tea tree, and eucalyptus have antibacterial and antifungal properties, ideal for cleaning unsealed wood floors effectively.
- Adding essential oils to your cleaning solutions not only disinfects and deodorizes but also leaves behind a pleasant natural scent.
- These oils are environmentally friendly and non-toxic, offering a safe and healthy cleaning alternative to harsh chemical cleaners.
- Lemon essential oil is particularly effective at cutting through grease and grime on unsealed wood floors, leaving them clean and refreshed.
- Tea tree essential oil's powerful antimicrobial properties make it a great choice for sanitizing unsealed wood floors, ensuring a hygienic living environment.
Precautions for Unsealed Floors
When caring for unsealed floors, it's crucial to take precautions to prevent damage. To protect your floors, consider using furniture pads to prevent scratches and dents.
Additionally, choosing gentle cleaning products and establishing a regular maintenance routine can help preserve the natural beauty of your unsealed wood floors.
Floor Protection Tips
Safeguard your unsealed floors by placing protective pads under furniture legs to prevent scratches and dents.
To guarantee the longevity of your floors, follow these floor protection tips:
- Use area rugs in high-traffic areas to minimize wear and tear.
- Avoid dragging heavy furniture across the floor.
- Wipe up spills immediately to prevent staining and water damage.
- Maintain stable humidity levels to prevent warping over time.
Cleaning Product Recommendations
For safe maintenance of unsealed floors, be cautious of the cleaning products you use to avoid potential damage and build-up. Harsh chemicals, oils, waxes, or furniture sprays should be avoided as they can harm unsealed floors. Also, stay away from ammonia, alkaline products, abrasives, vinegar, or lemon juice in large quantities when cleaning unsealed floors.
Opt for a mild or pH-neutral soap like Murphy Oil Soap for gentle and effective cleaning. Before fully applying any new cleaning solution, always test it on a small area of the unsealed floors to confirm compatibility. To guarantee the safety and longevity of your unsealed floors, use cleaning products recommended by the floor finisher.
Maintenance Schedule Suggestions
Scheduling regular maintenance for unsealed floors is essential to preserve their quality and appearance over time. When it comes to hardwood floors, taking precautions can go a long way in maintaining their longevity.
Here are some maintenance schedule suggestions to help you keep your unsealed floors in top condition:
- Sweep your floors: Make sure to sweep or vacuum your unsealed floors daily to prevent dirt and debris buildup.
- Avoid excessive water: Refrain from using excessive water or wet mops on unsealed floors to prevent any potential damage.
- Implement a cleaning schedule: Establish a regular cleaning routine for your unsealed floors to uphold their appearance.
- Immediate spill cleanup: Wipe up spills promptly to prevent any staining on your unsealed floors.
- Consider natural oils or waxes: Periodically applying natural oils or waxes can help protect and nourish your unsealed floors, enhancing their durability.
Maintaining Clean and Dry Floors
To maintain clean and dry unsealed floors, consider implementing effective drying techniques and using appropriate cleaning products.
Regularly wipe up spills to prevent staining and warping, ensuring your floors remain in good condition.
Prioritize a cleaning routine that focuses on keeping your unsealed floors free from moisture and dirt buildup.
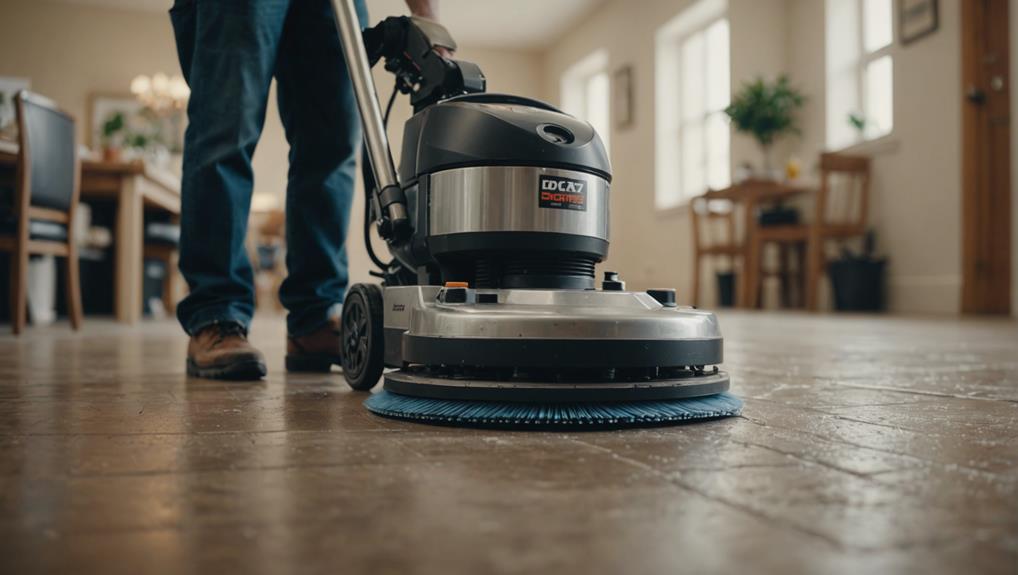
Drying Techniques for Floors
After cleaning unsealed floors, make sure they're completely dry to prevent damage and mold growth. Here are some effective drying techniques to help you maintain clean and dry floors:
- Use a dry mop or towel to remove excess moisture and speed up the drying process.
- Guarantee proper ventilation and air circulation in the room to help floors dry faster and more thoroughly.
- Avoid walking on wet floors to prevent slipping accidents and potential water damage.
- Implement a regular cleaning schedule to maintain clean and dry floors consistently.
- Consider using a floor fan or dehumidifier to aid in the drying process, especially in areas with high humidity levels.
Cleaning Products for Floors
Select gentle and safe cleaning products specifically designed for unsealed floors to maintain their natural beauty and integrity. When cleaning unsealed wood floors, opt for natural oils, wax, or vinegar to avoid damage from harsh chemicals. It's important to prioritize keeping unsealed floors clean and dry to prevent water damage and warping. Avoid using excessive water and wet mops on unsealed wood floors to preserve their integrity. Choose cleaning products that are gentle and safe for unsealed floors to make sure they retain their natural beauty over time. Regularly sweeping and vacuuming unsealed wood floors is essential to remove dust and dirt, creating a clean and healthy environment for your space.
| Cleaning Product | Recommended Usage | Benefits |
|---|---|---|
| Natural Oils | Gentle cleaning agent | Preserves wood's integrity |
| Wax | Adds protective layer | Enhances floor durability |
| Vinegar | Natural disinfectant | Removes odors |
Frequently Asked Questions
What Is the Best Way to Clean Unsealed Wood Floors?
To keep unsealed wood floors clean, use a damp rag to remove dirt and dust. Buff out stains with pumice or fine sand followed by oil. Avoid harsh chemicals and excessive water for longevity.
Can You Use Murphy's Oil Soap on Unsealed Wood Floors?
You shouldn't use Murphy's Oil Soap on unsealed wood floors because it can damage the wood. Stick to gentle cleaners made for unsealed floors. Consider natural options like vinegar and oil or seek advice from a professional cleaner.
Can You Use Bona on Unsealed Wood Floors?
You shouldn't use Bona on unsealed wood floors. Stick to products made for unsealed floors to avoid damage. Imagine using sunscreen for sun protection; wrong product, wrong results. Protect your floors with the right cleaner.
How Do You Clean Hardwood Floors That Haven't Been Cleaned in Years?
To clean hardwood floors that haven't been cleaned in years, start by thoroughly vacuuming or sweeping to remove dust and debris. Then, mop with a mild solution of warm water and vinegar, focusing on small sections at a time for best results.
Can the Best Way to Clean Unsealed Floors Also Work for Laminate Floors?
Looking for a trick for streak-free floors? While the best way to clean unsealed floors may differ from laminate floors, there is a universal solution: using a mixture of vinegar and water. This natural cleaning method effectively removes dirt and grime, leaving both types of floors sparkling clean without streaks.
Conclusion
To sum up, proper cleaning and maintenance of unsealed floors is crucial to prevent water damage and maintain their integrity.
By using a minimal moisture cleaning technique, a DIY floor cleaning solution, and essential oils for added benefits, you can keep your floors looking clean and well-maintained.
Always follow precautions and make sure your floors are clean and dry to avoid any potential damage.
With these tips, your unsealed floors can stay in top condition for years to come.