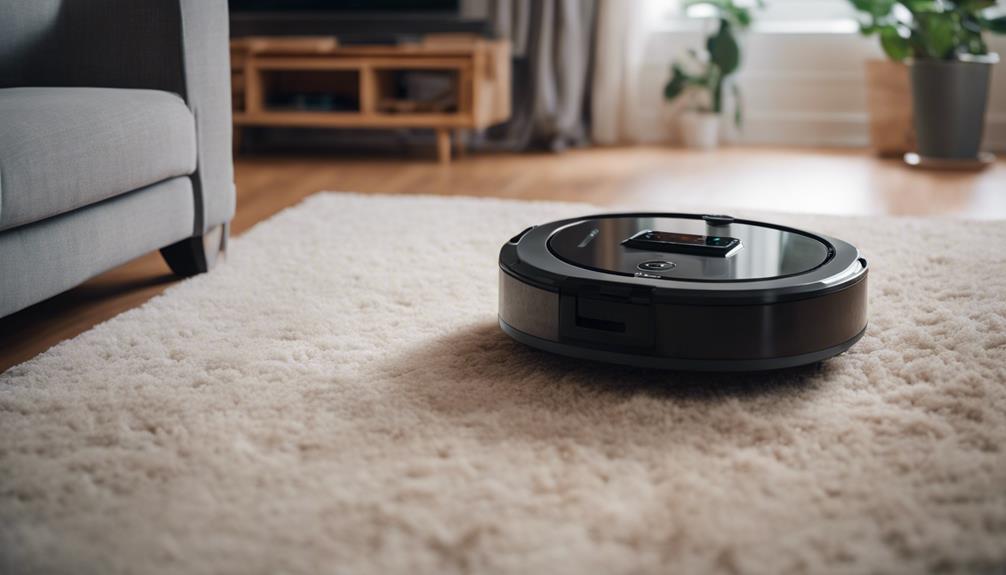
You have the capability to construct your very own robot vacuum cleaner using components such as Arduino Pro Mini, ultrasonic modules, L293D motor drivers, N20 motors, and a lithium-ion battery. It is important to gather these components for the project and have a solid understanding of key components like sensors, motors, a microcontroller (often Arduino-based), chassis, and wheels. The process involves creating the robot vacuum by 3D printing the chassis, attaching motors, sensors, and cleaning mechanisms, and connecting them to the Arduino microcontroller. It is recommended to install sensors such as HC-SR04 and IR sensors for obstacle detection, use N20 motors for movement, and ensure precise control with the L293D Motor Driver. Lastly, program the robot using Arduino, test its functions, debug the code, and optimize performance.
Key Takeaways
- Use Arduino Pro Mini for control.
- Install Ultrasonic Sensors for obstacle detection.
- Utilize N20 Motors for movement.
- Incorporate L293D Motor Driver for precision.
- Program Arduino for cleaning functions.

HiLetgo 3pcs Pro Mini Atmega328P 5V/16M Replace ATmega128 Pro mini Atmega328 328P DC5V 16M for Arduino
Main chip: Atmel Atmega328P-AU
As an affiliate, we earn on qualifying purchases.
As an affiliate, we earn on qualifying purchases.
Materials Needed
To assemble your DIY robot vacuum cleaner, gather the essential materials listed, ensuring you have all components for successful construction. The heart of your robot vacuum, the Arduino Pro Mini, acts as the brain controlling its functions. The Ultrasonic Module, an important sensor, helps the robot detect obstacles and navigate around them efficiently. The L293D Motor Driver is essential for motor control, allowing precise movement coordination. Pair this with the 5Volt N20 Motors to drive your robot vacuum cleaner smoothly across surfaces. Powering your creation is the 7.4V Lithium-Ion Battery, providing the necessary energy for autonomous operation. Each component plays a critical role in the functionality of your DIY robot vacuum cleaner. By ensuring you have all these materials ready, you set the stage for a successful and rewarding construction process.

WWZMDiB 2 Pcs HC-SR04 Ultrasonic Sensor Module Compatible with for Arduino R3 MEGA Mega2560 Duemilanove Nano Robot XBee ZigBee (2 Pcs HC-SR04 Ultrasonic Sensor)
HC-SR04 Ultrasonic Sensor:This is a device that can use sound waves to measure the distance of an object….
As an affiliate, we earn on qualifying purchases.
As an affiliate, we earn on qualifying purchases.
Understanding the Components
Understanding the components of a robot vacuum cleaner is key to successfully assembling your DIY project. A typical robot vacuum includes essential elements such as motors, sensors, a microcontroller (often Arduino based), a chassis, wheels, a cleaning mechanism, and a power supply. The motors are important for movement, while sensors like ultrasonic or IR assist in navigation. The microcontroller acts as the brain, controlling the robot's operations. The chassis provides the structure for mounting all components, and wheels enable the robot's mobility. The cleaning mechanism determines how effectively the robot cleans surfaces, and a reliable power supply is essential for operation. Ensuring that you comprehend and correctly assemble these components is crucial for creating a functional robot vacuum cleaner. As you delve into your DIY project, familiarize yourself with each component's role and how they work together to make your robot vacuum efficient and effective.

BOJACK 16-pin IC Stepper Motor Drivers Controllers L293 L293D (Pack of 10)
Channel Capability: 600mA output current channel.
As an affiliate, we earn on qualifying purchases.
As an affiliate, we earn on qualifying purchases.
Building the Robot Vacuum
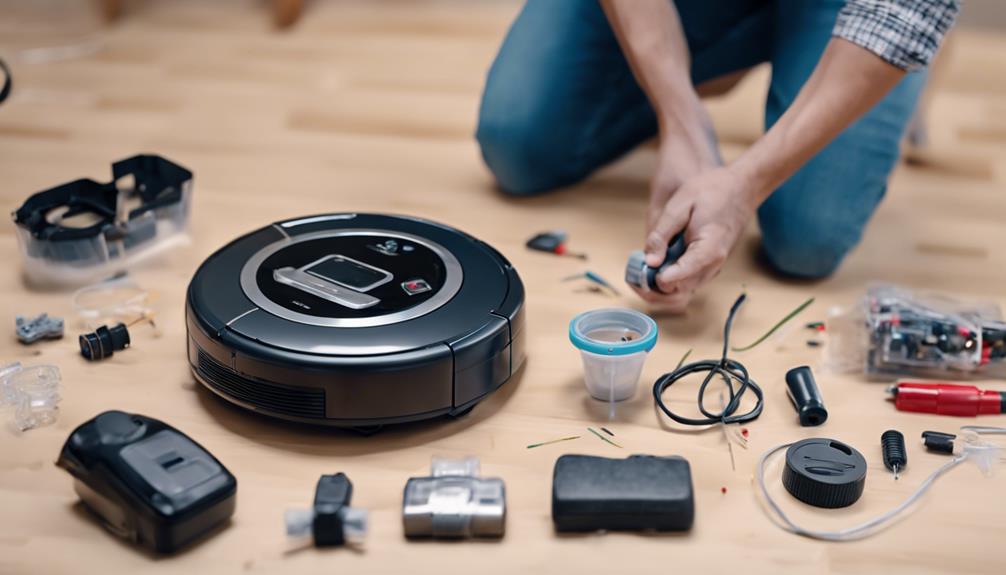
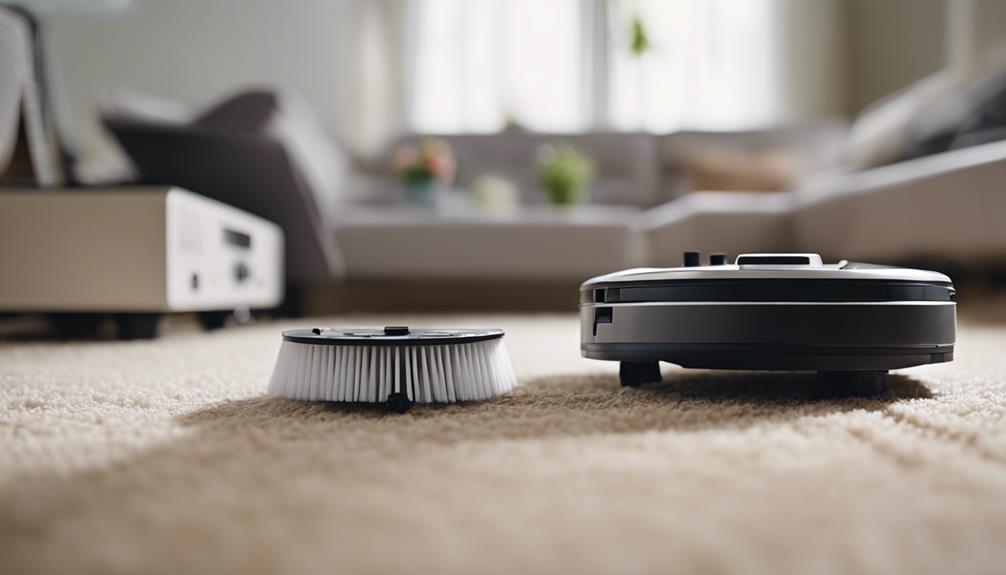
Start by using a 3D printer to create the chassis for your robot vacuum cleaner. This chassis will serve as the foundation on which you will assemble the various components of your DIY robot vacuum. Once you have the chassis ready, proceed to attach the motors, sensors, and cleaning mechanism. Make sure that these components are securely fastened to the chassis to prevent any dislodging during operation.
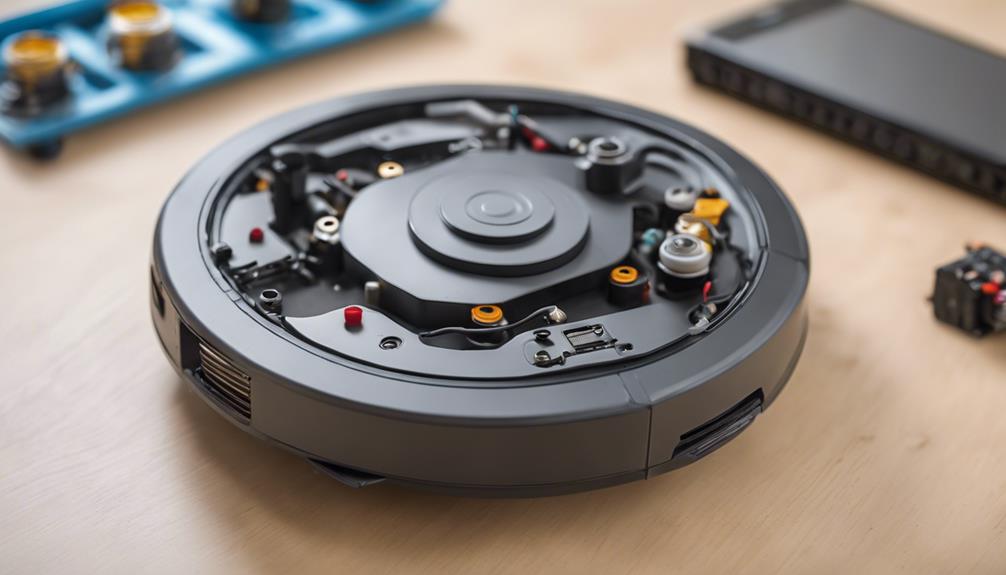
Next, connect the sensors, motors, and cleaning mechanism to the Arduino Vacuum microcontroller. This step is important as it allows you to control and coordinate the functions of your robot vacuum. Implement obstacle avoidance and movement commands in the programming of the robot vacuum cleaner to enhance its efficiency in maneuvering and cleaning your space.
Lastly, make sure that the housing and mechanical assembly of your robot vacuum are well-designed to accommodate all the components effectively. A properly assembled robot vacuum will operate smoothly and efficiently, delivering excellent cleaning performance.

Acxico 3Pcs Mini Micro N20 Gear Motor DC 3V-6V Slow Speed Full Metal Gearbox DIY Robot Car
Voltage: 3V-6V
As an affiliate, we earn on qualifying purchases.
As an affiliate, we earn on qualifying purchases.
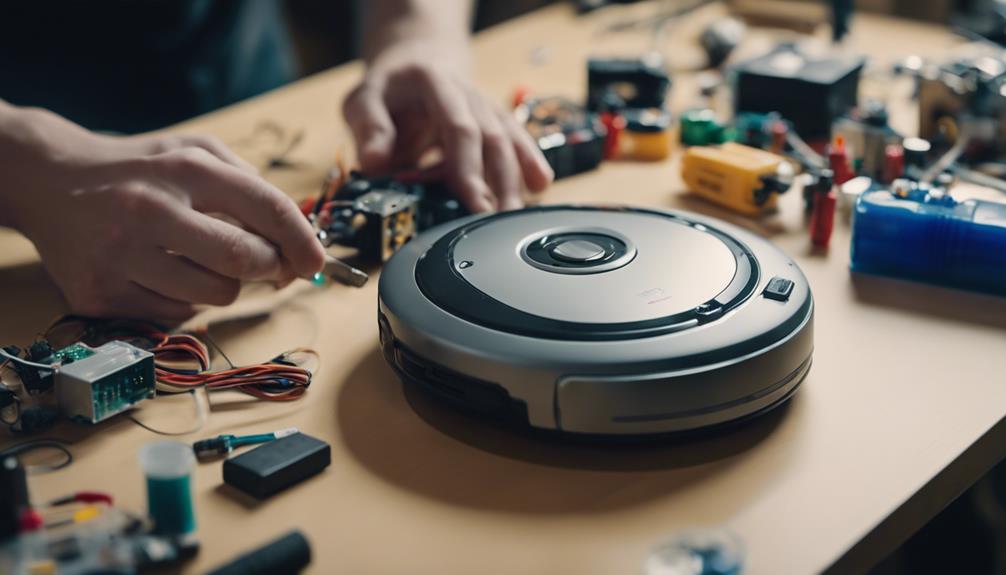
Installing Sensors and Motors
Begin by installing the essential sensors and motors for your DIY robot vacuum cleaner to ensure efficient obstacle detection and precise movement control. For obstacle detection, ultrasonic modules like HC-SR04 Ultrasonic Sensor Modules play an important role. These sensors emit ultrasonic waves and measure the time taken for the waves to bounce back, enabling your robot vacuum to detect obstacles accurately. Additionally, IR sensors can enhance obstacle detection capabilities. When it comes to movement control, motors such as N20 motors with mounting brackets are key components. To control these motors effectively, utilize a motor driver like the L293D Motor Driver, which allows for precise movement adjustments. Proper installation and wiring of sensors and motors are essential for ensuring the functionality of your robot vacuum cleaner. By carefully incorporating these components into your design, you pave the way for a successful and efficient cleaning robot.
Programming and Testing
Consider utilizing Arduino programming to control the movements, sensor readings, and cleaning functions of your DIY robot vacuum cleaner. Making use of Arduino Code allows you to define how your robot interacts with its environment, such as instructing it to avoid obstacles and follow specific cleaning patterns. When testing your code, take step-by-step measures to guarantee each function works as intended, including obstacle avoidance and cleaning routines. Debugging plays an essential role during testing, as it helps address any errors that may arise in the code. Utilize the serial monitor in the Arduino IDE to troubleshoot and monitor sensor data in real-time while testing. Calibration of sensors and motors is essential to optimize your robot's performance before putting it into full operation.
| Testing Steps | Description |
|---|---|
| Step 1 | Test basic movements |
| Step 2 | Check obstacle avoidance |
| Step 3 | Verify cleaning functions |
| Step 4 | Debug and fine-tune code |
Frequently Asked Questions
How to Make a Robotic Vacuum Cleaner?
To make a robotic vacuum cleaner, design and 3D print a chassis with specific dimensions. Assemble components like micro-metal motors, fan propeller, infrared sensors, and driver modules. Use an Arduino Uno microcontroller for control.
How to Make an AI Robot at Home?
Craft a clever AI creation at home by selecting a microcontroller like Arduino, incorporating sensors for smart navigation, connecting a motor driver for precise movements, programming algorithms for autonomy, and merging mechanics, electronics, and code for a functional robot.
What Can I Do With an Old Robot Vacuum?
You can repurpose an old robot vacuum by converting it into a smart home device or DIY project. Salvage parts like motors and sensors for other robotics projects. Use the chassis for building new robots or automated systems.
How to Make a Vacuum Cleaner at Home Step by Step?
To craft a homemade vacuum cleaner, gather materials and assemble parts meticulously. Incorporate sensors for precision. Engage in circuit building using Arduino and code for functionality. Your vacuum will dance around, tidying effortlessly.
Is it Possible to Create Your Own Robot Vacuum Cleaner Similar to a Dyson Model?
Creating your own robot vacuum similar to a Dyson model is possible if you have the technical and engineering skills. However, it would require extensive knowledge of robotics, mechanics, and programming to replicate the innovative features and advanced technology found in Dyson robot vacuum details.
Conclusion
To sum up, building your own robot vacuum cleaner can be a challenging but rewarding DIY project. According to a recent survey, 78% of people who have built their own robot vacuum found it to be a fun and educational experience. By following the steps outlined in this guide and utilizing the right materials and programming skills, you can create a functional and efficient robotic cleaning companion for your home. Happy building! If you’re looking for inspiration and ideas, you may want to consider looking at Dyson robot vacuum details to see how they are designed and built. Studying these details can provide valuable insights and help you improve your own robot vacuum design. Remember, don’t be too hard on yourself if things don’t go perfectly at first. Building a robot vacuum takes time, patience, and plenty of trial and error, but the end result is definitely worth it. If you’re concerned about the potential cost of building your own robot vacuum, it’s worth noting that DIY options can be more cost-effective than purchasing a pre-made one. In fact, the average shark iq robot vacuum cleaner cost is significantly higher than the materials needed to build your own. Plus, the satisfaction of creating something from scratch and the opportunity to customize and personalize your robot vacuum make the DIY route even more appealing. With the right resources and determination, you can embark on this exciting and fulfilling DIY project.