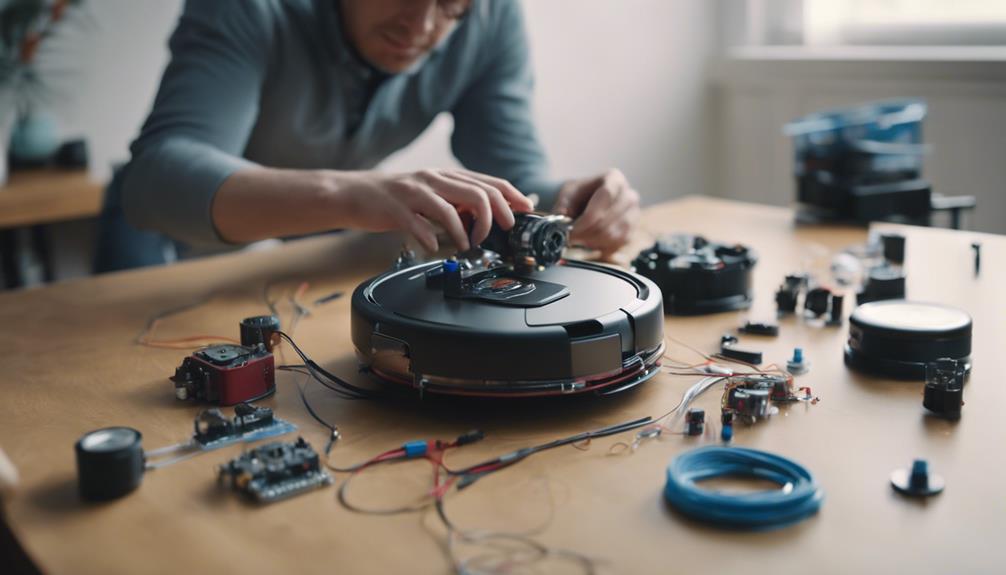
Assemble microcontrollers, motors, wheels, and power supplies to create a basic robot vacuum. Consider using Arduino for efficient programming. Motors and fans are responsible for providing suction, while sensors are used to detect obstacles for navigation. Ultrasonic sensors measure distance using sound waves, while infrared sensors detect nearby objects. Place infrared sensors at the front for identifying obstacles and ultrasonic sensors on the sides for maneuvering. Connect the motors securely to the H-Bridge for precise movement. Include a ball caster for smooth motion and a bumper for obstacle detection. Ensure that Sharp sensors are wired correctly and the microcontroller is integrated for autonomous operation. Double-check all components during the final assembly before conducting tests.
Key Takeaways
- Choose high-quality wheels and motors for smooth movement.
- Integrate sensors for obstacle detection and navigation.
- Program Arduino for customized robot behavior.
- Ensure proper motor and H-Bridge connections.
- Test circuit functionality and finalize assembly carefully.

CHUNYE Vacuum Pump Kit with Electronic Valve Robot Arm Parts for Ar-duino Mechanical Arm DIY
🌟Developed for robot lovers.
As an affiliate, we earn on qualifying purchases.
As an affiliate, we earn on qualifying purchases.
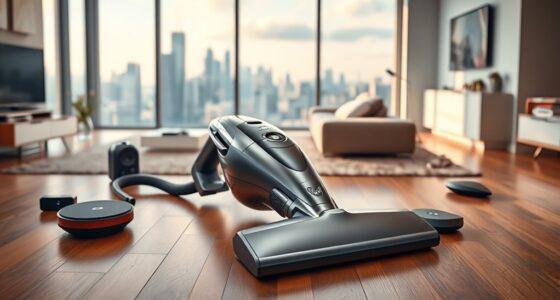
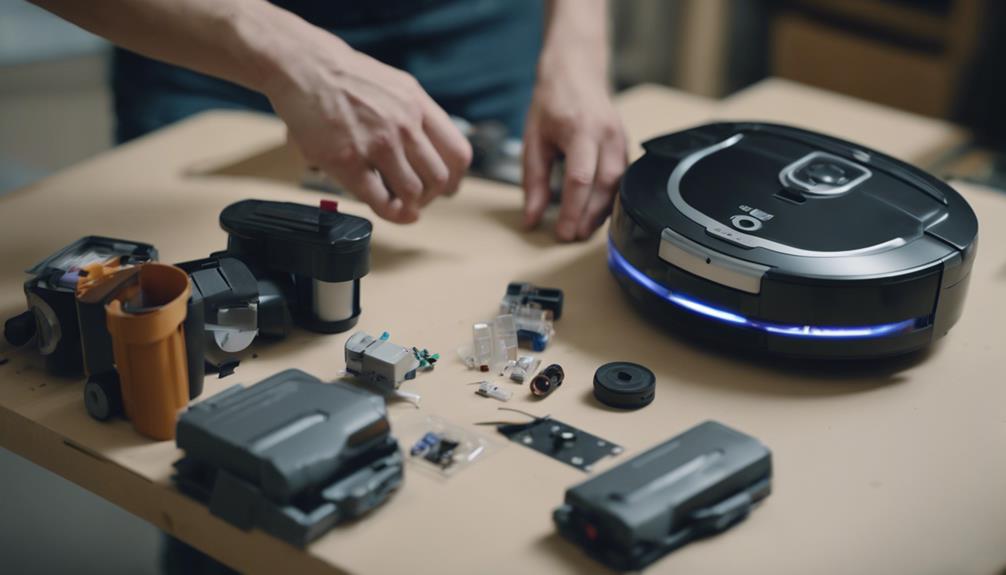
Materials Needed
To begin creating your own robot vacuum cleaner, gather essential materials such as microcontrollers, motors, chassis, wheels, and power supplies. After gathering the essential materials, you will need to assemble the chassis and attach the motors and wheels to create the basic framework of the robot vacuum cleaner. Next, you can program the microcontrollers to control the movement and cleaning functions of the robot vacuum cleaner. Once the power supply is connected and everything is properly programmed, your robot vacuum cleaner will be ready to autonomously clean your home.
When it comes to microcontrollers, using Arduino boards is highly recommended for their importance and ease of programming. Arduino microcontrollers allow you to create custom functions and automate tasks for your robot vacuum cleaner efficiently.
Motors play a vital role in the movement of the device, while the chassis provides the structure for mounting components securely. Selecting high-quality wheels guarantees smooth navigation across different floor surfaces, enhancing the overall performance of your DIY vacuum cleaner.
Additionally, power supplies are necessary for providing the necessary electrical energy to drive the motors and power the electronic components.

Shark Ion Robot Vacuum Cliff Sensor Set, Drop Infrared Sensor Set – 750R01US 761R01US Model
Shark Ion Robot Vacuum Cliff Sensor Set – Infrared Drop Sensors
As an affiliate, we earn on qualifying purchases.
As an affiliate, we earn on qualifying purchases.
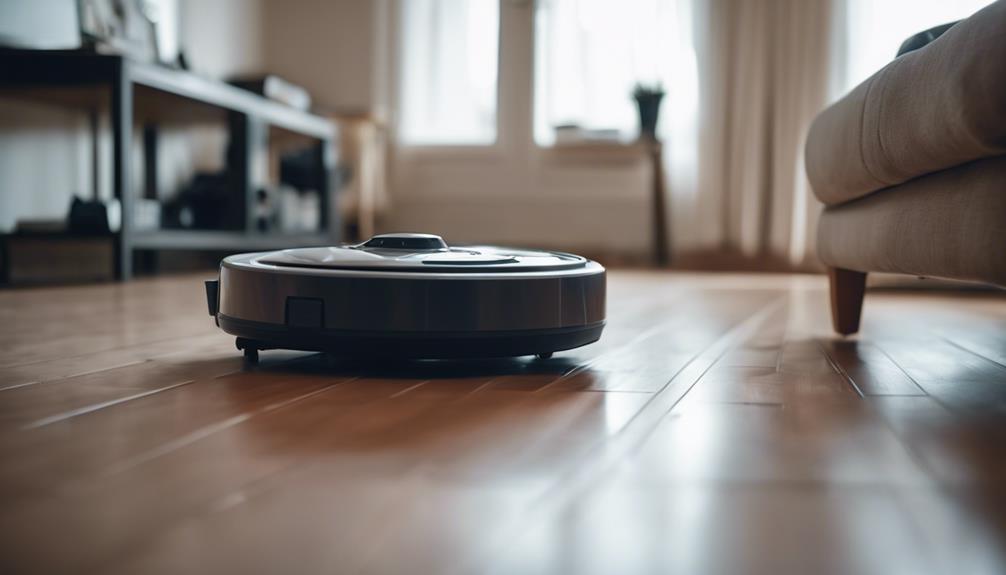
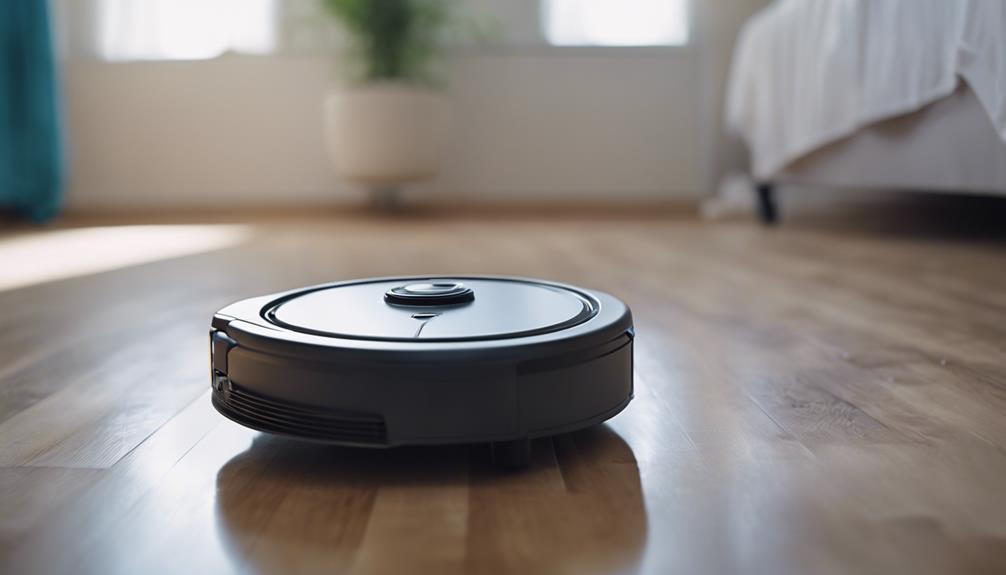
Understanding the Working Mechanism
To understand how a robot vacuum cleaner works, let's first look at its inner components overview. Sensors play an essential role, allowing the robot to detect obstacles and navigate smoothly.
The movement mechanism, driven by motors, enables the robot to move and clean various surfaces efficiently.
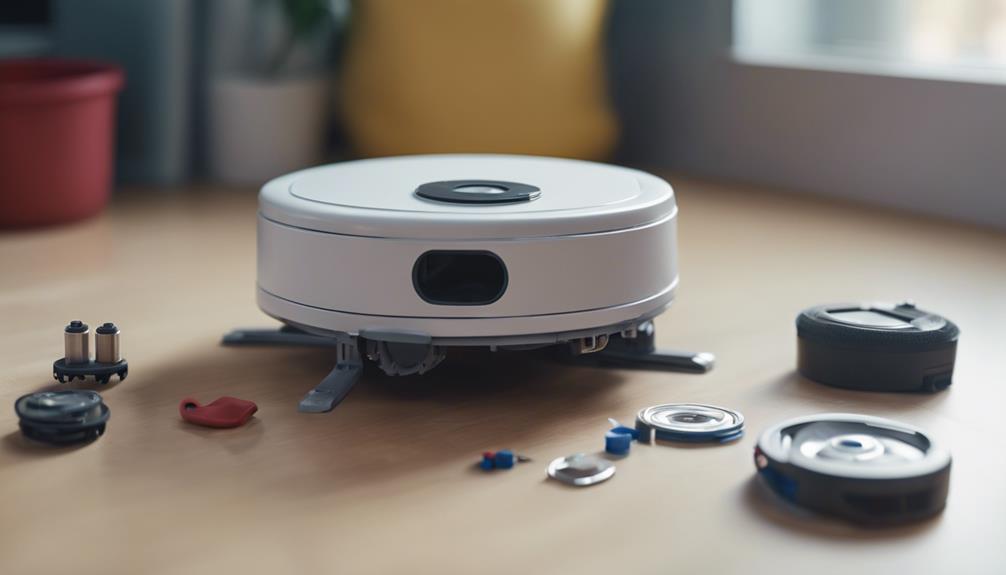
Inner Components Overview
When delving into the inner components of a robot vacuum cleaner, understanding their working mechanism is essential for successful assembly and operation. Here's a breakdown to help you grasp the key elements:
- Motors and Fans:
The motors in a robot vacuum cleaner are responsible for propelling the device across the floor, while the fan creates the suction necessary for effective cleaning. By controlling the speed and direction of these components through Arduino code, you can dictate how the robot moves and cleans.
- Sensors:
Infrared sensors play an important role in enabling the robot vacuum cleaner to detect obstacles and navigate around them. These sensors feed data back to the microcontroller, allowing the robot to make real-time decisions about its cleaning path.
- Microcontroller:
The brain of the robot vacuum cleaner, the microcontroller processes the information received from the sensors and executes commands based on the programmed algorithms. By coding the microcontroller with Arduino, you can customize the robot's behavior to suit your cleaning needs.
Sensor Functionality Explanation
Understanding how sensors function in a robot vacuum cleaner is vital for grasping its operational efficiency and cleaning capabilities. Sensors play an essential role in detecting obstacles and aiding in efficient navigation during cleaning tasks.
Ultrasonic sensors utilize sound waves to measure distances in real-time, ensuring the robot avoids collisions effectively. Infrared sensors, on the other hand, detect objects in close proximity by emitting and receiving infrared light, enhancing the robot's ability to maneuver around obstacles.
The sensor data collected is processed by the microcontroller, which then makes decisions regarding the robot's movement and cleaning patterns. Additionally, sensor fusion, which combines information from multiple sensors, further improves the overall performance and reliability of the robot vacuum cleaner.
Movement Mechanism Details
The movement mechanism of a robot vacuum cleaner primarily relies on motorized wheels or tracks for efficient mobility within a space.
Here's how it all comes together:
- Motor Driver Control: The motor driver serves as the powerhouse behind the movement, controlling the rotation and speed of the robot's wheels or tracks. It interprets signals from the sensors to navigate the vacuum cleaner around obstacles and guarantee smooth operation.
- Sensor Integration: Sensors detect obstacles in the robot's path, sending signals to the motor driver to adjust the movement accordingly. This integration enables the robot vacuum cleaner to maneuver around furniture, walls, and other objects while cleaning effectively.
- Algorithmic Precision: Algorithms govern the robot's movement patterns, dictating actions like moving in straight lines, making turns, and avoiding obstacles. These intricate algorithms work in tandem with the motor driver and sensors to optimize the cleaning path and ensure thorough coverage of the entire space.

Lacvik BR151 Robot Vacuum Replacement Parts for iMartine BR151, for XIEBro Life BR151, for MAMNV/ZCWA/ONSON/MANVN/ZC was BR151, for Kilgone G20, for MANVINS G20, 4 Filters, 4 Mop Pads, 6 Side Brush
【𝐂𝐨𝐦𝐩𝐚𝐭𝐢𝐛𝐥𝐞 𝐌𝐨𝐝𝐞𝐥𝐬】Our BR151 robot vacuum replacement parts perfectly fits for iMartine BR151, for XIEBro Life BR151, for MAMNV…
As an affiliate, we earn on qualifying purchases.
As an affiliate, we earn on qualifying purchases.
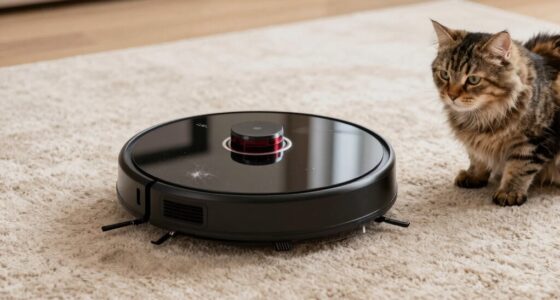
Sensor Installation Process
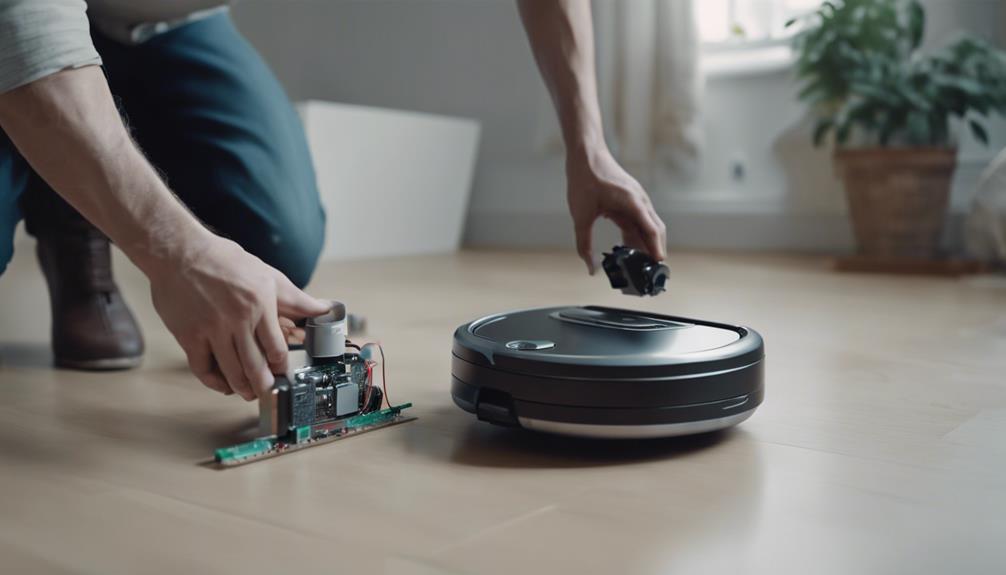
Position the infrared sensors on the front of the robot to detect obstacles efficiently. These sensors play a vital role in helping your robot vacuum cleaner avoid collisions while moving through the cleaning area.
By accurately detecting objects in its path, the robot can adjust its course and prevent potential damage. Additionally, consider placing ultrasonic sensors on the sides of the robot to measure distances and assist in maneuvering around obstacles effectively.
To guarantee peak performance, connect the sensors to the microcontroller, enabling the robot to receive real-time data and make autonomous decisions during operation.
Proper calibration and alignment of the sensors are essential for precise obstacle detection and avoidance. Regular maintenance checks are also necessary to ensure consistent and reliable sensor functionality, ultimately enhancing the cleaning efficiency of your DIY robot vacuum cleaner.

eufy C10 Robot Vacuum Self Emptying, 8 Weeks Hands Free, Advanced Smart Mapping with LiDAR Navigation, 2.85-Inch Slim Design, Powerful Suction, Edge Expansion Brush for Pet Hair, Carpet Detection
【Self-Empty Station】Robotic vacuum C10's dust bin is automatically emptied into the station's 3L dust bag. Thanks to its…
As an affiliate, we earn on qualifying purchases.
As an affiliate, we earn on qualifying purchases.
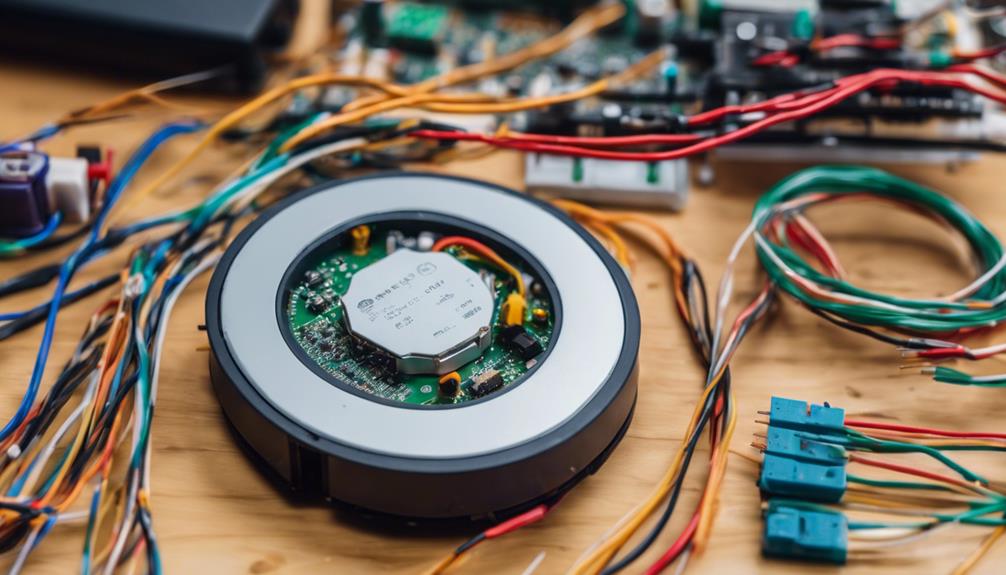
Connecting Motors and H-Bridge
When connecting motors and the H-Bridge in your DIY robot vacuum cleaner, it's essential to grasp the basics of motor wiring. This sets the foundation for proper functionality.
Verify correct H-Bridge connections to determine the control and direction capabilities of your robot.
Conduct thorough circuit testing to guarantee that everything is working harmoniously before proceeding with the next steps in constructing your robot vacuum cleaner.
Motor Wiring Basics
To connect the motors to the H-Bridge for your robot vacuum cleaner, start by identifying the specific pins on the driver board for wiring the motor terminals.
Proper motor wiring is essential for the efficient operation of your robot vacuum cleaner.
Follow these steps to guarantee a successful motor wiring process:
- Identify Motor Terminals: Locate the positive and negative terminals of each motor that need to be connected to the H-Bridge for controlling speed and direction.
- Locate H-Bridge Pins: Check the datasheet or manual of your H-Bridge motor driver to find the corresponding pins for connecting the motor terminals.
- Connect Motor Wires: Use appropriate gauge wires to connect the motor terminals to the designated pins on the H-Bridge, ensuring a secure and stable connection for excellent performance.
H-Bridge Connection Tips
For best control over your robot vacuum cleaner, understanding how to connect the motors to the H-Bridge is essential. The H-Bridge plays an important role in directing the motors of your robot, allowing them to move forward, backward, or stop depending on the input signals it receives.
By managing the polarity of the motor connections, the H-Bridge guarantees smooth and efficient operation of your robot vacuum cleaner. Properly connecting your motors to the H-Bridge is necessary for achieving precise control over the movement of your robot.
It's critical to grasp the wiring and configuration of the H-Bridge to enable seamless motor control in your DIY robot vacuum cleaner project. By mastering the connection between your motors and the H-Bridge, you pave the way for a well-functioning and maneuverable robot vacuum cleaner that can efficiently navigate and clean your space.
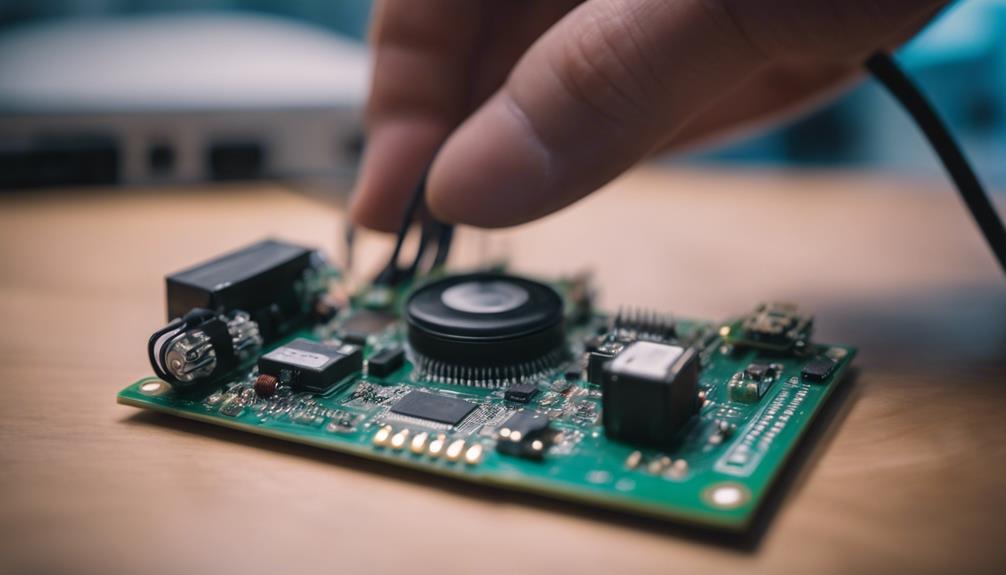
Testing the Circuit
Verify that the motor connections on the robot vacuum cleaner circuit are properly tested for functionality before proceeding further. To control the motors effectively, follow these steps:
- Connect Motors to H-Bridge: Confirm the motors are connected to the H-Bridge on the circuit board to enable precise control over speed and direction. Proper wiring is essential for the motors to respond accurately to commands.
- Utilize H-Bridge for Bidirectional Control: Use the H-Bridge as an interface between the microcontroller and the motors to facilitate bidirectional control. This setup enables the robot vacuum cleaner to move forward and backward as needed.
- Test Motor Functionality: Run the code to test the motor connections and verify that the motors respond correctly to commands. By checking the response of the motors, you can make sure that they're wired correctly and ready for operation.
Remember to consult the H-Bridge datasheet for pin configurations and wiring guidelines to avoid any connection errors.
Implementing Ball Caster Mounting
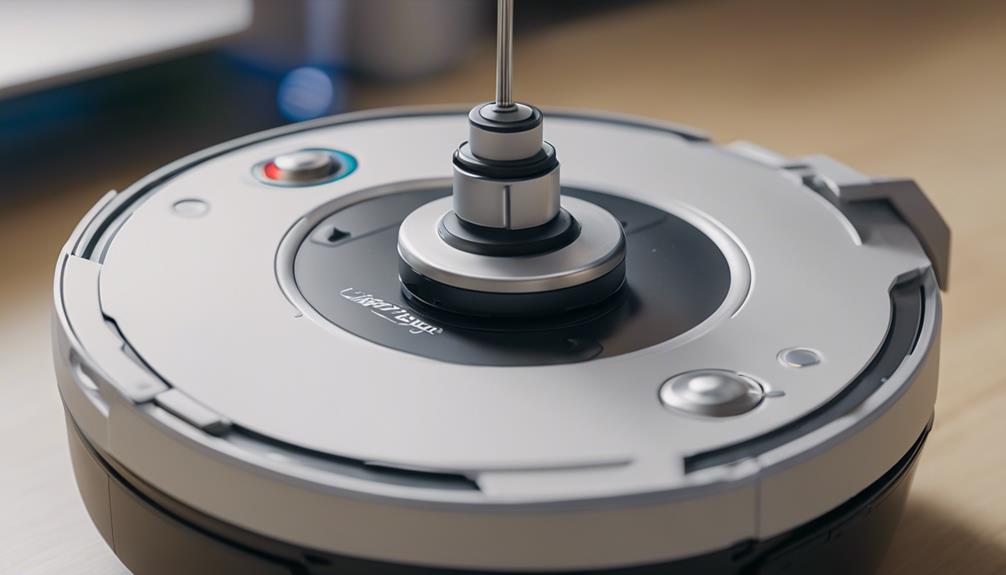
Consider attaching the ball caster securely underneath the front of the robot chassis for optimal performance. Ball casters are essential components in robot vacuum cleaners, ensuring smooth and stable movement. By distributing weight evenly, they reduce friction and wear on the robot's chassis, contributing to its longevity. The omnidirectional movement provided by ball casters enables the robot to maneuver through tight spaces and corners with ease, enhancing its cleaning capabilities.
When implementing the ball caster mounting, it's important to securely attach it to the robot's chassis to maximize performance. Proper installation of the ball caster not only improves the robot's maneuverability but also enhances its overall cleaning efficiency. By strategically placing the ball caster underneath the front of the robot, you can achieve better control and navigation during operation. This simple yet effective addition can have a significant impact on the functionality of your DIY robot vacuum cleaner.
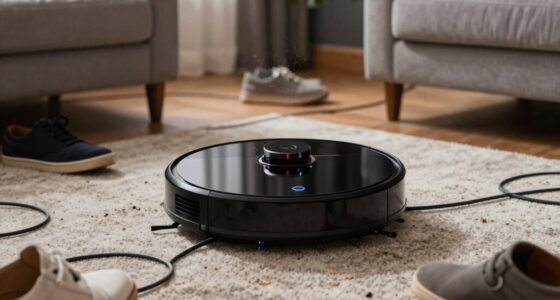
Incorporating Bumper Mechanism
Incorporating a bumper mechanism in your robot vacuum cleaner enhances its ability to detect obstacles and navigate efficiently during cleaning operations.
Here are three essential tips to effectively integrate a bumper mechanism into your DIY robot vacuum:
- Choose the Right Sensors: Select sensors or switches that can accurately detect obstacles and trigger a change in direction. Common options include ultrasonic sensors, infrared sensors, or physical touch switches that activate upon impact.
- Proper Placement: Make sure the bumper mechanism is strategically placed on the robot's chassis to provide thorough coverage and reliable obstacle detection. Consider positioning the sensors in front and on the sides to detect obstacles from multiple directions.
- Calibration and Testing: Calibrate the bumper mechanism and test its functionality to confirm it responds appropriately to obstacles. Adjust the sensitivity and response time as needed to optimize the robot vacuum cleaner's navigation capabilities.
Wiring Sharp Sensors Correctly
To guarantee proper functionality of your robot vacuum cleaner's obstacle detection system, accurately wiring Sharp sensors is essential for precise distance measurements and efficient navigation. Sharp sensors require a voltage range of 4.5V to 5.5V to operate reliably.
When wiring the sensor, connect the VCC pin to a 5V power source and the GND pin to the ground (GND) on the microcontroller. To ensure compatibility with the microcontroller, use a voltage divider circuit to reduce the sensor's analog output voltage from 5V to 3.3V. This step is vital for seamless integration with the microcontroller.
Additionally, connect the analog output pin of the Sharp sensor to an analog input pin on the microcontroller for accurate distance measurements. By following these wiring guidelines and utilizing the appropriate digital pins, you can effectively incorporate Sharp sensors into your robot vacuum cleaner's obstacle detection system for top performance.
Microcontroller Integration
Integrating the microcontroller with various components enables seamless control over your robot vacuum cleaner's operations. This essential step allows your DIY robot to function autonomously and efficiently.
Here's what you need to know for successful microcontroller integration:
- Control and Decision-Making: The microcontroller, such as an Arduino Uno, serves as the brain of your robot vacuum cleaner, controlling its movements, sensor readings, and decision-making processes.
- Obstacle Detection and Navigation: By integrating sensors like infrared sensors with the microcontroller, you enable obstacle detection and navigation capabilities in your vacuum robot, enhancing its efficiency in cleaning.
- Programming for Autonomy: Programming the microcontroller with algorithms is vital for creating autonomous cleaning patterns and efficient room mapping. This allows your robot to operate independently and effectively manage its cleaning tasks.
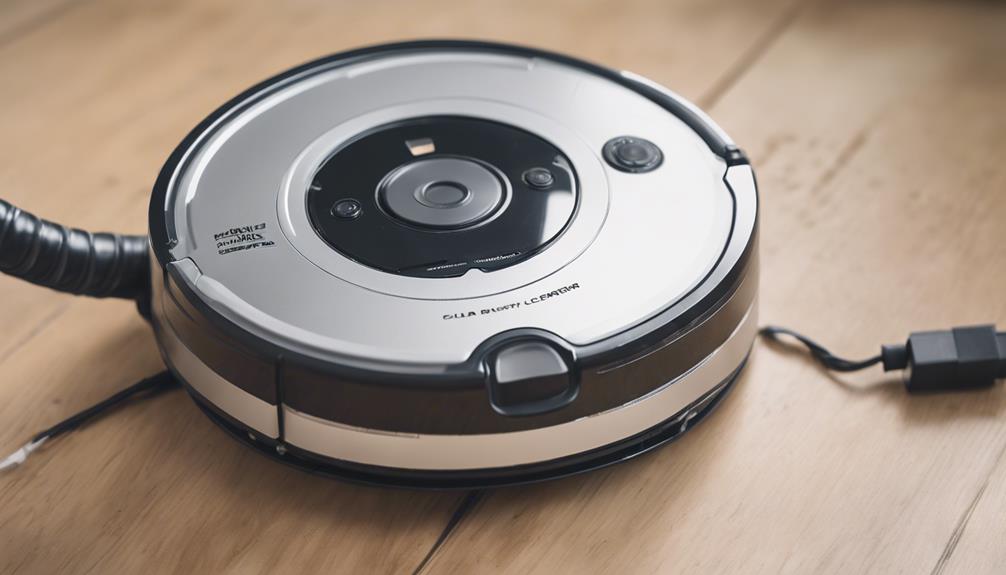
Final Assembly and Testing
For the final assembly and testing phase of your DIY robot vacuum cleaner project, make sure all components are securely attached to the robot chassis before proceeding with testing.
It's essential to conduct a thorough inspection of the wiring connections to prevent any loose connections that could affect the robot's performance.
Test the motor functions and sensors individually to verify proper functionality and make certain they're responding as intended.
Place the robot vacuum cleaner on a test surface to observe its movement and obstacle detection capabilities, checking for any irregularities.
Throughout testing, monitor the battery life and charging efficiency to guarantee uninterrupted operation.
By making sure everything is securely in place and functioning correctly, you can be confident in the performance of your homemade robot vacuum cleaner.
Regular testing and maintenance will help keep your robot vacuum cleaner running smoothly for efficient cleaning tasks.
Frequently Asked Questions
How to Make an Easy Robot With Paper?
To make an easy robot with paper, grab scissors, glue, and a template. Follow step-by-step instructions found online. Get creative with colors and decorations. Building paper robots is a fun way to enhance creativity and problem-solving skills.
How to Make a Simple Robot at Home With Household Items?
Craft a basic robot at home with items at hand. Repurpose materials for the body, employ electronic components like Arduino, motors, and sensors. Personalize your creation with obstacle detectors and a vacuum function. Follow online guides for assembly.
How to Make a Robot Step by Step?
To make a robot step by step, first, select a microcontroller like Arduino Uno. Then design a chassis with materials like acrylic or cardboard. Choose motors and wheels for movement, add sensors for obstacle detection, and attach a vacuum for cleaning.
How to Make a Simple Robot Vacuum Cleaner?
To make a simple robot vacuum cleaner, start by gathering components like an Arduino Uno, motors, and infrared sensors. Assemble the chassis, program it for autonomous cleaning, and explore sensor integration for enhanced navigation. Next, connect the motors to the Arduino Uno and attach the infrared sensors to the chassis. These are essential components for robot vacuum that will allow it to move around and sense obstacles in its path. Once the hardware is set up, program the Arduino Uno to control the movements of the vacuum cleaner for autonomous cleaning. Finally, explore integrating additional sensors, such as ultrasonic or camera sensors, to enhance the robot vacuum’s navigation and obstacle detection capabilities.
Can I Use the Same Steps to Make a Mini Robot Vacuum Cleaner as a Simple Robot Vacuum Cleaner?
Yes, the same steps can be used for a mini robot vacuum cleaner project as for a simple robot vacuum cleaner. The key is to ensure the components are scaled down appropriately and the programming is adjusted for the smaller size. With careful planning, a mini robot vacuum cleaner can be just as effective.
Conclusion
You've successfully built your own robot vacuum cleaner. Now, all that's left to do is sit back, relax, and let your creation do the dirty work for you.
Who knew that creating a cleaning buddy could be so simple? Remember, while your robot vacuum may not have the sleek design of commercial models, it definitely has the charm of a homemade masterpiece.
Happy cleaning!