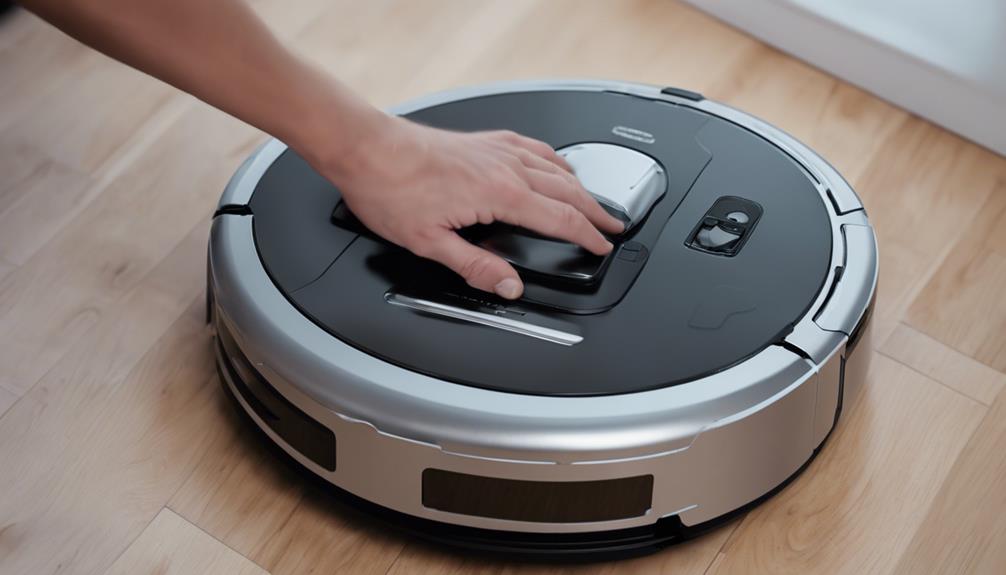
To build your own DIY robot vacuum, you will need components such as Arduino, motors, chassis, wheels, sensors, a power supply, battery, and a dustbin. When designing the robot, it is important to consider sensor placement for efficient navigation. Put together the robot by assembling the chassis, Arduino Uno, motors, and additional features like brushes and collision detection. Connect sensors and motors with wires to control the robot, positioning sensors strategically for obstacle detection. Use Arduino IDE to program the movement, sensor integration, and cleaning functions. Conduct tests on the robot to check for alignment, navigation accuracy, performance, and any issues that may arise. Make sure all parts are securely in place before finalizing and testing the robot.
Key Takeaways
- Choose sturdy chassis for housing components.
- Position sensors strategically for obstacle detection.
- Wire sensors and motors to the microcontroller.
- Program robot movement and cleaning functions.
- Test and calibrate components for optimal performance.
Top picks for "build robot vacuum"
Open Amazon search results for this keyword.
As an affiliate, we earn on qualifying purchases.
Materials Needed
To build your own robot vacuum cleaner, you'll need to gather the necessary materials. Key components include a microcontroller like Arduino for programming the robot vacuum's functionality. The Arduino code will be essential for controlling the robot's movements, sensor interactions, and overall operation.
Additionally, you'll require motors to drive the wheels of the robot vacuum, a sturdy chassis to house the components, wheels for mobility, and a power supply to keep it running.
While these are the basic materials needed, specific components such as sensors for detecting obstacles and edges, a vacuum system for cleaning, batteries for power, and control mechanisms for navigation are vital for the robot vacuum's effectiveness.
It's also recommended to source salvaged parts from electronics garbage to minimize costs and make the DIY project more budget-friendly. By gathering these materials, you can begin assembling your very own robot vacuum cleaner with the help of detailed instructions and the Arduino code for programming its behavior.
Understanding the Components
When it comes to building a robot vacuum cleaner, understanding the components is essential. Each part plays a specific role in the functionality of the device.
From the motor that drives movement to the sensors that aid in navigation, grasping the functions of these components is vital for a successful build.
Key Components Overview
Understanding the key components of a robot vacuum cleaner is essential for grasping how it operates efficiently. Motors play an important role in the functionality of a robot vacuum, driving its movement across floors. These motors propel the wheels or brushes, allowing the robot to navigate and clean effectively.
In addition to motors, sensors like infrared or ultrasonic sensors are essential for enabling the robot vacuum to detect obstacles and navigate around them. The battery serves as the power source for the robot, ensuring it has the energy needed to complete cleaning tasks. The dustbin collects debris and dirt sucked up by the vacuum, keeping the robot clean and ready for the next job.
Brushes in the robot vacuum help sweep debris towards the suction area, enhancing the cleaning process. Lastly, the microcontroller acts as the brain of the robot, coordinating its functions and movements for efficient operation. Understanding these key components is fundamental for constructing a functional DIY robot vacuum cleaner.
Component Functions Explained
Exploring the functions of the key components in a robot vacuum cleaner provides insight into how each element contributes to its efficient operation.
Motors are responsible for propelling the robot vacuum, allowing it to move around and clean different areas.
Sensors, such as IR proximity sensors, play an important role in navigation and obstacle detection. These sensors help the robot detect objects in its path and adjust its course accordingly to avoid collisions.
The vacuum system, with its suction mechanism, is essential for collecting dirt and debris from the floor.
Finally, the microcontroller acts as the brain of the robot vacuum, coordinating all its functions seamlessly.
By understanding how these components work together, you can appreciate the complexity behind the robot vacuum's efficient cleaning capabilities.
Mastering the functions of each part is key to successfully building and programming a robot vacuum cleaner that performs effectively.
Designing the Robot Vacuum

When designing a robot vacuum, you'll need to carefully consider the placement of its components, such as the sensors, to guarantee efficient operation.
Your design should focus on creating a robust navigation system that allows the robot to move seamlessly throughout the cleaning area.
Thinking about the layout of these elements will be vital in optimizing the vacuum's performance.
Robot Vacuum Components
To design a robot vacuum effectively, one must carefully consider the integration of essential components such as motors, sensors, brushes, a dustbin, wheels, and a battery for power.
The sensors play an essential role in the functionality of a robot vacuum. Sensors like IR sensors, ultrasonic sensors, and cliff sensors enable the robot to navigate through rooms, detect obstacles in its path, and avoid falling off edges or stairs. These sensors work in tandem to provide the robot with the necessary information for efficient cleaning operations.
In addition to sensors, motors are also key components of a robot vacuum. Motors drive the wheels for movement across different surfaces and control the brushes for efficient cleaning performance. The dustbin collects debris and dirt picked up by the brushes, ensuring a thorough cleaning process.
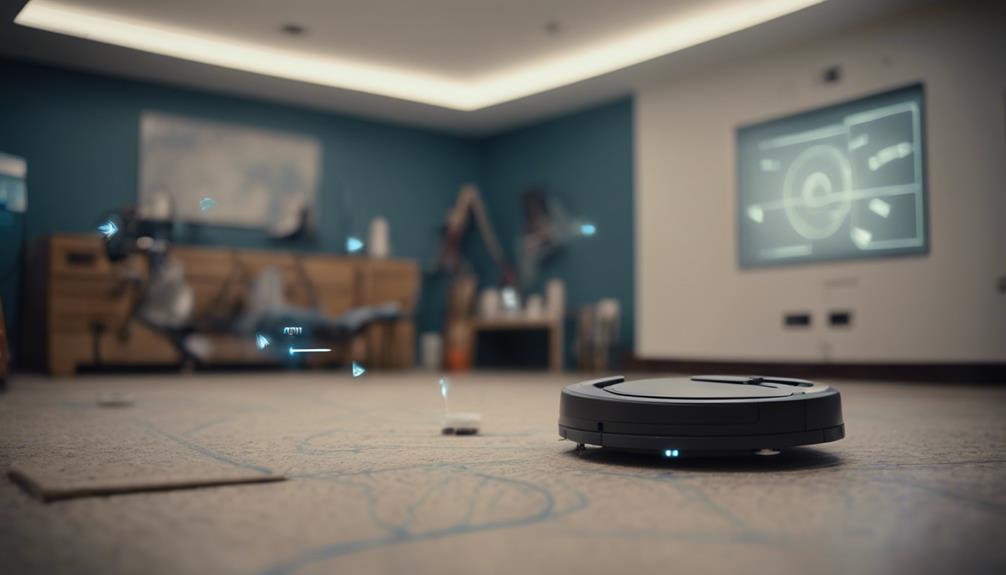
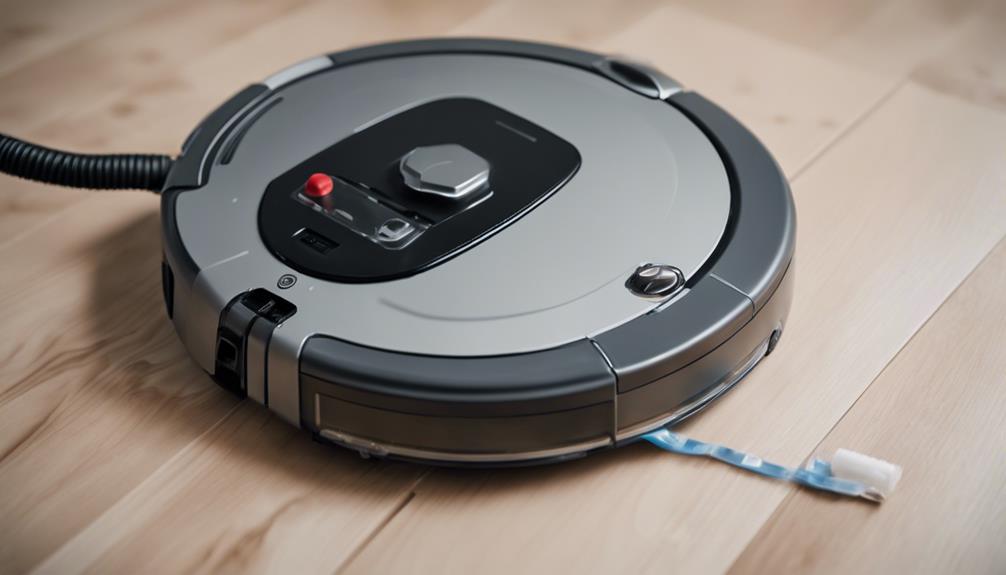
Sensor Placement Considerations
Strategically positioning sensors is essential when designing a robot vacuum to guarantee efficient obstacle detection and navigation. When considering sensor placement, it's important to factor in the height and angle of the sensors for accurate distance measurement.
Ensuring that sensors have a clear line of sight is vital to prevent interference and maintain reliable performance. By optimizing sensor placement, you can enhance the robot vacuum's operation, leading to smoother navigation around obstacles.
Testing different sensor positions is key to fine-tuning the robot's navigation capabilities and ensuring it can effectively detect and avoid obstacles in its path. By carefully planning and adjusting the placement of sensors, you can significantly improve the overall performance of your DIY robot vacuum cleaner.
Navigation System Design
For a well-designed robot vacuum, the navigation system plays an essential role in ensuring efficient cleaning and obstacle avoidance. Here are some vital elements to take into account when designing the navigation system:
- Sensor Variety: Incorporate sensors like infrared (IR) proximity, ultrasonic, and laser sensors to detect obstacles and map the cleaning area effectively.
- Algorithm Integration: Implement advanced algorithms such as SLAM (Simultaneous Localization And Mapping) to enable the robot vacuum to create a virtual map of the space it's cleaning, enhancing navigation accuracy.
- Feedback Mechanisms: Utilize wheel encoders to provide feedback on the distance traveled, aiding in precise navigation around the cleaning area.
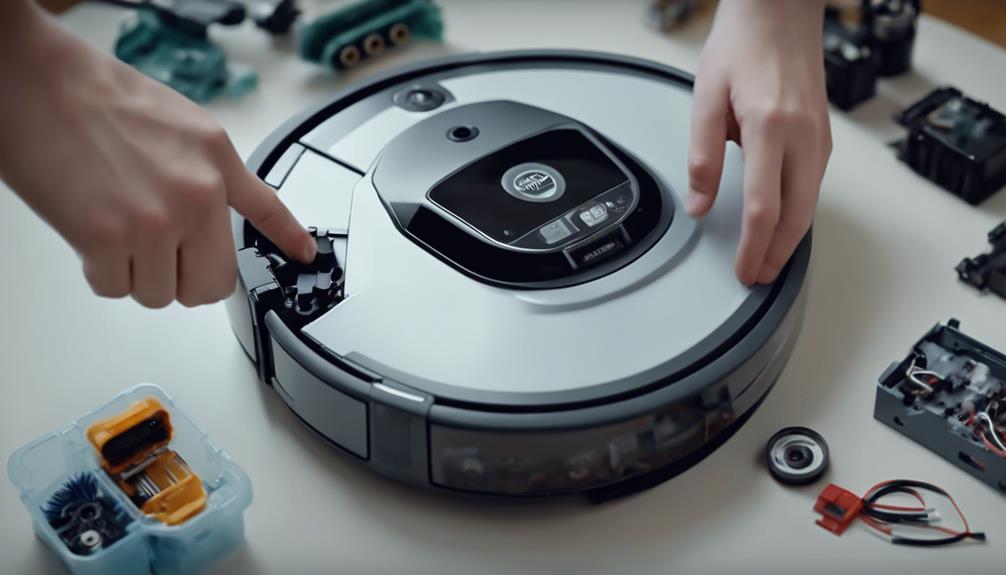
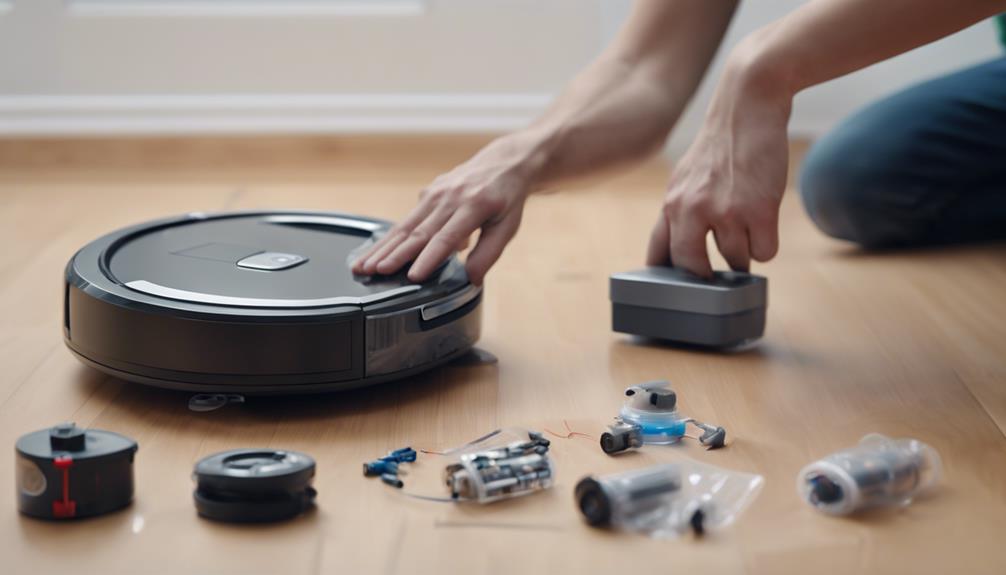
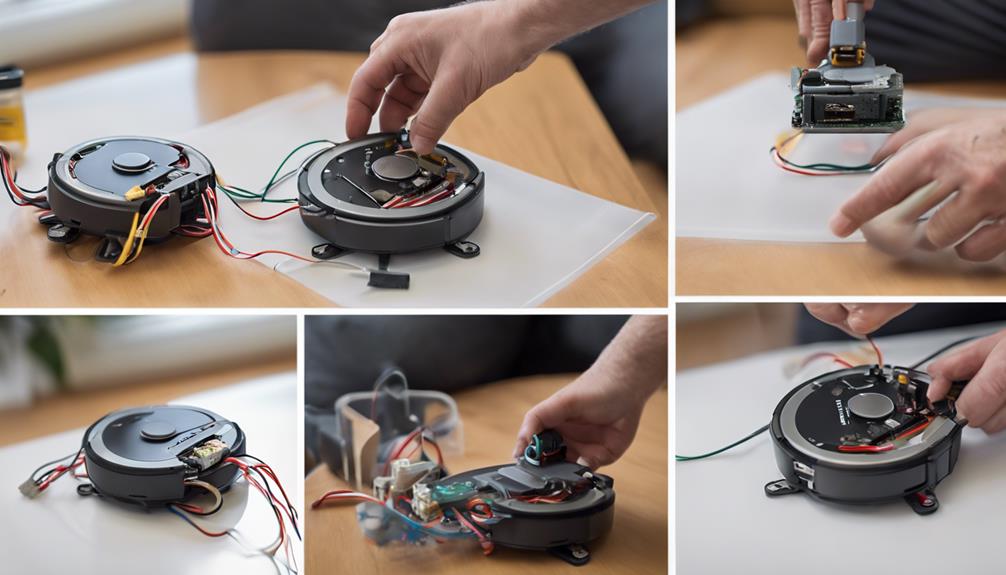
Assembling the Vacuum Robot
Assembling the vacuum robot involves 3D printing the chassis designed in Solidworks and integrating various components like the Arduino Uno and micro-metal motors. To assemble the robot, you'll need to carefully follow the detailed instructions provided.
The materials required for construction include M3 bolts, nuts, a vacuum bag filter, and PLA filament. The robot's assembly also incorporates infrared sensors that aid in its functionality.
During the assembly process, it's vital to make sure that all components are securely connected to the chassis to avoid any issues during operation. The robot's design includes features such as side brushes for thorough cleaning, collision detection for enhanced safety, and a return-to-base function for efficient recharging.
Installing Sensors and Motors
To guarantee peak functionality, the next step involves installing sensors and motors in the vacuum robot.
Here's how to do it:
- Mounting Sensors: Attach sensors like ultrasonic or IR sensors strategically on the robot to help detect obstacles and navigate efficiently.
- Installing Motors: Place motors in the robot to provide the necessary movement and power for effective operation.
- Connecting to Microcontroller: Wire the sensors and motors to the microcontroller to enable precise control and coordination of functions.
Proper placement of sensors is important as it allows the robot to accurately sense its surroundings. Additionally, calibrating the sensors and motors ensures the smooth and efficient operation of the robot vacuum cleaner.
Programming the Vacuum Cleaner
You will begin the process of programming the vacuum cleaner by writing code for robot movement, sensor integration, and cleaning functions. The Arduino IDE is commonly used for programming the vacuum cleaner's microcontroller to enable autonomous operation. Your code may encompass algorithms for obstacle detection, navigation, and cleaning patterns. Utilizing the Motor Driver, you can implement sophisticated motor control logic to guarantee precise movement and cleaning actions based on sensor inputs.
To help you understand the programming process better, here is a table outlining key components and tasks involved in programming your robot vacuum cleaner:
| Component | Description | Task |
|---|---|---|
| Arduino IDE | Integrated Development Environment for Arduino | Write and upload code for the microcontroller |
| Motor Driver | Controls the motors for movement | Implement motor control logic for navigation |
| Sensor Integration | Incorporating sensors for feedback | Develop algorithms for obstacle detection |
| Cleaning Functions | Code for cleaning patterns and actions | Define cleaning patterns and behavior |
| Testing | Ensuring the functionality of the code | Test code and fine-tune for best performance |
Programming your robot vacuum cleaner effectively is key to its autonomous operation and efficient cleaning performance.
Finalizing and Testing the Robot
Before moving on to the final testing phase, make sure all 3D printed parts are securely attached to the vacuum cleaner. Once the assembly is complete, it's time to guarantee your robot vacuum is ready for action.
Here's what you need to do:
- Alignment Check: Verify that all components are properly aligned to ensure seamless operation.
- Calibration Process: Calibrate the sensors and motors meticulously to enable accurate navigation and efficient cleaning.
- Test Runs: Conduct test runs to evaluate the robot's performance, efficiency, and responsiveness. This step helps in identifying any issues and fine-tuning the vacuum cleaner for optimal functionality.
Frequently Asked Questions
How to Make a Simple Robot Vacuum Cleaner?
To make a simple robot vacuum cleaner, you'll need basic materials like motors, sensors, and a microcontroller. Program the microcontroller to control motor movements and sensor readings. It's a cost-effective, customizable project for beginners.
How to Make a Robot Step by Step?
Embark on the adventure of crafting a robot step by step, like a sculptor shaping clay. Choose a microcontroller, build the chassis, add motors and sensors, infuse cleaning prowess, and code its essence. Your creation awaits!
How to Make a Vacuum Cleaner at Home Step by Step?
To make a vacuum cleaner at home step by step, gather materials like a motor, fan, chassis, and sensors. Assemble components following a guide. Program for autonomous cleaning or remote control. Test functionality and make adjustments. Enjoy homemade cleaning convenience.
How to Make a Simple Robot at Home With Household Items?
You can start exploring a simple robot at home using household items like cardboard, motors, and batteries. Engage in DIY projects with recycled materials to grasp basic robotics concepts. Online tutorials offer step-by-step guidance for building homemade robots.
Can I Use the DIY Guide to Build a Robot Vacuum Cleaner to Also Learn How to Charge It?
Yes, the DIY guide for building a robot vacuum cleaner can also teach you how to quickly charge it. Understanding the quick robot vacuum charging process is essential for maintaining the efficiency and functionality of your homemade robot vacuum cleaner. Follow the guide for complete instructions on both building and charging your robot vacuum.
Conclusion
To sum up, constructing your own robot vacuum cleaner can be a fulfilling project for beginners interested in exploring the world of robotics. With the right guidance and resources, anyone with basic knowledge of electronics and programming can build a robot vacuum cleaner. This project can also be a great learning experience, as it allows you to understand the various components and mechanics involved in creating a functional robot. In addition, by building a robot vacuum cleaner, you can customize it to meet your specific cleaning needs and preferences.
By following the steps outlined in this guide and understanding the components involved, you can create a functional and efficient cleaning machine.
Remember to test your robot thoroughly to make sure it operates as intended.
With dedication and attention to detail, you can successfully build your very own DIY robot vacuum cleaner.