
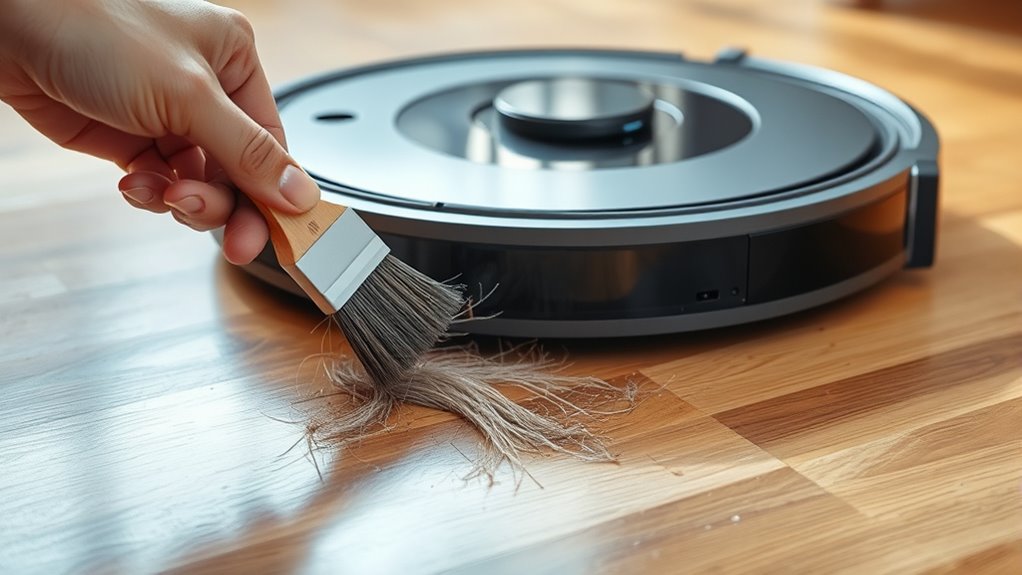
To keep your Robo-Vac running smoothly, start by turning it off and unplugging it. Remove the main brushes and clean away hair, dirt, and debris with a soft brush, checking for wear. Wipe down sensors and exterior surfaces with a damp cloth, ensuring they’re dry. Reassemble everything, then test the device to confirm proper operation. Regular maintenance prevents buildup and prolongs lifespan—stick around for more tips on keeping your vacuum in top condition.
Key Takeaways
- Turn off and unplug the Robo-Vac before cleaning to prevent electrical issues or accidental activation.
- Remove main and side brushes carefully, clear tangled debris, and inspect for wear or damage.
- Clean sensor lenses with a soft, dry cloth to ensure accurate obstacle detection and navigation.
- Wipe exterior surfaces and charging contacts with a damp cloth, ensuring they are dry before reusing.
- Regularly inspect and replace filters, and keep brushes and sensors free of debris for optimal performance.
Gathering Your Cleaning Supplies
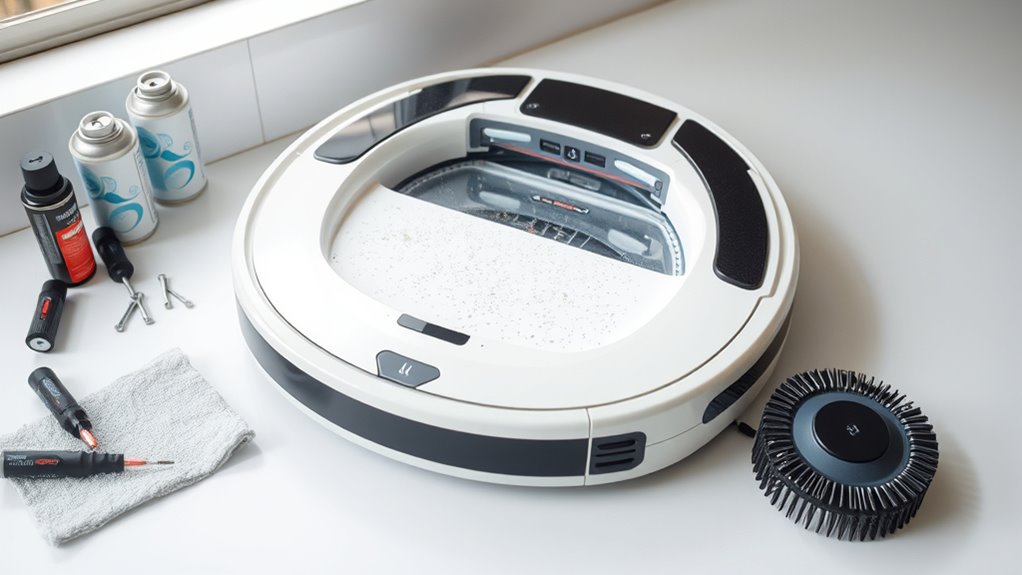
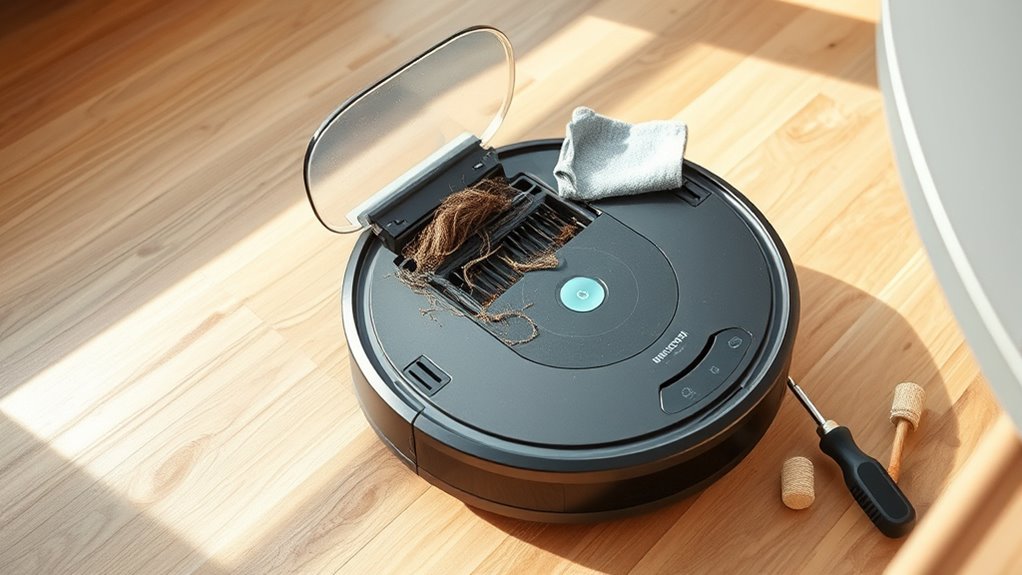
Before you start cleaning your robot vacuum, it’s important to gather all the supplies you’ll need. First, grab a dust collection container or a small bag for debris. This keeps dirt contained and makes disposal easier. Next, put on protective gloves to shield your skin from dust, dirt, and any cleaning solutions. You might also want a soft brush or cloth to help loosen stubborn debris from brushes and sensors. Having a screwdriver handy can be useful if you need to remove parts. Keep a small container or tray nearby to hold screws and tiny components. Additionally, consulting voice over script optimization can help you communicate cleaning instructions clearly if you’re creating a tutorial or guide. Properly gathering your supplies ensures a smooth, efficient cleaning process without interruptions or missed steps. Incorporating organized storage can further streamline your maintenance routine. According to Kia Tuning, customizing and maintaining your equipment with proper tools can enhance overall performance and longevity. By gathering these essentials beforehand, you ensure a safer and more effective maintenance routine for your Robo-Vac.
Turning Off and Unplugging Your Robo-Vac

Always turn off your Robo-Vac before performing any maintenance to avoid accidents. Make sure to unplug it to prevent electrical issues or damage. Taking these steps keeps both you and your vacuum safe during upkeep, especially when cleaning HEPA filters or sensors that require careful handling. Additionally, ensuring the device is properly powered down can help protect sensitive components from potential electrical damage. Remember that local business hours may vary, so it’s best to perform maintenance during times when the vacuum is not in use. Being aware of maintenance guidelines can further ensure your Robo-Vac remains in optimal condition.
Power Down Safely
Turning off your robot vacuum properly helps safeguard against damage and guarantees it’s ready for the next use. Always power down before handling for battery maintenance or software updates. This prevents accidental startups and ensures safe unplugging. When you switch it off, you protect delicate components and extend its lifespan. Remember, unplugging reduces energy waste and minimizes electrical hazards. Proper shutdown procedures also help maintain the air purifier maintenance dos and don’ts by preventing dust and debris from entering sensitive parts. Here’s how it feels to care for your Robo-Vac: | Emotion | Benefit |
| ———————– | —————————————— |
|---|---|
| Confidence | Knowing it’s safely powered down |
| Peace of Mind | Protecting your investment |
| Satisfaction | Ensuring ideal performance |
| Relief | Avoiding accidental damage |
In addition, following the correct shutdown process helps to maintain the sensor accuracy of your device, ensuring it operates efficiently during its next session. Properly powering down can also help prevent the buildup of dust and debris that might interfere with the device’s cleaning efficiency. Powering down properly keeps your device reliable, efficient, and ready for its next cleaning adventure.
Unplug Before Maintenance
To guarantee safe maintenance, you should unplug your Robo-Vac after turning it off. This prevents accidental activation and protects your battery health during cleaning. Always disconnect the power before removing or cleaning brushes and sensors to avoid shocks or damage. Microprocessors and specialized hardware are sensitive to static and electrical issues, so unplugging helps prevent potential damage. Unplugging also ensures that the device won’t restart unexpectedly, which could harm internal components. When replacing filters, unplugging is essential to prevent debris from entering sensitive parts. This step reduces the risk of damaging the motor or battery. Regularly unplugging your Robo-Vac during maintenance prolongs its lifespan and keeps it functioning efficiently. Remember, safe unplugging practices are key to maintaining ideal performance and avoiding costly repairs. Always power down and disconnect before handling any internal parts or performing filter replacement. Additionally, following proper disconnection procedures helps maintain the device’s overall performance and longevity. Proper maintenance routines are crucial for keeping your Robo-Vac operating at peak efficiency. Incorporating these safety steps can also prevent potential electric shocks during maintenance sessions.
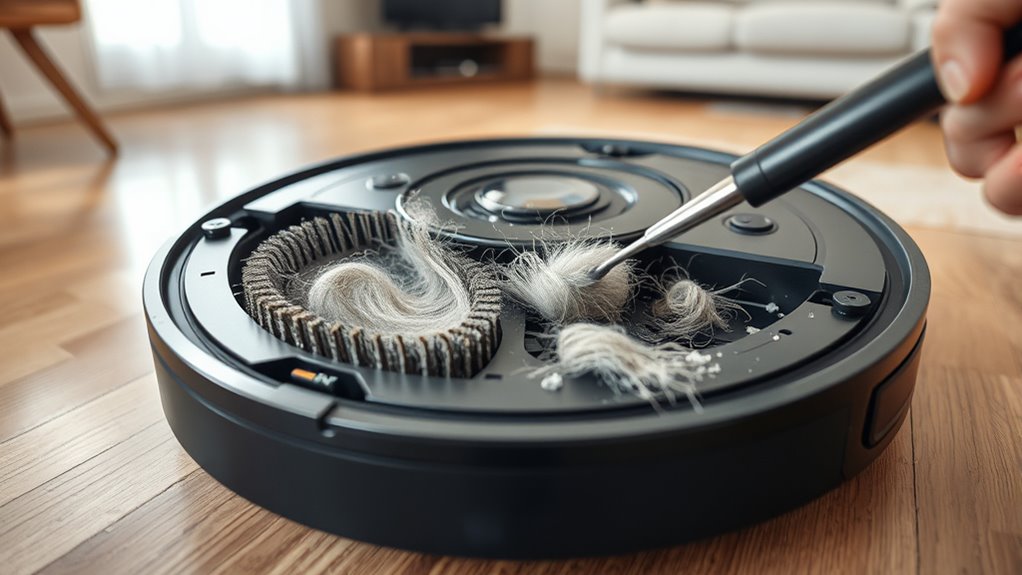
Removing the Main Brushes

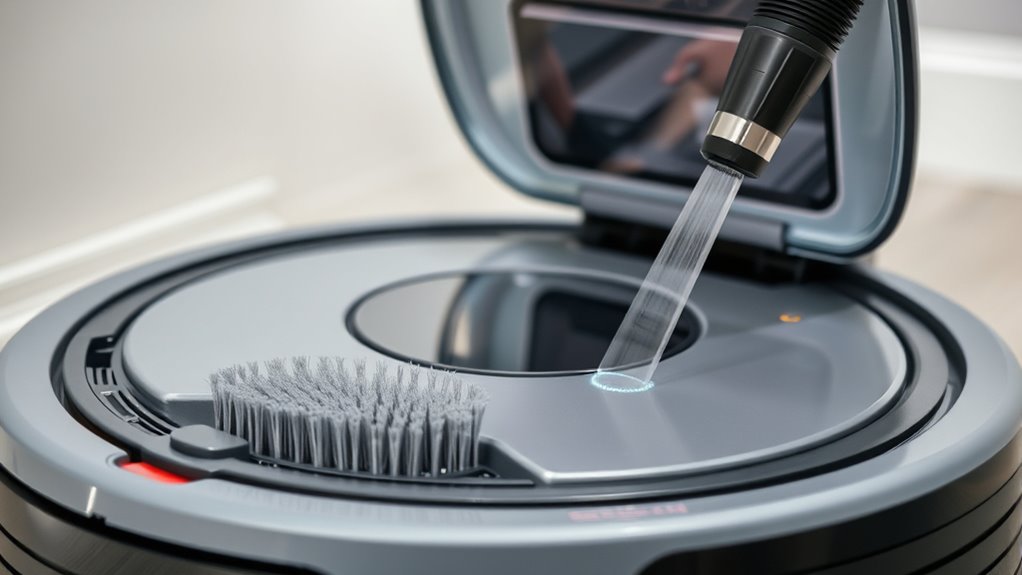
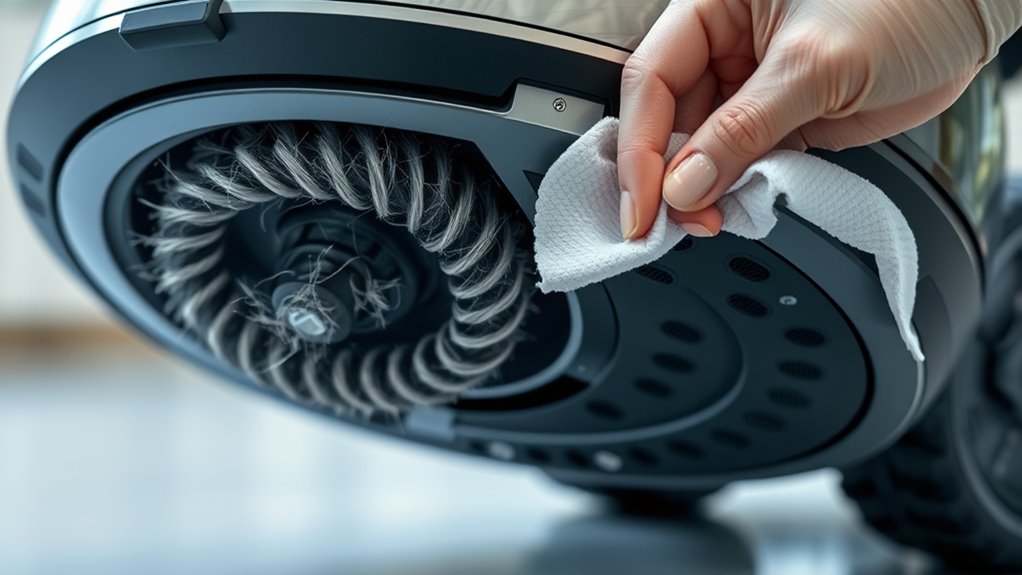
How do you properly remove the main brushes from your robot vacuum? First, locate the brush housing and release the latch or screws holding the brushes in place. Carefully lift out the main brushes, being mindful of the brush removal process. During this step, check for and clear any debris or hair tangled around the brushes or within the brush bearings. Removing the main brushes helps prevent clogs and guarantees top cleaning performance. Additionally, inspecting the brush bearings for wear can help maintain the device’s efficiency. After clearing debris, gently pull out the brushes, making sure not to damage the brush bearings or attachments. Regular maintenance of AI-powered cleaning devices ensures optimal functionality and prolongs their lifespan. This simple step is essential for thorough maintenance and prepares your vacuum for a more effective cleaning cycle. Remember to keep track of all parts for easy reinstallation.
Cleaning the Main Brushes and Brush Bearings
Once you’ve removed the main brushes, it’s time to give them a thorough cleaning. Start by removing hair, dust, and debris wrapped around the brushes and bearings. Use a brush or cloth to wipe down the brush surface and check for signs of wear or damage. If the brushes are worn out, consider brush replacement to maintain cleaning efficiency. Pay special attention to the bearings; dirt can hinder their movement. To keep them functioning smoothly, apply a small amount of bearing lubrication if needed. Remember:
- Remove all debris to prevent clogging
- Inspect for signs of wear or damage
- Lubricate bearings to ensure smooth rotation
Proper cleaning and maintenance extend your vacuum’s lifespan and keep it performing at its best.
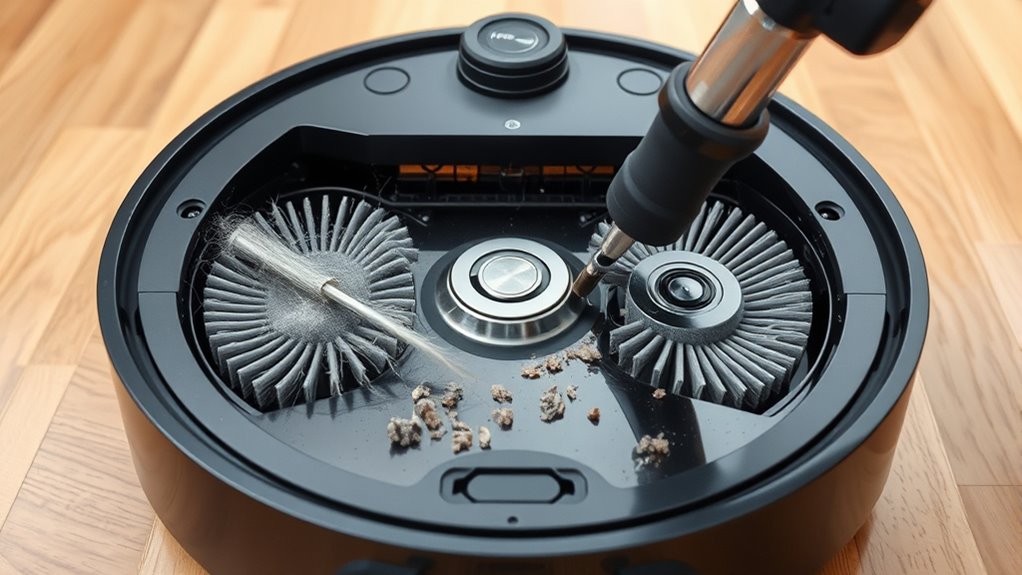
Clearing Debris From Side Brushes
Regularly clearing debris from side brushes is essential for maintaining your robot vacuum’s cleaning performance. To do this, start with side brush removal, then carefully remove any hair, dust, or debris tangled around the bristles. Use tweezers or a small brush for thorough debris clearing. Check the brush’s base for particles that could hinder rotation. Keep the side brushes spinning smoothly for ideal edge cleaning.
| Step | Tip |
|---|---|
| Remove the side brush | Use the designated removal tool or unscrew it carefully. |
| Clear debris | Use tweezers or a small brush to remove tangled debris. |
| Inspect for damage | Look for worn or broken bristles. |
| Reinstall the brush | Ensure it clicks into place securely. |
| Test rotation | Spin the side brush manually to check smoothness. |
Inspecting and Cleaning Sensors
Your robot’s sensors can get dirty or dusty over time, affecting its performance. Make certain to clean the sensor lenses carefully and check for dirt buildup regularly. Test the sensors afterward to ensure they’re working properly and ready for the next cleaning session.
Sensor Dirt Accumulation
Sensors can quickly become covered with dust, hair, and debris, which can impair your robot vacuum’s ability to navigate effectively. Dirt buildup on sensors can interfere with sensor calibration, causing the vacuum to misjudge obstacles or miss spots. Regularly inspecting and cleaning sensors prevents these issues. To ensure peak performance:
- Use a soft, dry cloth to gently wipe sensor surfaces
- Avoid applying liquids that could damage the sensors
- Check for any visible dirt or debris that may obstruct sensor function
Keeping sensors clean helps maintain accurate navigation and prevents unnecessary collisions. Remember, dirt buildup can reduce sensor sensitivity, so cleaning them regularly is key to preserving your vacuum’s efficiency. Proper sensor maintenance keeps your robot vacuum running smoothly and extends its lifespan.
Cleaning Sensor Lenses Properly
Cleaning sensor lenses properly begins with inspecting them for dirt, smudges, or debris that can obstruct their function. Use a soft, lint-free cloth or a microfiber cloth for gentle sensor lens cleaning, avoiding harsh chemicals that could damage the lenses. Carefully wipe the lenses to remove dust and grime, ensuring nothing interferes with sensor accuracy. Regular cleaning prevents errors in your robot vacuum’s navigation and helps maintain ideal camera calibration. Be cautious not to apply too much pressure, as lenses are delicate. After cleaning, check the lenses for clarity and transparency. Proper sensor lens maintenance ensures your vacuum’s sensors function correctly, reducing the risk of misnavigation and improving overall cleaning performance. Consistent care keeps your device operating smoothly and prolongs its lifespan.
Testing Sensor Functionality
To guarantee your robot vacuum navigates effectively, it’s vital to regularly test the sensors’ functionality by inspecting and cleaning them. Proper sensor calibration ensures obstacle detection remains accurate, preventing collisions or missed spots. Start by visually inspecting the sensors for dust or debris, then gently clean them with a soft cloth. After cleaning, perform a functional test by placing an obstacle in the vacuum’s path to see if it detects and avoids it.
Remember:
- Regular cleaning maintains sensor sensitivity
- Proper calibration improves obstacle detection accuracy
- Testing ensures sensors respond correctly during navigation
Wiping Down the Exterior and Charging Contacts
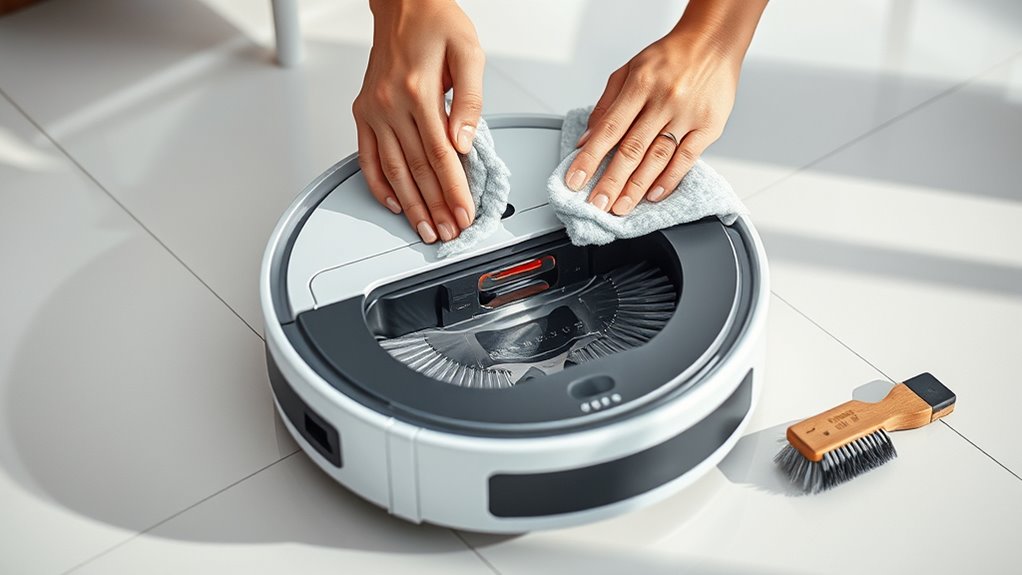
Regularly wiping down the exterior of your robot vacuum helps keep it looking new and prevents dust buildup. Use a soft, damp cloth for exterior wiping to remove dirt and smudges. Pay special attention to the charging contacts; clean them gently with a dry cloth or a cotton swab to guarantee a good connection during charging. Dirty charging contacts can cause power issues or prevent your vacuum from docking properly. Avoid harsh chemicals that can damage the surface or interfere with the contacts. Make sure the exterior is completely dry before plugging in or using the device again. Regular exterior wiping and charging contact cleaning keep your robot vacuum functioning smoothly, extending its lifespan and securing optimal cleaning performance.
Reassembling and Testing the Vacuum

When reassembling your robot vacuum, make sure you reinstall each component carefully to avoid missing any parts. Once everything is back in place, run a quick functionality check to guarantee all systems operate smoothly. This step helps you catch any issues early and keeps your vacuum working like new.
Reinstalling Components Carefully
Carefully reinstall each component of your robot vacuum to guarantee proper function and prevent damage. During component reinstallation, pay close attention to how parts fit together, ensuring everything aligns correctly. Proper reassembly is key to avoiding issues like sensor malfunctions or brush misalignment. Before finalizing, double-check that all screws are tight and components are seated correctly. Remember these tips:
- Follow the manufacturer’s instructions for each part
- Avoid forcing components into place
- Confirm all connectors and clips click securely
Taking your time during proper reassembly ensures your vacuum operates efficiently and reliably. Once reinstalled, power on the device to verify that everything functions smoothly, and no parts are loose or misaligned. Proper reinstallation is essential for maintaining your vacuum’s performance.
Conducting Functionality Checks
After reassembling your robot vacuum, it’s important to perform thorough functionality checks to guarantee everything works correctly. Start by turning it on and observing if the brushes and sensors activate smoothly. Check the battery health by ensuring the vacuum charges fully and maintains power during operation. Verify that the navigation system responds accurately to obstacles, and listen for unusual noises. Also, confirm that firmware updates have been installed, as they often improve performance and fix bugs. Run a short cleaning cycle to test if all components operate seamlessly. If you notice any issues, revisit the reassembly steps to correct misaligned parts. Regular checks like these ensure your Robo-Vac runs efficiently and extends its lifespan.
Establishing a Regular Maintenance Schedule
Establishing a regular maintenance schedule is essential to keep your robot vacuum performing at its best. Consistent checks help maintain battery health, ensure firmware updates are applied, and prevent unexpected breakdowns. You should set reminders to clean brushes and sensors weekly and check for firmware updates monthly. This keeps your device running smoothly and extends its lifespan. Focus on these key points:
Regular maintenance keeps your robot vacuum running smoothly and extends its lifespan.
- Monitor battery performance and recharge properly
- Keep firmware updated for peak functionality
- Regularly clean brushes and sensors to prevent buildup
Tips for Preventing Future Buildup
Maintaining a regular maintenance schedule helps prevent buildup, but implementing proactive habits can further reduce the chances of debris accumulating in your robot vacuum. Regular filter replacement ensures ideal airflow and prevents dust from clogging the system, which helps keep sensors clear and improves cleaning efficiency. Check and clean filters every few weeks, and replace them as recommended by the manufacturer. Additionally, keeping the brushes and sensors free of debris minimizes strain on the motor and prevents unnecessary wear, supporting battery longevity. Avoid letting dust and hair pile up, which can cause the vacuum to overwork and drain the battery faster. By staying consistent with filter replacement and cleaning, you’ll help your Robo-Vac operate smoothly longer and maintain peak performance.
Frequently Asked Questions
How Often Should I Replace the Brushes on My Robo-Vac?
You should replace your Robo-Vac’s brushes every 3 to 6 months, depending on usage and wear. Regular brush maintenance helps guarantee peak cleaning performance, but over time, brushes become less effective and need replacement. Keep an eye on signs like frayed bristles or decreased suction. Following a consistent replacement schedule keeps your robot operating efficiently, and maintaining the brushes is just as important as routine cleaning.
Can I Use Household Cleaning Products on Sensors?
Imagine your sensors as tiny, delicate eyes watching over your home’s cleanliness. You shouldn’t use household cleaning products on these sensors, as harsh chemicals can damage their sensitive surfaces. Instead, gently wipe them with a soft, damp cloth during sensor maintenance. This keeps your Robo-Vac working efficiently without risking harm, ensuring your device continues to navigate smoothly and clean thoroughly.
What Signs Indicate My Robo-Vac Needs Professional Servicing?
If your Robo-Vac shows signs of sensor malfunction, like inconsistent navigation or missed spots, it’s time for professional servicing. Also, watch for brush wear or tangled debris, which can impair cleaning performance. These issues often indicate that your vacuum needs expert attention to guarantee ideal operation. Don’t ignore these signs—they can lead to further damage and reduced efficiency. Regular maintenance helps keep your Robo-Vac running smoothly.
Is It Safe to Wash the Brushes With Water?
Like a knight guarding their armor, you wonder if water is safe for your robo-vac’s brushes. Generally, it’s best to avoid washing them with water, as water damage can compromise brush durability and cause malfunctions. If your brushes are particularly dirty, use a damp cloth instead. Keep them dry to make certain they stay in top shape and avoid costly repairs, just like protecting your trusty steed.
How Do I Troubleshoot if My Robo-Vac Isn’t Detecting Obstacles Properly?
If your Robo-Vac isn’t detecting obstacles properly, start by checking its sensor calibration. Clean the sensors gently to remove dust or debris that could block obstacle detection. Restart the device to reset its systems. If issues persist, update the firmware or recalibrate the sensors through the app. Proper sensor calibration helps your Robo-Vac accurately identify obstacles, ensuring effective navigation and cleaning performance.
Conclusion
So there you have it—your robo-vac is now spotless and ready to conquer dust bunnies once again. Remember, neglecting these simple steps is like ignoring your house’s hygiene—eventually, it fights back. So keep up with maintenance, or soon you’ll be calling in the pros for a full-blown meltdown. After all, a clean robot is a happy robot… and a house free of tiny rebellions. Happy cleaning!