To keep your vacuum’s exterior and interior in top shape, grab a cleaning brush, scissors, and disinfectant spray. For the exterior, wipe down surfaces with a damp cloth and warm soapy water. Inside, empty the dust container regularly and clean it with the same mixture. Don’t forget to maintain the filters and hose using a flexible brush. If you’re curious about more tips for efficient cleaning, there’s plenty more to discover for your vacuum maintenance.
Key Takeaways
- Use warm soapy water and a damp cloth to clean the vacuum’s exterior surfaces effectively.
- Clean the vacuum hose with a flexible brush and rinse with warm soapy water for stubborn clogs.
- Disinfectant spray can be used for stubborn stains and odors on the vacuum’s exterior.
- Regularly cut away hair and fibers from the brush roll to maintain optimal performance.
- Sprinkle baking soda in the dust bag or canister to absorb odors and enhance freshness.
Importance of Cleaning Your Vacuum
Cleaning your vacuum isn’t just a chore; it’s essential for your health and home. When you clean your vacuum every few months, you prevent the spread of mold and bacteria, which can harm indoor air quality, especially for allergy sufferers. Regular cleaning not only boosts your vacuum’s efficiency by reducing allergens and dust recirculation but also prolongs its lifespan. A clean vacuum maintains peak suction power, ensuring you get the best performance during your cleaning sessions. Additionally, utilizing advanced filtration systems can further enhance the air quality in your home, as these systems help capture harmful airborne pathogens and reduce exposure to pollutants.
Plus, neglecting this task can lead to unpleasant odors from built-up dirt and debris. By incorporating regular cleaning into your maintenance routine, you greatly enhance the healthiness of your living environment, creating a cleaner and more comfortable home for you and your family. Additionally, maintaining a clean vacuum can significantly improve fuel efficiency and emissions in your home environment. This practice not only ensures a cleaner space but also reduces allergens and pollutants, contributing to better indoor air quality.
What You’ll Need for Effective Cleaning
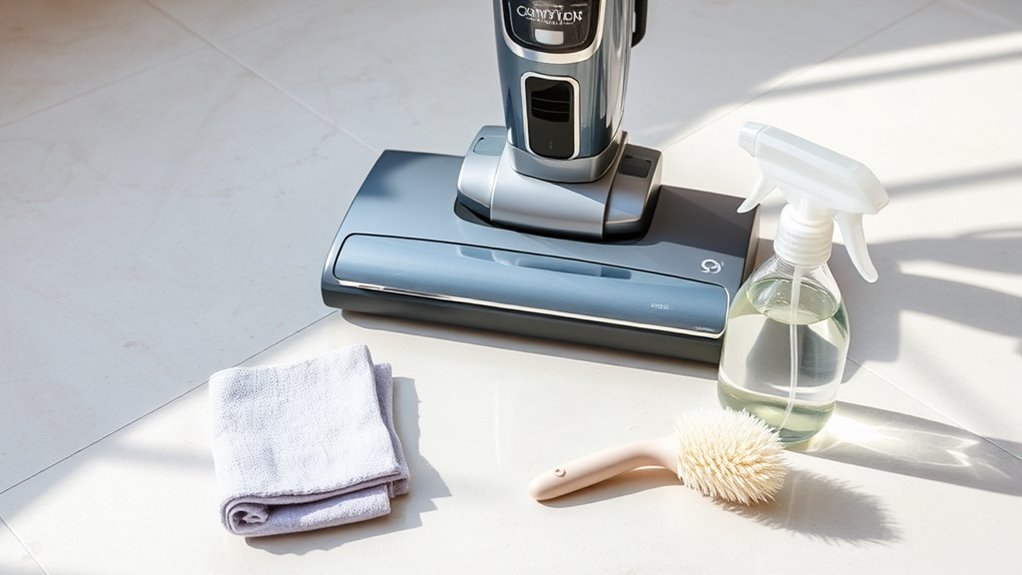
To clean your vacuum effectively, you’ll need a few essential supplies.
Gather tools like a damp cloth, scissors, and a cleaning brush, along with disinfectant spray and dish soap for deeper cleaning.
Don’t forget safety gear to protect yourself while tackling those tough spots!
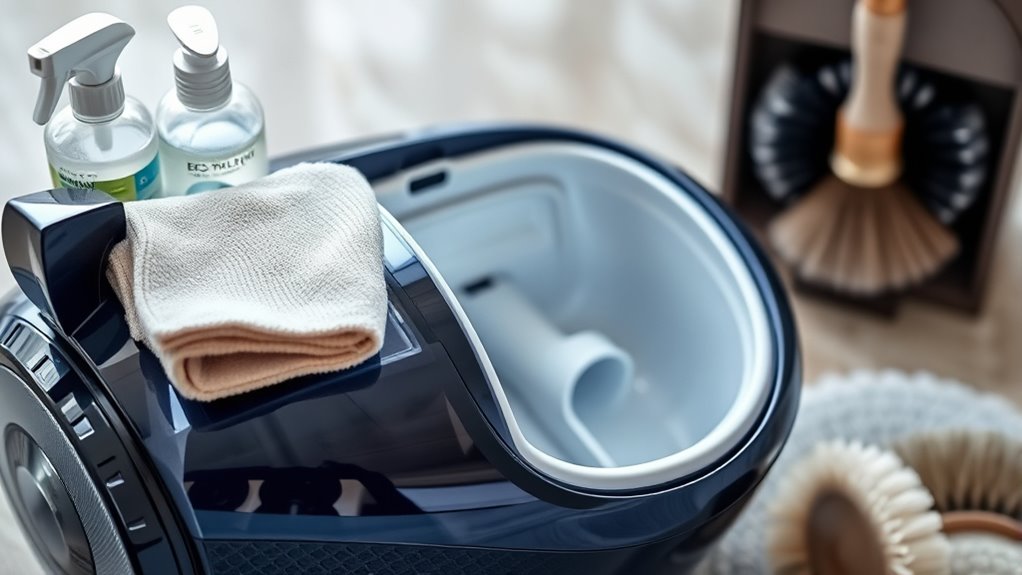
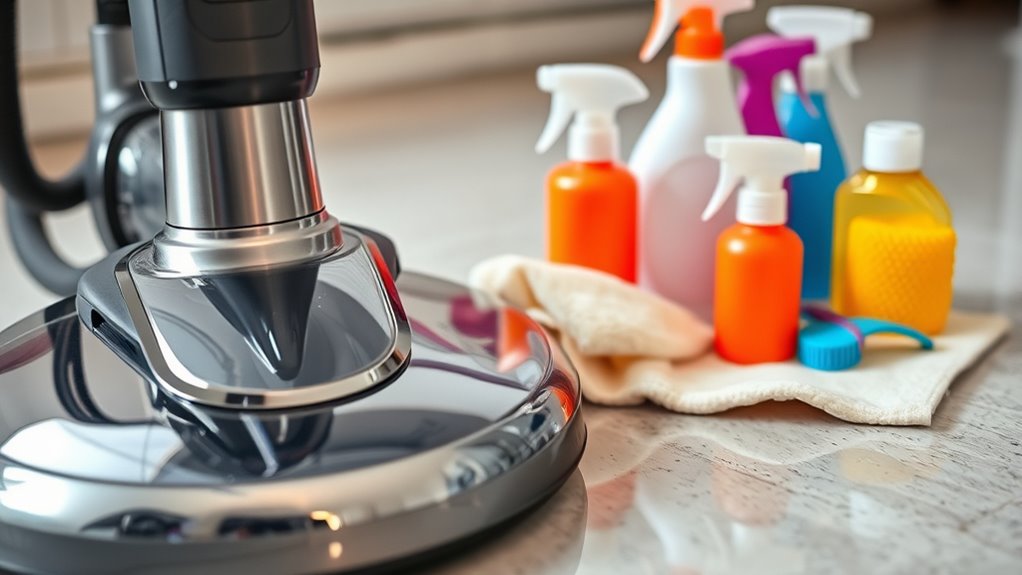
Essential Cleaning Supplies Needed
When tackling vacuum maintenance, having the right essential supplies at your fingertips can make all the difference.
Start by gathering a cleaning brush to scrub away stubborn dirt and dust from your vacuum’s surfaces. You’ll also need scissors for cutting away trapped debris, disinfectant spray for sanitizing parts, and hot water mixed with dish soap for effective washing.
Keep replacement bags or filters handy to guarantee peak performance. A flexible brush or compressed air is invaluable for clearing blockages in the vacuum hose, which helps maintain airflow.
Finally, protect yourself with gloves and a face mask to guard against dust and allergens while you work on your vacuum’s components. This preparation sets you up for successful cleaning!
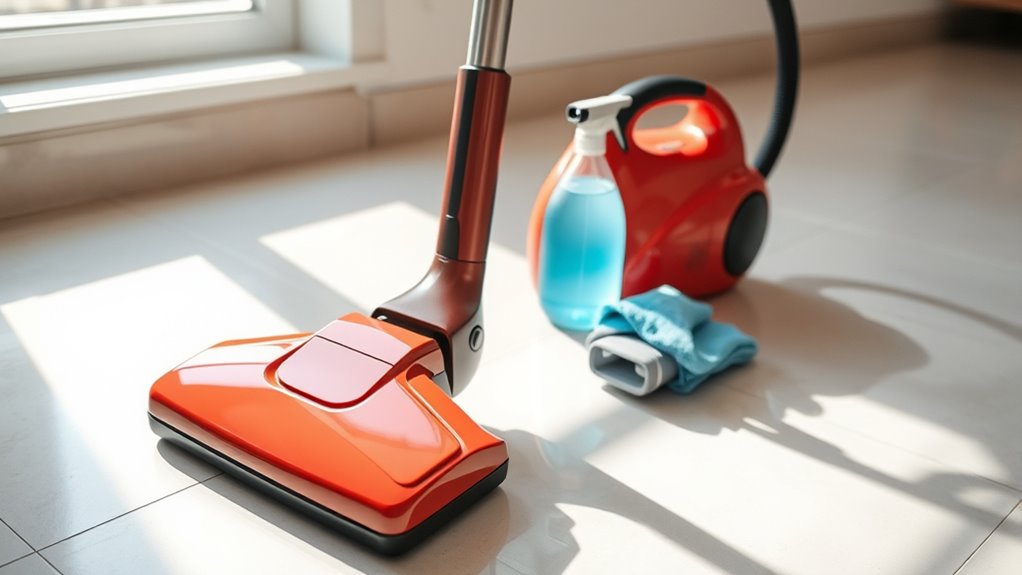
Tools for Deep Cleaning
A well-equipped toolkit can make deep cleaning your vacuum an efficient task. To effectively clean your vacuum cleaners’ components, gather essential tools like scissors for cutting away trapped hair, a damp cloth for surfaces, and a cleaning brush for scrubbing tough areas. You’ll also want disinfectant spray to sanitize and eliminate odors.
Here’s a quick reference table to help you organize your cleaning tools:
| Tool | Purpose |
|---|---|
| Scissors | Cut trapped hair and debris |
| Damp Cloth | Wipe down surfaces |
| Cleaning Brush | Scrub difficult areas |
| Disinfectant Spray | Sanitize parts and remove odors |
| Hot Water & Dish Soap | Wash canisters and removable components |
| Flexible Brush | Clean inner layers of hoses |
Safety Gear Recommendations
Effective cleaning requires the right safety gear to protect you from dirt and allergens lurking in your vacuum. Start with gloves to keep your hands safe from dust and potential allergens while you clean the brush and other components.
A face mask is essential, especially if you’re prone to allergies, as it minimizes inhalation of dust particles during disassembly.
Use a damp cloth to wipe down the vacuum’s exterior, which helps eliminate grime and prevent contaminants from spreading in your home.
Don’t forget a flashlight to spot hidden debris or blockages in the hose and attachments.
Finally, consider wearing a disposable apron or old clothes to safeguard your attire, particularly when handling the dust bin or canister.
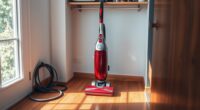
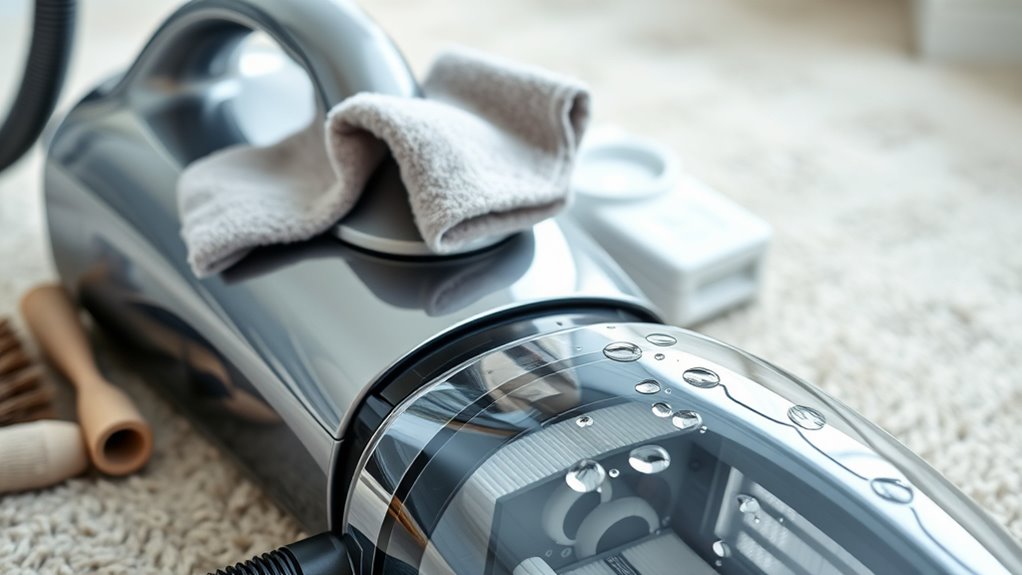
How to Clean the Vacuum’s Exterior
Cleaning your vacuum’s exterior is essential for maintaining both its appearance and performance. Start by unplugging the vacuum, then use a damp cloth with warm soapy water to wipe down the exterior. This will help you remove dust and grime effectively.
Pay special attention to the wheels and base, as these areas often accumulate dirt—use a brush or cloth to scrub any buildup. For stubborn stains, a disinfectant spray can sanitize surfaces and eliminate odors.
Regularly inspect for signs of wear or damage, ensuring all parts are secure for peak performance. For an extra fresh scent, consider placing a scented dryer sheet or sprinkling baking soda on the vacuum’s exterior before wiping it down.
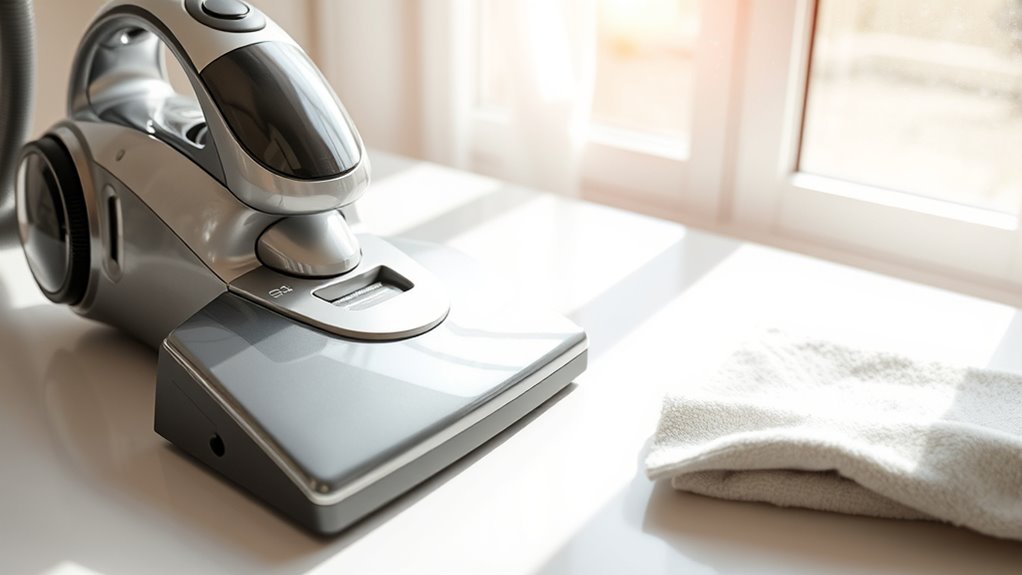
Steps to Empty and Clean the Dust Container

After taking care of your vacuum’s exterior, it’s time to focus on the dust container.
Start by unplugging the vacuum to guarantee safety before handling it. Then, remove the dust container according to the manufacturer’s instructions—this usually involves pressing a release button or twisting it off.
Unplug your vacuum for safety, then carefully remove the dust container as per the manufacturer’s guidelines.
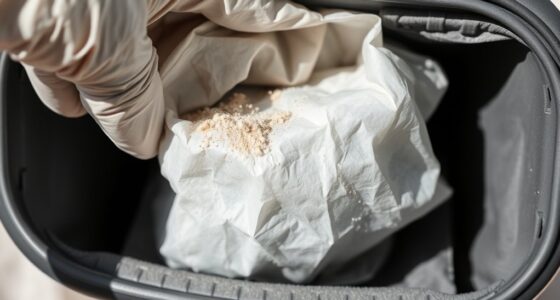
Next, empty the contents into a garbage bin, making sure to dispose of any debris and dust securely. For effective cleaning, wash the dust container with warm, soapy water to eliminate residue and sanitize it.
Rinse it thoroughly and let it dry completely before reassembling. Remember, regularly cleaning the dust container after every few uses, or ideally after each use, helps maintain your vacuum’s efficiency and prevents unpleasant odors.
Cleaning and Maintaining Filters
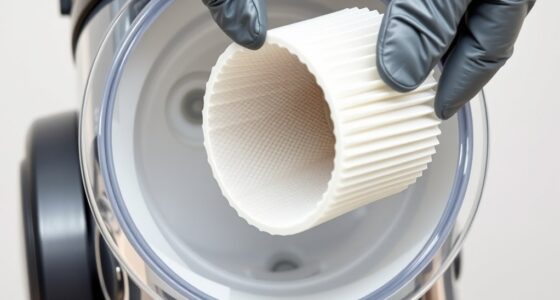
While you may think of your vacuum as a powerful cleaning tool, its performance relies heavily on the condition of its filters.
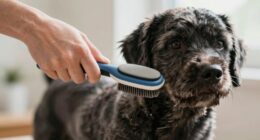
Regularly cleaning vacuum filters is crucial for maintaining strong suction power. If you have washable filters, rinse them under warm water about once a month. For non-washable filters, simply brush away dust and debris. Keeping your filters clean is especially important for vacuums for pet hair to ensure effective removal of allergens and pet dander.
Clogged filters can lead to inefficient cleaning and may even damage your vacuum’s motor. Always check your owner’s manual for specific cleaning instructions and replacement schedules, as these can vary by model.
Replacing filters every 6 to 12 months guarantees peak performance and improves air quality in your home, keeping unpleasant odors at bay by reducing the buildup of allergens and bacteria. Additionally, consistent maintenance ensures that your vacuum operates efficiently and prevents costly repairs.
How to Clean the Brush Roll and Attachments

Your vacuum’s brush roll and attachments play an essential role in its efficiency, so keeping them clean is vital. Start by unplugging your vacuum, then carefully remove hair and debris from the brush roll using scissors, being cautious not to damage the bristles.
Once debris is cleared, disinfect the brush roll with a disinfectant spray to eliminate bacteria and odors.
Next, detach the attachments and check for blockages; use a flexible brush or compressed air to remove any accumulated dirt.
Wipe down the exterior of the attachments with a damp cloth and warm soapy water to guarantee they’re clean.
Finally, regularly inspect the brush roll and attachments for signs of wear or damage to maintain peak vacuum performance.
Techniques for Cleaning the Vacuum Hose
Cleaning your vacuum hose is essential for maintaining performance, so start by removing it from the vacuum and unplugging the machine.
You’ll want to use a flexible brush to reach inside and dislodge any debris, while also wiping down the outside with a damp cloth.
Incorporating these techniques into your routine will keep your vacuum running smoothly for longer.
Hose Disassembly Process
To tackle the hose disassembly process, start by carefully detaching the vacuum hose from the cleaner. Follow the manufacturer’s instructions, which usually involve a simple twist or release mechanism.
Once it’s off, use a flexible brush or a long, narrow tool to remove the dust and debris from the inner walls of the hose. This helps eliminate any blockages that could affect performance.
If you encounter stubborn clogs, rinse the hose with warm, soapy water, but make sure it’s completely dry before reattaching to prevent moisture buildup.
Regularly inspect the vacuum hose for signs of wear or cracks, as this can impact suction power. Incorporate hose cleaning into your monthly maintenance routine for peak efficiency.
Cleaning Techniques and Tools
After detaching the vacuum hose, you can explore effective techniques and tools for making it spotless.
Here are some cleaning techniques to keep your hose in prime shape:
- Use a Flexible Brush: Insert a flexible brush into the hose to remove trapped dust and debris.
- Wipe Down the Exterior: Grab a damp cloth and wipe the outer parts to eliminate stuck-on dirt or grime.
- Soapy Water Rinse: For deeper cleaning, rinse the inside of the hose with warm soapy water, ensuring you wash out all soap.
- Monthly Maintenance: Include hose cleaning in your monthly routine to maintain peak vacuum performance and prolong its life.
These techniques will help you keep your vacuum hose clean and efficient!
Deep-Cleaning Your Vacuum: A Step-by-Step Guide
Deep-cleaning your vacuum is essential for maintaining its performance and extending its lifespan. Start by disassembling the vacuum, removing the dust bag or canister, and emptying its contents to prevent debris contamination.
Next, use warm soapy water to clean the canister and hose attachments, ensuring they’re free from dirt and buildup. Let them dry completely before reassembly.
Inspect and clean the filters as per the manufacturer’s instructions—rinse washable filters under warm water and replace disposable ones as needed.
Carefully cut away any hair or fibers tangled in the brush roll, then disinfect the brushes with a disinfectant spray.
Finally, wipe down the vacuum’s exterior with a damp cloth, ensuring all components are dry before putting everything back together.
Tips for Eliminating Unpleasant Odors
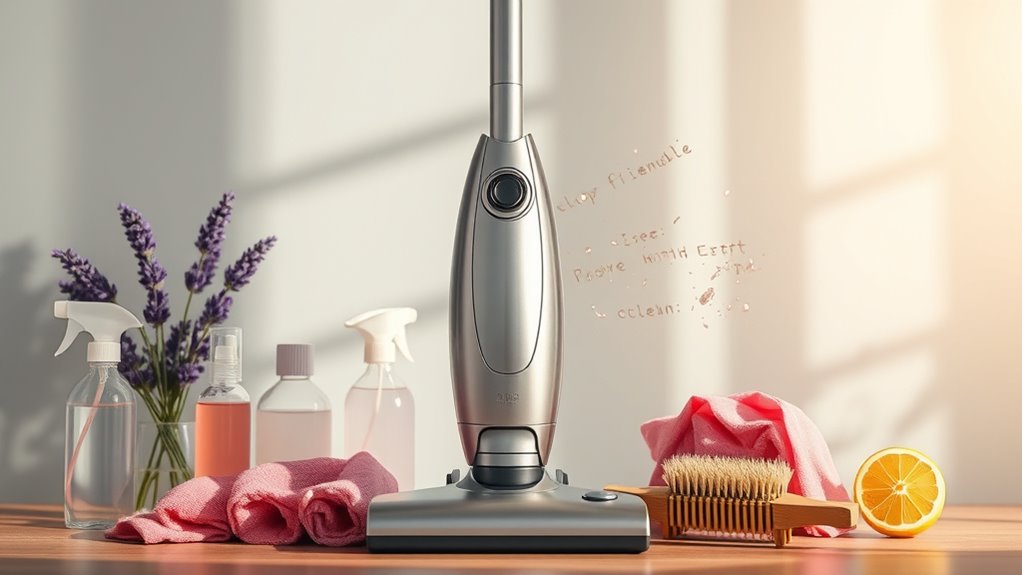
If you’ve noticed unpleasant odors coming from your vacuum, it’s time to tackle the issue head-on.
Follow these tips to eliminate those stinky vacuum smells:
- Empty the dust bag or replace it if it’s full, as debris can lead to odors.
- Clean the vacuum canister with warm soapy water and let it dry completely to prevent mildew.
- Sprinkle baking soda inside the dust bag or canister before vacuuming to absorb and neutralize odors.
- For persistent smells, add a scented dryer sheet to the dust bag or canister for a fresh fragrance during use.
Routine Maintenance for Long-lasting Performance

To keep your vacuum running smoothly and efficiently, regular maintenance is crucial. Start by cleaning the vacuum’s exterior surfaces with a damp cloth to remove dust and dirt, which helps prevent contaminants from transferring into your living space.
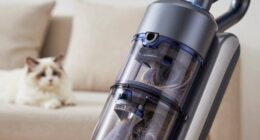
After each use, inspect and clean the brush rolls to avoid hair and debris buildup that can hinder performance. Empty the dust canister or replace bags frequently—ideally after each use—to maintain peak suction power.
Clean or replace filters about once a month to guarantee efficient airflow and reduce allergens. High suction power is also essential for ensuring that your vacuum continues to perform optimally. Finally, conduct a deep clean every 12 to 18 months to address any internal blockages.
These routine maintenance practices, combined with appropriate cleaning solutions, will extend your vacuum’s lifespan.
Frequently Asked Questions
How to Deep Clean Your Vacuum?
To deep clean your vacuum, start by unplugging it and disassembling the parts like the dust bin, filters, and brush rolls.
Wash the dust canister and attachments with warm soapy water.
Clean the filters according to the manufacturer’s guidelines, replacing them if necessary.
Trim away hair from the brush rolls, and disinfect them.
Finally, clean the hose with a flexible brush, wipe its exterior, and let everything dry completely before reassembling.
What Is the Best Cleaning Solution for a Robot Vacuum Cleaner?
You might be wondering how to keep your robot vacuum running like new.
First, grab a damp cloth with mild soap to wipe down its exterior; it’ll shine in no time.
Don’t forget the dustbin—rinse it with warm water and a bit of dish soap, then let it dry completely.
Regularly clean the filters and brush rolls to maintain suction.
These simple steps will guarantee your vacuum’s efficiency and longevity.
Is Baking Soda Safe for Vacuums?
Yes, baking soda’s safe for vacuums! You can use it to neutralize odors inside your vacuum’s dust bag or bin without worrying about damage.
Just sprinkle a bit on your carpets before vacuuming to absorb unwanted smells. However, make sure you don’t overdo it—too much can clog filters or hoses.
After using, vacuum up the baking soda completely. It’s great for keeping your vacuum fresh, especially if you have pets or allergies!
How to Clean and Deodorize a Vacuum?
Cleaning and deodorizing your vacuum can feel like breathing fresh air into a stuffy room.
Start by emptying the dust bin or replacing the bag. Wash the canister with warm, soapy water to banish odors. Clean or replace filters, letting them dry completely.
Remove hair from brush rolls, then disinfect. For freshness, sprinkle baking soda inside and add a scented dryer sheet.
Finally, wipe down the exterior to keep your vacuum looking and smelling great!
Conclusion
Keeping your vacuum clean is essential for its performance and longevity. By regularly maintaining both the exterior and interior components, you’ll guarantee it runs like a well-oiled machine. Don’t overlook the importance of emptying the dust container and cleaning the filters, as these steps can make all the difference. Remember, a clean vacuum not only picks up dirt more effectively but also helps to eliminate unpleasant odors. So, roll up your sleeves and get to work!