
To safely clean wet spills with your vacuum cleaner, start by ensuring your wet/dry vacuum‘s drum is empty and the filter is removed. Use flat nozzles on wet surfaces and keep an eye on the tank, emptying it as needed. Rinse and dry the hose after each use to prevent mold. Never leave the vacuum unattended while in use, and always follow specific maintenance guidelines for peak performance. You might discover more helpful tips and tricks ahead.
Key Takeaways
- Ensure you’re using a wet/dry vacuum designed for liquids to avoid electrical hazards and damage to traditional vacuums.
- Remove the vacuum filter entirely before cleaning wet spills to prevent water damage and maintain suction.
- Use flat nozzles for efficient liquid collection and monitor the tank, emptying as needed to maintain performance.
- Rinse and dry the vacuum hose and attachments after use to prevent mold growth and bacteria buildup.
- Never leave the vacuum unattended while collecting liquids to avoid overflow and potential messes.
Top picks for "safely clean spill"
Open Amazon search results for this keyword.
As an affiliate, we earn on qualifying purchases.
Understanding Wet Messes and Their Causes
When you think about wet messes in your home, it’s easy to overlook the various sources that contribute to them. Outdoor elements, like rain or snow, often track in on shoes, creating slippery spots on your floors.
You might also face spills from drinks or food during daily activities, which can lead to unsightly messes and even accidents if not cleaned up quickly. Plumbing leaks or appliance malfunctions can further add to the chaos.
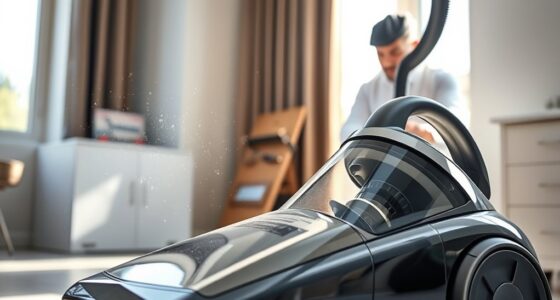
The Importance of Using a Wet/Dry Vacuum
Addressing wet messes promptly is essential, and using a wet/dry vacuum makes this task much easier. Here’s why you should consider using a wet/dry vac for your clean-up needs:
- Versatility: A wet/dry vacuum handles both liquids and dry debris, making it suitable for various surfaces like hardwood, carpets, and tiles.
- Powerful Performance: With robust motors, these vacuums efficiently collect liquid, helping prevent damage to your flooring and furniture.
- Cost-Effective: By quickly vacuuming standing water, a wet/dry vac can mitigate costly repairs associated with water damage in your home.
Incorporating a wet/dry vacuum into your cleaning routine simplifies housekeeping and guarantees you’re ready for any spill or mess that comes your way.
Preparing Your Vacuum for Wet Cleaning

Before diving into cleaning up wet spills, it’s crucial to get your vacuum ready for the task. Start by verifying the vac drum is completely empty to prevent mixing wet and dry debris, which can cause clogs and potential damage.
Next, check that the filter is properly placed for dry cleaning; remove it entirely if you’re tackling wet surfaces to avoid filter damage.
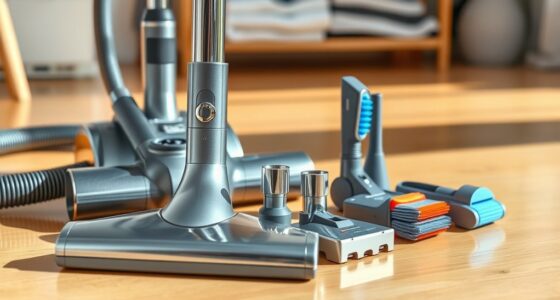
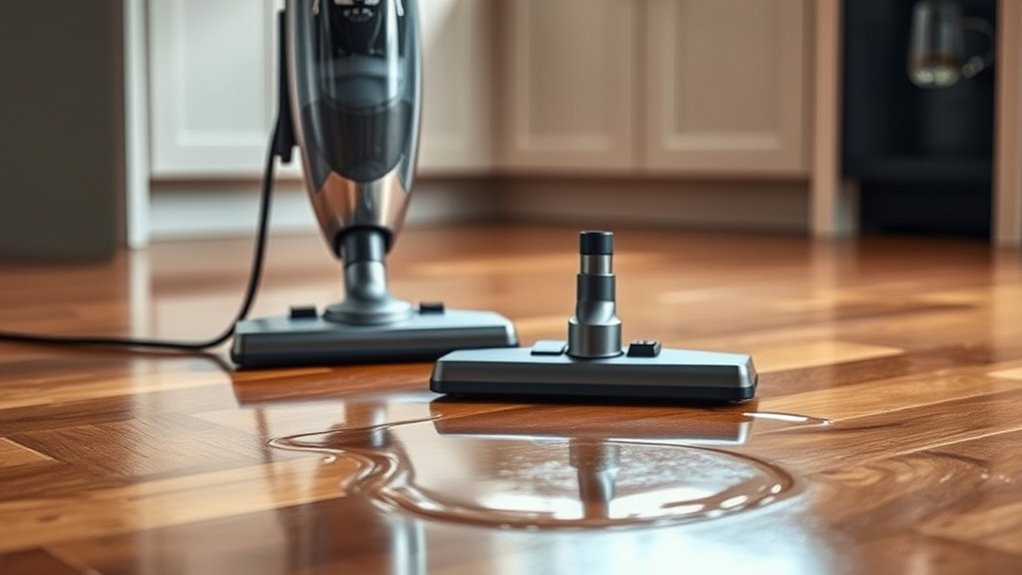
Choose the right attachments for your cleaning needs—flat attachments work best for wet surfaces, while larger ones handle big debris effectively.
Finally, wipe out any remaining water or dry scraps from the vac drum to guarantee peak suction and performance.
Don’t forget to consult your vacuum’s specific instructions for wet cleaning, as each model may have unique requirements.
Step-by-Step Guide to Cleaning Wet Spills
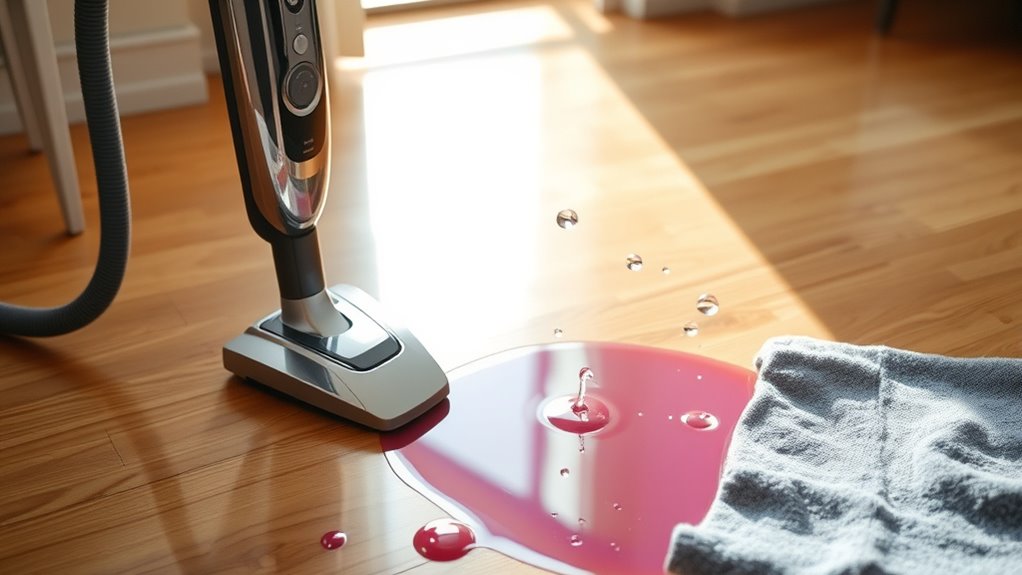
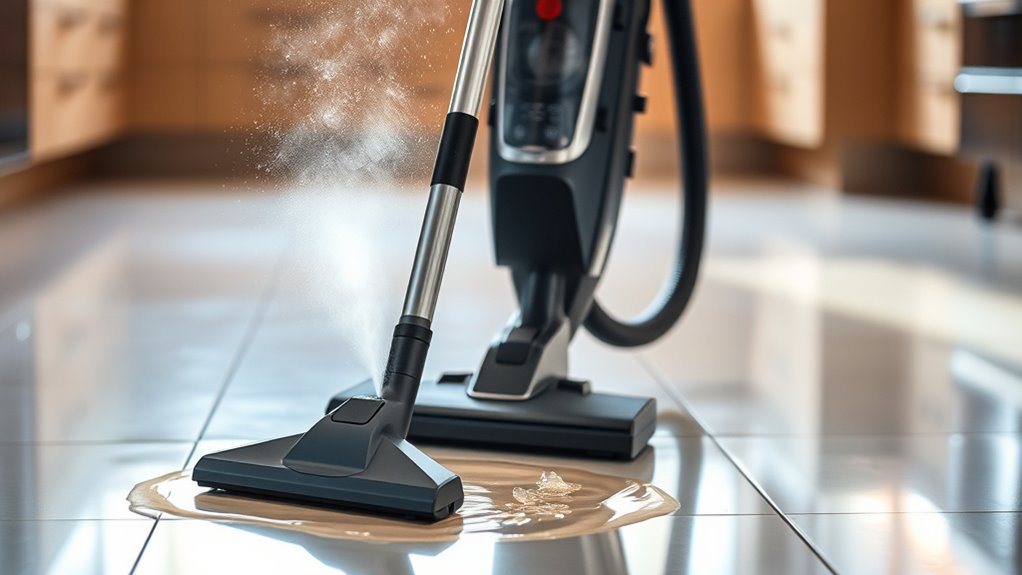
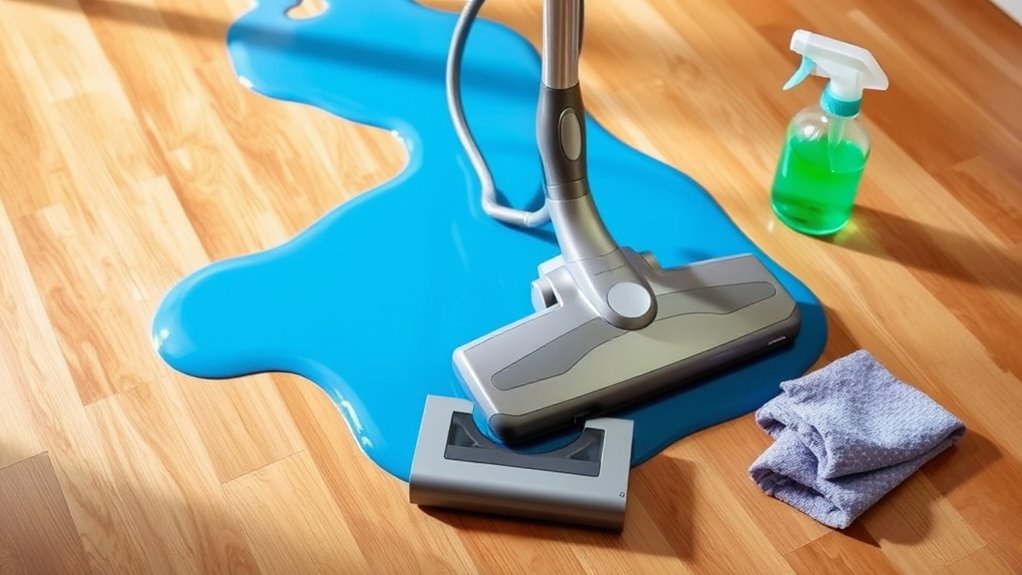
With your vacuum properly prepared for wet cleaning, you’re ready to tackle those spills effectively. Follow these steps to guarantee a successful clean-up with your wet/dry vacuum:
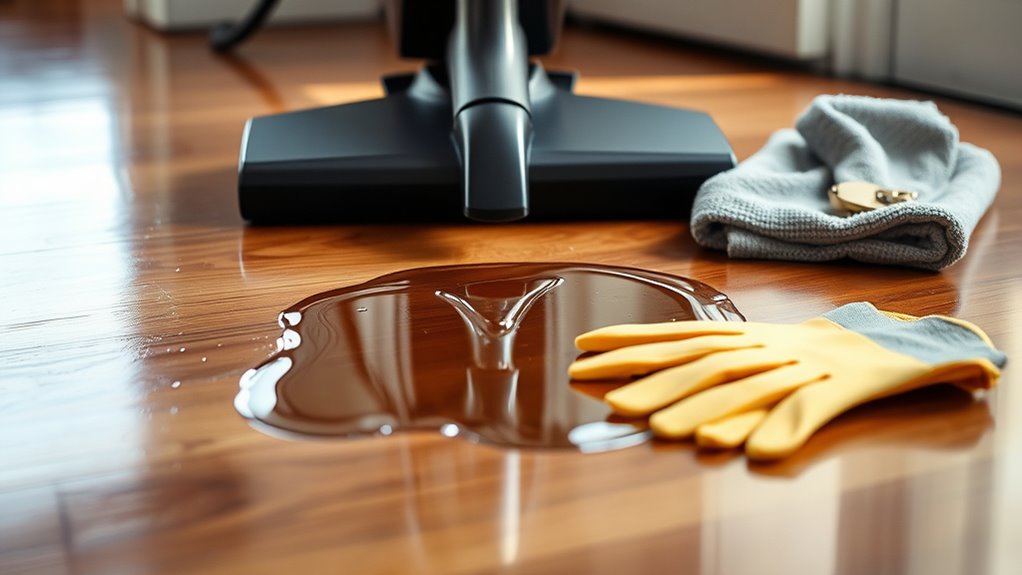
- Use the Right Attachments: Employ flat nozzles designed for wet surfaces to collect liquid efficiently and minimize mess.
- Monitor Performance: Keep an eye on the vacuum’s tank and empty it as needed. This maintains suction power and efficiency while you clean.
- Clean After Use: After tackling the spill, rinse and dry the vacuum’s hose and attachments thoroughly to prevent mold and odors from developing.
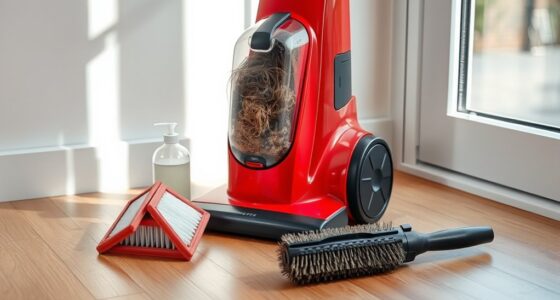
Maintenance Tips for Your Wet/Dry Vacuum

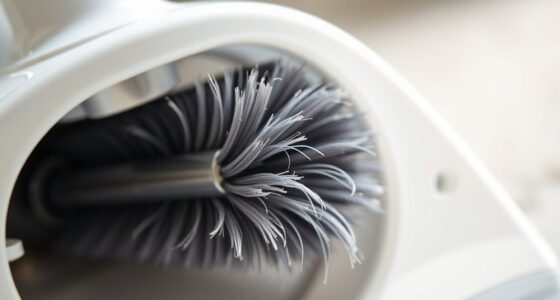
To keep your wet/dry vacuum in top shape, regular maintenance is essential. After each use, clean the tanks to prevent dirt, debris, and harmful bacteria buildup, ensuring peak performance for both dry and wet messes. Regularly inspecting hoses for blockages or damage can also enhance suction power during operation. Additionally, ensure that the vacuum is placed in an area with proper airflow to prevent overheating and maintain efficiency. Consistent maintenance prevents costly repairs and replacements over time.
Wash the filters periodically to maintain suction power and replace them every six to nine months, depending on usage. Always unplug the vacuum after charging to avoid overheating and battery damage, enhancing its longevity. Don’t forget to clean the brush rolls to prevent spreading dirt and bacteria. Once a month, perform a thorough cleaning of the vacuum’s interior using dish soap and warm water to prevent mildew, ensuring your vacuum operates at its best for future cleanups. Additionally, using specialized vacuums designed for wet spills can enhance your cleaning efficiency and protect your floors.
Common Mistakes to Avoid When Cleaning

When cleaning up wet spills, many people make critical mistakes that can complicate the process and damage their equipment.
To guarantee a smooth cleanup, keep these common pitfalls in mind:
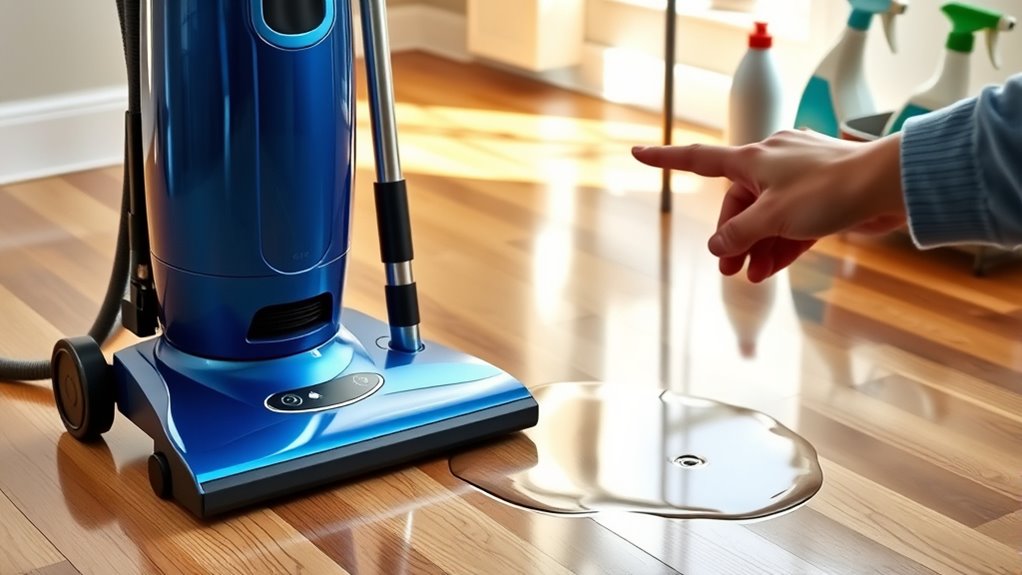
- Using a Traditional Vacuum: Don’t attempt to clean wet spills with a standard vacuum cleaner. They aren’t designed for liquids and can cause electrical hazards.
- Ignoring the Filter: Always remove the filter from your shop vac before vacuuming liquids. Failure to do so can lead to clogging and damage.
- Leaving the Vacuum Unattended: Never walk away while your vacuum’s collecting liquids. Overflowing can create a bigger mess.
Additional Cleaning Techniques for Tough Spills
Although tough spills can be intimidating, employing the right techniques can make cleanup much easier. For oil or grease, use a grease cutter after initial cleaning with dish soap. Sticky substances can be tackled by filling your vacuum’s tank with hot soapy water and vacuuming this mixture repeatedly. If you encounter heavy spills, thread a heavy string through the vacuum hose to pull a rag for easier residue removal. Always check and remove the vacuum back filter to maintain suction performance. For stubborn messes, let a cleaning solution soak before vacuuming.
| Technique | Description |
|---|---|
| Grease Cutter | Use after dish soap for oil spills |
| Hot Soapy Water | Fill tank and vacuum repeatedly |
| Soaking Solution | Allow soaking before vacuuming |
Choosing the Right Wet/Dry Vacuum for Your Needs
When you’re choosing a wet/dry vacuum, think about your specific cleaning needs first.
You’ll want to evaluate features like tank capacity and motor power to find the best fit for your tasks.
Consider Your Cleaning Needs
Choosing the right wet/dry vacuum can make a significant difference in how effectively you handle spills and messes.
To guarantee you pick the best vacuum cleaners for your needs, consider the following:
- Tank Size: A larger tank means less frequent emptying, making your cleaning tasks more efficient.
- Dual Tank Design: Look for models that separate clean and dirty water, enhancing your cleaning effectiveness and convenience.
- Motor Power: A powerful motor is essential for efficiently collecting liquids, especially for larger spills.
Also, don’t forget to check for safety features like a wet/dry hose to minimize electric shock risks and guarantee versatility for various surfaces like hardwood, carpets, and tiles. Additionally, consider how features like user-friendly installation can improve your overall experience with the vacuum.
Evaluate Vacuum Features Offered
As you evaluate the features offered by various wet/dry vacuums, you’ll find that certain specifications can greatly enhance your cleaning experience.
First, consider a vacuum cleaner with a powerful motor that efficiently collects liquids, minimizing your cleanup time. A large tank capacity is essential, too, as it reduces the frequency of emptying during extensive tasks.
Look for models equipped with a wet/dry hose designed to prevent electric shock, ensuring your safety on wet surfaces. Dual tank designs can separate clean and dirty water, improving hygiene.
Finally, evaluate additional functionalities, like self-cleaning capabilities and user-friendly interfaces, to simplify maintenance and enhance usability.
Frequently Asked Questions
Is It OK to Vacuum Wet Floor?
It’s generally not okay to vacuum wet floors with a traditional vacuum cleaner.
Doing so can create electrical hazards and damage the motor. If you need to clean up a spill, consider using a wet/dry vacuum, as it’s designed for handling moisture safely.
Before you start, make sure to remove the filter and check the vacuum’s capacity.
Regular maintenance after use is essential to keep your vacuum in good working condition.
Can You Vacuum Spilled Water?
Imagine you’ve just spilled a glass of water on your kitchen floor. You wonder, can you vacuum spilled water?
Yes, you can! Use a wet/dry vacuum cleaner, but make certain it’s in wet mode first. Remove any filters that can’t handle moisture.
With the right attachments, like a wide nozzle, you’ll quickly suction up the water. Just keep an eye on the vacuum’s performance to guarantee it’s effectively collecting the liquid without overloading.
Is It Safe to Vacuum Over Wet Carpet?
Is it safe to vacuum over wet carpet?
Generally, it’s not safe unless you’re using a wet/dry vacuum specifically designed for liquids. Regular vacuums can pose electrical hazards and get damaged.
You should address wet carpets quickly to prevent mold and fiber damage. If you do use a wet/dry vacuum, make sure to check for blockages and be aware of the tank’s weight as you clean.
Always prioritize safety when dealing with moisture.
Can You Use a Vacuum as a Wet Vac?
Imagine your vacuum as a knight, bravely battling dust and dirt.
But when faced with a wet spill, not every knight’s armor is suited for the challenge. You can’t use a regular vacuum as a wet vac; it’ll struggle and might get damaged.
Only a wet/dry vacuum is equipped for liquid warfare.
Conclusion
So there you have it—cleaning up wet spills isn’t exactly rocket science, but it can feel that way if you don’t follow the right steps. You’d think a simple vacuum could handle a little water, right? Yet, using the wrong one can turn a small mess into a major disaster. By preparing properly and avoiding common mistakes, you’ll not only keep your space tidy but also guarantee your vacuum stays in tip-top shape for the next inevitable spill.