
To remove candle soot from walls and ceilings, start by vacuuming loose soot with a brush attachment. For tough stains, use a dry cleaning sponge or a mild detergent solution applied with a soft cloth. If stains persist, a baking soda paste can help tackle them. Always spot-test cleaning solutions on an inconspicuous area first. After cleaning, make sure to maintain your candles properly to prevent future soot buildup. There’s more you can do for effective cleaning!
Key Takeaways
- Use a vacuum cleaner with a brush attachment to gently remove loose soot from walls and ceilings.
- Employ dry cleaning sponges to lift soot without moisture; avoid abrasive materials that could damage surfaces.
- For stubborn stains, create a mild detergent solution or baking soda paste; always spot test first.
- Rinse surfaces with clean water using a soft cloth, then dry with a microfiber cloth to prevent streaks.
- Regularly maintain candles by trimming wicks and placing them in draft-free areas to minimize soot production.

SIPPON Ash Vacuum Cleaner, Pellet Stove Vacuum Cleaner with Blower Function, 800W Powerful Suction 2.6 Gallon All-in-One Ash Vacuum for Fireplaces, Pellet Stoves
【Efficient Suction Power Ash Vacuum】The suction power of this ash vacuum cleaner has a powerful power of 800W,…
As an affiliate, we earn on qualifying purchases.
As an affiliate, we earn on qualifying purchases.
Preparation and Supplies

To effectively remove candle soot from your walls and ceilings, you’ll need a few essential supplies.
Start with dry-cleaning sponges, which use static electricity to lift soot without water. Soft cloths are also necessary for gentle cleaning with a mild detergent solution, ensuring you don’t damage your surfaces.
Begin with dry-cleaning sponges that leverage static electricity to effortlessly lift soot, complemented by soft cloths for safe, gentle cleaning.
Prepare a cleaning solution using water and mild detergent for a safe wash, or mix baking soda with water to create a paste for stubborn stains. White vinegar can help neutralize odors and assist in the cleaning process. Additionally, using high-quality candles made from natural ingredients can significantly reduce the amount of soot produced during burning.
Always test your cleaning solutions on a small, inconspicuous area first to avoid any damage. With these supplies, you’ll be ready to tackle the soot effectively.

ProPlus Dry Cleaning Sponge
Cleans walls, blinds, wallpaper, and lamp shades without water
As an affiliate, we earn on qualifying purchases.
As an affiliate, we earn on qualifying purchases.
Removing Loose Soot

Removing loose soot from your walls and ceilings is an essential first step in restoring your space.
Start by using a vacuum cleaner with a brush attachment, ideally one with a HEPA filter, to effectively capture tiny soot particles without smearing. Remember to work from the top down to prevent spreading soot to areas you’ve already cleaned. Maintain a safe distance while vacuuming to minimize soot dispersal. Trim the wick of your candles regularly to help reduce the amount of soot produced in the first place.
Always test a small area first to verify your cleaning method won’t damage the surface. Wear protective gear like masks, gloves, and safety glasses to avoid inhaling soot.
Finally, cover floors and furniture with drop cloths to keep soot from settling on surfaces during the cleaning process.

MRS. MEYER'S CLEAN DAY Baking Soda Cream Cleaner, Cuts Grease, Scratch-Free Polish, Lemon Verbena, 16 Fl Oz, Pack of 1
Mrs. Meyer’s Baking Soda Cream Cleaner removes soap scum and grease build-up to make your kitchen sparkle
As an affiliate, we earn on qualifying purchases.
As an affiliate, we earn on qualifying purchases.
Dry Cleaning Methods
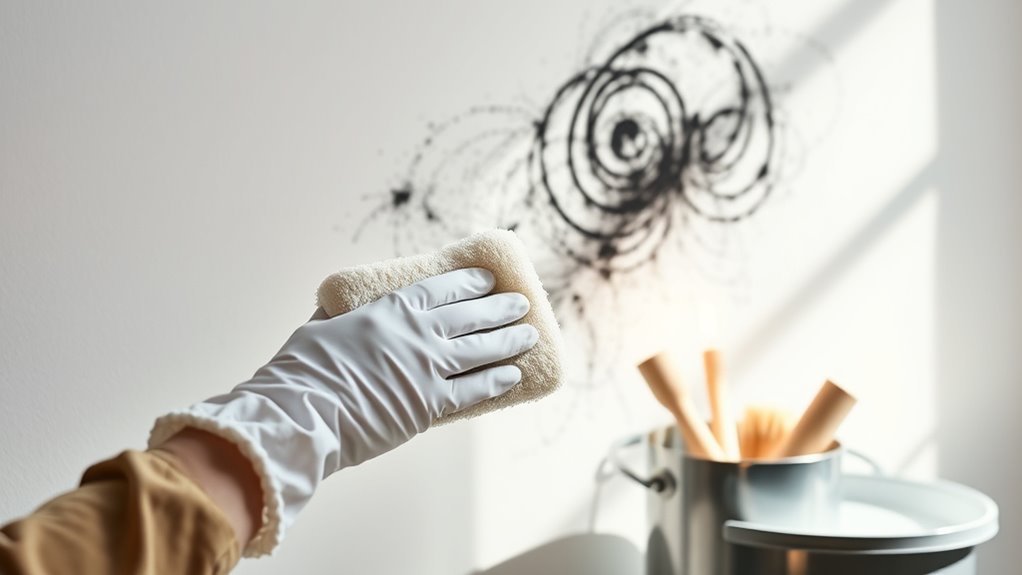
Once you’ve tackled the loose soot, it’s time to address those stubborn stains left behind. Dry cleaning sponges are your best bet for removing soot from walls and ceilings without water. Consider using Sabco Heavy Duty Eraser Pad Cleaning sponges for tough stains, or try Absorene Wall Cleaner for a different approach. Chemical sponges also effectively lift soot without moisture. Remember to wear gloves and a mask for safety, and guarantee good ventilation to minimize inhaling soot particles. Use a vacuum with a brush attachment to keep soot from spreading. Additionally, prolonged exposure to soot can lead to serious health issues, so ensure you take all necessary precautions. Avoid abrasive materials that could damage your surfaces, and always test any cleaning product on a small area first to prevent any unwanted effects.

JEHONN Wall Cleaner Mop with Long Handle 82 Inches, 3-in-1 Ceiling Cleaning Tool Duster with 6 Replacement Microfiber Chenille Pads for Painted Walls, Window, Floor, Baseboard
LONG ENOUGH TO REACH HIGH PLACE: JEHONN wall cleaner mop includes 5 metal extension poles, can be extended…
As an affiliate, we earn on qualifying purchases.
As an affiliate, we earn on qualifying purchases.
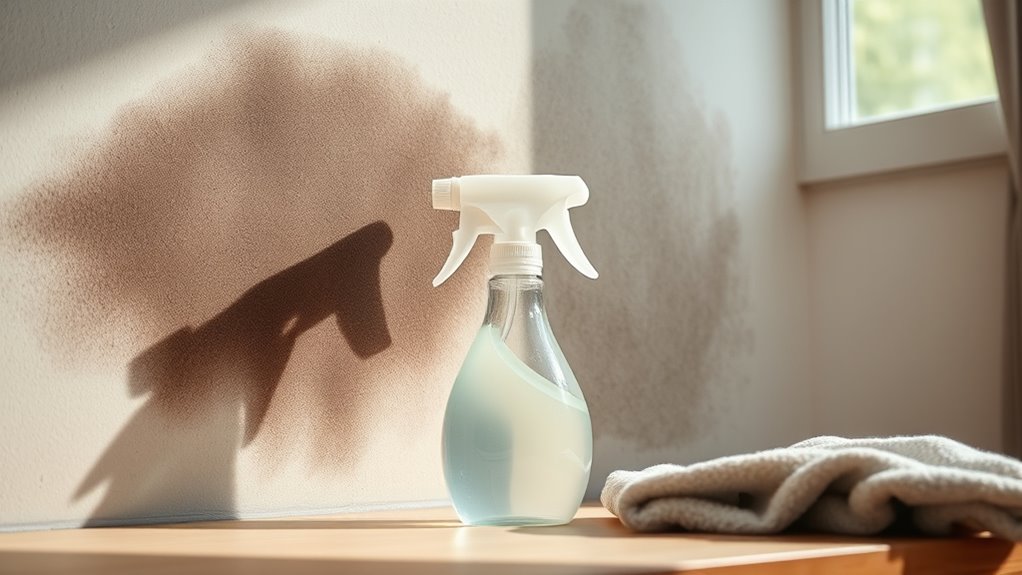
Wet Cleaning Methods

Wet cleaning methods provide an effective way to tackle stubborn soot stains on walls and ceilings. Start by preparing a cleaning solution using mild detergent mixed with warm water, or opt for a vinegar solution for a gentler approach. For tougher stains, trisodium phosphate (TSP) works well, but consider phosphate-free alternatives for safety. Always spot test a small area before applying any solution.
When applying, use a soft cloth or sponge, making sure it’s not dripping wet to prevent damage. Rinse the cloth frequently and finish by rinsing the area with clean water. Finally, dry the surface thoroughly with a microfiber cloth to avoid water spots. Remember to wear protective gear and guarantee good ventilation while you clean. Soot can affect indoor air quality, so it’s important to address any stains promptly to maintain a healthy living environment.
Stubborn Stain Removal
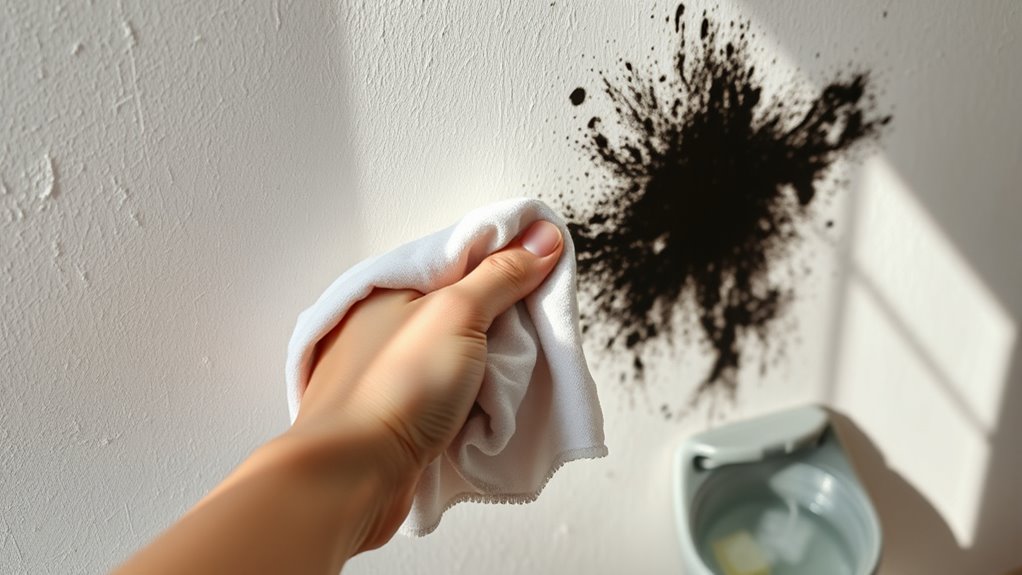
While tackling stubborn soot stains can be frustrating, knowing the right techniques can make the process much easier. Start by identifying the stain type to choose the best cleaning method. Gather your tools: a vacuum cleaner, dry cleaning sponge, soft cloths, mild detergent, white vinegar, baking soda, and warm water. Always test your cleaning solutions on a small, inconspicuous area first. Protect your surfaces with drop cloths and guarantee good ventilation to avoid inhaling soot particles. For the stains, apply a baking soda paste and let it sit before rinsing. Act quickly to prevent the stain from setting, and afterward, use a dry cleaning sponge to absorb any remaining moisture. Don’t hesitate to repeat the process if needed for persistent stains.
Post-Cleaning Procedures

After you’ve tackled the soot stains, it’s vital to follow proper post-cleaning procedures to confirm your space isn’t only clean but also safe.
Start by removing your safety gear like gloves and masks. Next, verify proper ventilation by opening windows to aid drying. Smoke damage can leave behind toxins, so ensuring your area is well-ventilated is crucial.
Don’t forget to take off any drop cloths protecting your furniture. Dispose of any cleaning solutions responsibly to prevent harm.
Inspect the area for any remaining soot or stains; a thorough check is significant.
To combat lingering odors, sprinkle baking soda, vacuum after 24 hours, and mist the area with a vinegar solution.
Consider using air purifiers to reduce particles, and if odors persist, you might want to consult a professional for help.
Preventing Future Soot Buildup

To prevent future soot buildup on your walls and ceilings, start by choosing high-quality candles made from natural waxes like soy, beeswax, or coconut. These options produce less soot compared to paraffin. Place your candles in draft-free areas to keep a steady flame, which helps reduce soot production. Regularly trim the wicks to guarantee a clean burn and limit your candle sessions to no more than four hours. Avoid burning candles too close to walls or ceilings, as this can lead to soot stains. Additionally, keep your candles at least 1-2 feet away from walls and regularly inspect them for any signs of sooting or mushrooming wicks to maintain a cleaner environment. Remember, excess fragrance oils or additives can disrupt combustion and lead to increased soot.
Choosing the Right Tools

Choosing the right tools is essential for effective soot removal from your walls and ceilings. Start by gathering safety gear like rubber gloves, safety glasses, and protective masks to shield yourself from soot particles. Guarantee good ventilation by opening windows, and cover your furniture and floors with drop cloths. A sturdy ladder will help you reach high areas safely, while buckets will be handy for mixing cleaning solutions. For cleaning, use a vacuum with a brush attachment to remove loose soot. Dry cleaning sponges work well for lifting soot without water, and microfiber cloths are great for wet cleaning. Don’t forget measuring cups and spoons for mixing your cleaning solutions accurately. With the right tools, you’ll make soot removal more efficient and effective, especially since certain areas of the house are more prone to soot accumulation.
When to Seek Professional Help
If you notice extensive soot damage on your walls or ceilings, it might be time to call in the professionals. When soot covers a large surface area or penetrates deeply into materials, basic cleaning methods won’t suffice. If multiple surfaces are affected, including hidden areas like ductwork, professional help is vital. Additionally, if you suspect harmful substances like asbestos or lead are present in the soot, specialized handling is essential to guarantee safety. Complex restoration needs, such as damaged wallpaper or paint, often require expert attention. Finally, consider the potential health risks; professionals are trained to manage these hazards safely, assuring a clean environment while using specialized equipment that you may not have access to. Hiring a local cleaning pro can be particularly beneficial for extensive soot damage, as they have the expertise and tools to effectively address the issue.
Frequently Asked Questions
Can I Use Vinegar to Clean Soot From Walls?
Yes, you can use vinegar to clean soot from walls.
Mix one part warm water with three parts vinegar for an effective solution. Before applying it, test a small area to confirm it won’t damage your paint or wallpaper.
Use a soft cloth or sponge to gently scrub the soot stains.
Vinegar not only helps lift the soot but also eliminates any lingering odors, making it a great natural cleaner for your home.
What Types of Paint Are Most Resistant to Soot Stains?
When choosing paint resistant to soot stains, consider high-quality finishes, stain-blocking formulas, and washability.
You’ll find paints like Benjamin Moore Aura and Sherwin Williams Emerald offer superior protection.
Look for products that promise longevity, ensuring they last longer without frequent repainting.
Applying paint correctly, with proper thickness and drying time, enhances its resistance.
With these options, you can keep your walls looking fresh and clean, even in soot-prone environments.
How Often Should I Clean Soot From My Walls?
You should clean soot from your walls as soon as you notice any build-up. Waiting can make it harder to remove later.
If you frequently burn candles or use your fireplace, regular cleaning is essential to prevent accumulation. Good ventilation and using quality products can help reduce the frequency of cleaning.
Always keep an eye on your walls, as regular maintenance can save you time and effort in the long run.
Will Cleaning Soot Damage My Wallpaper?
Yes, cleaning soot can damage your wallpaper if you’re not careful. Rubbing or scrubbing the stains might ruin the surface.
It’s best to start with dry methods, like using a vacuum with a brush attachment or a dry sponge. If you need to use moisture, make sure it’s minimal, and always test a small area first.
If the soot is severe, don’t hesitate to call a professional to avoid further damage.
Are There Eco-Friendly Options for Removing Soot?
Did you know that nearly 1 in 3 households use candles regularly?
If you’re looking for eco-friendly options to remove soot, there are effective methods. Start by vacuuming with a brush attachment to lift loose particles.
A dry cleaning sponge can gently lift soot without water. For stubborn stains, a paste of baking soda and water works wonders.
Finally, consider using a vinegar solution to clean and deodorize surfaces naturally.
Conclusion
Now that you’ve tackled the task of removing candle soot, you can enjoy your space without the unsightly stains. Isn’t it amazing how a little effort can restore your walls and ceilings? By following the steps outlined, you’ve not only cleaned but also taken measures to prevent future buildup. Remember, a soot-free space brightens your home and your mood. So, keep those candles glowing and your surfaces spotless!