Discover the best options for keeping your hardwood floors in excellent condition. The LG CordZero A9 Kompressor and Dyson V15 Detect Submarine provide powerful suction and gentle brushes for delicate cleaning. Consider the Shark Pet Plus Cordless Stick Vacuum with a self-cleaning brushroll. Robot vacuums like the bObsweep PetHair SLAM offer advanced mapping technology for efficient cleaning. Explore the Shark Wandvac Self-Empty Cordless Stick Vacuum and bObsweep PetHair Appetite for pet-specific cleaning needs. For more specialized options, check out the Bissell PowerEdge Pet Cordless Vacuum. Upright and canister vacuums with strong suction, like the AirClean Sealed System, are also highly effective. Wet-dry cleaning options include the Dyson V15 Detect for a thorough clean. Learn more details about each model.
Key Takeaways
- Rubber brushrolls for gentle cleaning and minimal maintenance.
- Smart mapping technology ensures precise navigation on hardwood floors.
- HEPA filtration systems for trapping allergens and maintaining air quality.
- Lightweight designs enhance maneuverability for efficient cleaning.
- Strong suction power essential for effective removal of dirt and pet hair.
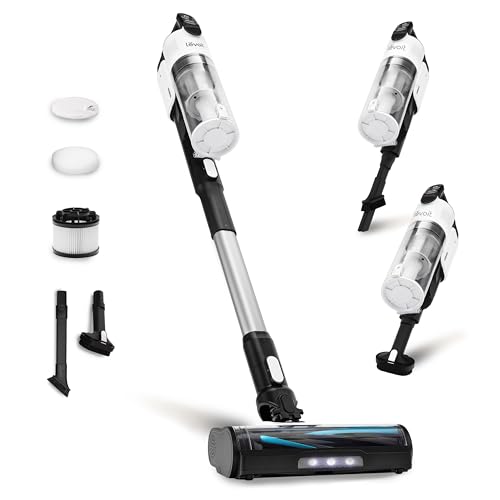
LEVOIT Cordless Vacuum Cleaner, Stick Vac with Tangle-Resistant Design, Up to 50 Minutes, Powerful Suction, Rechargeable, Lightweight, and Versatile for Carpet, Hard Floor, Pet Hair, LVAC-200
Tangle-Resistant Design: Pick up more hair and deal with less tangles, whether it’s human hair or pet hair.
As an affiliate, we earn on qualifying purchases.
As an affiliate, we earn on qualifying purchases.
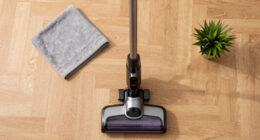
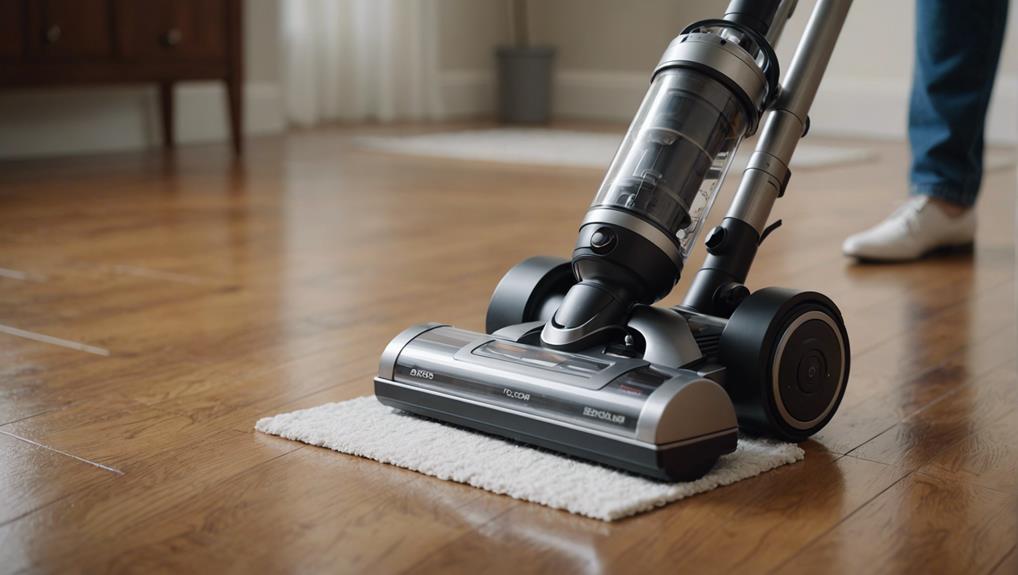
Top Cordless Stick Vacuums
Discover the convenience and efficiency of top cordless stick vacuums for keeping your hardwood floors spotless. When it comes to the Best Vacuum for Hardwood surfaces, cordless stick vacuums offer a perfect balance of cleaning performance and convenience.
Models like the LG CordZero A9 Kompressor with Power Mop and the Dyson V15 Detect Submarine showcase impressive suction power, ideal for capturing pet hair, dust, and debris from hardwood floors. These vacuums often come equipped with a soft brush to guarantee gentle yet effective cleaning without scratching the delicate surface.
Moreover, many cordless stick vacuums feature HEPA filtration systems, essential for trapping allergens and keeping your home environment healthy. Smart features such as app connectivity and intuitive controls make cleaning a breeze.
The Shark Pet Plus Cordless Stick Vacuum, for example, boasts a self-cleaning soft brushroll and anti-allergen complete-seal technology for a thorough clean. Investing in a high-quality cordless stick vacuum can greatly improve your hardwood floor maintenance routine, providing both convenience and powerful cleaning performance.

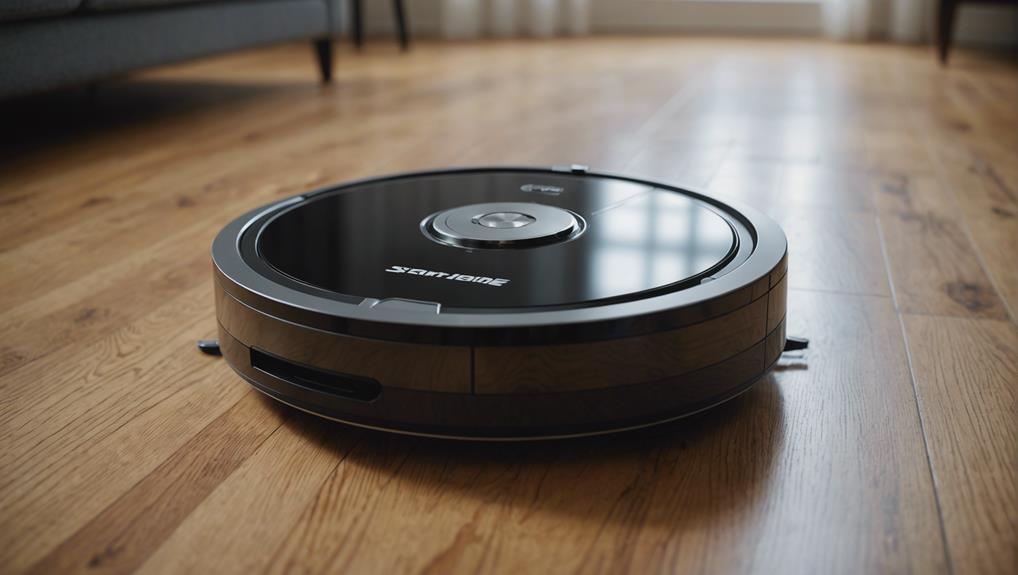
MONSGA Robot Vacuum and Mop Combo, 90 Days Self-Emptying with 8000Pa Suction, LiDAR Smart Mapping, Dual Anti-Tangle for Pet Hair, Carpet and Hard Floor
8000Pa Max Suction Meets Dual Anti-Tangle Design: From scattered crumbs to fluffy pet fur, this robot vacuum handles…
As an affiliate, we earn on qualifying purchases.
As an affiliate, we earn on qualifying purchases.
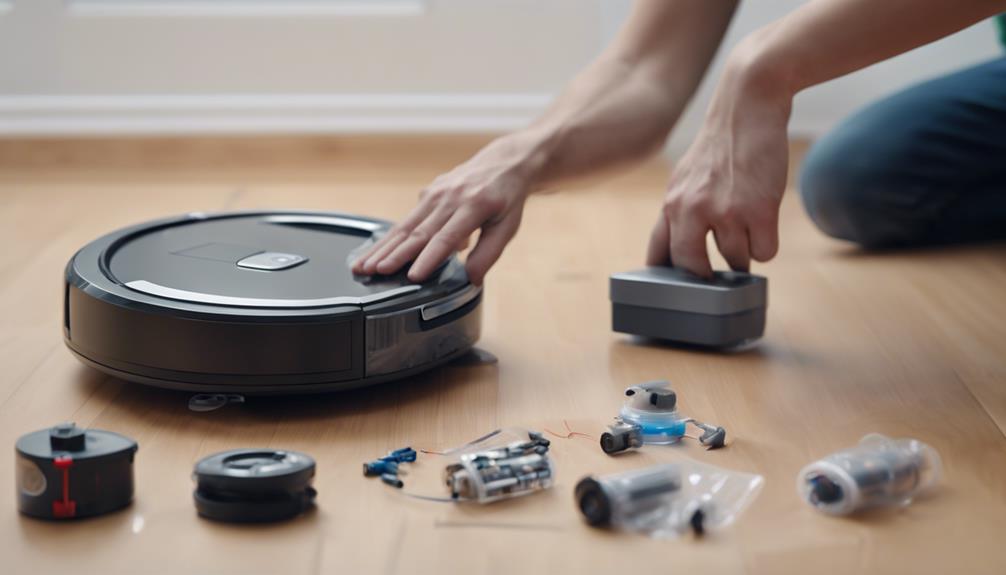
Robot Vacuums for Hardwood Floors
Robot vacuums for hardwood floors offer convenience and efficiency. They are equipped with features like rubber brushrolls for gentle cleaning. These robotic cleaners are designed to navigate your floors with precision, incorporating smart mapping technology for thorough coverage.
When considering a robot vacuum for your hardwood floors, look for models that offer versatile cleaning options. These models should require minimal maintenance for the best performance.
Top Robot Models
When considering top robot models for hardwood floors, prioritize those equipped with rubber brushrolls and smart navigation systems for best cleaning efficiency. To make an informed decision, keep in mind the following:
- Rubber Brushrolls and Plastic Drive Wheels: Opt for robot vacuums featuring rubber brushrolls and plastic drive wheels with rubber treads. These components are gentle on hardwood floors yet effective in capturing dirt and debris.
- Advanced Mapping Technology: Look for robot models with advanced mapping technology and smart navigation systems. These features guarantee efficient cleaning by allowing the robot vacuum to navigate and clean your hardwood floors systematically.
- Dual Cleaning Functionality: Choose a robot vacuum that offers dual cleaning functionality for both hardwood floors and carpets. This versatility ensures that your cleaning needs are met across different floor types, maintaining spotless hardwood floors effortlessly.
Investing in a robot vacuum tailored to your home's requirements will help you achieve and maintain pristine hardwood floors with ease.
Cleaning Efficiency Comparison
For a thorough comparison of cleaning efficiency among robot vacuums designed for hardwood floors, consider examining their features and performance on bare surfaces.
Robot vacuums tailored for hardwood floors often come equipped with rubber brushrolls and plastic drive wheels featuring rubber treads, ensuring top-notch performance without causing damage. These specialized robotic vacuums excel on bare surfaces, making them ideal for hardwood floors, and some models even incorporate mopping systems for a complete clean.
Look for robot vacuums with smart mapping and localizing technology to guarantee efficient navigation and coverage on hardwood floors. Advanced mapping technology, such as that found in the bObsweep PetHair SLAM, ensures effective cleaning not only on hardwood floors but also on carpets.
Investing in a robot vacuum specifically designed for hardwood floors guarantees effortless cleaning across different surfaces, delivering exceptional results with every use.
Maintenance Tips
Consider incorporating these essential maintenance tips to guarantee your robot vacuum for hardwood floors remains in top condition for efficient cleaning.
- Regular Cleaning: Make sure to clean the robot vacuum's dustbin and filters frequently to maintain its suction power and efficiency on hardwood surfaces.
- Inspect Brushrolls: Regularly check the rubber brushrolls for any tangled hair or debris that could hinder the vacuum's cleaning performance on bare hardwood floors.
- Proper Mopping: If your robot vacuum includes a mopping function, use it with compatible cleaning solutions suitable for hardwood floors to ensure a thorough and gentle clean without causing damage.

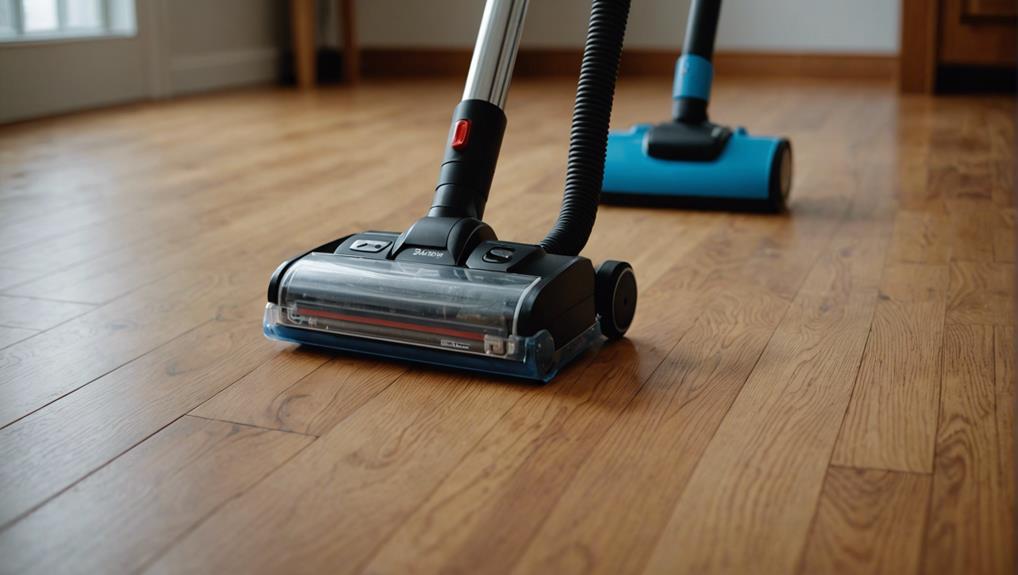
Bissell Pet Hair Eraser Allergen Lift-Off with Powerful Suction, HEPA, Tangle-Free Brush Roll, 39883
POWERFUL SUCTION. Dirt, fur & dust don’t stand a chance against the Pet Hair Eraser Allergen Lift-Off vacuum’s…
As an affiliate, we earn on qualifying purchases.
As an affiliate, we earn on qualifying purchases.
Testing and Reviews of Vacuums
Experts like Dena Ogden, Michelle Lau, and Marisa Viglione meticulously tested various vacuum models, focusing on performance analysis and user-friendly features.
Insights from The Lab emphasized factors such as noise levels, battery life, and design ergonomics, while specific features like strong suction power and lightweight design were evaluated.
Testing feedback underscored the significance of self-empty systems, multi-functional usage, and specialized functionalities for effective pet hair capture.
Vacuum Performance Analysis
During testing and reviews of vacuums for hardwood floors, valuable insights on vacuum performance were gathered from The Lab and home testing, involving experts like Dena Ogden, Michelle Lau, and Marisa Viglione. The evaluation process included analyzing noise levels, battery life, design ergonomics, and overall performance consistency.
Here are three key aspects that emerged from the vacuum performance analysis:
- Strong Suction Power: The reviews highlighted the importance of robust suction power for efficient cleaning on hardwood floors.
- Lightweight Design: Vacuums with a lightweight design were favored for ease of maneuverability and less strain during cleaning sessions.
- Efficient Cleaning: The efficiency of a vacuum in removing debris from hardwood floors was an important factor in determining its performance and suitability for recommendation.
These insights play an important role in determining the best vacuums for hardwood floors based on their performance metrics and features.
User-Friendly Features
Thorough testing and reviews of vacuums have shed light on the user-friendly features that enhance cleaning experiences on hardwood floors. When choosing a vacuum for hardwood floors, look for user-friendly features like swivel steering for easy maneuverability and a strong suction power to effectively clean debris. Cordless vacuum cleaners are convenient for quick clean-ups, especially for pet owners dealing with fur. Stick vacuums designed for hardwood floors offer portability and ease of use. Vacuums equipped with a HEPA filter help maintain air quality by trapping dust and allergens. For those seeking hands-free cleaning, smart robot vacuums are a popular choice. Opt for a filtration system that is easy to operate and maintain to ensure peak performance. Check out the table below for a quick comparison of user-friendly features in different vacuum types.
| User-Friendly Feature | Vacuum for Hardwood Floors | Stick Vacuum for Hardwood | Cordless Vacuum Cleaner | Pet Owners |
|---|---|---|---|---|
| Swivel Steering | ✓ | ✓ | ✓ | |
| Easy to Operate | ✓ | ✓ | ✓ | |
| Strong Suction | ✓ | ✓ | ||
| Filtration System | ✓ | ✓ |
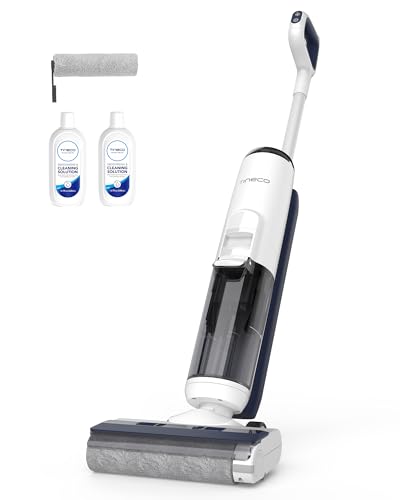
Tineco iFLOOR 5 Breeze Complete Wet Dry Vacuum Cordless Floor Washer, One-Step Cleaning for Hard Floors, Edge Clean, Auto Self-Cleaning, Lightweight & Cordless Design
Vacuum and Mop in One Step – Clean up wet or dry messes and easily tackle tough and…
As an affiliate, we earn on qualifying purchases.
As an affiliate, we earn on qualifying purchases.
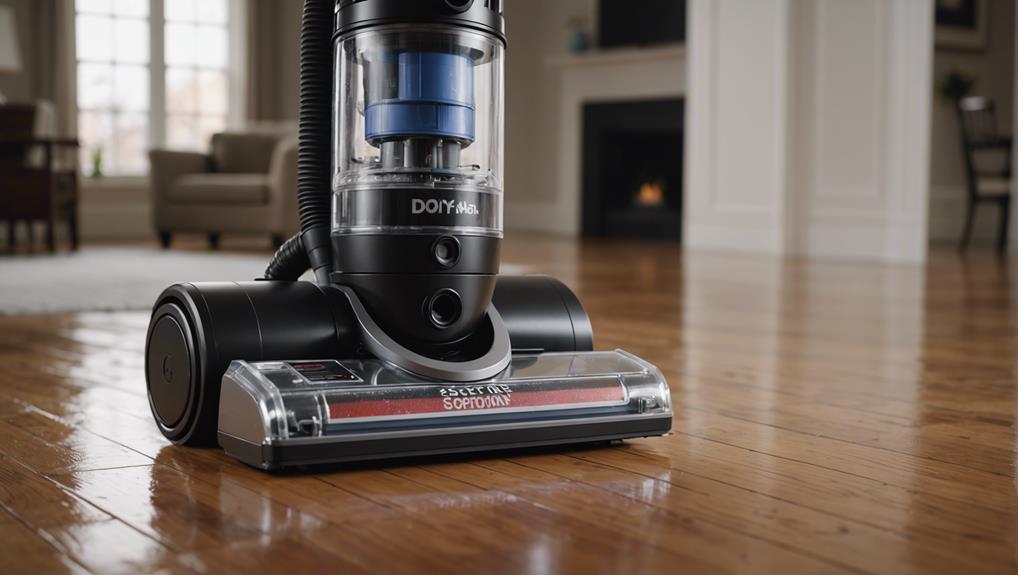
Best Vacuums for Pet Hair
When tackling pet hair on hardwood floors, look for vacuums with specialized features like self-cleaning brushrolls and smart mapping technology.
Here are some top picks to help you efficiently remove pet hair from your hardwood floors:
- Shark Wandvac Self-Empty Cordless Stick Vacuum: This vacuum stands out with its self-cleaning brushroll and powerful suction, making it highly effective for pet hair removal on hardwood floors.
- bObsweep PetHair Appetite Robot Vacuum and Mop: With smart mapping technology and a design tailored for hardwood floors, this robot vacuum is a great choice for pet owners looking to keep their floors clean.
- Bissell PowerEdge Pet Hardwood Floor Cordless Vacuum: Featuring a specialized design specifically for handling pet hair on hardwood surfaces, this vacuum offers efficient pet hair removal while being gentle on your floors.
These vacuums combine innovative features and specialized designs to make pet hair removal on hardwood floors a breeze.
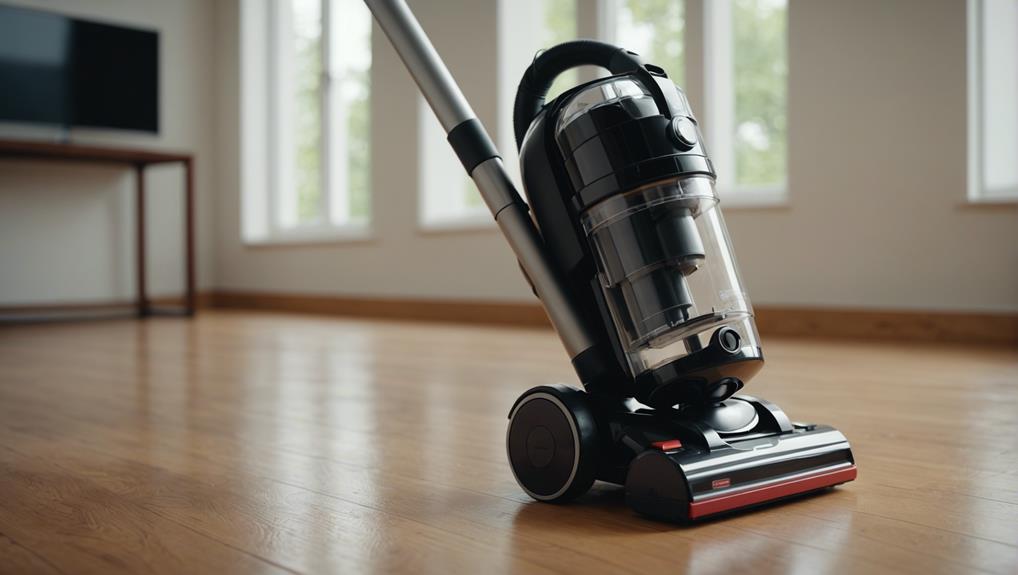
Upright and Canister Vacuums
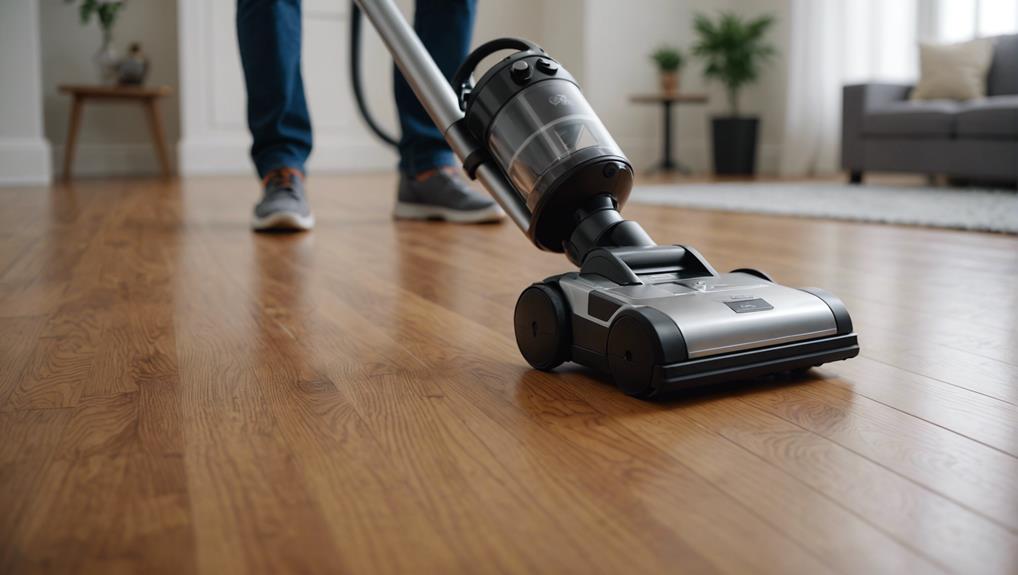
For efficient cleaning on hardwood floors, consider the versatility of upright and canister vacuums like the Shark Wandvac Self-Empty Cordless Stick Vacuum and the Miele C1 Turbo Team Canister Vacuum.
Upright vacuums, such as the Shark Wandvac, offer powerful suction, ideal for deep cleaning hardwood floors.
On the other hand, canister vacuums like the Miele C1 Turbo Team provide versatile cleaning with their compact design, making it easy to maneuver around furniture and tight spaces.
Both types excel in debris pickup, ensuring a thorough clean every time.
The Miele C1 Turbo Team even features an AirClean Sealed System, effectively containing dust and allergens during vacuuming.
If you're looking for a vacuum that can do more than just vacuum, the Shark VacMop Pro Cordless Hard Floor Vacuum Mop combines vacuuming and mopping functions for efficient cleaning on hardwood floors.
These options are perfect for maintaining the beauty of your hardwood floors with their deep cleaning capabilities.
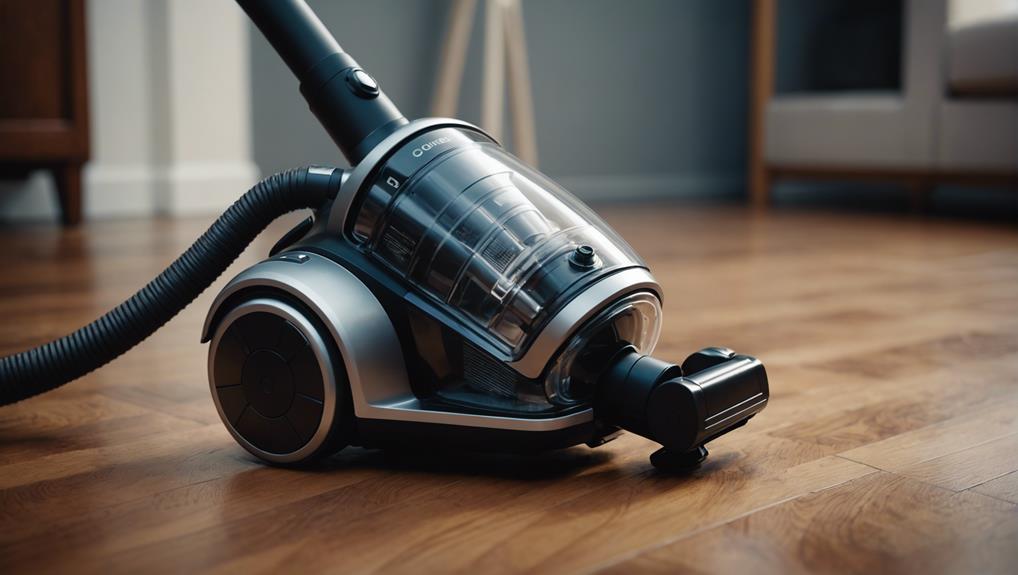
Wet-Dry Vacuum Options
Explore enhancing your cleaning routine with wet-dry vacuum options that offer the convenience of both vacuuming and mopping functions for your hardwood floors. These innovative devices combine the benefits of traditional vacuuming with the efficiency of mopping, making them ideal for maintaining the beauty of your hardwood surfaces.
Here are three top wet-dry vacuum choices to explore:
- Dyson V15 Detect Submarine: This model features specialized wet roller heads designed to effectively clean and mop hardwood floors, providing a thorough cleaning experience.
- Shark VacMop Pro Cordless Hard Floor Vacuum Mop: Known for its versatile functionality, this vacuum offers a convenient solution for wet-dry vacuuming, simplifying your cleaning routine.
- Roborock S7 Robot Vacuum and Mop: With advanced features like sonic vibration technology for deep cleaning, this model is perfect for those looking for a high-tech solution to maintain their hardwood floors.
Vacuum Cleaners With Special Features
Enhance your hardwood floor cleaning experience with vacuum cleaners equipped with special features designed to improve efficiency and air quality. These hardwood vacuums offer various enhancements, including HEPA filtration for cleaner air while vacuuming and smart sensors for improved efficiency. Some models even come with dusting brushes and crevice tools to reach challenging spots on hardwood floors. Additionally, certain vacuums provide app connectivity, allowing you to control and schedule cleaning sessions conveniently.
| Feature | Description |
|---|---|
| HEPA Filtration | Ensures cleaner air quality while vacuuming hardwood floors |
| Smart Sensors | Enhance vacuuming efficiency and effectiveness |
| Dusting Brushes | Aid in cleaning hard-to-reach areas on hardwood floors |
| Crevice Tools | Assist in reaching and cleaning tight spaces |
| App Connectivity | Enables convenient control and scheduling of cleaning |
Frequently Asked Questions
What Is the Number One Rated Vacuum for Hardwood Floors?
You're looking for the top-rated vacuum for hardwood floors. The Dyson V15 Detect stands out with its powerful suction and specialized design. It's a cordless stick/handheld model with a HEPA filter, perfect for efficient cleaning.
How Do I Choose a Vacuum for My Hardwood Floors?
When choosing a vacuum for your hardwood floors, consider models with rubberized wheels and adjustable suction settings. Look for specialized attachments like soft brushrolls and HEPA filters for air quality. Features like edge cleaning and swivel steering are essential.
What Vacuum Won't Scratch the Floor?
You need a vacuum that won't scratch your floor. Look for one with rubberized wheels, adjustable suction, and soft bristles. It's like finding the perfect dance partner – smooth moves that won't step on your toes.
Is It Better to Vacuum or Swiffer Hardwood Floors?
When it comes to hardwood floors, vacuuming is the superior choice over Swiffering. Vacuums can reach deeper into crevices and provide more thorough cleaning, making them the recommended option for maintaining and preserving your hardwood floors.
Which Specific Vacuum Models Are Included in the Best Vacuums for Hardwood Floors List?
The best hardwood vacuum options typically include models known for their exceptional performance on hardwood floors. Some popular choices that are often included in the best vacuums for hardwood floors list are the Dyson V11 Torque Drive, Shark Navigator Lift-Away Professional, and Bissell PowerEdge Pet Hardwood Floor Corded Vacuum.
Conclusion
To sum up, when it comes to finding the best vacuum for your hardwood floors, consider your specific needs and preferences. Whether you opt for a cordless stick vacuum for quick cleanups, a robot vacuum for hands-free maintenance, or a powerful upright vacuum for deep cleaning, there's a perfect choice for every home.
Just like a reliable friend, the right vacuum will always have your back, keeping your floors spotless and your home looking its best.