
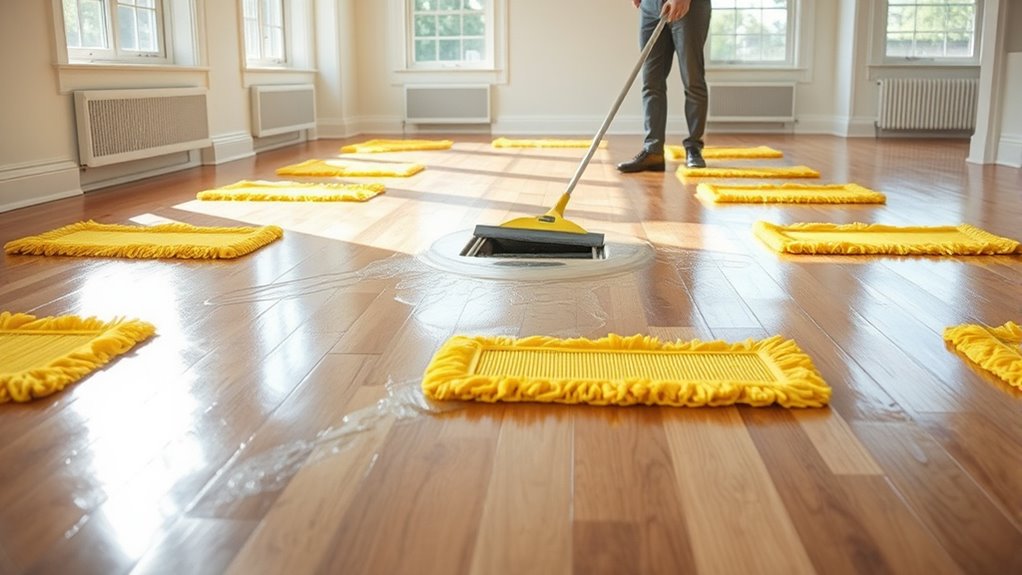
To dry floors properly and prevent water damage, start by removing any surface water with towels or mops. Use fans, dehumidifiers, or air movers to speed up evaporation, focusing on corners and seams. Monitor moisture levels regularly with a moisture meter, ensuring the floor is thoroughly dry before use. Installing moisture barriers can also protect against future spills. Keep in mind, combining these techniques helps safeguard your floor’s long-term health; learn more to master the process.
Key Takeaways
- Install moisture barriers like waterproof membranes to prevent water from seeping into underlying materials.
- Use fans, dehumidifiers, and air movers to accelerate drying and promote proper airflow.
- Regularly monitor moisture levels with meters to ensure the floor is thoroughly dry before use.
- Remove surface water promptly and focus on drying all layers to prevent mold and long-term damage.
- Elevate or adjust the flooring setup if dampness persists to improve airflow and drying efficiency.
Ever wonder why some floors dry faster and stay cleaner longer? The secret often lies in how you approach the drying process and the tools you use. Properly drying floors isn’t just about waiting for the water to evaporate; it involves understanding moisture barriers and employing effective drying techniques that prevent water damage and mold growth. Moisture barriers are essential in blocking water from seeping into underlying materials, especially in areas prone to spills or leaks. Installing a moisture barrier beneath flooring, like a plastic sheet or waterproof membrane, creates a protective layer that stops water from reaching the subfloor. This step is vital because it reduces the risk of long-term damage and makes drying more efficient. Without it, water can seep deep into the foundation or subfloor, making the drying process more complicated and increasing the chance of mold or structural issues.
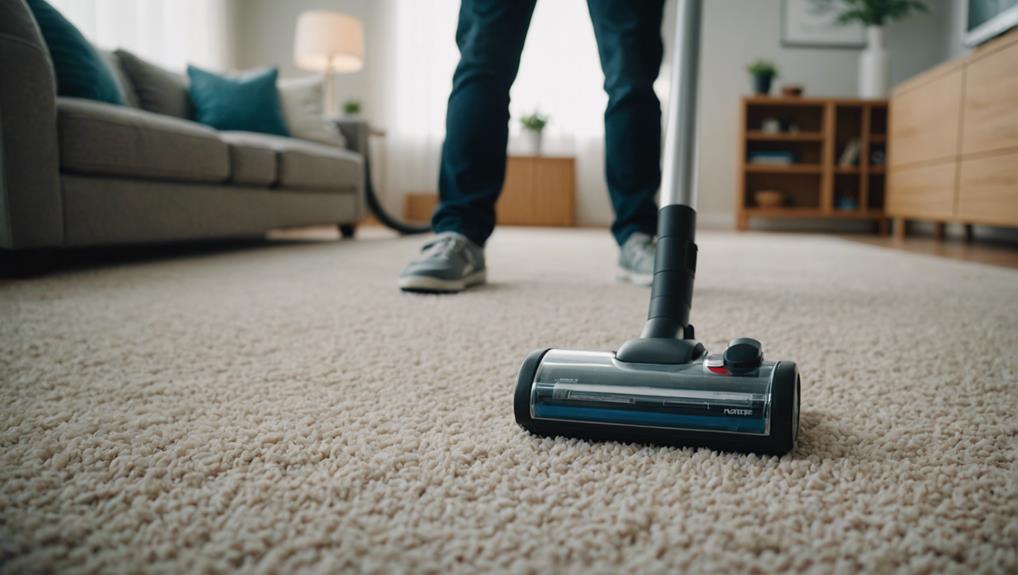
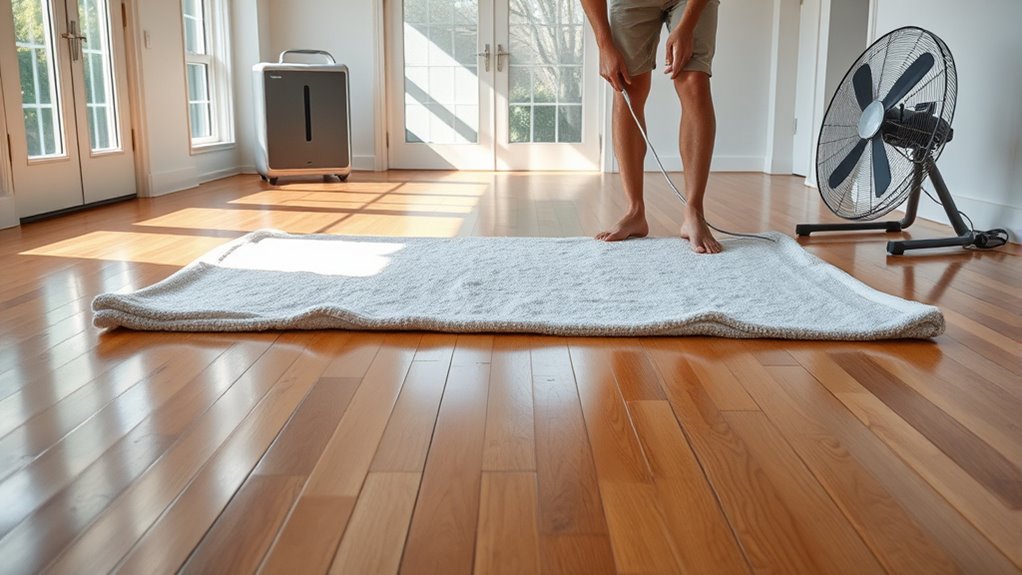
When it comes to drying techniques, speed and method matter. You want to remove as much surface water as possible first, using absorbent towels or mops. Once the visible water is gone, you should turn to fans, dehumidifiers, or air movers to accelerate the drying process. Proper airflow helps evaporate residual moisture from the floor surface and the underlying layers. Position fans strategically, directing airflow across the surface and into seams or corners where moisture might linger. Dehumidifiers are especially effective because they lower the humidity level in the room, drawing moisture out of the air and from the floor itself. This combination of drying techniques ensures that moisture doesn’t get trapped, which can lead to warping, staining, or mold growth over time. Additionally, incorporating AI-powered monitoring devices can help track moisture levels more accurately and optimize the drying process.
Another key aspect is to monitor the drying process closely. Use a moisture meter to check the moisture levels periodically—this helps you determine when the floor is adequately dry. Rushing the process can trap moisture beneath the surface, so patience combined with consistent monitoring makes all the difference. If you notice lingering dampness, continue with additional drying techniques or consider elevating the floor slightly to improve airflow. Remember, the goal isn’t just to dry the surface but to remove moisture from all layers, preventing future problems.
waterproof moisture barrier for floors
As an affiliate, we earn on qualifying purchases.
As an affiliate, we earn on qualifying purchases.
Frequently Asked Questions
How Long Does It Typically Take for Floors to Dry Completely?
It usually takes about 24 to 48 hours for floors to dry completely, depending on humidity levels and moisture content. You should monitor the moisture content regularly with a moisture meter, as high humidity slows down drying. To speed up the process, guarantee proper ventilation, use fans, and consider dehumidifiers. Keep an eye on the floor until the moisture levels are back to normal, preventing further water damage.
What Are the Best Tools for Drying Different Types of Flooring?
Imagine a flood of water soaking your floors—now, grab the right tools to tame that chaos! For hardwood or laminate, use powerful industrial fans and moisture meters; for tile or vinyl, absorbent mops and commercial dryers work wonders. Drying equipment like dehumidifiers and specialized floor blowers are essential, matching your flooring materials perfectly. These tools speed up drying, preventing damage and restoring your space to pristine condition in no time.
Can Drying Floors Too Quickly Cause Damage?
Yes, drying floors too quickly can cause damage. Excessive drying may lead to floor cracking or warping, especially with wood or laminate surfaces. When you rush the process, you risk uneven moisture removal, which stresses the materials. To avoid this, use gentle methods like fans or dehumidifiers, and guarantee even airflow. Proper, gradual drying helps prevent damage while effectively removing excess moisture.
How Do I Dry Floors in Hard-To-Reach Areas?
Did you know that 95% of water damage occurs in hard-to-reach areas? To dry these spots effectively, use long-handled or flexible tools like squeegees or microfiber mops. Always follow safety precautions, such as wearing gloves and non-slip shoes. Incorporate moisture detection tools to guarantee thorough drying. This approach helps prevent mold growth and structural damage, keeping your space safe and dry.
Are There Eco-Friendly Methods to Speed up Drying?
Yes, you can use eco-friendly solutions and natural drying techniques to speed up drying. Try increasing ventilation by opening windows and using fans with energy-efficient settings. Use moisture-absorbing materials like silica gel or eco-friendly desiccants to draw out moisture. You can also place bowls of salt or baking soda on the floor to absorb excess moisture. These methods are effective, safe for the environment, and help dry floors faster naturally.
electric moisture meter for floors
As an affiliate, we earn on qualifying purchases.
As an affiliate, we earn on qualifying purchases.
Conclusion
Remember, drying your floors is like tending to a delicate garden—you must be patient and thorough. By removing water promptly, you protect the roots of your home from hidden damage and foster a safe, thriving environment. Let each dry surface symbolize resilience, a reminder that swift action can turn potential chaos into calm. With care and attention, you’ll nurture a space that stands strong against the storms, ensuring your home’s foundation remains firm and beautiful.
floor drying fan
As an affiliate, we earn on qualifying purchases.
As an affiliate, we earn on qualifying purchases.
dehumidifier for water damage
As an affiliate, we earn on qualifying purchases.
As an affiliate, we earn on qualifying purchases.