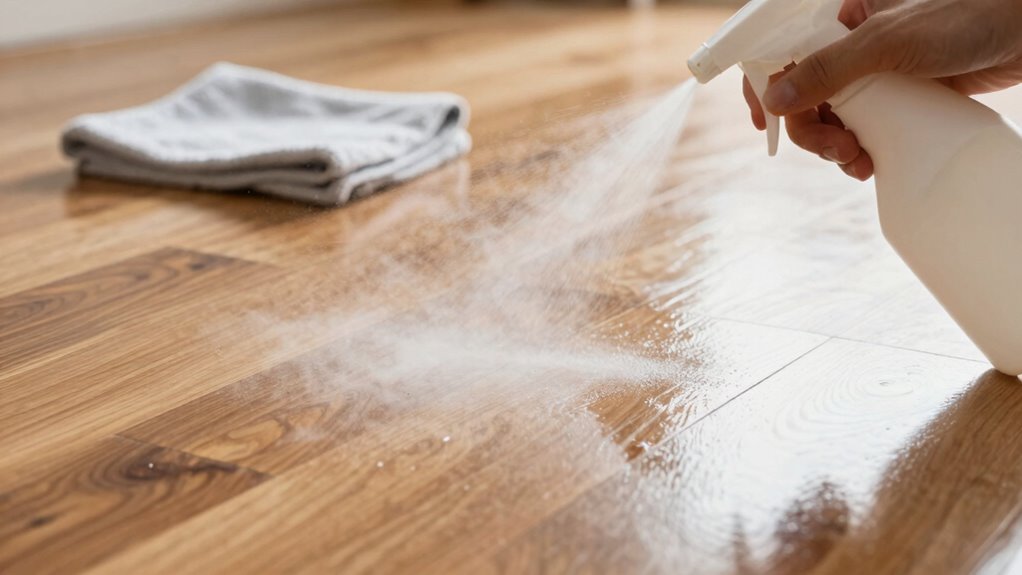
To quickly remove floor haze without re-cleaning, mix equal parts white vinegar and water in a spray bottle. Lightly dampen a microfiber cloth with the solution and gently buff the affected area. This safe, chemical-free method breaks down residue and restores shine fast. Be sure to test a small spot first. Keep exploring for more tips on maintaining your floors and handling stubborn haze effectively.
Key Takeaways
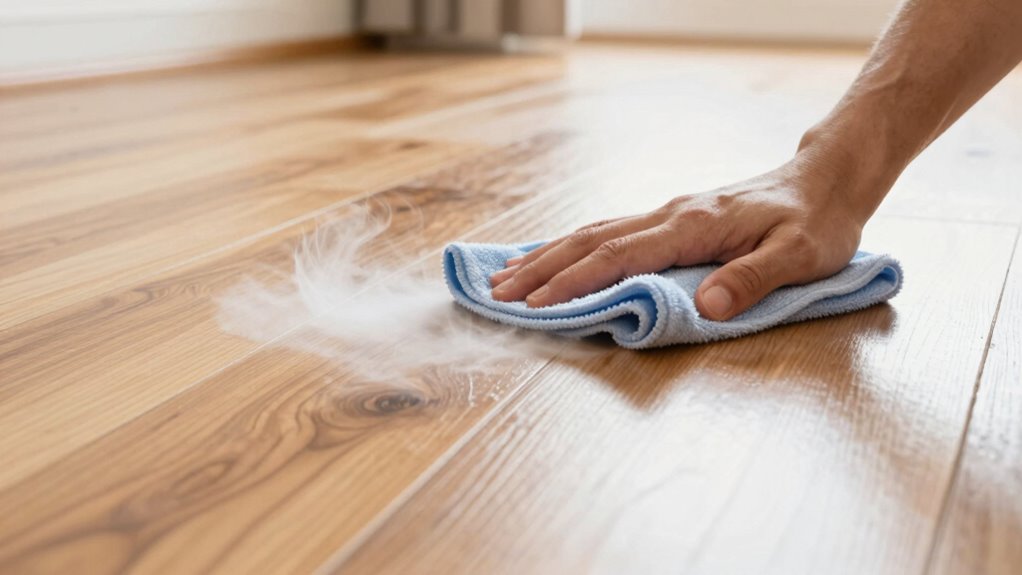
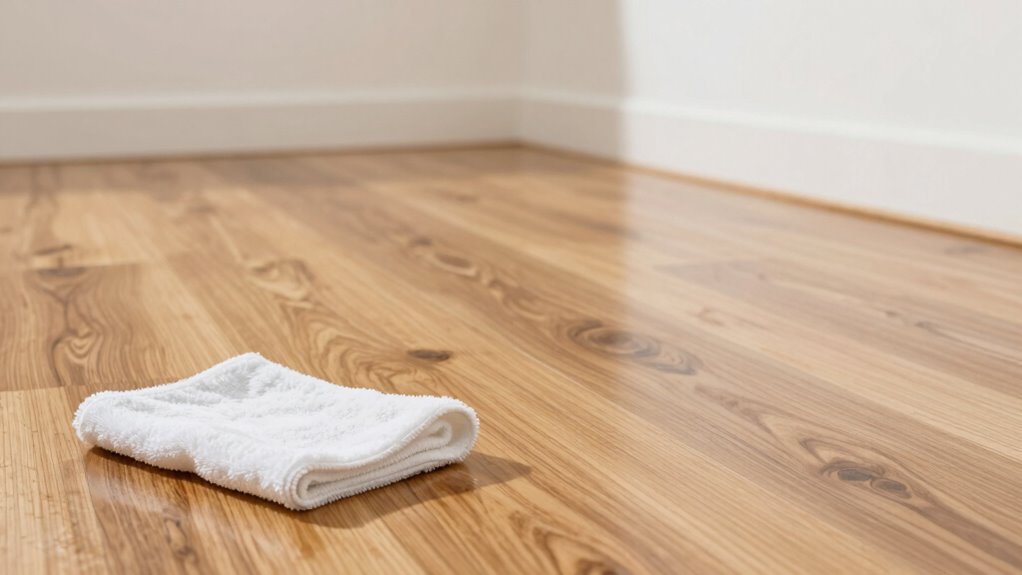
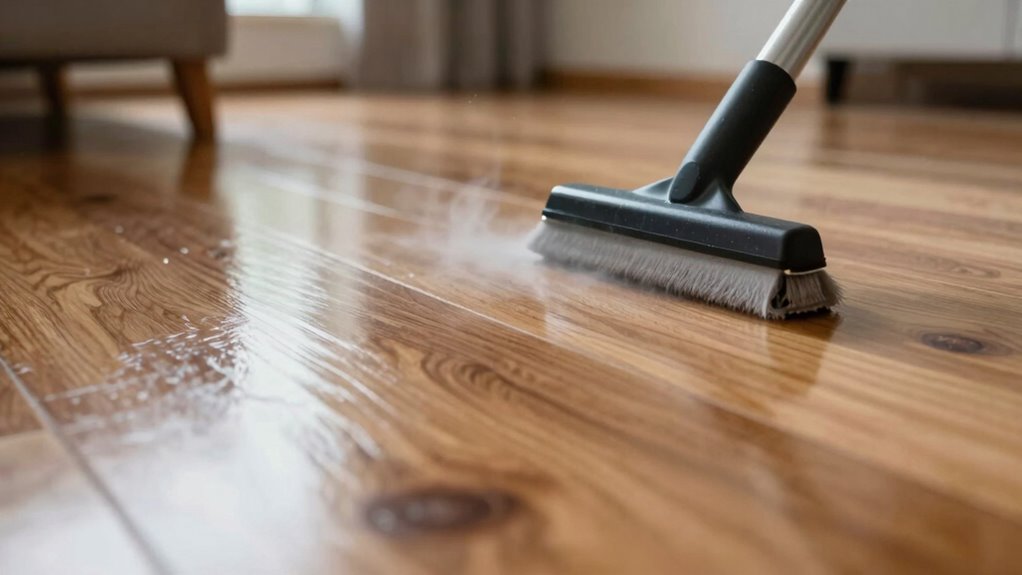
- Dampen a microfiber cloth with a vinegar-water solution and gently buff the hazy area.
- Perform a quick gloss test with water to confirm the finish is sealed before treatment.
- Use a specialized haze remover or eco-friendly cleaner designed for your flooring type.
- Avoid harsh chemicals or abrasive tools that can worsen the haze or damage the surface.
- Immediately wipe spills and residues with a damp cloth to prevent haze formation.

FABER Epoxy Remover – Epoxy Resin Haze Remover and Post Construction Cement Grout Cleaner to Renew Refresh & Restore Natural Shine of Porcelain Ceramic Tile Floor – Heavy Duty Alkaline Compound
POST CONSTRUCTION & ON SYNTHETIC RESIDUES – Once construction is done, get clear cleaning magic on all flooring…
As an affiliate, we earn on qualifying purchases.
As an affiliate, we earn on qualifying purchases.
Quick Fixes to Remove Floor Haze Fast
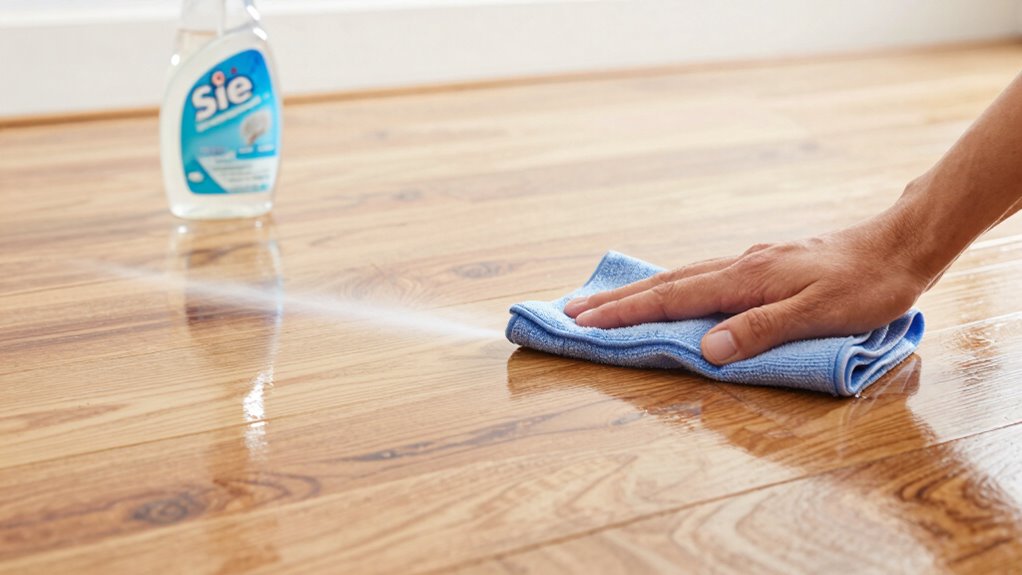
If you’re looking to eliminate floor haze quickly, there are several effective methods you can try right away. Using eco-friendly products is a smart choice, as they’re safe for both your family and the environment. You can also try DIY remedies like mixing white vinegar with water, which cuts through haze without harsh chemicals. Simply combine equal parts vinegar and water, then mop the floor with the solution. Rinse with clean water afterward to prevent streaks. For stubborn haze, a microfiber cloth dampened with this mixture can buff the surface gently. These quick fixes work fast, require minimal effort, and help keep your floors shiny and clear without resorting to strong chemicals or re-cleaning repeatedly. Incorporating simple cleaning routines can also help maintain a haze-free finish over time. Additionally, understanding the composition of floor haze can guide you in selecting the most effective cleaning method. Being aware of air quality factors that contribute to haze buildup can help you take preventative steps. Maintaining proper ventilation during cleaning can also reduce the accumulation of haze particles in the air. Regular maintenance and proper cleaning techniques are essential for long-term floor care and preventing future haze buildup.

6-Pack Reusable Mop Pads Compatible with Sweeper Mop – 100% Coral Fleece Washable Refills – Microfiber Dry & Wet Sweeping Cloths for Multi-Surface/Hardwood Floor Cleaning
✔️ Universal Compatibility & Fit Reusable mop pads perfectly fit Sweeper Mops and all 10-12 inch flat mops….
As an affiliate, we earn on qualifying purchases.
As an affiliate, we earn on qualifying purchases.
What Causes Floor Haze and Why You Should Know
Understanding what causes floor haze helps you prevent it from forming in the first place. Floor haze often results from residue left behind by improper cleaning agents or over-application of a floor finish. When you use harsh or incompatible cleaning agents, they can react with the floor finish, leaving streaks or a cloudy film. Similarly, applying too much floor finish or not buffing it properly creates a hazy appearance. Environmental factors like dust or humidity can also contribute, but the main culprits are the wrong cleaning agents and improper application techniques. Knowing these causes allows you to choose the right cleaning products and apply your floor finish correctly, helping you maintain a clean, glossy surface free of haze. Regular cleaning and using manufacturer-recommended products are essential maintenance dos to achieve the best results. Additionally, understanding free floating can help you identify issues that might contribute to uneven finishes or haze formation. Being aware of residue buildup and how it interacts with cleaning agents can further improve your floor maintenance routine.

CPDI All-Purpose White Vinegar Cleaning Solution, 1 Gallon, Multi-Surface Cleaner for Hard Water Stains, Bathroom and Kitchen Surfaces, and Clothes, Effective Deodorizer
MULTIPURPOSE HOME CLEANER – This is a truly versatile vinegar for cleaning your home, kitchen and bathroom that…
As an affiliate, we earn on qualifying purchases.
As an affiliate, we earn on qualifying purchases.
How to Check Your Floor’s Finish Before Cleaning
Before you start cleaning, it’s essential to check your floor’s finish to make certain you’re using the right methods and products. This step guarantees you won’t damage the surface or worsen haze issues. First, perform a gloss testing by placing a small amount of water on a hidden spot; if it beads up, your finish is likely sealed. Next, test the pH balancing of cleaning solutions; floors with a neutral pH (around 7) are safest. Third, look for signs of wear or dullness that indicate the finish’s condition. Finally, consult manufacturer guidelines or test a small area to confirm the finish’s compatibility with cleaning agents. These steps help you avoid stripping or dulling the finish, ensuring effective and safe cleaning. Additionally, understanding the water chemistry of your pool surface can help prevent damage during cleaning. Being aware of the finish type can also guide you toward appropriate cleaning methods, especially for delicate surfaces.

FILA EPOXYOFF, Epoxy Grout Haze Remover, Effectively Removes Epoxy Residue, The Product Can Be Applied on Vertical Surfaces, 1 QT
Use EPOXYOFF Grout Haze Remover to remove epoxy grout residue.
As an affiliate, we earn on qualifying purchases.
As an affiliate, we earn on qualifying purchases.
Best Cleaners for Removing Floor Haze Quickly
To effectively remove floor haze quickly, choosing the right cleaner is essential. Eco-friendly options are a great place to start, as they’re gentle on your floors and the environment. Look for cleaners labeled safe for your specific flooring type, like pH-neutral solutions for hardwood or tile. DIY remedies such as a mixture of vinegar and water can also be effective, but use them sparingly to avoid damage. Commercial cleaners designed for haze removal often contain surfactants that dissolve residual finishes and residues efficiently. Always test a small area first to prevent any adverse effects. Incorporating connected home technology into your cleaning routine, such as smart sensors or app-guided solutions, can help monitor and optimize the cleaning process for better results. Using appropriate cleaning techniques tailored to your flooring material can further speed up haze removal. Combining eco-friendly products with simple DIY remedies ensures a quick, safe, and effective approach to restoring your floor’s clarity without harsh chemicals. Additionally, understanding floor chemistry can help you select the most compatible cleaning methods to avoid future haze buildup. Being aware of floor surface characteristics can also inform your choice of cleaning methods to prevent re-hazing over time. Recognizing the importance of regular maintenance can significantly reduce the frequency of haze buildup and keep your floors looking their best.
How to Apply a Haze-Removing Solution Step-by-Step
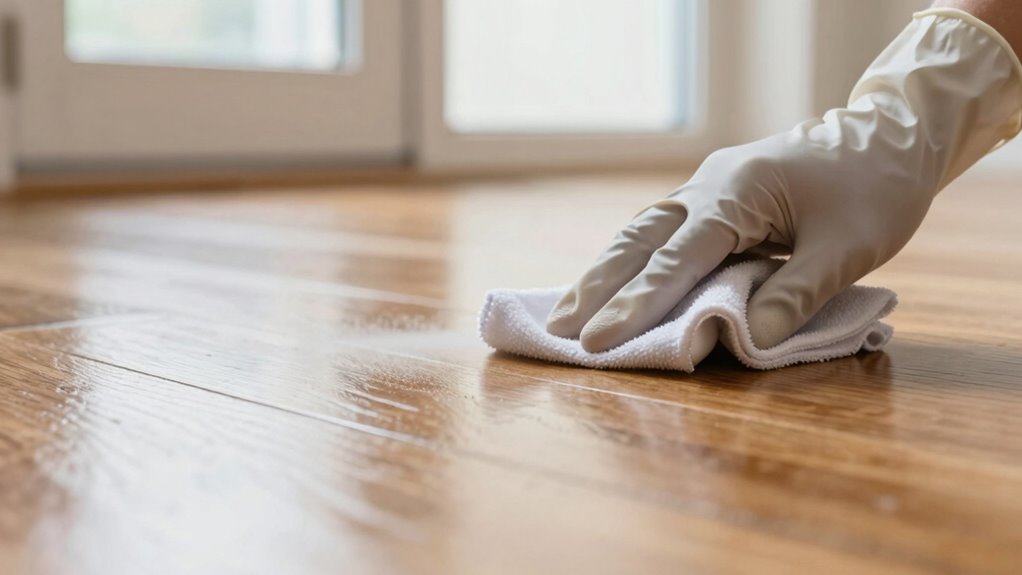
Applying a haze-removing solution correctly is key to achieving streak-free, clear floors. First, make certain the area is free of dust and loose debris. Next, choose a compatible cleaning agent or floor polish designed for haze removal. Then, follow these steps:
- Mix the haze-removing solution according to the manufacturer’s instructions.
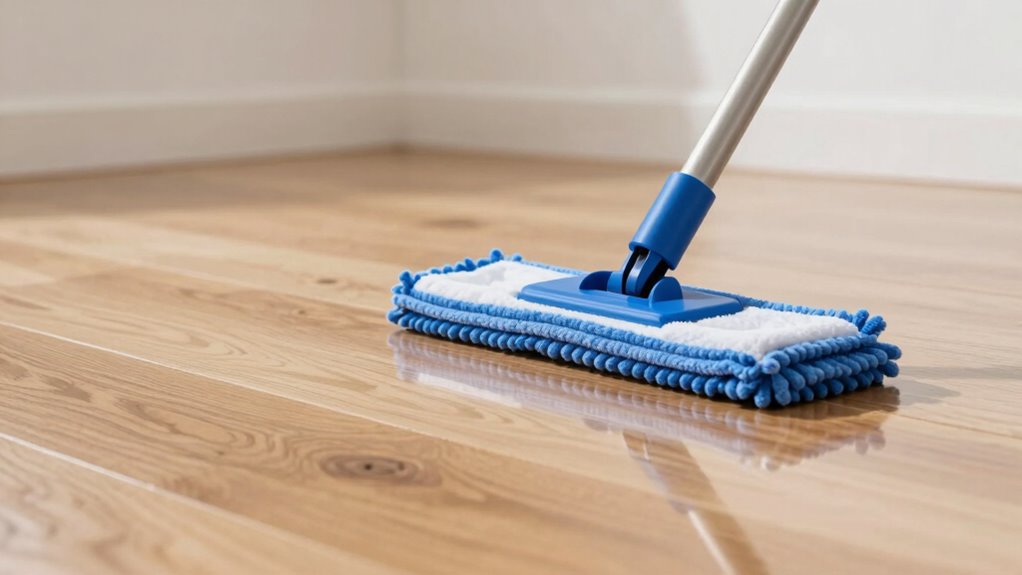
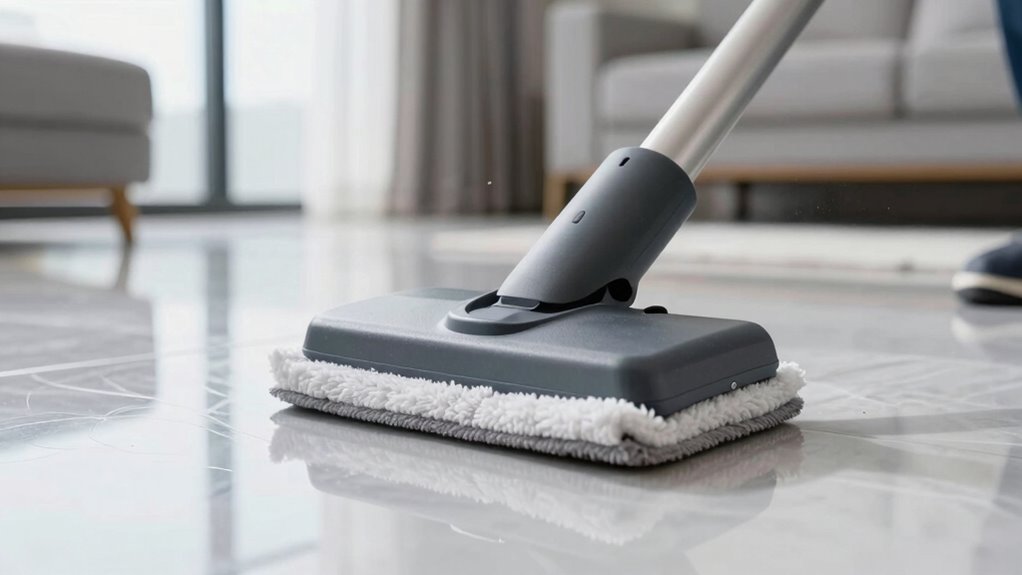
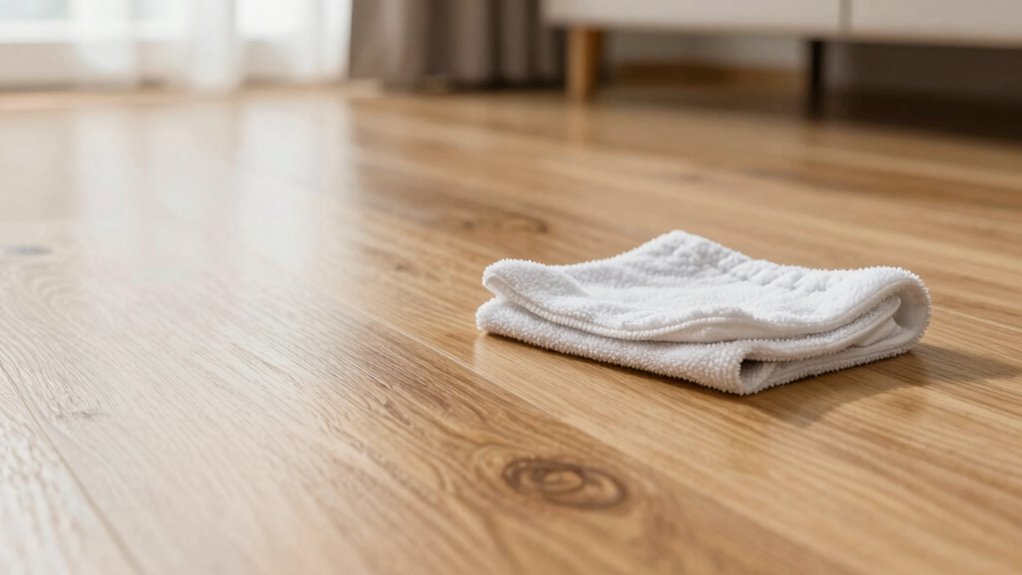
- Dampen a microfiber mop or cloth with the solution, avoiding excess wetness.
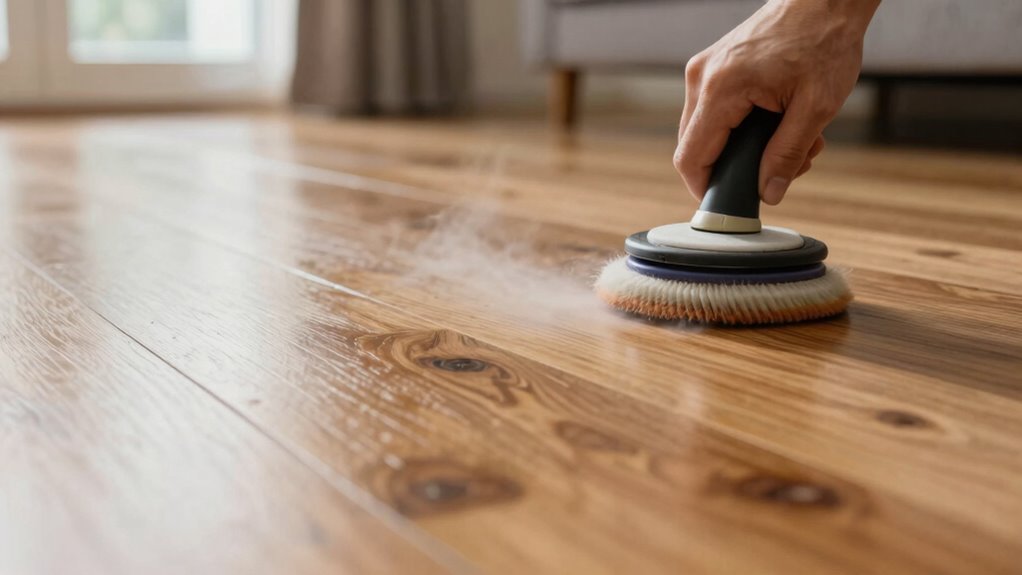
- Work in small sections, wiping the floor evenly to break down haze buildup and improve overall floor clarity. Incorporating proper cleaning techniques can help ensure thorough removal. Additionally, understanding effective application methods can optimize the outcome. Using appropriate cleaning tools can further enhance the efficiency of the process.
- Finish by buffing with a clean, dry cloth to remove streaks and restore shine.
- Consider using smart cleaning devices that can help automate and optimize the process for consistent results.
Be careful not to oversaturate the floor with cleaning agents or floor polish, as this can worsen haze. Proper application guarantees a clear, streak-free finish without re-cleaning.
Tips to Prevent Future Floor Haze and Re-Cleaning
Regular maintenance and proper cleaning techniques are essential to prevent future floor haze and reduce re-cleaning. Using a high-quality floor polish helps maintain surface gloss, creating a protective barrier that minimizes haze buildup. Avoid over-application of polish, as excess product can cause a cloudy appearance. Regularly sweep or vacuum to remove dirt and debris that can dull the finish. When mopping, use a damp mop with a neutral cleaner specifically designed for your flooring type; harsh chemicals can damage the surface and lead to haze. Buff the floor gently with a soft cloth or a buffer to restore surface gloss without creating haze. Incorporating proper cleaning techniques and routine maintenance can extend the lifespan of your flooring and keep it looking pristine. Understanding floor finish properties can help you select the best products for long-term clarity and shine. Additionally, using appropriate cleaning tools can improve cleaning efficiency and prevent damage to your flooring surface. Being aware of floor surface sensitivities can help you avoid common mistakes that cause haze or damage. Consistent care, including correct application methods, keeps your floor looking shiny and minimizes the need for frequent re-cleaning or haze removal.
When to Call a Professional for Persistent Haze
If stubborn haze keeps coming back despite your efforts, it might be time to call in a pro. Persistent staining, repeated cleaning failures, or unusual damage could indicate underlying issues that need expert attention. Don’t wait too long—professional help can save your floor and restore its appearance.
Persistent Staining Issues
Persistent staining that won’t fade despite your cleaning efforts signals that it’s time to call in a professional. Polished surfaces can hide deeper stains that normal cleaning tools can’t remove. When the stain remains stubborn, try these steps first:
- Use specialized stain removers designed for your flooring type.
- Avoid abrasive cleaning tools that may scratch polished surfaces.
- Test any new product in a small, inconspicuous area before full application.
- Consider professional cleaning if stains persist after multiple attempts.
- Remember that proper document management can help you keep track of cleaning schedules and maintenance records, ensuring your floors stay in top condition.
If these measures don’t work, a professional has the expertise and equipment to treat deep-set stains without damaging your floor’s finish. Don’t risk worsening the issue—know when to seek expert help for persistent staining issues.
Multiple Cleaning Failures
When multiple attempts to clean your floor fail to remove the haze, it’s a clear sign that professional intervention may be necessary. Often, cleaning myths can lead you astray, making you believe standard solutions will work when surface chemistry is more complex. Persistent haze may result from residue buildup or chemical reactions that basic cleaning can’t resolve. If your efforts keep falling short despite using different products or techniques, it indicates a deeper issue related to surface chemistry. Professionals understand the science behind these reactions and have specialized tools to address stubborn haze effectively. Recognizing when DIY methods aren’t enough prevents further damage and saves time. Trusting a cleaning expert ensures your floor gets the proper treatment, restoring clarity without risking surface integrity.
Unusual Surface Damage
Unusual surface damage often signals that DIY cleaning methods won’t cut it anymore. If you notice persistent surface discoloration or unusual scratching that doesn’t improve with standard cleaning, it’s time to call a professional. These signs indicate deeper issues, like damage to the protective finish or embedded scratches that regular products can’t fix.
Consider reaching out if you observe:
- Significant surface discoloration that worsens over time
- Deep or irregular scratching that won’t buff out
- Areas where haze remains despite multiple cleanings
- Damage from harsh chemicals or improper cleaning tools
Ignoring these signs can lead to further deterioration. A professional can assess the damage accurately and recommend specialized repairs to restore your floor’s appearance.
Maintaining a Haze-Free Floor Over Time
To keep your floor haze-free over time, you need to stay consistent with your cleaning routine and use protective treatments. Respond quickly to spills to prevent haze buildup, and consider applying sealants to shield the surface. These simple steps help maintain a clear, shiny floor regularly.
Regular Cleaning Procedures
Regular cleaning is essential for maintaining a haze-free floor over time. Consistent care keeps the shine intact and prevents buildup. Here are four key steps:
- Sweep or vacuum daily to remove dust and debris that can dull the surface.
- Use a damp mop with a gentle floor cleaner, avoiding harsh chemicals that can damage the finish.
- Regularly apply floor waxing to restore gloss and protect against haze formation.
- Incorporate furniture polishing to prevent dust accumulation on fixtures, which can transfer onto the floor.
Protective Floor Treatments
Protective floor treatments are essential for maintaining a haze-free shine over time. Applying a quality floor wax creates a protective barrier that prevents dirt and smudges from settling into the surface, keeping your floor looking pristine longer. Sealant application further enhances this protection by sealing pores and reducing wear from foot traffic. Regularly reapplying a suitable floor wax helps preserve the floor’s gloss and prevents haze buildup caused by residue or dulling agents. When choosing a treatment, make sure it’s compatible with your flooring type to avoid potential damage. Proper application techniques, such as evenly spreading the wax or sealant, ensure maximum coverage and effectiveness. These treatments save you time by reducing the need for frequent re-cleaning and help you maintain a consistently clear, glossy floor.
Immediate Spill Response
When spills happen, quick action can save your floor’s glossy finish from haze buildup and stains. Effective spill management minimizes damage and makes stain removal easier. To stay ahead, follow these steps:
- Act immediately—blot the spill with a clean cloth to prevent absorption.
- Use a mild cleaner suited for your floor type to wipe away any residues.
- For sticky or stubborn stains, apply a specialized stain remover promptly.
- Rinse with clean water and dry thoroughly to prevent haze formation.
Timely response reduces the risk of lasting haze and staining, keeping your floor looking pristine. Remember, swift spill management is key to maintaining that glossy, haze-free surface over time.
Troubleshooting Persistent Haze That Won’t Go Away
Persistent haze that refuses to disappear can be frustrating, but understanding its root causes is key to resolving the issue. Often, leftover residue or incompatible cleaning products cause ongoing haze. To troubleshoot, start with simple DIY methods like using a mixture of water and a few drops of eco-friendly solutions, such as white vinegar or plant-based cleaners. These eco-friendly solutions gently break down residues without harming your floor. Verify you’re not over-wetting the surface, as excess moisture can deepen the haze. If haze persists, re-evaluate your cleaning technique, avoiding abrasive scrubbers or harsh chemicals. Sometimes, repeated gentle cleaning with eco-friendly solutions is all it takes to clear stubborn haze. Patience combined with the right DIY approach will help restore your floor’s clarity without re-cleaning or damaging the surface.
Frequently Asked Questions
Can Certain Types of Flooring Be More Prone to Haze Buildup?
Certain flooring materials and surface textures are more prone to haze buildup. For example, high-gloss or polished surfaces tend to show haze more easily, while textured or matte finishes hide it better. You should pay extra attention to materials like vinyl, laminate, or sealed wood, which can trap residues and develop haze over time. Regular cleaning and proper maintenance help prevent haze from accumulating, regardless of the flooring type.
Are There Eco-Friendly Options for Removing Floor Haze Effectively?
Think of eco-friendly solutions as a breath of fresh air for your floors. Yes, natural remedies like vinegar and baking soda are effective for removing floor haze without harsh chemicals. They’re gentle yet powerful, making them perfect eco-friendly options. Using these natural remedies not only protects your environment but also keeps your floors sparkling. You can confidently tackle haze buildup with simple, sustainable methods that respect both your home and the planet.
How Long Does the Haze-Removing Process Typically Take?
The haze-removing process usually takes about 15 to 30 minutes, depending on the product and application timing. You should apply the product evenly and allow it to sit just long enough to break down the haze without overdoing it. Proper application timing helps make certain of the product’s longevity and effectiveness, so follow the instructions carefully. Rushing the process can reduce results, but with patience, you’ll see a clear, streak-free floor quickly.
Will Using a Haze Remover Damage My Floor’s Finish?
Using a haze remover carefully won’t damage your floor’s finish if you follow chemical safety guidelines. Always test a small, inconspicuous area first, and avoid overusing the product. Regular cleaning frequency helps maintain your floor’s shine and prevents haze buildup, reducing the need for harsh chemicals. Stick to manufacturer instructions, and you’ll keep your floor looking great without risking damage or wear from improper use.
Are There Specific Tools Recommended for Applying Haze Removal Solutions?
You should use application tools like aerosol sprayers for effective haze removal. Aerosol sprayers allow you to evenly distribute the haze removal solution across the floor, making certain of thorough coverage without excess. They’re easy to handle, minimize waste, and help you achieve a smooth, streak-free finish quickly. Using these tools correctly ensures you don’t damage your floor’s finish while removing haze efficiently and safely.
Conclusion
Now that you know how to swiftly remove floor haze without re-cleaning, you’ll keep your floors looking pristine like a noble’s chamber. Remember, quick fixes and proper prevention are your best allies—no need to summon a knight or wizard every time. With a little care, you’ll enjoy gleaming, haze-free floors for years to come. As the old masters said, “A clear floor is the soul’s mirror”—so stay vigilant and cherish your sparkling sanctuary.