
To measure dust mite reduction accurately, start by using sampling tools like adhesive strips or vacuum-based devices near bedding and carpets. Guarantee consistent techniques, avoid cleaning beforehand, and take multiple samples over time to track changes reliably. Analyze allergen levels to see if they decrease, indicating success. Maintaining stable environmental conditions helps improve results. If you’re enthusiastic to learn more about precise methods and effective strategies, keep exploring for detailed tips.
Key Takeaways
- Use standardized sampling tools like adhesive strips or vacuum-based devices targeting bedding, carpets, and upholstery.
- Collect multiple samples over time under consistent conditions to track allergen level changes accurately.
- Minimize disturbance and avoid cleaning or changing bedding before sampling to maintain baseline conditions.
- Ensure proper sample collection, storage, and follow manufacturer’s instructions to reduce errors.
- Compare allergen levels to established benchmarks or previous results to evaluate the effectiveness of mite reduction efforts.
Top picks for "measure dust mite"
Open Amazon search results for this keyword.
As an affiliate, we earn on qualifying purchases.
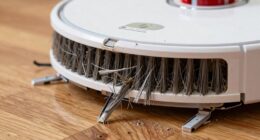
Understanding Dust Mite Indicators and Sampling Techniques
Understanding dust mite indicators and sampling techniques is essential for accurately evaluating dust mite presence and the effectiveness of control methods. By measuring allergen levels, you get a clear picture of dust mite activity in your environment. However, sampling errors can lead to inaccurate results, so it’s pivotal to follow proper procedures. Use consistent sampling methods and avoid shortcuts that may skew data, such as improper collection timing or contaminated tools. Recognize that allergen levels can fluctuate, so multiple samples might be necessary for a reliable assessment. Carefully interpreting these indicators helps you determine if your dust mite control strategies are working or if adjustments are needed. Proper sampling techniques, including accurate measurement methods, minimize errors, giving you confidence in your evaluation and guiding effective dust mite management.
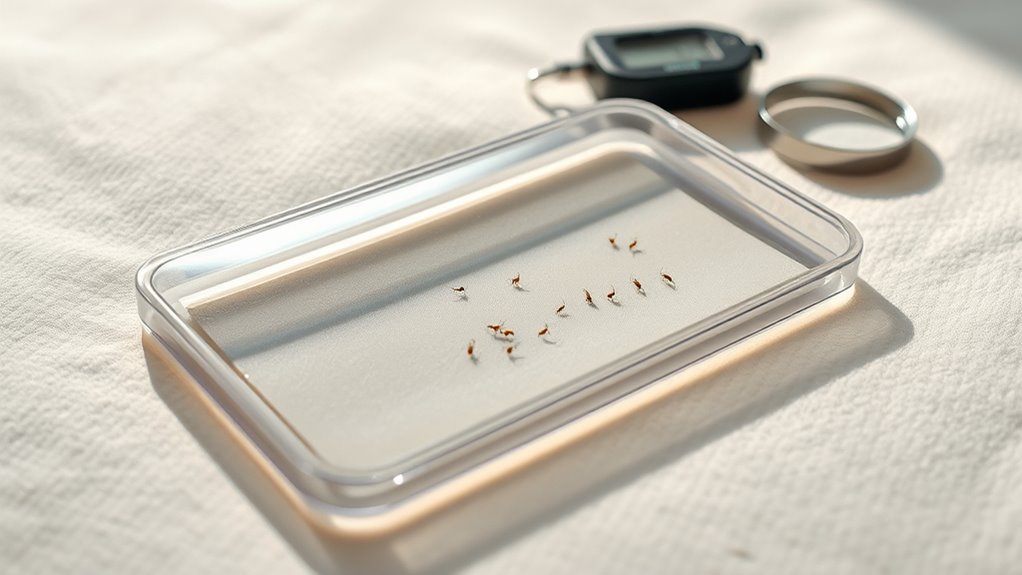
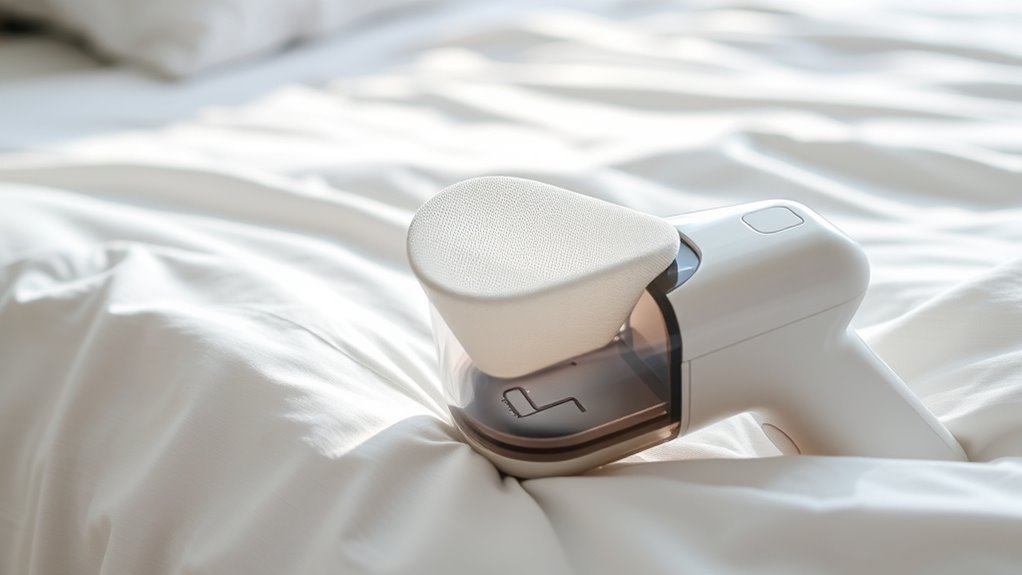
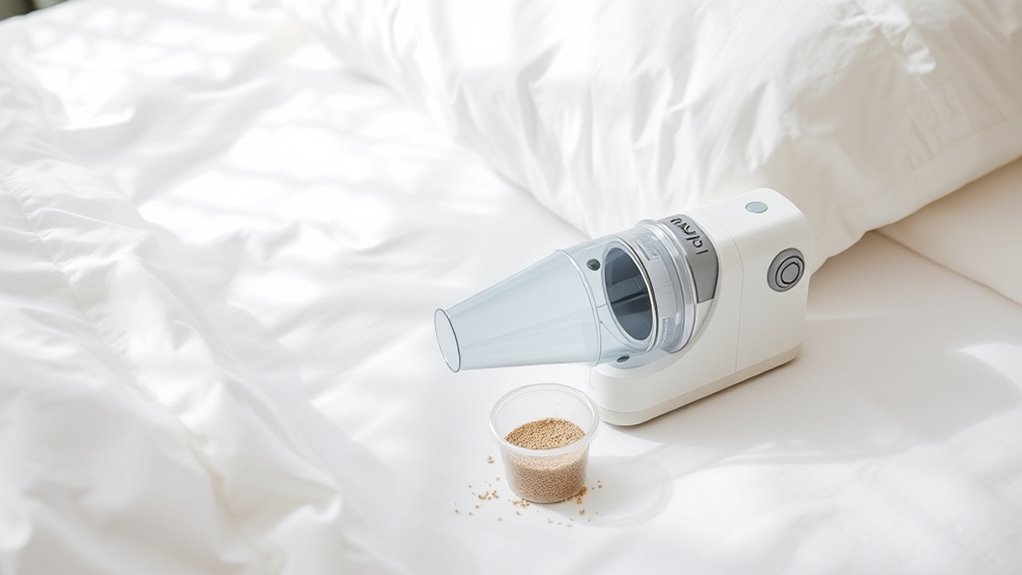
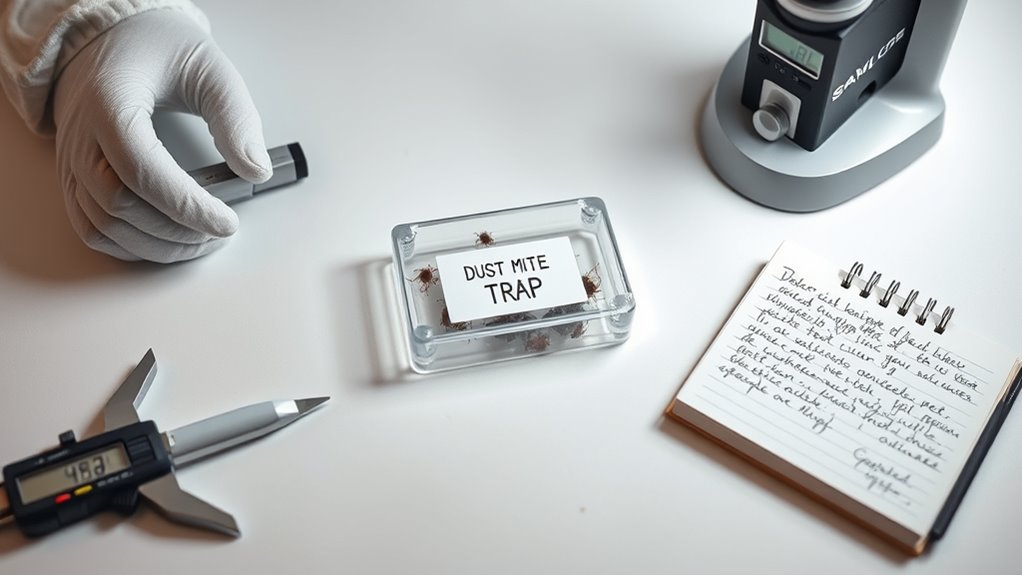
Selecting Appropriate Testing Tools and Kits

Choosing the right testing tools and kits is essential for obtaining accurate dust mite measurements. Your goal is to identify allergy triggers effectively, so select sampling methods that target common dust mite habitats like bedding, carpets, and upholstery. Look for kits that include collection devices such as adhesive strips or vacuum-based sampling tools, which are designed to capture dust mite allergens reliably. Guarantee the tools are sensitive enough to detect low allergen levels, especially if you’re trying to confirm reductions after cleaning or treatment. Accurate testing kits also provide clear instructions, making sampling straightforward. By choosing appropriate tools, you’ll get precise data that informs your efforts to reduce dust mite exposure and improve allergy management. Additionally, selecting robust safety measures in testing procedures can help prevent contamination and ensure consistent results.
Preparing Your Environment for Accurate Sampling
To guarantee accurate dust mite sampling, you need to prepare your environment by minimizing variables that could skew results. Focus on reducing disturbance to bedding materials and other dust sources, as these areas often contain the highest mite concentrations. Avoid cleaning or changing bedding just before testing, since this can artificially lower mite levels. Additionally, keep allergy symptoms in mind—if your environment isn’t consistent, results won’t be reliable. Use the table below as a checklist to prepare effectively:
| Step | Action | Purpose |
|---|---|---|
| 1 | Minimize disturbance | Prevent artificially low mite counts |
| 2 | Avoid cleaning | Maintain baseline conditions |
| 3 | Keep bedding unchanged | Ensure consistent sampling conditions |
| 4 | Limit airflow | Reduce dust dispersion |
| 5 | Record environment details | Track variables that affect results |
Conducting Repeat Measurements for Reliable Results
Once your environment is properly prepared, conducting multiple measurements helps guarantee your results are dependable. To assure data consistency, focus on sampling frequency and timing. Here’s how to do it:
- Take measurements at consistent intervals, such as daily or weekly, to track changes accurately.
- Use the same sampling method each time to avoid variability.
- Collect samples during similar times of day to reduce environmental fluctuations.
- Repeat tests enough times to identify patterns and reduce anomalies.
Interpreting Data to Evaluate Your Dust Mite Reduction Efforts

After collecting your dust mite samples, analyzing the data allows you to determine whether your reduction efforts are effective. Look at the levels of dust mite allergens detected through your sampling methods. Lower allergen levels typically indicate successful reduction. Compare your results to established benchmarks or previous measurements to see if there’s a significant decrease. Keep in mind that sampling methods can influence data accuracy, so verify your techniques are consistent. Consider the variability in allergen levels due to seasonal changes or daily activities. If allergen levels remain high, you may need to adjust your cleaning routines or use additional mite control strategies. Regularly interpreting this data helps you make informed decisions, ultimately improving your dust mite reduction efforts. Additionally, understanding HEPA filtration can be crucial, as these filters are highly effective at capturing small particles like dust mite allergens and can significantly enhance your air quality management.
Frequently Asked Questions
How Often Should I Test for Dust Mites to Track Progress Effectively?
You should test for dust mites every 4 to 6 weeks to track your progress effectively. This sampling frequency allows you to monitor changes without overdoing it. Keep testing intervals consistent so you can accurately see if your cleaning and treatment efforts are working. Regular testing helps you identify whether dust mite levels are decreasing and if adjustments are needed in your allergy management plan.
Can Different Flooring Types Affect Dust Mite Measurement Accuracy?
Different flooring types can impact measurement accuracy because carpets tend to trap more dust mites than hard floors. You might worry about inconsistent results, but knowing the flooring impact helps you interpret data correctly. For precise dust mite reduction tracking, consider how your flooring influences mite collection. Regular testing remains key, and adjusting for flooring impact ensures you accurately gauge your efforts and see real progress over time.
Are There Seasonal Considerations Impacting Dust Mite Populations?
Seasonal fluctuations and humidity variations markedly impact dust mite populations. During warmer, humid months, dust mites thrive and multiply rapidly, making measurements higher. Conversely, cooler, drier seasons tend to reduce their numbers. You should consider these seasonal changes when evaluating dust mite levels, as they can cause natural fluctuations. Monitoring consistently year-round helps you get a more accurate picture of your dust mite reduction efforts, accounting for seasonal influences.
What Are Common Mistakes That Can Skew Dust Mite Testing Results?
Think of dust mite testing like aiming at a moving target. Common mistakes include sampling errors, where you don’t collect enough or representative samples, and laboratory contamination, which can skew results like a foggy mirror. These errors are like trying to read a map through smudged glass—they distort the true picture. To get accurate results, double-check sampling procedures and guarantee lab protocols are strictly followed.
How Long Should I Wait Between Sampling to See Meaningful Changes?
You should wait at least 4 to 6 weeks between sampling to see meaningful changes in dust mite levels. This allows enough time for your cleaning efforts or treatments to take effect. Maintain consistent test intervals, ideally every month or two, to track progress accurately. Sampling frequency is key; too frequent testing might not show significant differences, while waiting too long could delay noticing improvements or issues.
Conclusion
By following these steps, you’ll turn your dust mite reduction efforts into a well-choreographed dance rather than a stumble in the dark. Accurate measurement is your spotlight, revealing what works and what needs more attention. Remember, consistency is key—think of it as tuning your instrument until it sings perfectly. With patience and the right tools, you’ll clear the air and breathe easier, turning your home into a dust mite-free sanctuary.