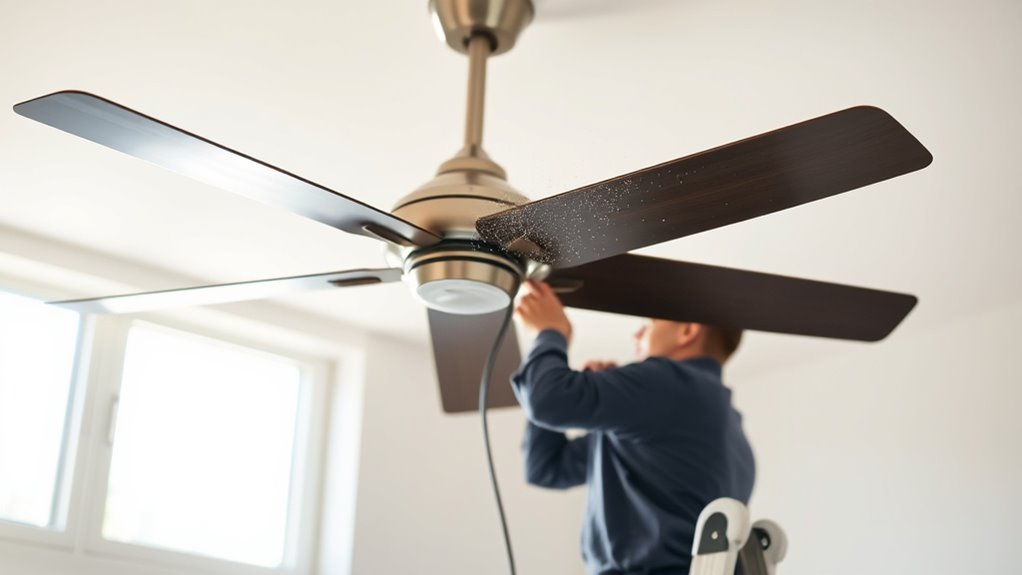
To vacuum your ceiling fans without creating a dust storm, start by turning off the fan and using a step stool for safe access. Attach a soft brush to your vacuum and begin at the center of the blades, working outward. This method traps dust effectively. Consider using a microfiber cloth or damp pillowcase for an even cleaner touch. When you follow these techniques, you’ll guarantee efficient cleaning and tackle those stubborn spots efficiently. Learn more tips below!
Key Takeaways
- Turn off the ceiling fan before cleaning to prevent dust from flying around during the process.
- Use a vacuum with a brush attachment to gently collect dust without dispersing it.
- Lay down a drop cloth or sheet below the fan to catch any falling debris.
- Consider using a slightly damp microfiber cloth to minimize dust particles in the air.
- Clean the fan blades from the center outward to contain dust effectively during vacuuming.

HMHAMA Ceiling Fan Blade Cleaner Duster Washable Brush Fan Cleaning Tool Ceiling Fan Cleaning Vacuum Attachment for Vacuum Cleaners
Note: The diameter of this ceiling fan cleaner is 3cm (1.18"). Please confirm whether your vacuum cleaner can…
As an affiliate, we earn on qualifying purchases.
As an affiliate, we earn on qualifying purchases.
How Often to Clean a Ceiling Fan
To keep your ceiling fan in prime condition, you should dust it weekly. Regular cleaning of ceiling fans is essential for maintaining peak air quality and preventing allergens from building up. If you notice stubborn dust and grime, a deeper cleaning is recommended monthly. Additionally, using a high-efficiency vacuum can help remove dust without creating a mess. A vacuum’s filtration systems can capture allergens, further enhancing the cleanliness of your home. Consistent maintenance of household appliances, such as air purifiers, can also improve overall air quality. Furthermore, ensuring proper airflow around the unit will enhance its performance and efficiency, much like with an air purifier.
During the summer months, when you’re using your fan more often, consider increasing your cleaning frequency. This guarantees your fan operates efficiently and keeps your indoor air clean. Additionally, maintaining clean fans can help reduce allergens building up in your home environment.
By consistently cleaning your ceiling fan, you not only enhance its performance but also contribute to a healthier living environment.
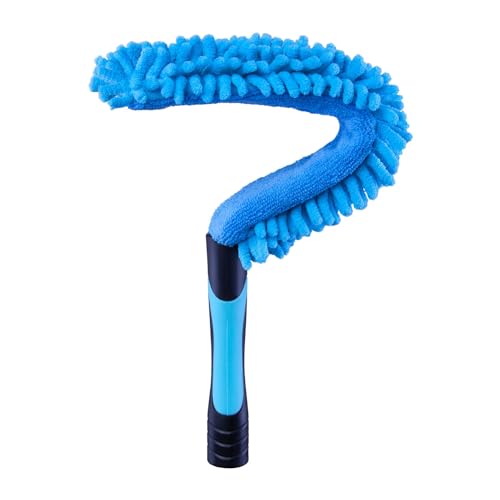
Hicavar 17" Microfiber Flexible Ceiling Fan Duster with Washable Chenille Dusting Cloth, Use by Hand or Attach to Extension Poles (1)
The 17" long flexible duster can be bent to any shape. (NOT include extension pole!)
As an affiliate, we earn on qualifying purchases.
As an affiliate, we earn on qualifying purchases.
Considerations Before You Get Started

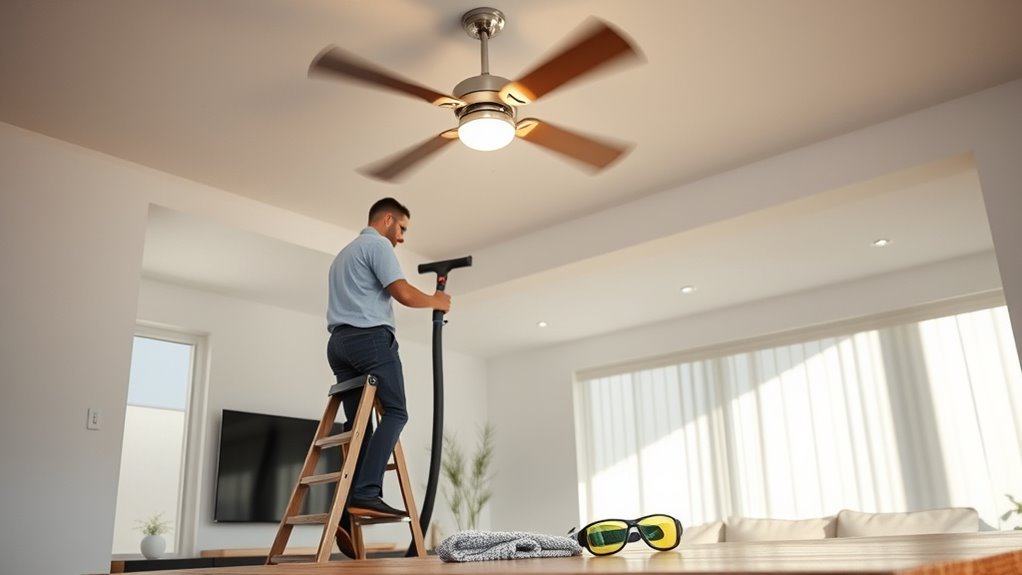
Before you start vacuuming your ceiling fan, it’s important to prioritize safety and efficiency.
First, turn off the ceiling fan to prevent any injuries while cleaning. Use a sturdy step stool or ladder to reach the fan safely, and consider having someone nearby to assist you.
Make certain your cleaning area is well-lit so you can clearly see the dust and debris that need removal. It’s smart to plan your cleaning session for a day when you’re also dusting other areas, maximizing your time and effort. Additionally, consider how the humidity control features of your HVAC system can affect dust accumulation, and adjust your cleaning frequency accordingly. Ensuring your home has a home security system can prevent unwanted distractions while you focus on cleaning. Furthermore, maintaining optimal color accuracy in your home can enhance your overall cleaning experience by making it easier to see dirt and dust.
Additionally, think about increasing your cleaning frequency during high usage months to avoid excessive dust buildup and maintain better air quality. Regular cleaning can enhance appliance performance and prolong its lifespan.
Don’t forget to have a dust cloth handy for any stubborn particles!

Partslety Ceiling Fan Cleaning Vacuum, Duster with Vacuum Attachment Lightweight Vacuum Ceiling Fan Blade Cleaner and Dust Remover Ceiling Fan Cleaning Tool White
Simple to Clean Fun: This new ceiling fan vacuum attachment takes cleaning to a whole new level, making…
As an affiliate, we earn on qualifying purchases.
As an affiliate, we earn on qualifying purchases.
What You Need
Gathering the right tools is essential for effectively vacuuming your ceiling fan. To successfully remove dust without creating a mess, here’s what you need:
| Tool | Purpose |
|---|---|
| Vacuum with brush attachment | Safely removes dust from blades |
| Sturdy step stool or ladder | Reaches high ceilings without straining |
| Drop cloth or sheet | Catches falling dust for easy cleanup |
| Microfiber cloth | Wipes down surfaces post-vacuuming |
Ensure your vacuum has a good filtration system to minimize dust release into the air. Additionally, using a carbon monoxide detector can help maintain a safer environment while cleaning, especially if using electrical tools. By having these tools ready, you’ll be well-equipped to clean your ceiling fan efficiently and effectively. It’s also beneficial to consider using essential oils for their antimicrobial properties, which can help maintain a cleaner environment in your home. Regular maintenance of your vacuum’s HEPA filters is crucial for optimal performance and air quality. Using a vacuum with a brush attachment can enhance your cleaning efforts by ensuring all dust is effectively removed from the blades without damage.

Storystore Ceiling Fan Cleaner Duster – Adjustable Duster with Extension Pole,Dusters for Cleaning Fan Blade, Walls and Cobweb (Blue)
【Ceiling Fan Cleaner Duster Kit】This kit comes with 2 different interchangeable cleaning heads and a 4 – section…
As an affiliate, we earn on qualifying purchases.
As an affiliate, we earn on qualifying purchases.
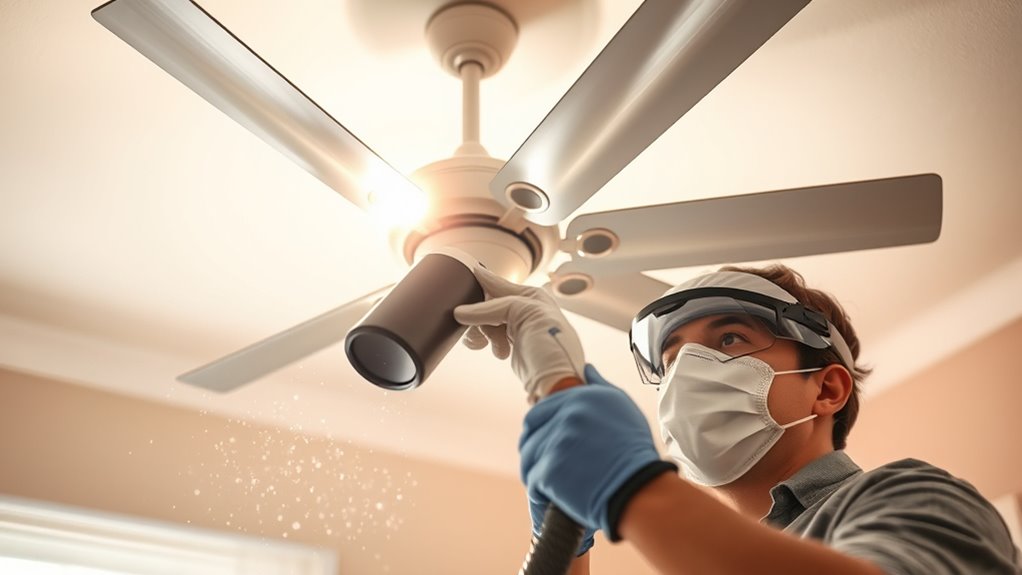
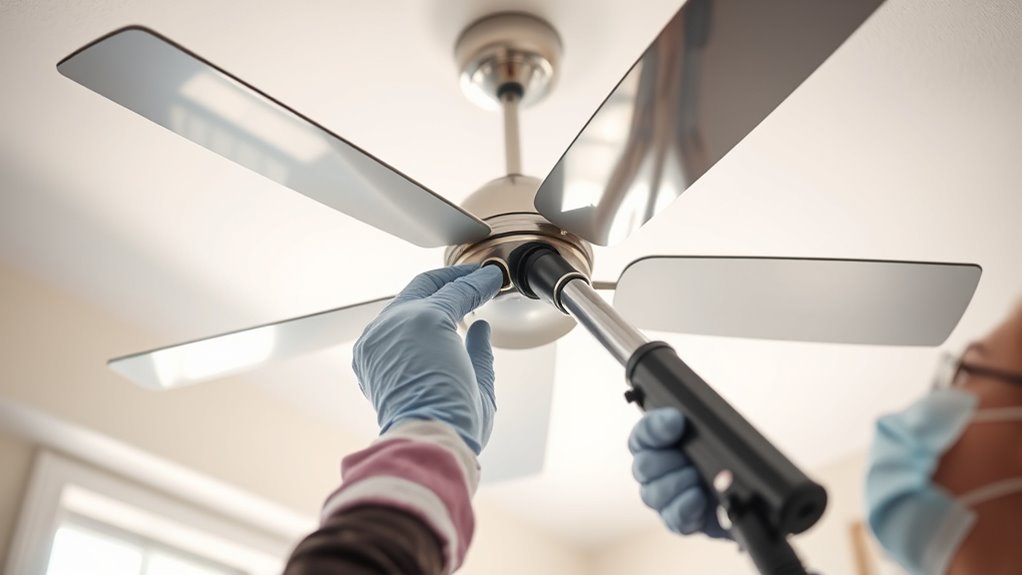
How to Vacuum a Ceiling Fan
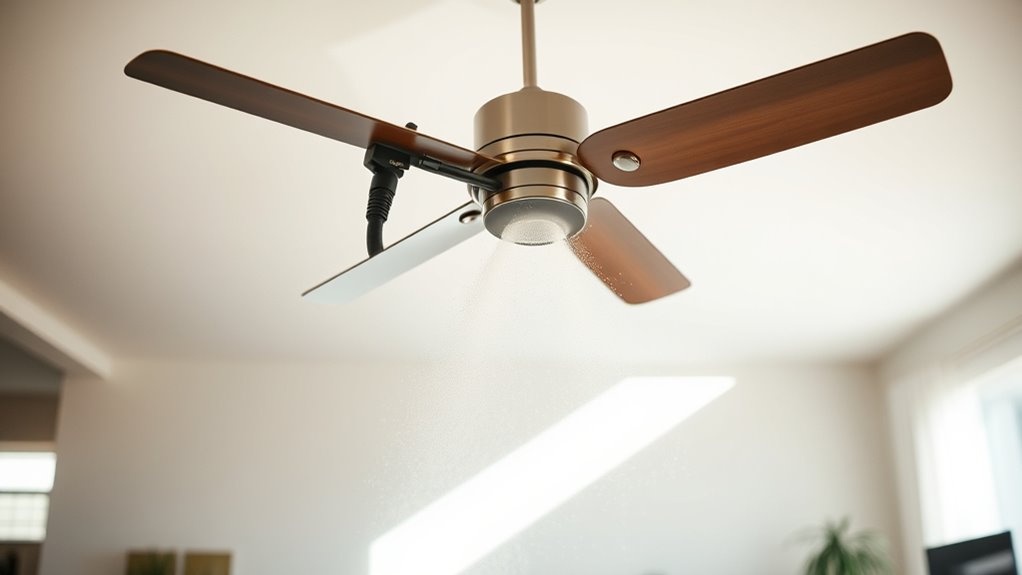
Cleaning your ceiling fan can be a straightforward task if you follow a few essential steps.
Here’s how to vacuum your fan effectively to help keep dust at bay:
- Ensure Safety: Turn off the fan and use a sturdy step stool or ladder to reach the blades safely.
- Use the Right Tool: Attach a soft brush to your vacuum cleaner to gently collect dust without scattering debris. Utilizing effective cleaning tools can significantly enhance your cleaning efforts. Additionally, using a smart home device can remind you when it’s time to clean your fan. Many top-rated vacuums, such as Dyson, feature specialized attachments ideal for delicate surfaces. Regular cleaning can also help reduce vampire power consumption by keeping your appliances running efficiently.
- Start from the Center: Begin vacuuming at the center of the fan and work your way outward to capture all dust.
- Allow Drying Time: After cleaning, let the blades dry completely before turning the fan back on to avoid redistributing any remaining dust.
Following these steps will help keep your ceiling fan clean and functional! Additionally, maintaining a clean home environment can be enhanced by investing in effective cleaning tools and systems.
How to Clean a Ceiling Fan With a Pillowcase
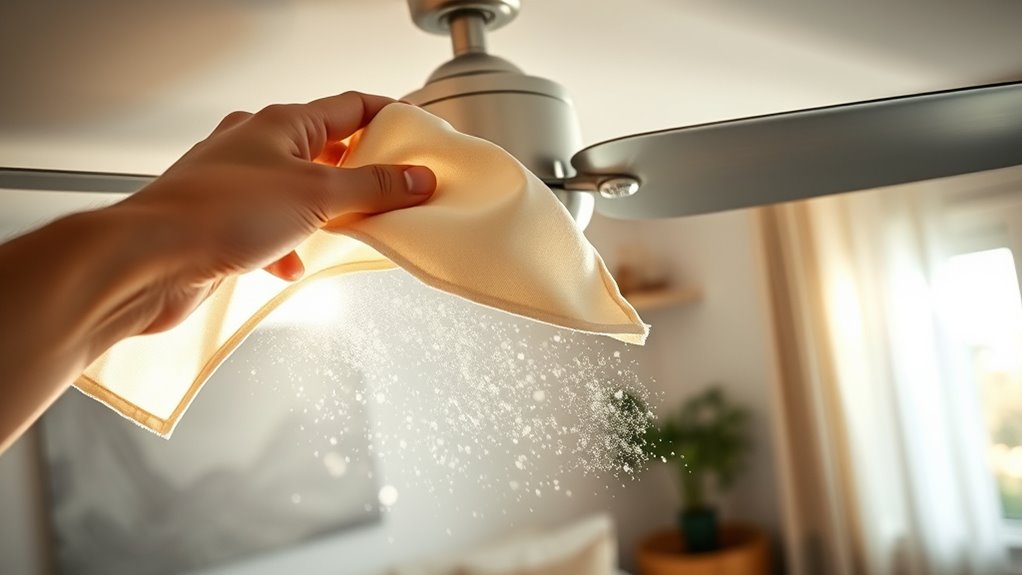
Using a pillowcase is a simple yet effective way to clean your ceiling fan and trap dust without making a mess. Start by laying down a drop cloth or sheet underneath to catch any debris.
Next, consider spraying the inside of the pillowcase with a vinegar solution or all-purpose cleaner to boost dust removal. Slide the pillowcase over each blade, gently wiping as you go. This method traps the dust, preventing it from falling onto your surfaces below. Regular cleaning can help reduce allergens in your home, as dust can contribute to respiratory issues and other health concerns. Engaging in regular cleaning routines can be a key aspect of protecting energy and promoting a healthier living environment. Additionally, maintaining indoor air quality by including non-toxic houseplants can further enhance your well-being. After you’re done, shake the pillowcase outdoors to eliminate any trapped dust and then launder it. Regularly cleaning your ceiling fan this way not only reduces allergens but also keeps your fan running efficiently for years to come. Additionally, maintaining a clean environment can help support scalp health and reduce allergens, promoting overall well-being.
How to Clean a Grimy Ceiling Fan

Cleaning a grimy ceiling fan doesn’t have to be a hassle if you use the right tools and follow a simple process.
Start by gathering your essential cleaning supplies and then tackle each step methodically for the best results.
With a little effort, you can keep your fan looking great and improve your indoor air quality.
Essential Cleaning Tools
A well-equipped cleaning kit is essential for tackling a grimy ceiling fan effectively. Using the right tools helps keep the air clear of dust and allergens.
Here are four items you should have on hand:
- Microfiber Cloth: Ideal for trapping dust without spreading it around.
- Cleaning Solution: A gentle cleaner helps dissolve grime without damaging the fan.
- Spray Bottle: This allows you to apply the cleaning solution to the cloth, not directly on the blades.
- Bucket of Water: Use it to rinse your microfiber cloth regularly to prevent transferring dirt from one blade to another.
With these tools, you’ll guarantee a thorough clean while minimizing dust dispersal and keeping the air fresh.
Step-by-Step Process
To effectively clean a grimy ceiling fan, start by gathering your essential tools and preparing your cleaning solution.
Spray the solution onto a microfiber cloth, avoiding direct spray on the fan to prevent excess moisture. Wipe both sides of the fan blades thoroughly, using a clean section of the cloth frequently to avoid spreading dirt and dust bunnies.
Don’t overlook the motor housing and any visible dust around the fan’s mounting bracket; they can accumulate grime too.
Once you’ve cleaned everything, allow the fan blades to dry completely before turning the fan back on.
Regular cleaning, especially in kitchens and bathrooms, will help keep dust and grime at bay, ensuring a fresher environment.
How to Clean a Ceiling Fan Light Fixture
Ceiling fan light fixtures can accumulate dust and grime over time, dulling their brightness and impacting air quality.
Cleaning them regularly is a good idea to maintain their efficiency. Here’s how to do it safely:
- Turn off the fan and let it cool if it was recently used to avoid burns or electrical hazards.
- Use a microfiber cloth slightly dampened with a vinegar solution or all-purpose cleaner to gently wipe the glass cover and bulbs.
- For hard-to-reach fixtures, use a step stool or ladder and have a spotter assist you for safety.
- Check manufacturer instructions for specific cleaning recommendations to avoid voiding warranties.
Frequently Asked Questions
How to Clean a Ceiling Fan Without Getting Dust Everywhere?
To clean a ceiling fan without getting dust everywhere, start by turning it off and laying down a drop cloth beneath it.
Use a damp cloth or a microfiber cloth to wipe down the blades, which helps trap the dust instead of pushing it into the air.
Make sure to clean the motor housing as well.
Regular maintenance will keep your fan looking fresh and reduce dust buildup over time.
How to Make a Ceiling Fan Dust Proof?
You’re on a quest for the ultimate dust-proof ceiling fan, aren’t you?
To achieve this lofty goal, start by applying a thin layer of furniture polish on the blades; it’ll create a magical barrier against dust.
Clean your fan weekly to keep that dust at bay.
Consider installing a closed design or protective cover, and maintain indoor humidity levels between 30% to 50% to combat those pesky dust mites.
Your fan will thank you!
How Do I Clean My Ceiling Without Getting Dust Everywhere?
To clean your ceiling without spreading dust everywhere, start by turning off any fans and lights.
Use a microfiber cloth or a damp cloth to wipe the surface, catching dust effectively.
Consider using a vacuum with a soft brush attachment for corners and edges.
To minimize mess, lay down a drop cloth or sheet below to catch any falling debris.
Regular cleaning helps maintain a dust-free ceiling, making your space feel fresh.
Can You Vacuum Dust off a Ceiling Fan?
Yes, you can vacuum dust off a ceiling fan!
Just make sure to use a vacuum with a soft brush attachment. Turn off the fan first and set the vacuum to a low suction to protect the blades.
Start at the center and work your way outward to avoid sending dust into the air.
Regularly vacuuming your ceiling fan can help reduce dust buildup and improve your home’s air quality.
Conclusion
In the battle against dust bunnies, keeping your ceiling fan clean doesn’t have to be a whirlwind of chaos. By following these simple steps, you can enjoy fresh breezes without the dust storm. Make it a habit to clean regularly, and your fan will stay as good as new, spinning gracefully like a dancer in the spotlight. So grab your vacuum and tackle that dust, bringing clarity and comfort back to your space!