
Want to repair your vacuum cleaner like a professional? Begin by gathering necessary tools such as a flathead screwdriver, utility knife, and wire cutters. Issues such as faulty rollers, belt replacements, and power cord repairs can easily be resolved with DIY solutions. Follow detailed guides specific to your vacuum model, maintain its longevity by cleaning the filter, checking belts, and storing it properly. Troubleshoot problems by looking for blockages, worn-out belts, and loose components. You are just a few steps away from learning how to fix your vacuum cleaner and reduce electronic waste.
Key Takeaways
- Use essential tools like flat head screwdrivers and wire cutters to disassemble and repair vacuum components.
- Identify and fix common issues like faulty rollers, belt replacements, and power cord repairs to extend your vacuum's lifespan.
- Follow step-by-step repair guides tailored to your vacuum model, complete with tool lists and safety tips.
- Regular maintenance tasks like cleaning filters, inspecting belts, and clearing debris can prevent common vacuum problems.
- Troubleshoot issues by checking for clogs, worn-out belts, and loose components to identify the root cause of vacuum issues.
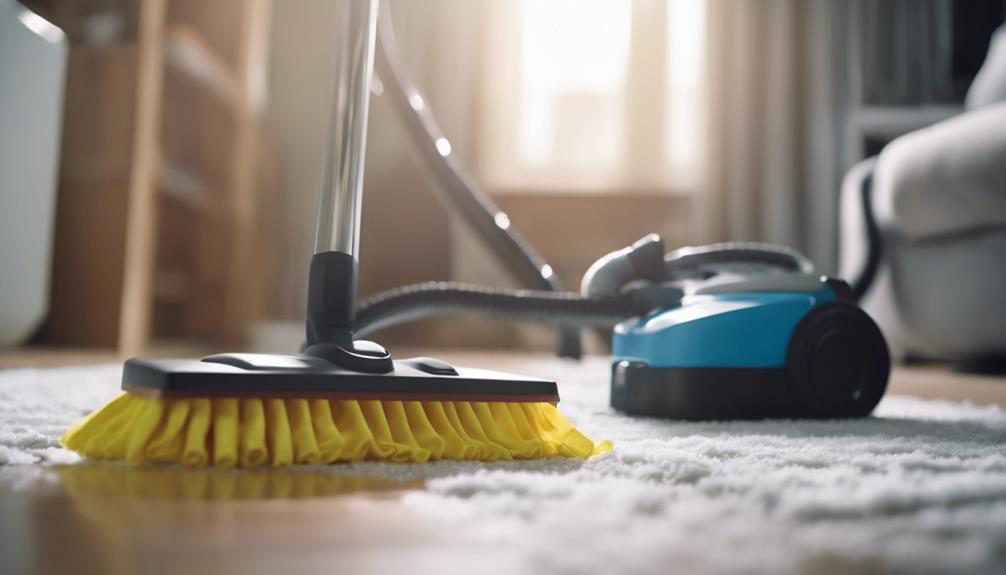
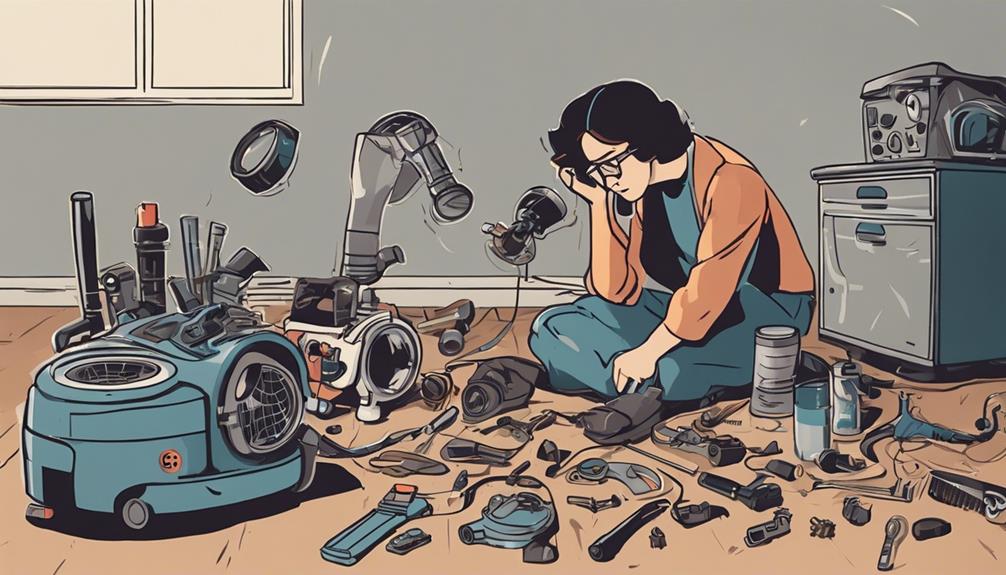
vacuum cleaner repair toolkit
As an affiliate, we earn on qualifying purchases.
As an affiliate, we earn on qualifying purchases.
Essential Vacuum Repair Tools
With the right arsenal of tools, you'll be well-equipped to tackle even the most challenging vacuum repair tasks. Having the necessary tools on hand can give you the confidence to engage in repairing your vacuum.
The essential tools for vacuum repair include a flat head screwdriver, utility knife, super glue (such as epoxy or strong plastic glue), and wire cutters. These tools are vital for disassembling and repairing vacuum components effectively.
Using the right tools can make the repair process smoother and more efficient. For instance, a flat head screwdriver is perfect for removing screws, while a utility knife helps with cutting and scraping. Super glue is necessary for bonding broken parts, and wire cutters are needed for trimming and stripping wires.
With these tools, you'll be able to disassemble and reassemble your vacuum with precise handling, ensuring that all components are properly repaired and reassembled. By having these essential tools, you'll be well on your way to fixing your vacuum like a pro!

KEEPOW Style 7/9/10 P/N 3031120 Replacement Belt for Bissell Vacuum, 2 Pack
WIDE COMPATIBILITY: These style 7/9/10 p/n 3031120 belt compatible with Bissell CleanView Swivel Rewind Pet Vacuum (2256, 2254,…
As an affiliate, we earn on qualifying purchases.
As an affiliate, we earn on qualifying purchases.
Common Vacuum Issues Solved

Now that you're equipped with the right tools, it's time to tackle the most common issues that plague your trusty vacuum cleaner, from faulty rollers to worn-out belts and damaged power cords. With the right guidance, you can fix common vacuum issues and extend the lifespan of your appliance.
Here are some common problems you can solve with DIY repair projects:
- Faulty Rollers: Learn how to replace or repair faulty rollers that hinder your vacuum's performance.
- Belt Replacements: Discover cost-effective solutions for replacing worn-out belts, saving you money on professional repairs.
- Power Cord Repairs: Fix damaged power cords and get your vacuum up and running in no time.
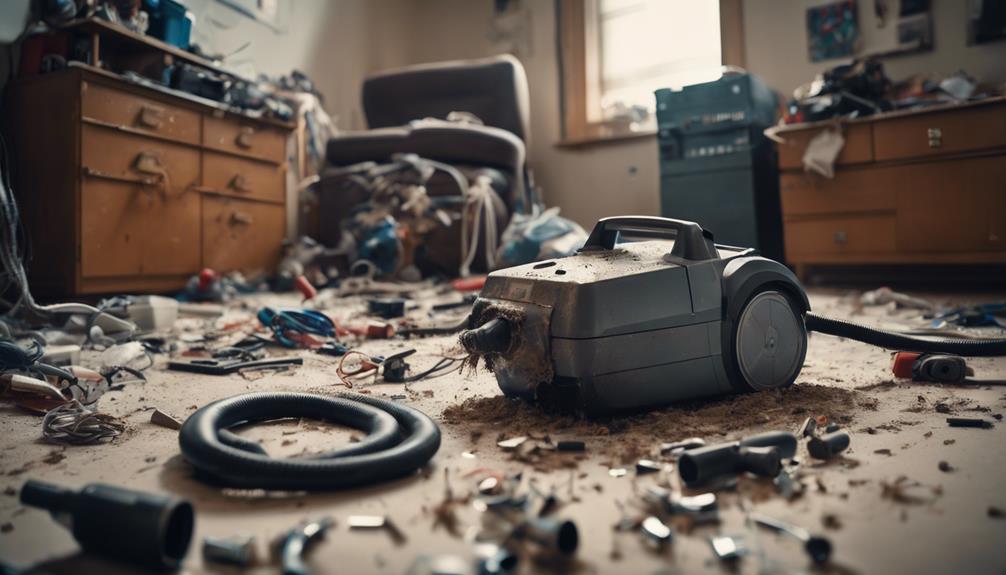
vacuum roller brush replacement
As an affiliate, we earn on qualifying purchases.
As an affiliate, we earn on qualifying purchases.
Step-by-Step Repair Guides
You'll find detailed instructions for fixing common vacuum cleaner issues in these thorough repair guides, covering essential maintenance tasks from cleaning roller brushes to replacing belts and power cords.
Each guide provides an exhaustive solution to specific problems, ensuring you can fix your vacuum like a pro! They include tool lists, safety tips, and specific steps tailored to various vacuum models, so you can confidently tackle DIY repairs.
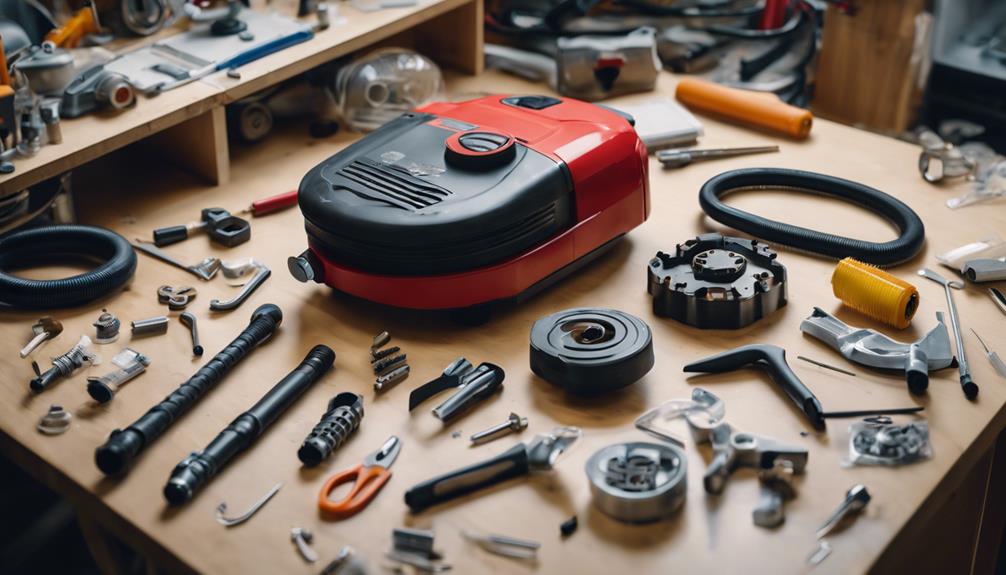
vacuum power cord repair kit
As an affiliate, we earn on qualifying purchases.
As an affiliate, we earn on qualifying purchases.
Extending Vacuum Lifespan Tips
By incorporating simple yet important habits into your cleaning routine, you can greatly extend the lifespan of your trusty vacuum cleaner. By doing so, you'll guarantee your vacuum continues to perform at its best and efficiently.
Here are some essential tips to maintain your vacuum:
- Clean the filter regularly to maintain suction power and prevent clogs. A clean filter assures your vacuum runs smoothly and effectively.
- Inspect and replace belts every 6-12 months to maintain peak performance. Worn-out belts can reduce your vacuum's suction power and overall performance.
- Clear debris from the brush roll to prevent damage and ensure efficient cleaning. A clean brush roll assures your vacuum glides smoothly and picks up dirt and dust effectively.
Additionally, remember to inspect the hoses for tears or blockages, store your vacuum properly, and maintain it regularly to extend its lifespan. By following these simple tips, you'll be able to enjoy a well-functioning vacuum for years to come.
Troubleshooting Vacuum Problems
When your reliable vacuum cleaner starts acting up, whether it's a loss of suction, strange noises, or a malfunctioning brush roll, it is essential to identify the root cause of the problem to get it back in working order.
To troubleshoot vacuum problems, start by checking for common issues like clogs in the hose, filter blockages, or worn out belts. Regular maintenance like cleaning filters, checking brush rolls, and unclogging hoses can prevent these problems from occurring in the first place.
| Symptom | Potential Cause |
|---|---|
| Loss of suction | Clogged hose or filter blockage |
| Strange noises | Worn out belts or loose components |
| Brush roll malfunction | Clogged brush roll or worn out belt |
Frequently Asked Questions
How to Fix a Vacuum Cleaner That Won't Pick Up?
You're frustrated because your vacuum won't pick up dirt and debris. First, you'll need to identify the problem – is it a clog, worn belt, or faulty motor?
Why Did My Vacuum Cleaner Suddenly Stop Working?
"Oh, the irony – you're stuck with a dead vacuum, and you're wondering why it suddenly stopped working? Well, let's get real, it's probably because you neglected to clean that pesky roller brush or replace the worn-out belt, didn't you?"
What Can I Use as a Vacuum Cleaner Belt?
You're wondering what to use as a vacuum cleaner belt. Unfortunately, there's no perfect substitute, but you can try using a similar rubber or nylon-reinforced belt from a hardware store, ensuring it matches your vacuum's specifications.
How to Increase the Suction Power of a Vacuum Cleaner?
You boost suction power by maintaining ideal airflow, checking for blockages, and ensuring the vacuum bag or dustbin isn't full; also, inspect the brush roll for tangles and consider upgrading to a more powerful model if needed.
Can the Vacuum Cleaner Repair Guide Help me Fix My Dyson Vacuum Cleaner?
Are you wondering if the vacuum cleaner repair guide can help you fix your Dyson vacuum cleaner? Yes, it certainly can! The guide provides step-by-step instructions on how to perform a dyson vacuum tip over fix, ensuring that your vacuum cleaner is back in working order in no time.
Conclusion
You've mastered the art of vacuum repair! With the right tools and know-how, you've transformed from a helpless owner to a vacuum whisperer.
Your trusty machine is now purring like new, and you've saved yourself a pretty penny in the process.
As you bask in the glory of your handiwork, remember that a well-maintained vacuum is a happy vacuum – and a happy vacuum is one that will faithfully serve you for years to come.