To install a suction pool cleaner, first turn off the pump and clear debris from your pool. Assemble the hoses securely, checking for kinks or twists, and connect them to the cleaner and the skimmer or dedicated line. make certain all connections are tight before turning the pump back on. Adjust the flow rate if needed, and observe the cleaner to confirm it moves smoothly. For detailed steps, keep exploring to ensure a successful setup.
Key Takeaways
- Turn off the pool pump and filter, then gather all tools and parts before starting installation.
- Connect hose segments securely, ensuring no kinks or tangles, and attach to the cleaner’s intake port.
- Remove skimmer basket or outlet cover, then connect the hose to the skimmer inlet or dedicated cleaner port securely.
- Turn on the pump and adjust the pressure regulation valve for optimal water flow and cleaner movement.
- Inspect all connections for leaks, test the cleaner’s performance, and perform regular maintenance for longevity.

ANTOBLE X77094 Pool Vacuum Hose Adapter for Zodiac MX6 MX8 Pool Cleaner, Swimming Pool Suction Adapter Leaf Catcher Hose Adaptor
【SIZE DETAILS】Our pool cleaner hose adapter is about 7.5 inches long. Part Number: X77094.
As an affiliate, we earn on qualifying purchases.
As an affiliate, we earn on qualifying purchases.
Preparing Your Pool for Installation
Before installing your suction pool cleaner, you need to guarantee your pool is properly prepared. Start by testing and balancing your pool chemistry; ensure pH levels are around 7.2 to 7.6, and sanitizer levels are safe. Clear the water of debris and leaves to prevent clogging during operation. Check for any hardware issues or leaks in the pool’s skimmer and pump system. It’s also important to follow safety precautions—turn off the pool pump and power supply before starting. Cleaning filters and skimmers beforehand will facilitate smoother cleaning later. Regularly inspecting your pool’s filtration system ensures optimal operation and longevity. Additionally, understanding the importance of Floating on Water can remind you to be patient and attentive during maintenance tasks. Incorporating automation technology can help monitor and maintain water quality more efficiently. Ensuring proper water circulation is key to preventing stagnation and maintaining consistent water chemistry. Taking these steps ensures your pool is ready for installation, reducing potential problems and safeguarding your safety during the process. Proper preparation makes the installation quicker and more effective.
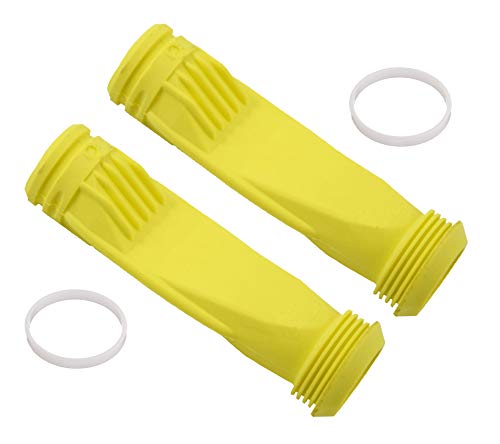
ATIE Pool Cleaner Long Life Diaphragm W69698 with Retaining Ring W81600 Replacement Compatible with Zodiac G3, G3 PRO, G4 Pool Cleaner Diaphragm W69698 (2 Pack)
Compatible with Zodiac G3, G3 PRO, G4 pool cleaners
As an affiliate, we earn on qualifying purchases.
As an affiliate, we earn on qualifying purchases.
Assembling the Suction Cleaner and Hoses
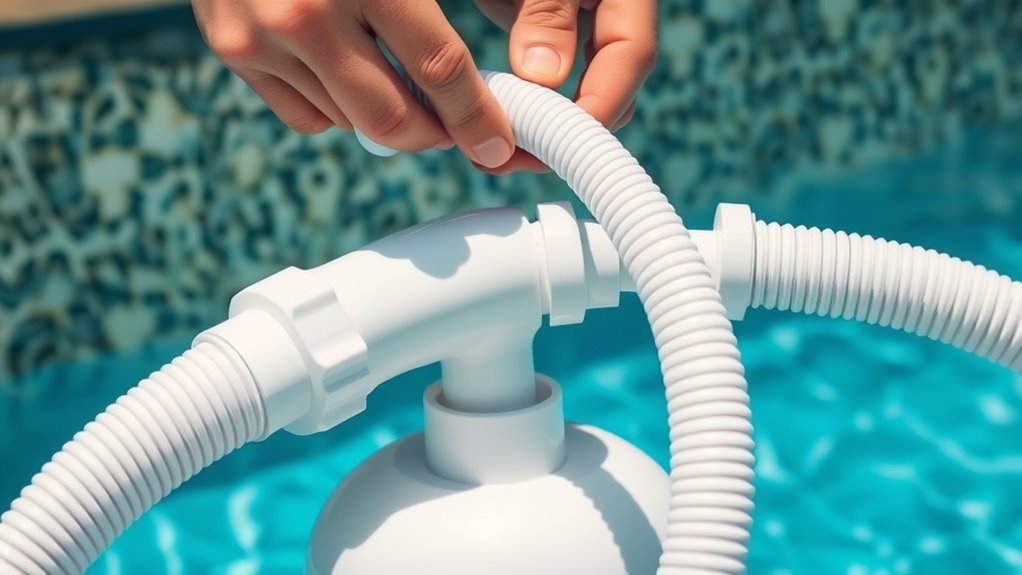
Once your pool is properly prepared, you can begin assembling the suction cleaner and hoses. Start with the hose assembly, connecting each hose segment securely using the connector fitting. Ensure the fittings are tight to prevent leaks and maintain proper suction. Check that the hoses are free of kinks or twists, which could hinder movement or cleaning efficiency. Attach the hose assembly to the cleaner’s intake port, making sure the connection is snug. If your cleaner includes adjustable parts, set them according to the manufacturer’s instructions. Confirm that all fittings are secure, and the hoses are properly aligned. This step is vital for peak operation, so take your time to ensure everything is tightly connected and ready for installation. Proper hose maintenance can also help prolong the life of your cleaner and improve performance. Additionally, regularly inspecting and replacing worn hoses can prevent clogs and ensure consistent cleaning. Using high-quality connectors designed specifically for your cleaner model can further enhance the efficiency and lifespan of your equipment, especially since proper fitting is essential for optimal suction and cleaning. Incorporating regular inspections of your hoses can help identify issues early and maintain peak cleaning performance.
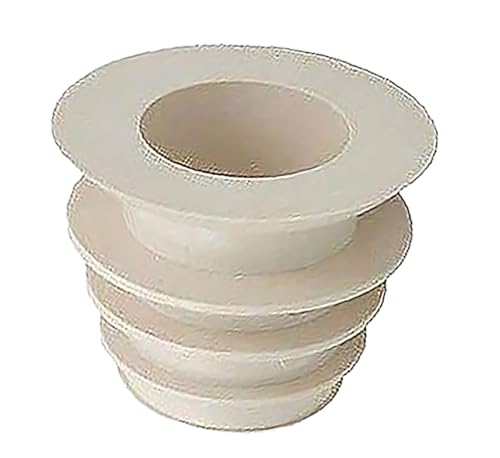
ATIE In-ground Pool Skimmer Cone Adapter Valve Cuff Compatible with Zodiac Baracuda Valve Cuff W70263, R0527600, W63900 to Connect Automatic Pool Cleaner or Vacuum Hose to Skimmer (1 Pack)
***Buyers BEWARE: This cone adapter ONLY fits 2" suction port of pool skimmer. It DOES NOT fit 1.5"…
As an affiliate, we earn on qualifying purchases.
As an affiliate, we earn on qualifying purchases.
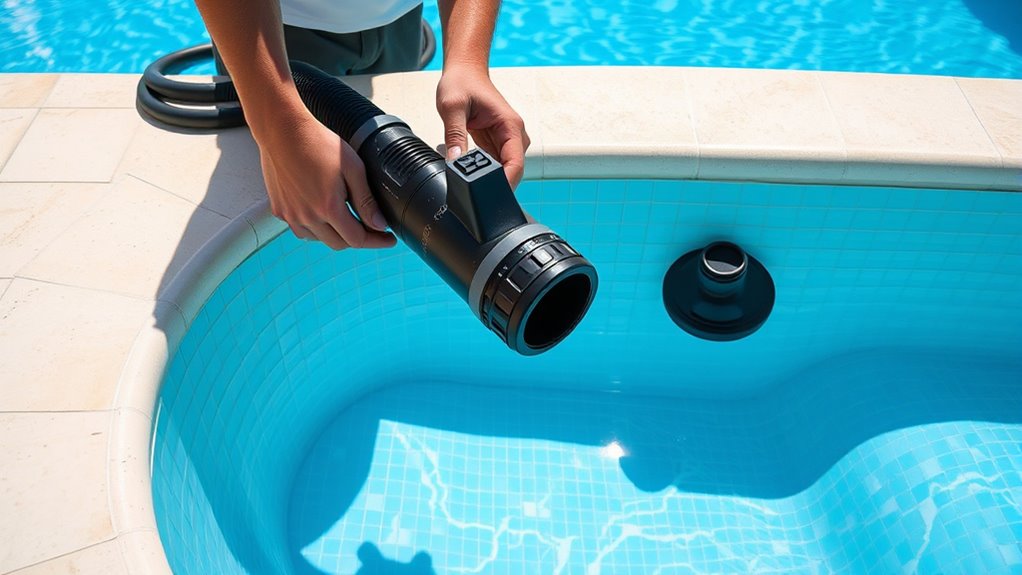
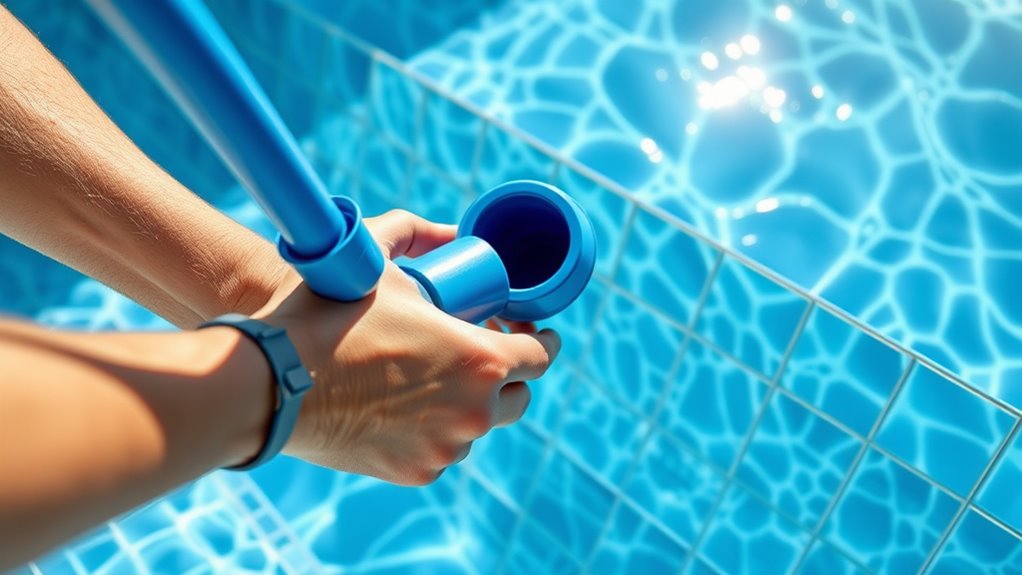
Attaching the Cleaner to the Pool’s Skimmer or Dedicated Line
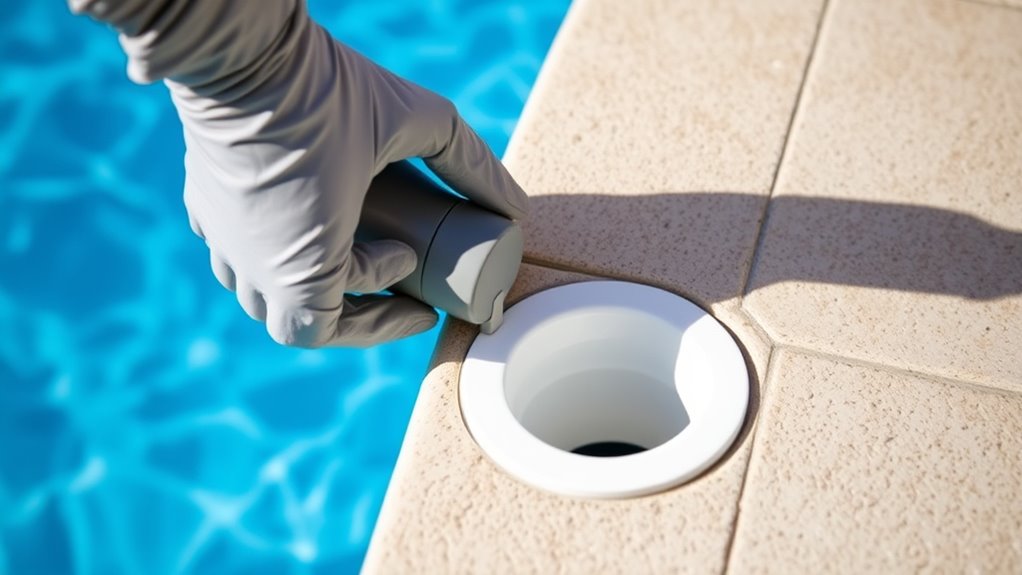
To attach your cleaner to the pool’s skimmer or dedicated line, start by turning off the pool pump to prevent any water flow. Confirming the pool is safe and properly balanced with the correct chemical levels is essential before proceeding. Carefully remove the skimmer basket or outlet cover, then connect the cleaner’s hose to the skimmer inlet or dedicated line fitting. Make sure the connection is secure to prevent leaks or dislodging during operation. Check that the hoses are free of kinks and positioned properly to avoid impacting pool safety or disrupting chemical circulation. Proper attachment promotes effective cleaning and maintains your pool’s chemical balance, reducing risks of algae or bacteria growth. Being aware of cross-cultural communication can also help in understanding and troubleshooting issues with equipment from different manufacturers. Additionally, inspecting your pool’s ventilation system can help ensure proper airflow and prevent issues related to stagnant air or moisture buildup around equipment. Regular maintenance of the filtration system can further enhance water clarity and cleanliness. It’s also helpful to keep an eye on manufacturer instructions to follow specific guidelines for your equipment model. Always double-check connections before turning the pump back on to ensure everything is secure and safe.

Kozlira Automatic Pool Cleaner Flow Keeper Flowkeeper Regulator Valve W60050 Compatible with Zodiac Baracuda G3/G3 Pro/Ranger/Wahoo Automatic Inground Suction Side Swimming Pool Cleaner
【PERFECT REPLACEMENT】This product retains the original feel and can be a perfect replacement for the W60050 automatic pool…
As an affiliate, we earn on qualifying purchases.
As an affiliate, we earn on qualifying purchases.
Adjusting the Flow Rate and Testing the Cleaner
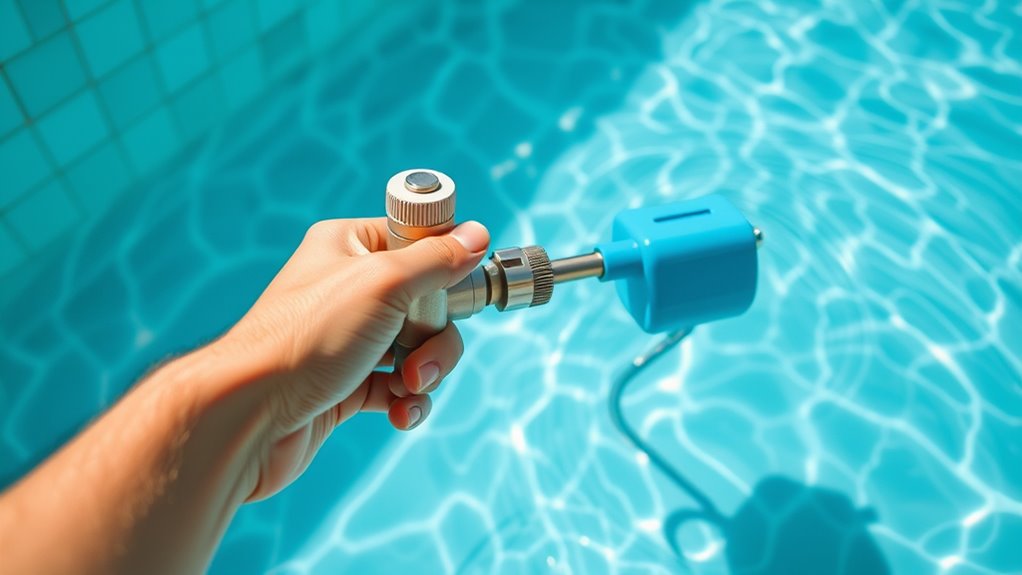
After securing the cleaner’s hoses and ensuring all connections are tight, turn the pool pump back on and observe how the cleaner operates. Check the water flow to see if it’s moving smoothly across the pool surface. If the cleaner moves too slowly or stalls, adjust the pressure regulation valve or flow control device to increase the water flow. Conversely, if the cleaner moves too quickly or seems out of control, reduce the flow. Proper water flow guarantees effective cleaning without damaging the cleaner or your pool’s equipment. Test the cleaner by letting it run for several minutes, watching for consistent movement and debris collection. Fine-tuning the pressure regulation helps optimize cleaning performance and prevents unnecessary strain on your pool system. Understanding water flow and how it affects your pool equipment is essential for safe and efficient operation. Monitoring and maintaining proper filter replacement ensures the system maintains optimal performance and prolongs equipment lifespan. Additionally, being aware of the digital literacy of your pool equipment can help you troubleshoot issues more effectively. Regularly inspecting and maintaining your pool system components, such as pumps and filters, also contributes to more consistent performance and extends the lifespan of your equipment. Maintaining an understanding of water flow regulation can further improve your ability to adjust and troubleshoot your pool cleaner effectively.
Troubleshooting Common Installation Issues
Even with careful installation, you might encounter some common issues that can hinder your suction pool cleaner’s performance. First, check your pool chemistry; imbalanced pH or chlorine levels can affect suction and debris collection. Second, ensure all hoses are securely connected and free of leaks—loose fittings reduce cleaning efficiency. Third, review safety precautions: sharp edges or tangled hoses can pose hazards, so handle equipment carefully. Additionally, inspecting the self watering plant pots can help you understand how proper moisture levels and reservoir connections work, which parallels ensuring your pool cleaner’s components are functioning correctly. Proper security measures can also minimize the risk of unauthorized access or interference with your pool equipment. Recognizing how automation’s role in business intelligence optimizes processes can inspire you to implement systematic checks for your cleaning system. Troubleshooting these issues can restore ideal operation and keep your pool sparkling. Always test the cleaner after adjustments, and regularly inspect for wear and tear. Addressing these problems promptly not only improves cleaning results but also ensures safe use, giving you peace of mind during every swim.
Frequently Asked Questions
Can I Use a Suction Pool Cleaner With an Automatic Pool Cover?
You can use a suction pool cleaner with an automatic pool cover, but watch out for compatibility issues. Automatic pool covers might block or interfere with the cleaner’s hose or intake, reducing efficiency. Make certain your pool cleaner’s hose length and design fit your pool setup. It’s best to check with the manufacturer or a pool professional to confirm compatibility and avoid potential issues with your automatic cover.
How Often Should I Clean or Replace the Cleaner’S Filters?
Oh, the thrill of filter maintenance—truly the highlight of pool ownership! You should clean your suction pool cleaner’s filters weekly to prevent clogs and keep it running smoothly. Replace the filters according to the manufacturer’s replacement schedule, usually every one to two years. Skipping this can turn your pool cleaning into a full-time job, so stay proactive. After all, clean filters make happy, sparkling pools!
Is It Safe to Leave the Cleaner in the Pool Unattended?
Leaving your pool cleaner unattended can impact pool safety and cleaner maintenance. It’s generally safe if you’ve properly installed and regularly maintained it, but you should always monitor it, especially when first starting. Confirm the cleaner is functioning correctly, check filters often, and remove it if you notice any issues. Regular supervision helps prevent damage, keeps your pool safe, and prolongs your cleaner’s lifespan.
Will the Cleaner Work on All Pool Shapes and Surfaces?
You might wonder if the cleaner works on all pool shapes and surfaces. Generally, suction pool cleaners are designed to handle various pool shape considerations, but some are better suited for specific surfaces like vinyl, fiberglass, or concrete. Check the manufacturer’s guidelines to confirm surface compatibility. While many models work on multiple shapes, irregular pools may need a more adaptable cleaner to ensure thorough coverage.
How Long Does the Installation Process Typically Take?
Perfectly-paced, the setup duration for your suction pool cleaner typically takes about 30 minutes to an hour. During this installation time, you’ll connect hoses, secure the cleaner, and guarantee proper placement. The process is simple and swift, so you can start swimming sooner. Keep in mind, your pool’s shape and surface may influence how quickly the setup duration passes, but overall, expect a straightforward, speedy setup session.
Conclusion
Now that you’ve successfully installed your suction pool cleaner, you’re all set for a sparkling pool. Ironically, after all that effort, it might still miss a spot or two—reminding you that even the best tools can’t replace regular manual cleaning. But hey, at least you’ll have a shiny, clean pool ready for those surprise swim guests. Just remember, perfection isn’t guaranteed, but your newfound DIY skills definitely are!