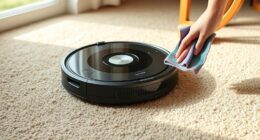
To clean your robot vacuum’s sensors, first turn it off and unplug it for safety. Gently wipe the sensors with a soft cloth or use compressed air to remove dust and debris. For stubborn dirt, lightly dampen a cloth with isopropyl alcohol. Regular cleaning helps sensors function accurately, preventing navigation issues. Keep sensors clear and calibrated for the best results—continue on to discover more tips for maintaining top performance.
Key Takeaways
- Turn off and unplug the vacuum before cleaning to prevent accidental activation and ensure safety.
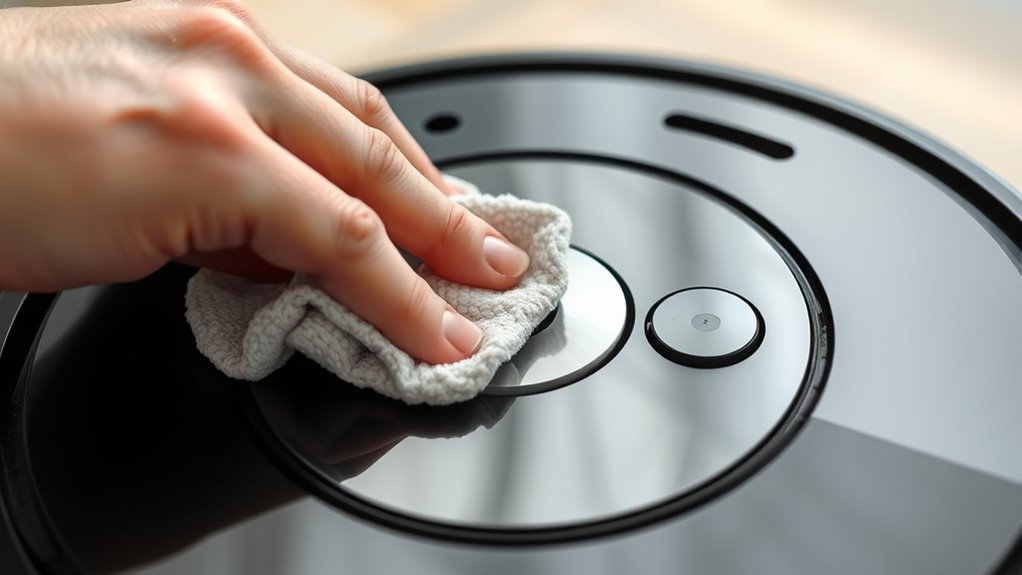
- Use a soft, lint-free cloth or microfiber towel to gently wipe sensors, removing dust and debris.
- Employ compressed air or a small brush to carefully clear dust from sensor surfaces and crevices.
- Avoid harsh chemicals; if needed, lightly dampen cloths with isopropyl alcohol for stubborn dirt.
- Regularly clean and calibrate sensors following manufacturer instructions to maintain optimal navigation performance.
Identifying Sensor Types and Locations on Your Robot Vacuum
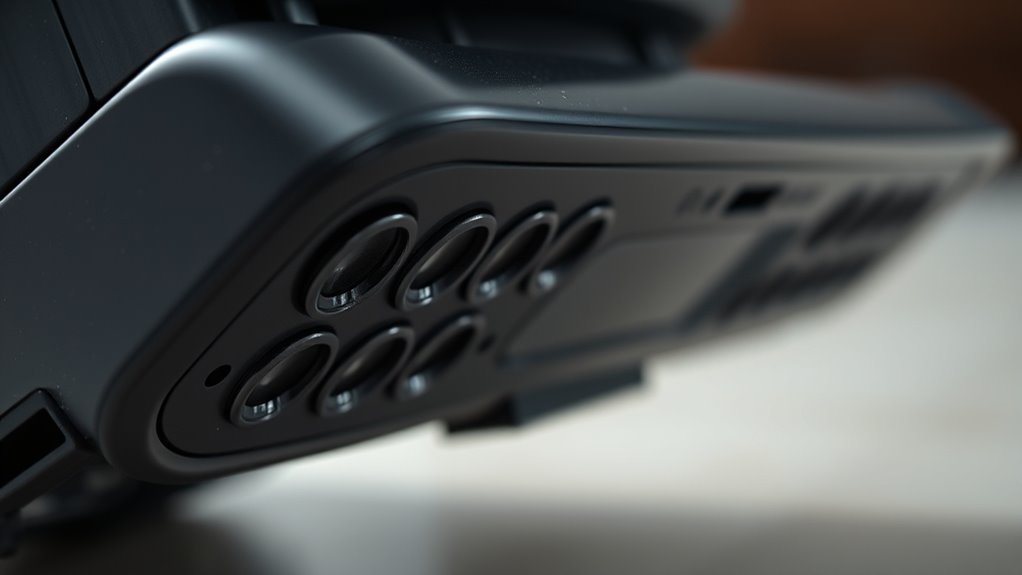
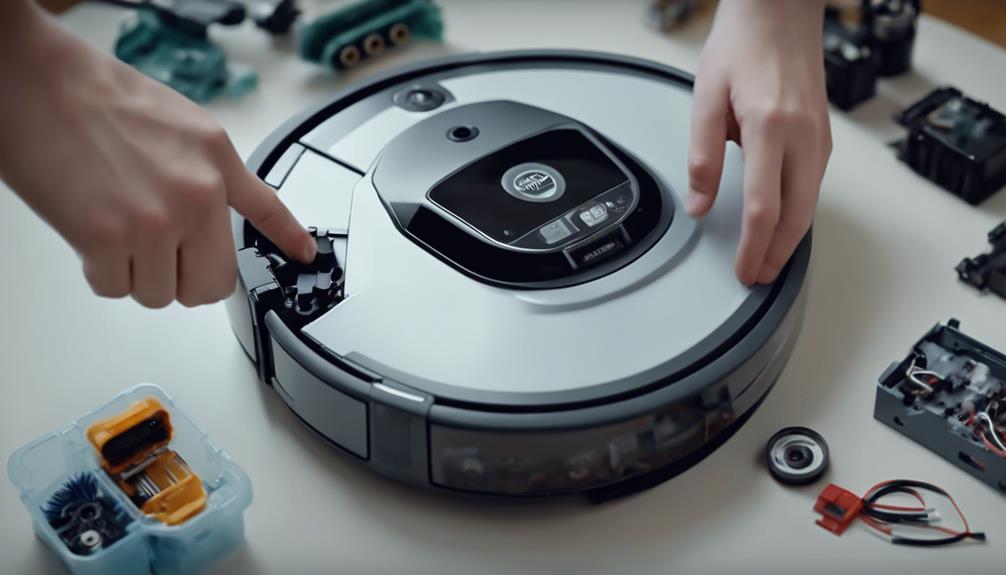
Understanding the different sensor types and their locations on your robot vacuum is essential for proper maintenance. You’ll find sensors near the front, sides, and underside of your device, each serving specific functions like obstacle detection or cliff avoidance. Recognizing these areas helps you perform effective sensor calibration or determine when a sensor needs replacement. For example, if your vacuum struggles with navigation, it might be time to clean or replace a sensor. Regularly inspecting these components ensures they’re free of dust and debris, maintaining excellent performance. Being aware of the sensor technology used in your device can help you better understand how it navigates and interacts with its environment. Knowing where each sensor is located allows you to target cleaning or replacement precisely, preventing unnecessary repairs and ensuring your vacuum navigates smoothly. Proper sensor care keeps your device functioning efficiently and extends its lifespan.
Preparing Your Workspace and Tools for Cleaning
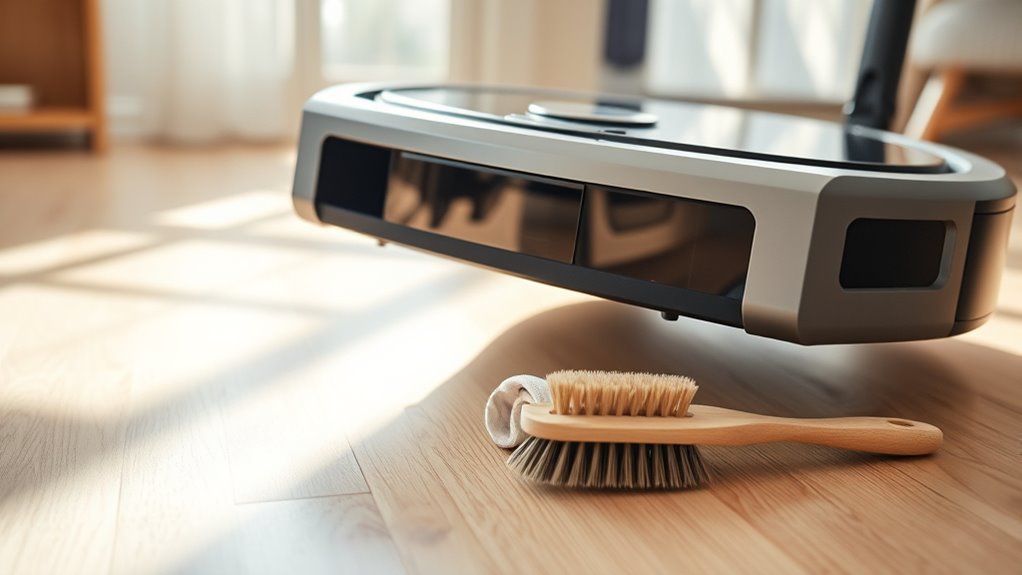
Before you begin cleaning your robot vacuum sensors, it’s important to prepare your workspace and gather the right tools. Choose a clean, well-lit area with plenty of space to work comfortably. As for tools, select soft cloths or microfiber towels to avoid scratching sensors, along with a small brush or compressed air for dust removal. Have a pair of tweezers handy for removing stubborn debris. Proper tool selection is essential to prevent damage and ensure thorough cleaning. Keep any cleaning solutions away from sensitive components. Clearing the workspace of clutter helps you work efficiently and reduces the risk of losing small parts. Additionally, understanding the industry trends related to vacuum technology can help you stay informed about the latest sensor cleaning techniques. By preparing carefully, you’ll make the cleaning process smoother and more effective, ensuring your robot vacuum sensors stay in top condition.
Step-by-Step Guide to Safely Cleaning the Sensors
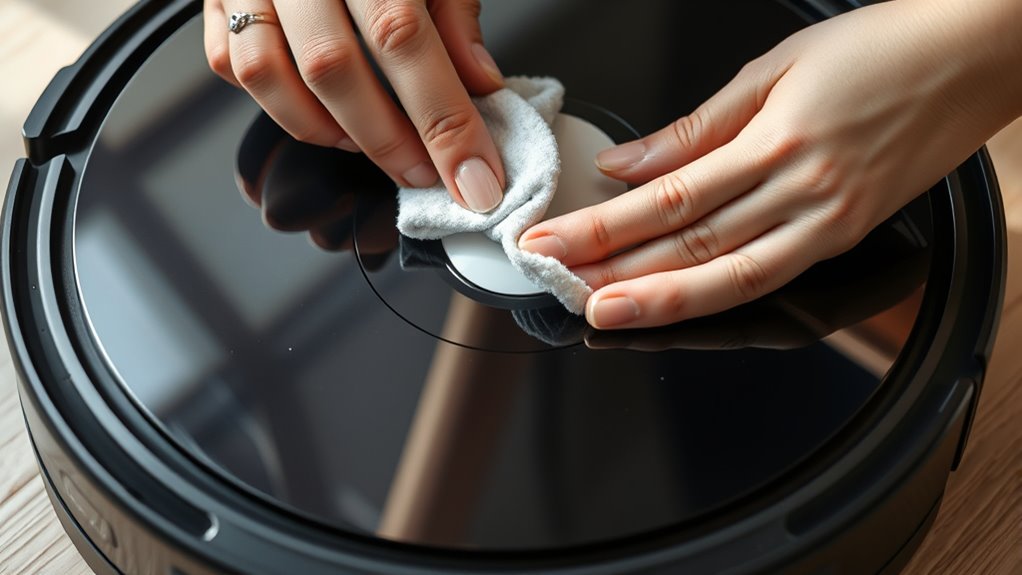
To clean your robot vacuum sensors safely, start by turning off the device and unplugging it if possible. This prevents accidental activation and protects internal components. Next, gently remove dust buildup using a soft microfiber cloth or a compressed air can. Regular cleaning helps maintain proper sensor calibration and avoids errors caused by dust accumulation. Additionally, understanding the importance of sensor calibration ensures your vacuum navigates accurately and efficiently. Follow these steps: 1. Use a soft, lint-free cloth or a brush to wipe the sensors gently. 2. For stubborn dust, lightly dampen the cloth with isopropyl alcohol. 3. Avoid using harsh chemicals or abrasive materials that could damage the sensors. Keeping sensors clean guarantees accurate navigation and prevents misreads. Regular maintenance helps your vacuum perform at its best and extends its lifespan.
Tips for Maintaining Sensor Performance Over Time

Regularly maintaining your robot vacuum’s sensors is essential to guarantee they continue performing accurately over time. Dust buildup on sensors can impair their ability to detect obstacles and navigate properly. To keep performance at its best, periodically check and clean the sensors with a soft cloth or compressed air. Additionally, sensor calibration helps ensure your vacuum’s sensors are aligned correctly, especially after cleaning or if you notice navigation issues. Make it a habit to calibrate the sensors following your manufacturer’s instructions, which often involves simple steps like placing the vacuum on a flat surface or running calibration routines. Consistent maintenance prevents dust from causing false readings and keeps your robot functioning smoothly, extending its lifespan and ensuring efficient cleaning. Incorporating sensor tuning techniques can further optimize your vacuum’s navigation capabilities for better performance.
Troubleshooting Common Sensor Issues After Cleaning

Even after cleaning your robot vacuum’s sensors, you might notice it still has trouble detecting obstacles or maneuvering smoothly. This can happen if the sensors need recalibration or if firmware updates are pending. To troubleshoot:
- Recalibrate the sensors by running a calibration routine in the device settings, ensuring accurate obstacle detection.
- Check for firmware updates; outdated software can cause sensor glitches. Update to the latest version for improved performance.
- Inspect sensor alignment after cleaning—dirt or misplacement can affect readings. Correct any misalignments and rerun calibration if necessary.
- Regularly monitor indoor air quality to identify environmental factors that might impact sensor accuracy and robot performance.
If issues persist, resetting the robot or contacting support might be needed. Proper sensor calibration and keeping firmware current are key to ideal navigation.
Frequently Asked Questions
Can Cleaning Sensors Improve My Robot Vacuum’s Battery Life?
Cleaning your robot vacuum sensors can improve battery life by ensuring accurate navigation, which prevents unnecessary battery drain. Regular sensor calibration helps maintain ideal performance, while dirty sensors might lead to inefficient cleaning paths, wasting power. If sensors are damaged beyond cleaning, sensor replacement is necessary. Keeping sensors clean and calibrated allows your vacuum to operate smoothly, prolonging battery life and ensuring effective cleaning sessions.
How Often Should I Clean the Sensors for Optimal Performance?
Did you know that dirty sensors can reduce a robot vacuum’s efficiency by up to 30%? To keep your device performing its best, clean the sensors regularly—about once every two weeks or sooner if you notice performance drops. Consistent sensor maintenance ensures smooth navigation and prevents potential damage. Regular cleaning frequency keeps your vacuum operating at its best, saving you time and extending the life of your device.
Are There Specific Cleaning Agents to Avoid on Sensors?
You should avoid harsh cleaning agents like alcohol, ammonia, or bleach on your sensors because they can cause sensor damage. Instead, use a soft, damp cloth or a gentle brush during your regular cleaning routine. Stick to your recommended cleaning frequency to keep sensors in top shape without risking damage. Regular maintenance ensures your robot vacuum navigates smoothly and performs at its best without unnecessary repairs.
Do Sensor Types Require Different Cleaning Techniques?
Think of your robot vacuum sensors as delicate detectives, each with unique senses. Different sensor materials, like optical or infrared, need tailored cleaning techniques. For example, optical sensors thrive with soft, lint-free cloths, while infrared sensors may require gentle compressed air. Regular cleaning frequency keeps their detective work sharp, preventing buildup that blurs their vision. Adjust your approach based on sensor type, ensuring your vacuum’s senses stay clear and responsive.
Can Sensor Cleaning Fix Navigation Errors Caused by Software Issues?
Sensor cleaning alone can’t fix navigation errors caused by software issues. You should start with sensor calibration and verify your robot vacuum has the latest software updates. Cleaning the sensors improves their accuracy, but if navigation problems persist, updating or resetting the software often resolves software glitches. Regularly maintaining both sensor cleanliness and software keeps your vacuum operating smoothly and reduces navigation errors.
Conclusion
Now that you know how to clean your robot vacuum’s sensors, you might think you’re all set. But don’t be surprised if your device suddenly starts acting up again—there’s more to this story. Keep an eye on those sensors and follow the tips, because the real challenge is keeping your vacuum performing at its best long-term. Are you ready to reveal the secret to flawless floor cleaning? The next step could change everything.
