When troubleshooting common error codes on your robot vacuum, check the batteries first—ensure they’re properly seated, charged, and not damaged. Clean sensors and battery contacts regularly to prevent false errors. Reset the device to recalibrate sensors and resolve glitches. If errors persist, inspect for sensor damage or consider replacing aging batteries. Proper maintenance can often avoid recurring issues. Keep exploring for detailed steps to help you fix these problems efficiently.
Key Takeaways
- Check and secure the battery connection, clean contacts, and replace aging batteries to resolve power-related error codes.
- Fully charge the battery and ensure proper charger connection to address charging issues.
- Clean sensors and remove dust or debris, especially near cliff sensors, to fix sensor malfunction errors.
- Reset the vacuum according to the user manual to recalibrate sensors and clear error codes.
- Perform regular maintenance and contact support if errors persist after troubleshooting steps.

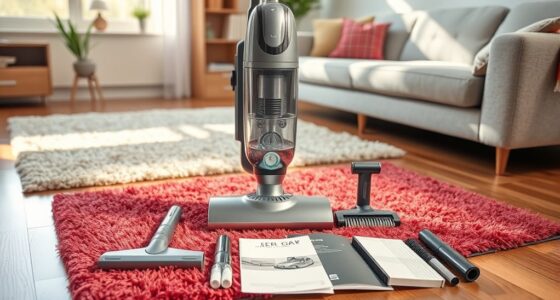
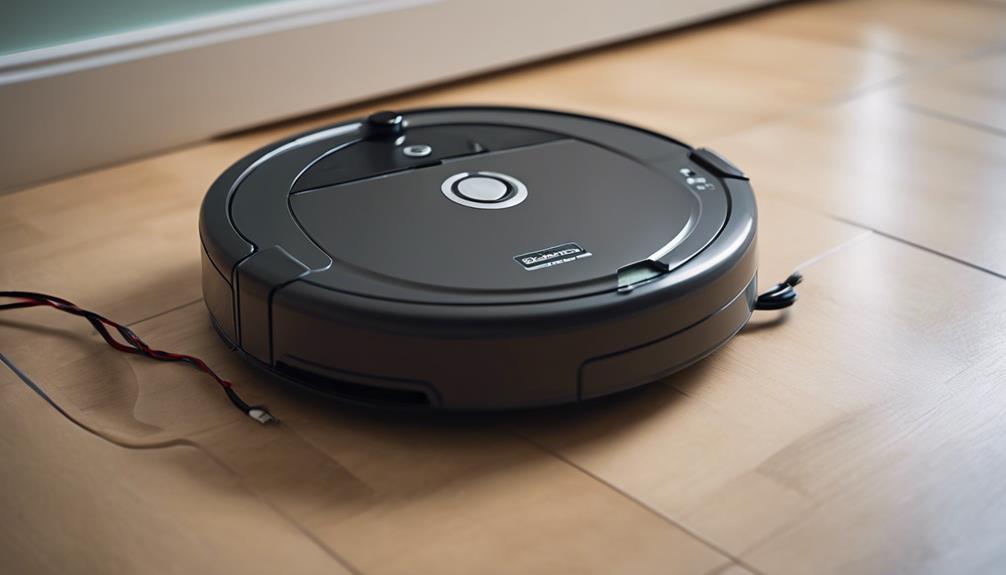
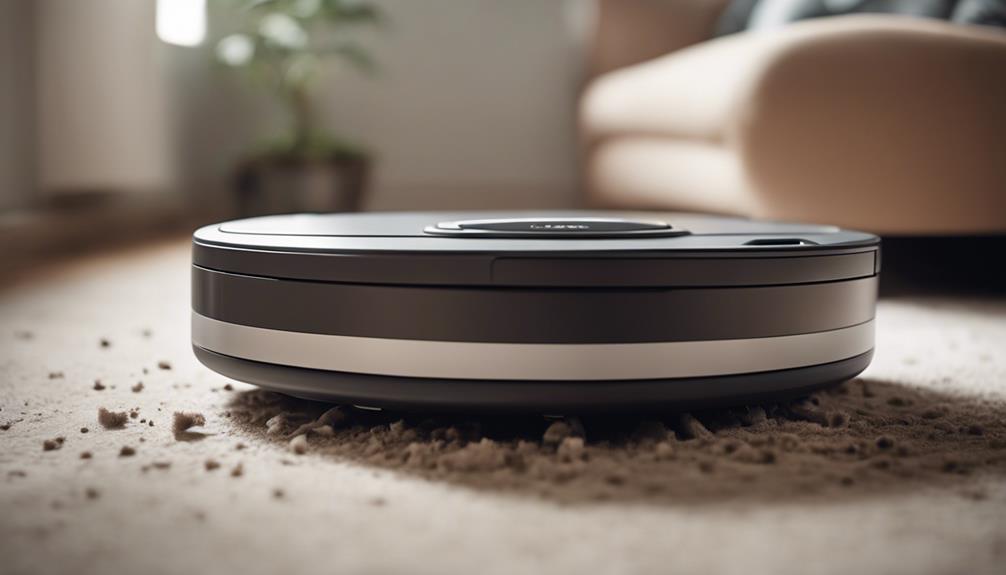
When your robot vacuum displays an error code, it can be frustrating, but most issues are easily fixable with some simple troubleshooting. One common problem involves battery issues, which can cause the vacuum to stop mid-clean or refuse to start at all. If your robot isn’t holding a charge or seems to lose power quickly, the first step is to check the battery connections. Make sure the battery is properly seated and free of debris or corrosion. If the battery is removable, try taking it out, inspecting for damage, and reinserting it firmly. Sometimes, a battery simply needs a recharge—plug in your vacuum and let it charge fully before testing again. If charging doesn’t resolve the problem, the battery may be faulty and need replacing. Keep in mind that batteries have a limited lifespan, so if your device is old, replacing the battery might be the best solution. Regular maintenance such as cleaning battery contacts can also extend battery life and prevent errors related to power issues. Sensor malfunctions are another frequent cause behind error codes. These sensors help your robot navigate and detect obstacles, and when they malfunction, your vacuum might get stuck, misjudge its surroundings, or report errors. To troubleshoot, start by cleaning all sensors with a soft cloth or a brush to remove dust and dirt that might interfere with their operation. Pay close attention to the cliff sensors near the bottom, as dirt buildup here can cause the vacuum to think it’s on a ledge, prompting error signals. If cleaning doesn’t work, check for any visible damage or misalignment. Sometimes, sensors can be knocked out of position or suffer from minor cracks. If cleaning and inspection don’t fix the problem, resetting your robot vacuum might recalibrate its sensors. Refer to your user manual for how to perform a reset or sensor recalibration. If the error persists, it could indicate a faulty sensor that needs replacement, which might require professional assistance or contacting customer support. Proper sensor maintenance and understanding sensor functionality can help prevent recurring errors and improve your vacuum’s performance.

Upgraded 4000mAh N79 14.4V Battery for Eufy RoboVac 11 11S 30 15C 25C 35C Robot Vacuum Cleaner for Ecovacs Deebot N79 N79S Deebot 500 600 DN622, Goovi F007C D380 Robot Vacuum Cleaner Battery
【Upgraded 4.0Ah Capacity】: The real-capacity 4000mAh lithium-ion deebot replacement battery provides an ultra-long running time of 120 to…
As an affiliate, we earn on qualifying purchases.
As an affiliate, we earn on qualifying purchases.
Frequently Asked Questions
Can Error Codes Vary Between Different Robot Vacuum Brands?
Yes, error codes can vary between different robot vacuum brands. Each brand has its own brand-specific diagnostics, which means the error codes and their meanings might differ. To resolve issues, you should follow the firmware update procedures specific to your vacuum’s brand, as updates often fix bugs and improve error code accuracy. Always consult your user manual or manufacturer’s support for proper troubleshooting steps tailored to your device.
How Often Should I Reset My Robot Vacuum’s Error Codes?
Reset your robot vacuum’s error codes often enough to maintain smooth operation, typically after resolving issues or if errors persist. For effective error code management, consider resetting whenever you notice ongoing problems or after cleaning the sensors and brushes. Regular resets prevent persistent problems from piling up, ensuring your device stays in top shape. Usually, a reset every few weeks helps keep your vacuum functioning flawlessly and avoids frequent error frustrations.
Are There Apps to Troubleshoot Error Codes Remotely?
Yes, there are apps that let you troubleshoot error codes remotely. Many robot vacuums now feature remote diagnostics through their dedicated apps, which offer real-time updates and troubleshooting tips. Make sure to check your vacuum’s app compatibility with your device, as not all models support this feature. With these apps, you can often identify problems faster and resolve minor issues without needing to reset or physically inspect your vacuum.
Do Error Codes Affect the Robot’s Warranty Coverage?
You might worry that error codes could void your warranty, and in many cases, they do. Severe error codes often lead to warranty exclusions, especially if caused by user damage or neglect. But minor issues might be covered. Stay alert to error code severity—if it indicates a critical malfunction, check your warranty terms carefully. Ignoring these codes could risk losing coverage, so address them promptly to protect your investment.
Can Hardware Issues Cause Specific Error Codes to Appear?
Yes, hardware issues can cause specific error codes to appear. When hardware malfunctions or sensor failures occur, your robot vacuum detects these problems and displays corresponding error codes. These codes help identify issues like stuck sensors or motor failures, so you can troubleshoot effectively. If unresolved, hardware problems might lead to more error codes or even void your warranty, so addressing hardware malfunctions promptly is essential.
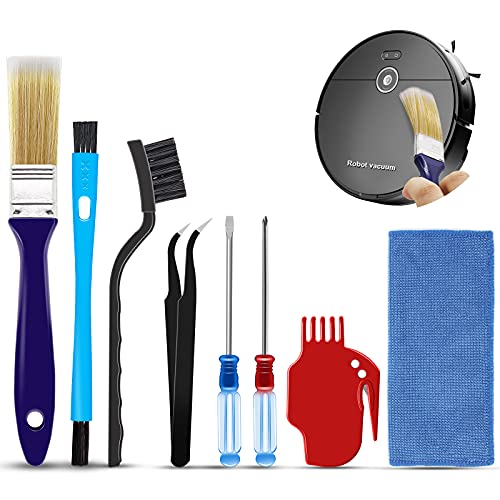
Midukit Vacuum Attachments Accessories for Robot Vacuum Cleaner,Cleaning Brush roll Cleaning Tool Replacement Parts, Part kit Tool for Vacuums Cleaner Replacement Include Vacuum Cleaning Cloth
Midukit vacuum cleaning kit for robot, dyson. Vacuum cleaning tool includes Cleaning Brush, tweezers, screwdriver (Phillips, Slotted), double-end…
As an affiliate, we earn on qualifying purchases.
As an affiliate, we earn on qualifying purchases.
Conclusion
Understanding and troubleshooting common error codes can save you time and frustration, helping your robot vacuum run smoothly. Did you know that over 60% of users experience error codes at some point? By learning these quick fixes, you can keep your device in top shape and extend its lifespan. So, next time you see an error, remember these tips—you’ll be back to effortless cleaning in no time!

Button switch self-resetting pop-up switch, 2-pin vacuum cleaner reset switch for sweeping robot
Button switch self-resetting pop-up switch, 2-pin vacuum cleaner reset switch for sweeping robot
As an affiliate, we earn on qualifying purchases.
As an affiliate, we earn on qualifying purchases.
Roborock Qrevo Curv 2 Flow Complete Troubleshooting Guide: Fix Errors, Boost Performance & Extend Lifespan
As an affiliate, we earn on qualifying purchases.
As an affiliate, we earn on qualifying purchases.