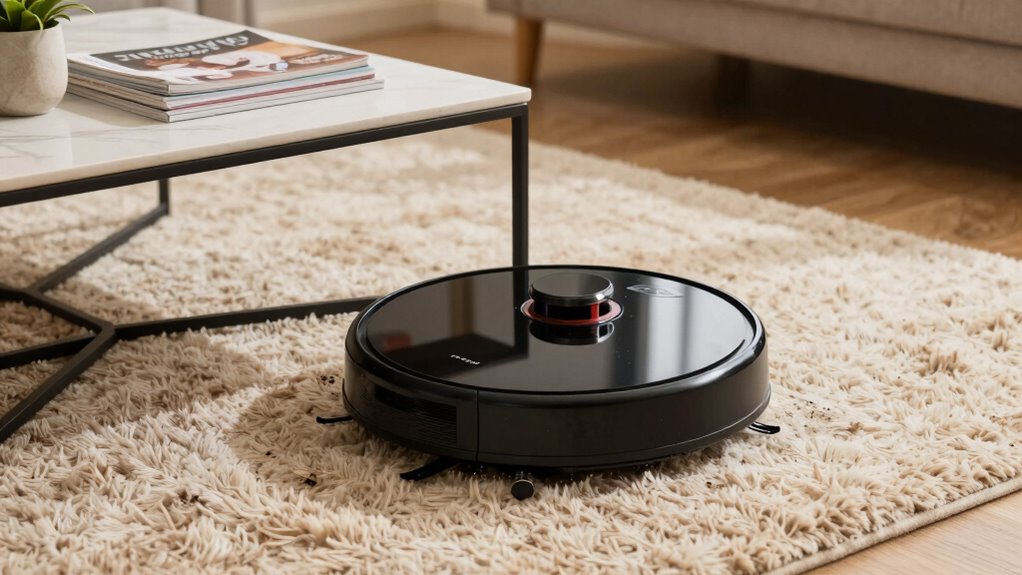
If your robot vacuum keeps getting stuck, the fix is surprisingly simple. Start by clearing cables, small objects, and clutter from your floors to give it an unobstructed path. Check and clean sensors regularly, and consider updating the firmware for better navigation. Resetting the map data or adjusting settings can also help it move smoothly. Want to get your vacuum running flawlessly? Keep going to discover easy tips to solve this common problem.
Key Takeaways
- Regularly clear and clean sensors to prevent dirt buildup that causes navigation errors.
- Remove obstacles, cords, and clutter from the floor to create a clear path for the vacuum.
- Check and straighten rugs or carpets to ensure they lay flat and don’t trap the vacuum.
- Update firmware and recalibrate sensors for improved obstacle detection and navigation.
- Reset the vacuum and re-map your space to fix persistent getting-stuck issues.
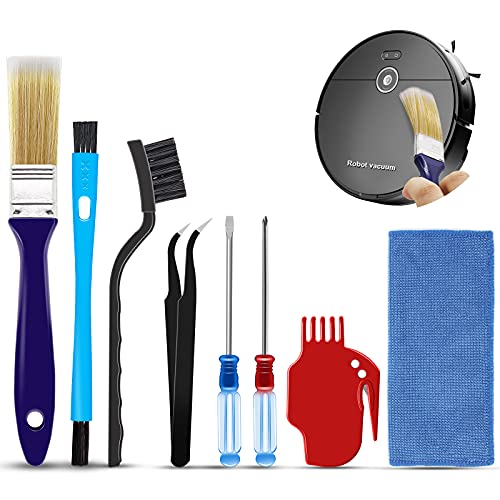
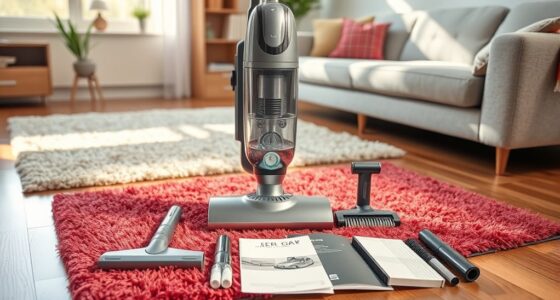
Midukit Vacuum Attachments Accessories for Robot Vacuum Cleaner,Cleaning Brush roll Cleaning Tool Replacement Parts, Part kit Tool for Vacuums Cleaner Replacement Include Vacuum Cleaning Cloth
Midukit vacuum cleaning kit for robot, dyson. Vacuum cleaning tool includes Cleaning Brush, tweezers, screwdriver (Phillips, Slotted), double-end…
As an affiliate, we earn on qualifying purchases.
As an affiliate, we earn on qualifying purchases.
Why Does My Robot Vacuum Get Stuck and How Can I Diagnose the Problem?
When your robot vacuum gets stuck, it’s often because of obstacles, tangled brushes, or uneven surfaces that block its path. To diagnose the problem, start by checking the robot’s sensors. These sensors detect obstacles and help your vacuum navigate smoothly. If they’re dirty or blocked, your robot might misjudge surfaces or get stuck. Also, consider the floor surface types. Some vacuums struggle with thick carpets, slick tiles, or uneven flooring, causing them to halt or get trapped. Observe where your vacuum stops and see if it’s hitting furniture, rugs, or *progressions* between different surfaces. Cleaning the sensors and noting the floor types can quickly reveal why it gets stuck, so you can adjust your environment or maintenance routine accordingly. Additionally, understanding the contrast ratio of your vacuum’s camera and sensor systems can help improve obstacle detection and navigation accuracy. Paying attention to the sensor calibration can further enhance the robot’s ability to detect obstacles precisely. Moreover, optimizing the sensor placement can significantly improve the robot’s overall navigation performance. Regularly updating your vacuum’s firmware can also improve its navigation algorithms and reduce instances of getting stuck. Incorporating environmental factors such as lighting and clutter levels can also help your vacuum navigate more effectively.

Shark Ion Robot Vacuum Cliff Sensor Set, Drop Infrared Sensor Set – 750R01US 761R01US Model
Shark Ion Robot Vacuum Cliff Sensor Set – Infrared Drop Sensors
As an affiliate, we earn on qualifying purchases.
As an affiliate, we earn on qualifying purchases.
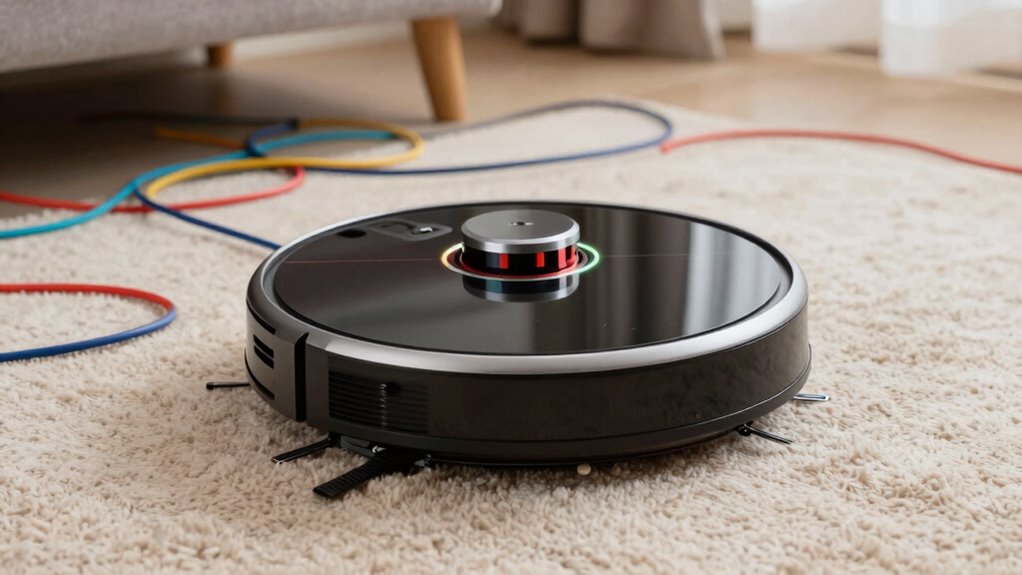
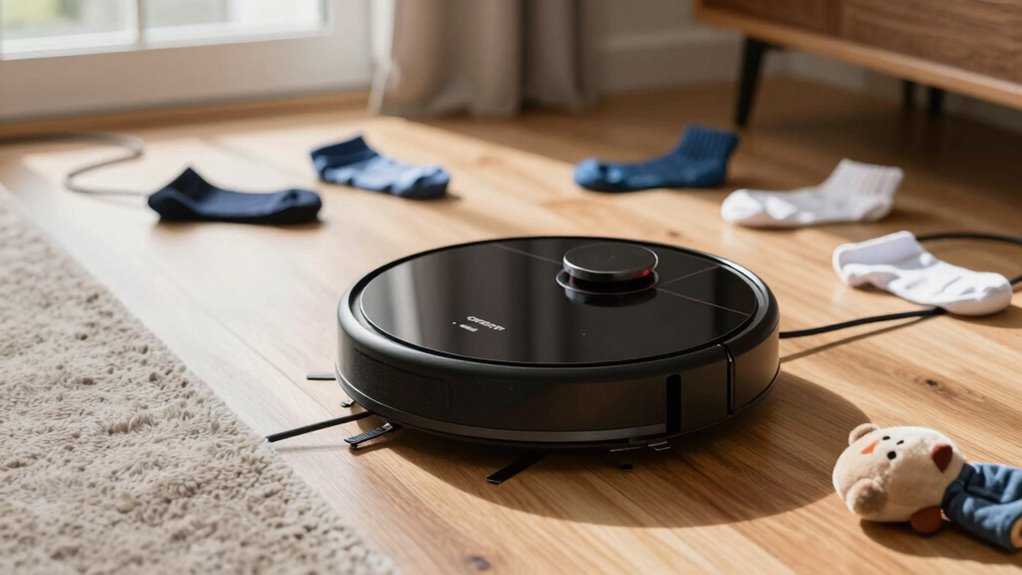
How to Clear Cables and Clutter From Your Floors for Better Navigation

To improve your robot vacuum’s navigation, start by removing excess cables from the floor. Clear clutter from surfaces so the vacuum can move freely without getting stuck. Keeping your floors tidy helps make certain smoother cleaning sessions and fewer interruptions. Additionally, managing smart appliance placement and ensuring connected devices are properly configured can further enhance the vacuum’s performance. It’s also wise to research and verify that your devices are registered and secure, reducing the risk of interference or malfunctions during cleaning. Proper backup power solutions and seasonal prep can help ensure your devices operate reliably during outages, preventing unexpected disruptions. Being aware of electric bike charging zones and placement can help prevent accidental trips or obstructions that might hinder the vacuum’s movement. Maintaining awareness of local traditions and typical household layouts can help optimize your cleaning routine and prevent common obstacles.
Remove Excess Cables
Excess cables and clutter on your floors can easily trip up your robot vacuum, preventing it from cleaning efficiently. To fix this, focus on cord management and cable organization. Start by unplugging and gathering loose cords, then use cable clips or ties to keep them bundled together. Tuck these bundles along walls or behind furniture to keep them out of the vacuum’s path. Avoid leaving long, dangling cables in open areas, as they can snag or cause the robot to get stuck. Regularly check for new cords or clutter that might appear. Clearing the floor of excess cables not only improves navigation but also reduces the risk of damage to your vacuum or cords. Keeping your space tidy can also prevent support breakfast items from obstructing your vacuum’s path, ensuring it operates smoothly and completes its cleaning cycle.
Declutter Floor Surfaces
Keeping your floors clear of cables and clutter is key to ensuring your robot vacuum can navigate effectively. Start by rearranging furniture to create open pathways, reducing obstacles the vacuum might get stuck on. Tuck away or secure loose cables and cords, so they don’t interfere with cleaning routes. Pay special attention to rug placement; avoid thick or heavily fringed rugs that can trap or trip the vacuum. Consider using rug grippers or trimming rug edges to prevent snagging. Clear any small objects, toys, or clutter from the floor, and keep surfaces tidy. A clutter-free environment helps your robot vacuum move smoothly, cover more ground, and avoid getting stuck on unexpected obstacles. This simple step considerably improves your vacuum’s efficiency and longevity. Proper floor organization also reduces the likelihood of damage to your vacuum and extends its lifespan. Additionally, maintaining a clean and tidy floor minimizes the risk of debris causing malfunctions or damage to the vacuum’s brushes and sensors. Regularly checking for obstructions in the vacuum’s path can further ensure your device operates at peak performance. Incorporating regular maintenance routines can further ensure your vacuum operates at peak performance.

ROPVACNIC Robot Vacuum Cleaner Robot Vacuum and Mop Combo with 5200Pa Suction, Personalized Cleaning Adjustments, Self-Charging Robotic Vacuum Cleaner, Advanced Obstacle Avoidance
【2-in-1 Mopping and Vacuuming】 The ROPVACNIC Robot S1 integrates advanced electronically controlled mopping technology, significantly enhancing both cleaning…
As an affiliate, we earn on qualifying purchases.
As an affiliate, we earn on qualifying purchases.
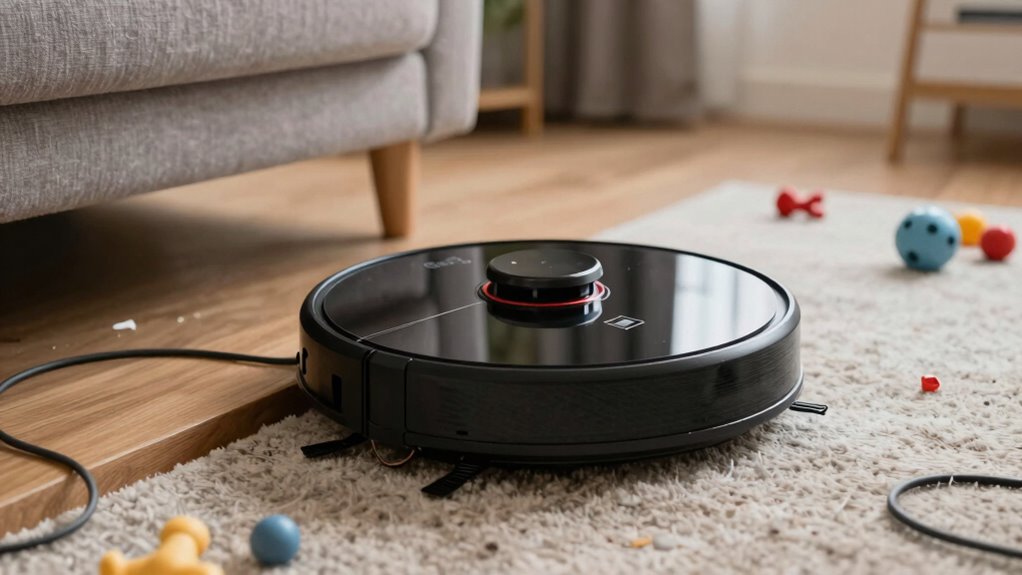
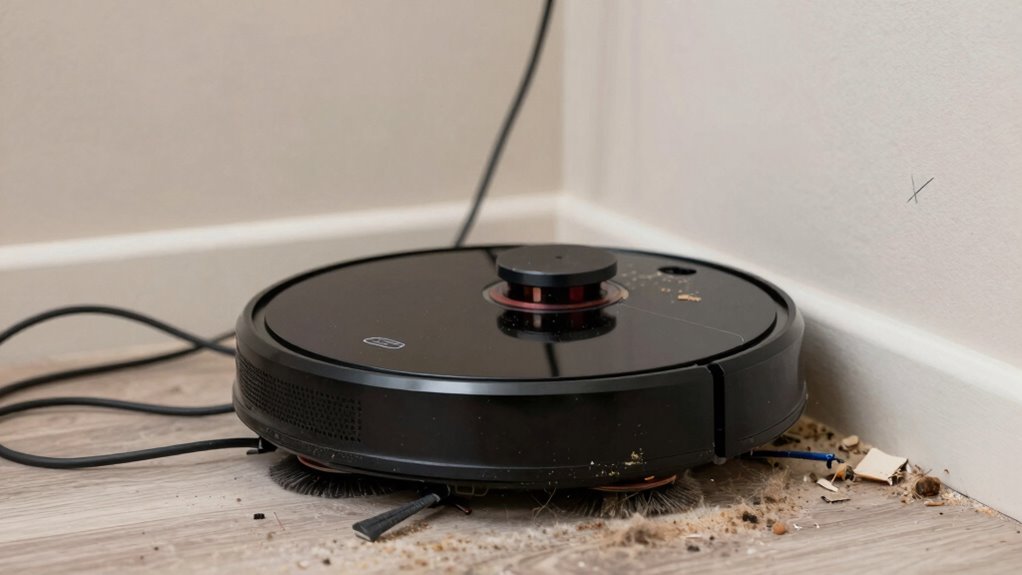
How to Check for Small Obstructions That Block Your Robot’s Path
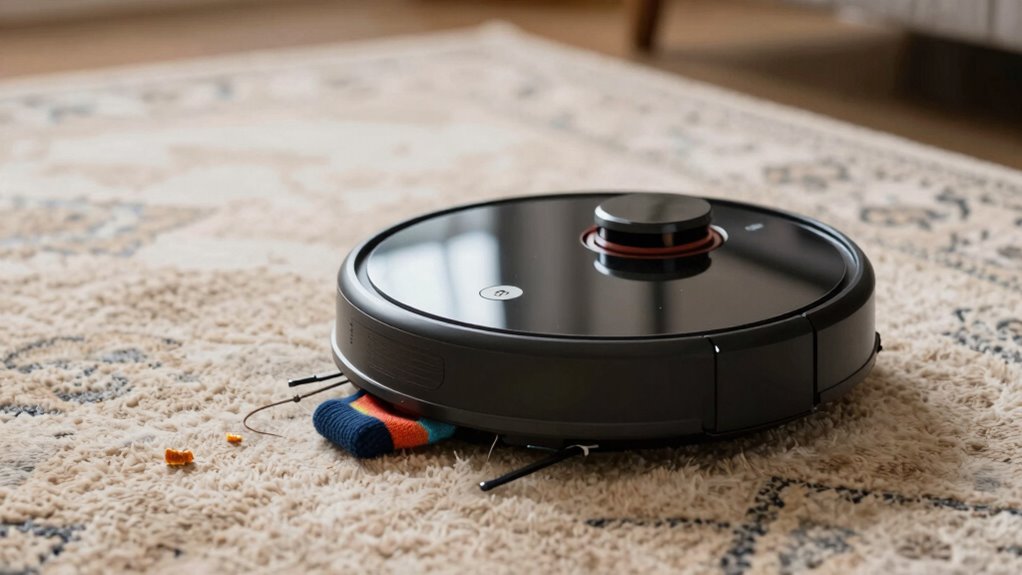
Even tiny objects can cause big problems for your robot vacuum, so it’s important to check for small obstructions that might be blocking its path. Look carefully around furniture legs, corners, and tight spaces for small objects like toys, cords, or debris. Loose rugs are common culprits; ensure they lay flat and don’t bunch up, which can trap the vacuum or cause it to get stuck. Lift or reposition loose rugs if needed. Clear the floor of any small items, including loose papers or clothing, that could interfere with navigation. Regularly inspecting these areas helps prevent unexpected jams and keeps your robot moving smoothly. Additionally, proper maintenance can help identify and resolve issues that cause your device to get stuck, ensuring optimal performance. Performing routine cleaning of your vacuum’s sensors and brushes can also improve its ability to detect obstacles and navigate effectively. Incorporating connected home technology, such as obstacle detection sensors, can further enhance your robot’s navigation and prevent future blockages. Considering advanced obstacle detection features can help your vacuum better recognize and avoid small objects, saving you time and frustration later.

Boundary Strips for Neato Shark ION IQ Robot Vacuum 750 871 761R85, Magnetic Botboundary Strips Tape Markers for RoboVac 30 xiaomi Roborock S5, Not Compatible with APP/AI/LIDAR Robot, 13 Feet
Please check your vacuum model instruction carefully before purchasing. Compatible with some older / classic models only. Not…
As an affiliate, we earn on qualifying purchases.
As an affiliate, we earn on qualifying purchases.
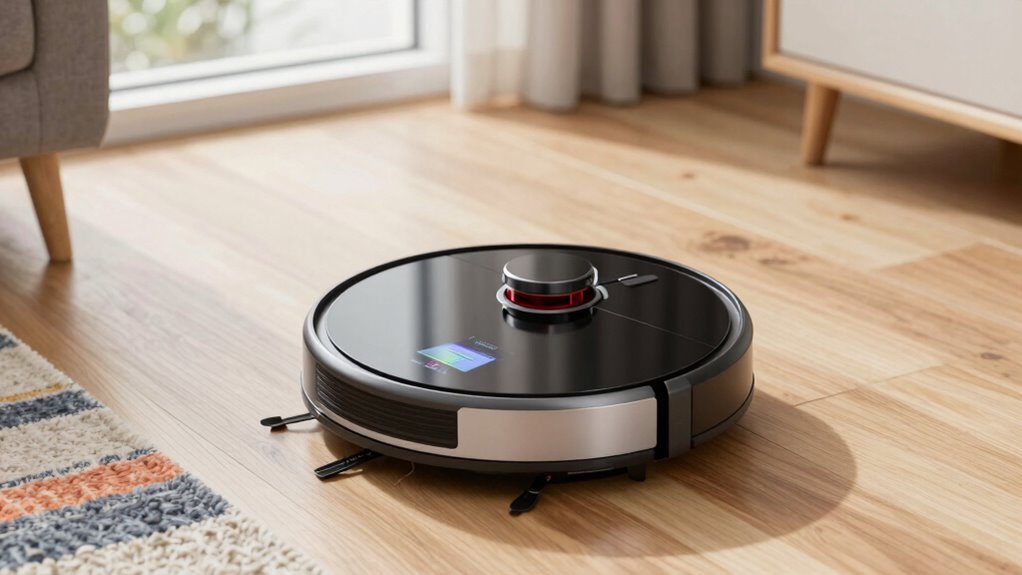
How to Update Your Robot Vacuum’s Firmware for Better Performance
Updating your robot vacuum’s firmware is essential for ensuring it runs smoothly and efficiently. Firmware updates often include navigation calibration improvements and bug fixes, which can prevent it from getting stuck. To update, connect your vacuum to your smartphone app or the manufacturer’s platform, then follow prompts for firmware updates. Regular updates enhance navigation calibration, helping your vacuum avoid obstacles better. Keep an eye out for notifications about new firmware releases and perform updates promptly. Here’s a quick overview:
| Step | Action |
|---|---|
| 1 | Open the vacuum’s app or website |
| 2 | Check for available firmware updates |
| 3 | Download and install the latest firmware |
| 4 | Follow prompts for navigation calibration steps |
| 5 | Restart your vacuum and test its performance |
This process keeps your vacuum at peak performance. Proper firmware management can significantly extend the lifespan of your device and improve its overall functionality. Additionally, staying informed about firmware updates ensures your vacuum benefits from the latest navigation improvements and bug fixes. Moreover, understanding how navigation calibration works can help you troubleshoot issues more effectively.
How to Reset Your Robot Vacuum’s Mapping Data When It Gets Confused
When your robot vacuum gets confused and can’t navigate properly, resetting its mapping data can help. First, check for any obstructions that might be be blocking the sensors or map data. Then, perform a reset procedure to clear the old information and allow it to create a fresh map. Ensuring that your vacuum’s home essentials are well-maintained can also contribute to smoother operation and longer-lasting performance.
Clearing Obstructed Mapping Data
If your robot vacuum is consistently getting confused or mapping areas inaccurately, resetting its mapping data can often fix the problem. This clears obstructed mapping data that may be causing errors in obstacle identification. To visualize the process, consider this table:
| Area Type | Typical Obstruction | Correction Method |
|---|---|---|
| Living Room | Toy clutter | Remove items, reset mapping |
| Kitchen | Low-hanging cords | Tuck away cables, reset map |
| Hallway | Small debris | Clear debris, reset map |
| Bedroom | Furniture shifts | Reposition furniture, reset data |
Additionally, poor installation practices can contribute to ongoing operational issues, so ensuring proper setup can prevent future mapping errors. Regularly updating your vacuum’s firmware and sensor calibration can also improve obstacle detection and overall navigation.
Performing a Reset Procedure
Sometimes, your robot vacuum can become confused or misread its surroundings, leading to inaccurate mapping. Performing a reset procedure is a quick way to fix this. First, guarantee your vacuum’s battery maintenance is ideal—charge it fully before resetting. Locate the reset button or follow your manufacturer’s instructions to reset the device, which often involves holding a button for several seconds. This process clears the current mapping data, allowing the vacuum to start fresh. After the reset, check for software updates, as these often include bug fixes and improvements for navigation. Updating the software ensures your vacuum operates smoothly. Once reset and updated, run a test cleaning to see if it navigates correctly without getting stuck. This simple step can resolve many mapping issues efficiently.
How to Adjust Navigation Settings for Smoother Cleaning
Adjusting your robot vacuum’s navigation settings can considerably improve its ability to clean smoothly without getting stuck. Start by performing a navigation calibration, which helps the device better understand your space. Many models allow you to fine-tune obstacle detection sensitivity, ensuring the vacuum recognizes obstacles without overreacting. If your vacuum is bumping into the same spots repeatedly or avoiding certain areas, tweak these settings through the app or control panel. Increasing obstacle detection sensitivity can help prevent the robot from missing small objects or low barriers. Conversely, lowering it might reduce false alarms in cluttered environments. Regular calibration and adjustment of navigation settings ensure your vacuum moves efficiently, covering more ground without unnecessary stops or entrapments, leading to a smoother, frustration-free cleaning experience.
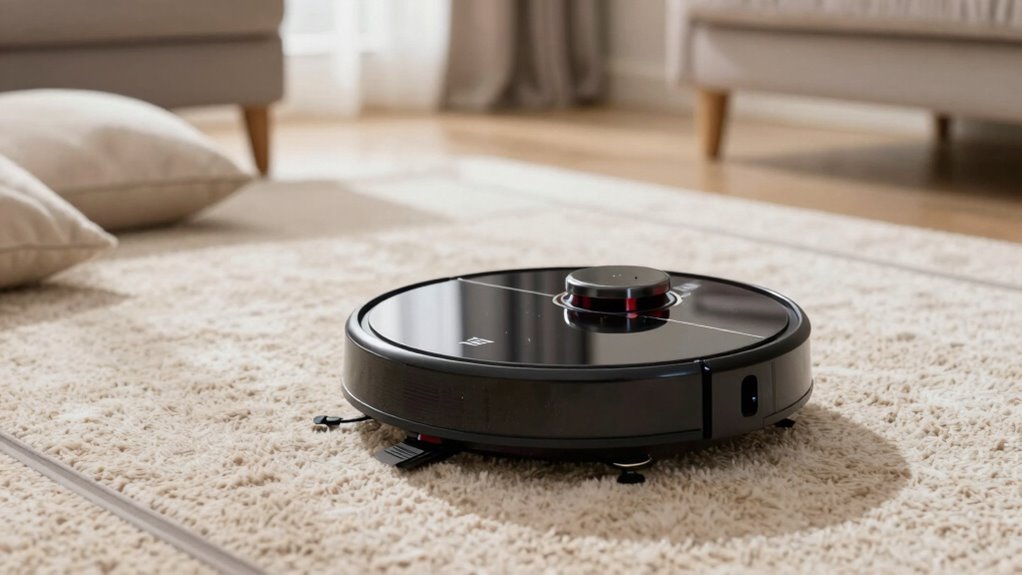
Tips to Keep Your Floors Obstacle-Free and Prevent Getting Stuck
Keeping your floors free of obstacles is key to preventing your robot vacuum from getting stuck. Start with cable management—tuck away loose cords and wires to avoid tangling or obstruction. Use cord clips or covers to keep cables flat and out of the way. Additionally, help your vacuum with obstacle identification by clearing clutter and moving small objects that could trip it up. Regularly sweep or vacuum dust bunnies and debris that might block sensors or movement. Be mindful of area rugs with fringes or thick edges, which can confuse your robot. By keeping surfaces tidy and organized, you reduce the chances of your vacuum bumping into obstacles or getting stuck, ensuring smoother, uninterrupted cleaning sessions.
When to Call a Professional or Consider Replacing Your Robot Vacuum
If your robot vacuum continues to struggle with getting stuck or fails to perform despite troubleshooting, it’s time to contemplate calling a professional or replacing it. Persistent issues may indicate underlying hardware problems or outdated technology that maintenance tips alone can’t fix. Consider whether your vacuum’s feature upgrades, like improved sensors or obstacle avoidance, are outdated and might require a newer model. If repairs are costly or the device remains unreliable after basic maintenance, replacing it could be more cost-effective. Professionals can diagnose complex issues and suggest suitable upgrades or repairs. Ultimately, if your vacuum’s performance hampers your cleaning routine despite troubleshooting, investing in a newer, more advanced model might save you time and frustration in the long run.
Frequently Asked Questions
Can Robot Vacuums Get Stuck on Pet Hair or Loose Fibers?
Yes, robot vacuums can get stuck on pet hair or loose fibers. These materials tend to tangle around brushes and clog filters, causing your vacuum to struggle or stop. To prevent this, regularly check and clean the brushes and filters. You can also trim pet hair and loose fibers from carpets and rugs before vacuuming. Keeping your vacuum well-maintained guarantees it moves smoothly and avoids getting stuck.
Do Rugs or Carpets Cause My Robot Vacuum to Get Stuck Frequently?
Yes, rugs and carpets, especially area rugs and thick carpets, can cause your robot vacuum to get stuck more often. Thick carpets may be too high for the vacuum’s brushes and wheels, leading to jams or the device stopping. To prevent this, make sure to modify the height settings if possible, clear loose fibers or debris, and remove thick rugs from its path when cleaning. This helps guarantee smoother operation and fewer stalls.
How Do I Prevent My Robot Vacuum From Getting Stuck Under Furniture?
Did you know that 70% of robot vacuum users report frequent entrapments under furniture? To prevent your vacuum from getting stuck, guarantee proper furniture clearance—leave at least 2 inches of space underneath. Enable obstacle avoidance features if available, and regularly clear clutter that could block sensors. These steps help your vacuum navigate smoothly, reducing the chances of it getting trapped and ensuring a thorough clean every time.
Is It Normal for My Robot Vacuum to Get Stuck in the Same Spot Often?
It’s common for your robot vacuum to get stuck in the same spot often. Common causes include tangled brushes, low battery, or obstacles blocking its path. To troubleshoot, clear hair or debris from brushes, verify the vacuum has enough charge, and remove small objects from its route. Regularly updating the software and mapping your space can also help prevent recurring stuck spots, making cleaning more efficient.
Can Changing the Cleaning Schedule Reduce My Robot Vacuum’s Getting Stuck?
Changing your cleaning schedule can help reduce your robot vacuum’s chances of getting stuck. By making schedule adjustments, you give the vacuum more time to navigate and avoid problematic areas. Incorporate a consistent cleaning routine that allows it to tackle different zones at different times, so it’s less likely to encounter obstacles repeatedly. This proactive approach minimizes obstructions, making your vacuum’s cleaning experience smoother and more efficient.
Conclusion
Feeling frustrated when your robot vacuum gets stuck is normal, but these simple fixes can save you time and hassle. Regularly clear clutter, update firmware, and check for obstacles to keep it running smoothly. Remember, a little maintenance goes a long way in preventing future issues. So, why let a stubborn vacuum ruin your day when a quick fix can have it back to cleaning effortlessly? Your floors—and your patience—will thank you!