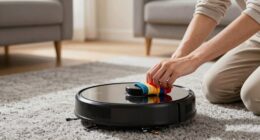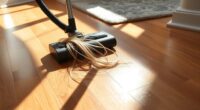
To tackle brush roll blues, start by unplugging your vacuum for safety. Use a Phillips screwdriver to access the beater bar. Cut away any hair or debris with scissors, ensuring the brush roll is clear. Regularly inspect and replace worn bearings and belts. Clean your beater bar every two weeks to maintain suction. A consistent maintenance routine will keep your vacuum running smoothly. Want to discover more tips for peak performance? Keep going!
Key Takeaways
- Unplug the vacuum and wear gloves for safety before cleaning the beater bar to prevent electric shock and protect your hands.
- Remove the bottom face plate with a Phillips screwdriver to access the roller brush for cleaning.
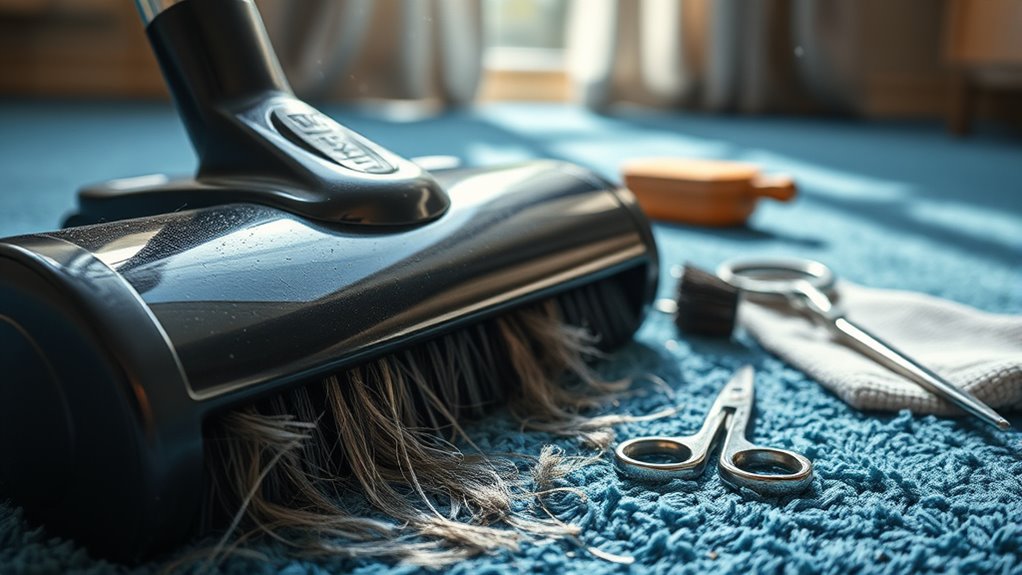
- Cut away hair or debris wrapped around the brush roll using scissors for thorough cleaning.
- Inspect the beater bar and replace worn components like belts and bearings every few months to maintain performance.
- Clean the beater bar every two weeks and document maintenance to ensure optimal vacuum operation and longevity.
Top picks for "brush roll clean"
Open Amazon search results for this keyword.
As an affiliate, we earn on qualifying purchases.
Safety First
Before you immerse yourself in cleaning your vacuum’s beater bar, it’s vital to prioritize safety.
Safety first means unplugging your vacuum cleaner and ensuring it’s disconnected from any power source. This step prevents accidental activation and protects you from electric shock.
Always unplug your vacuum cleaner before cleaning to prevent accidental activation and protect yourself from electric shock.
Familiarize yourself with the manufacturer’s instructions found in your vacuum manual; these guidelines are important for avoiding injuries during maintenance.
Don’t forget to equip yourself with personal protective equipment (PPE), like gloves, to shield your hands from sharp edges while handling components.
Finally, keep your work area clear of obstacles to prevent tripping hazards.
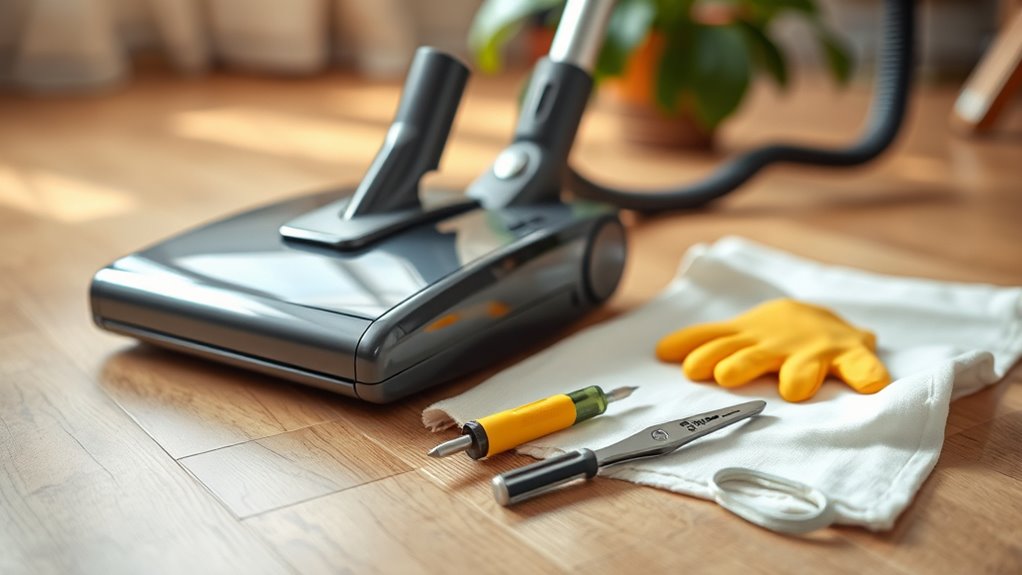
Tools Needed
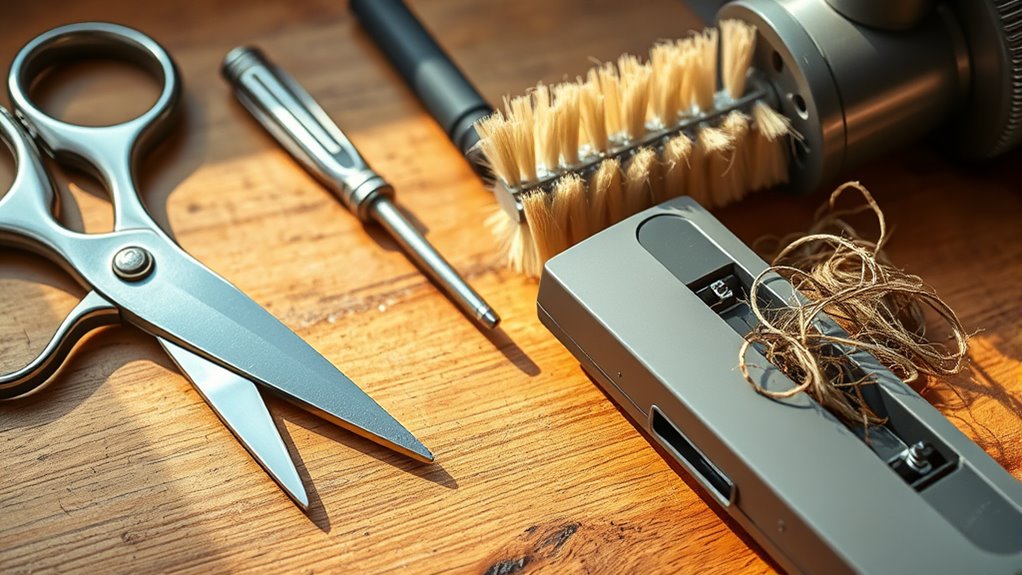
To effectively clean and maintain your vacuum’s beater bar, you’ll need a few essential tools. Here’s a handy list to get you started in removing any hair and keeping your beater bar in top shape:
| Tool | Purpose | Notes |
|---|---|---|
| Phillips head screwdriver | Remove housing to access the brush | Critical for disassembly |
| Scissors | Cut and remove any hair wrapped around the bar | Keeps cleaning efficient |
| Broom handle | Dislodge obstructions in the brush or hose | Use gently to avoid damage |
| All-purpose cleaner | Clean and disinfect the beater bar | Guarantees sanitation |
| Personal protective gear | Protect your hands during cleaning | Always a smart choice |
With these tools, you’ll be ready to clean or replace your beater bar effectively!
Roller Access
To access the roller brush, lay your vacuum down to get a good view of the underside.
Use a Phillips head screwdriver to remove the bottom face plate, keeping track of the screws in a bowl or tupperware.
Once you’ve unscrewed it, you can carefully remove the face plate and reach the roller brush for cleaning.
Prepare Your Vacuum Properly
While preparing to clean your vacuum’s beater bar, it’s essential to access the roller brush properly. First, verify your vacuum is unplugged for safety.
Then, lay it on its side to expose the underside. This position allows you to see the roller brush clearly. Before you start unscrewing, remove anything that might get in the way.
Grab a Phillips head screwdriver and locate the screws on the bottom face plate. You might need to remove around four screws, depending on your model. Organize the screws in a bowl or tupperware to prevent losing them.
Once unscrewed, carefully take off the face plate to access the roller brush and proceed with your cleaning. Regular maintenance of your vacuum’s beater bar can significantly enhance its performance and reliability.
Unscrewing the Bottom Face
Start by locating the screws on the bottom face plate of your vacuum, as these hold it securely in place.
Using a Phillips head screwdriver, begin unscrewing the bottom face, which usually involves four screws, though your model may vary. To keep everything organized, place the screws in a bowl or tupperware.
Once the screws are removed, carefully lift off the face plate to expose the roller brush and other internal components. This step is essential for guaranteeing your vacuum’s brush is clean and functioning effectively. Regular maintenance, including cleaning the brush roll, helps prevent dirt accumulation that can affect your vacuum’s performance.
Always refer to the manufacturer’s recommended instructions for your specific model to make sure you’re following the correct procedure.
With the face plate off, you’re ready to proceed with cleaning.
Accessing the Roller Brush
Accessing the roller brush is a straightforward process that requires a few simple steps. First, unplug your vacuum to guarantee safety. Lay it flat to expose the underside, making it easier to reach the roller brush. Grab a Phillips head screwdriver and remove the screws securing the bottom face plate—typically around four, though this can vary by model. Keep those screws organized in a bowl to avoid losing them. Once you’ve unscrewed everything, carefully lift off the face plate to reveal the roller brush. This allows you to give it a good clean and perform any necessary maintenance.
| Step | Action | Tool Needed |
|---|---|---|
| 1 | Unplug the vacuum | None |
| 2 | Lay vacuum flat | None |
| 3 | Remove screws | Phillips head |
| 4 | Lift off face plate | None |
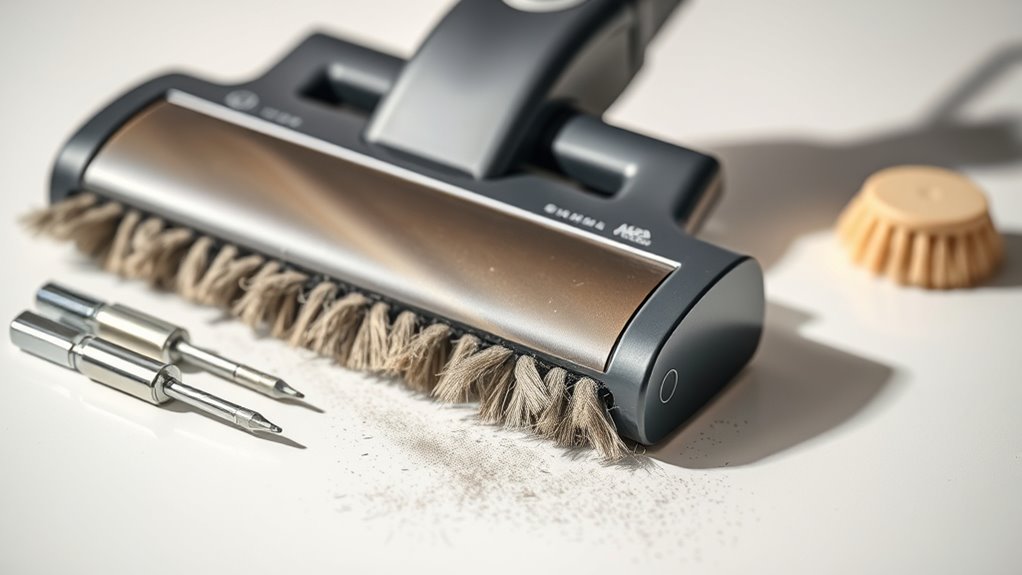
Cleaning the Brush Roll
Cleaning the brush roll is essential for your vacuum’s performance, especially when it comes to removing hair and debris.
You should develop a regular maintenance schedule to keep it in top shape.
Let’s explore some effective hair removal techniques that will make this task easier.
Hair Removal Techniques
When it comes to maintaining your vacuum, removing hair from the brush roll is essential for keeping it running smoothly.
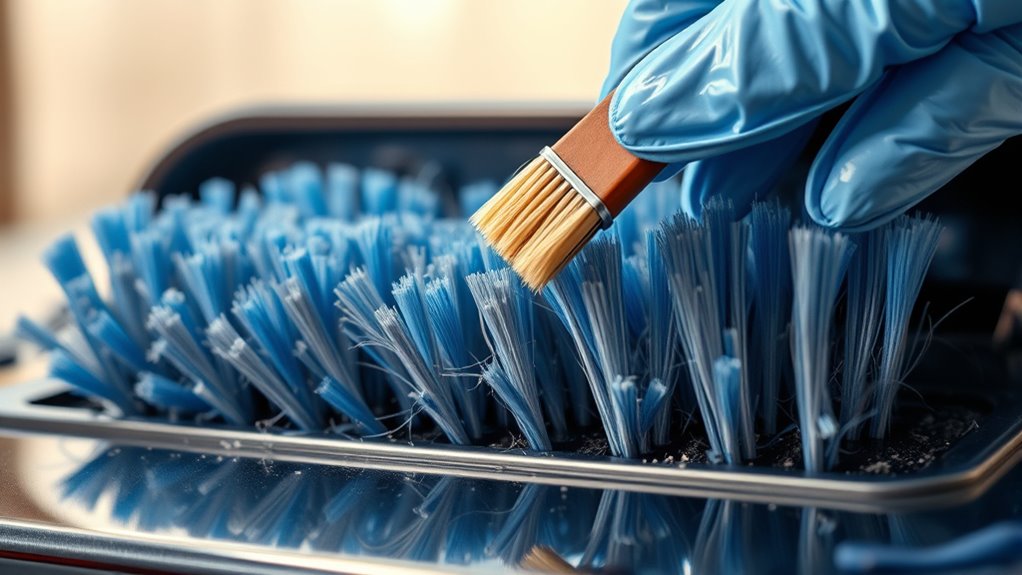
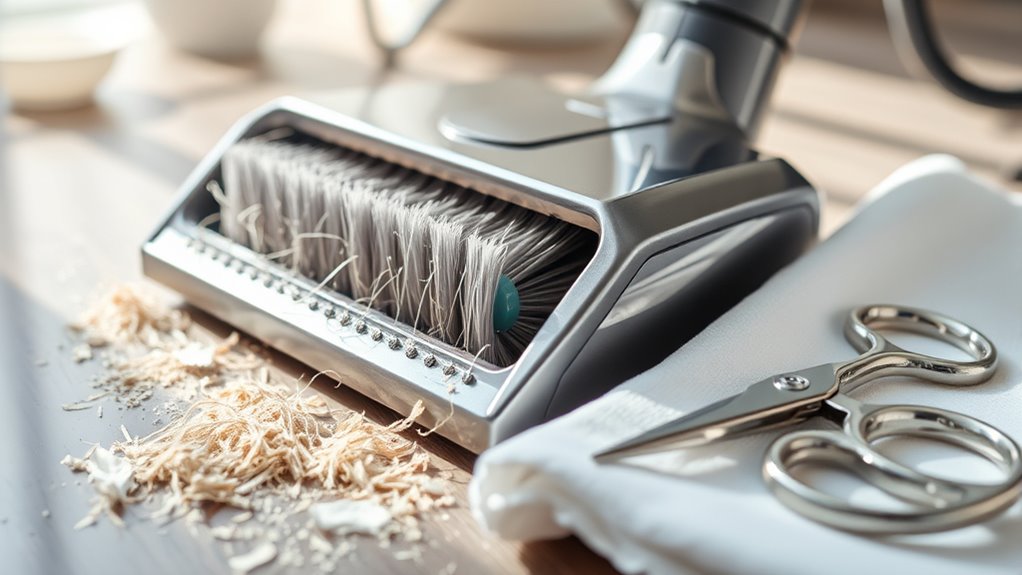
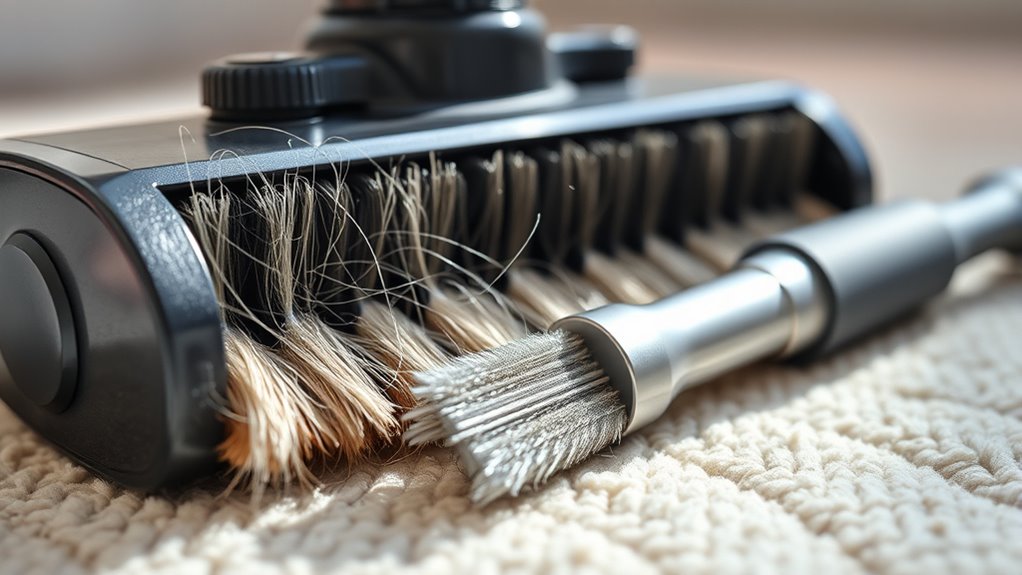
Start by using scissors to carefully cut through any hair and debris wrapped around the brush roll, paying special attention to areas near the bearings and where the belt sits. After cutting, gently pull the hair off with your fingers, ensuring you remove all accumulated strands for peak performance.
Aim to clean the brush roll at least every two weeks to prevent hair buildup that can hinder suction and rotation efficiency. Additionally, regular cleaning contributes to maintaining home hygiene, which is an important aspect of vacuum maintenance.
When reassembling, make sure the brush roll is aligned correctly with the housing. Regular inspections can extend the brush roll’s lifespan and maintain your vacuum cleaner’s efficiency.
Regular Maintenance Schedule
A regular maintenance schedule is vital for keeping your vacuum’s brush roll in top condition. Clean the brush roll every two weeks to prevent hair and debris buildup that can impair vacuum performance. Here’s a quick reference to help you manage your maintenance:
| Task | Frequency | Notes |
|---|---|---|
| Clean Brush Roll | Every 2 weeks | Remove hair and debris carefully. |
| Replace Brush Roll | Every 6-12 months | After about 300 hours of use. |
| Check Alignment | Each time you clean | Verify the square end aligns correctly. |
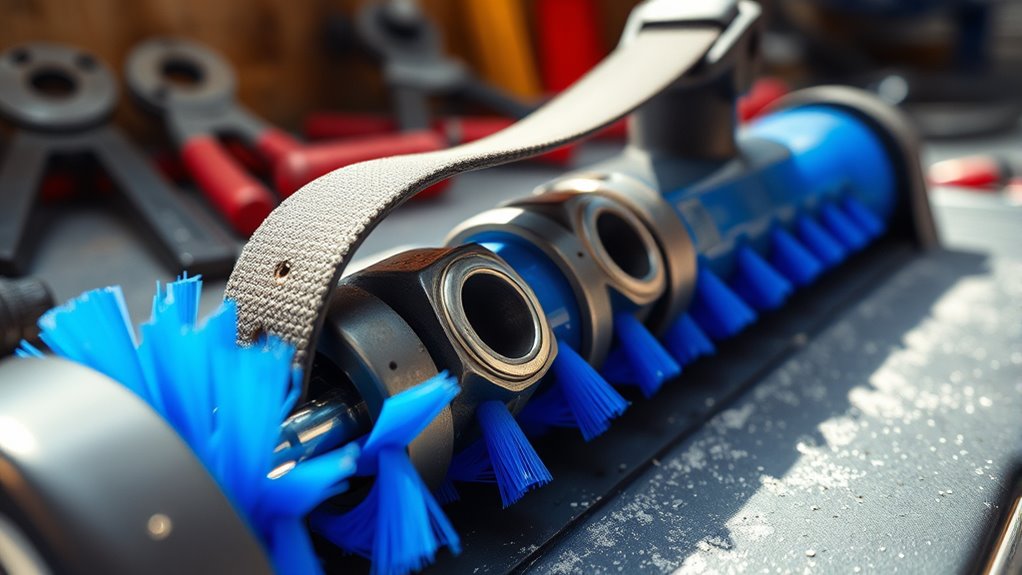
Inspecting Bearings and Belt
How often do you check your vacuum’s beater bar bearings and belt? Regular inspections are vital to maintaining your vacuum’s efficiency.
Here’s what you should look for:
- Inspect bearings for wear or damage.
- Check the belt for cracks, fraying, or stretching.
- Spin the beater bar manually to guarantee it rotates freely.
- Replace worn bearings or belts promptly to avoid performance issues.
- Perform these checks every few months to prevent long-term damage.
Faulty bearings can hinder brush rotation, while a damaged belt can reduce power transfer, impacting suction efficiency.
Reassembling Your Vacuum
After you’ve thoroughly cleaned the beater bar, it’s essential to reassemble your vacuum properly to guarantee peak performance.
Start by aligning the square end of the beater bar with the housing and reinserting it. Next, slide the roller brush back into place, making sure the end caps are securely positioned in their respective slots.
Once that’s done, reattach the bottom faceplate by aligning it correctly with the vacuum body. Secure it using the screws you previously removed.
Don’t forget to tighten all screws securely to avoid any loose parts that could affect your vacuum’s performance.
Finally, perform a quick inspection to verify all components are properly assembled before plugging your vacuum back in.
Regular Maintenance Schedule
With your vacuum reassembled and ready to go, establishing a regular maintenance schedule for the beater bar is key to keeping your vacuum performing at its best.
Establishing a regular maintenance schedule for your vacuum’s beater bar ensures optimal performance and longevity.
To maintain peak performance, follow these steps:
- Clean the beater bar brush every 2 weeks to prevent hair and debris buildup.
- Replace the beater bar brush every 6 to 12 months or after about 300 hours of use.
- Regularly inspect for tangles and obstructions, cleaning between the fins for better carpet agitation.
- Always follow the manufacturer’s specific maintenance guidelines to avoid damage.
- Confirm the correct orientation when reinserting the beater bar, aligning the square end with the housing.
Final Tips for Optimal Performance
To guarantee your vacuum maintains its peak performance, it’s vital to adopt a few simple habits.
First, inspect and clean the beater bar every two weeks to prevent hair and debris buildup. This keeps suction strong and guarantees good performance.
You also need to know that replacing the beater bar every 6 to 12 months or after about 300 hours of use is important for effective carpet agitation.
Always follow the manufacturer’s instructions for disassembly and reassembly to avoid damage.
After cleaning, check that the roller brush is properly oriented and securely fastened.
Finally, keep the vacuum’s housing and debris compartments clean, as accumulated dust can affect performance and shorten the beater bar’s lifespan in the end.
Frequently Asked Questions
How to Clean a Vacuum Beater Bar?
To clean a vacuum beater bar, start by unplugging the vacuum and removing the bottom face plate with a Phillips screwdriver.
Check for hair or debris wrapped around the bar and carefully cut it away with scissors.
Wipe the beater bar with an all-purpose cleaner and a cloth to remove dirt.
Finally, inspect the bar belt for cracks before reassembling the vacuum by replacing the face plate and screws securely.
How to Clean Brush Roll on Shark Robot Vacuum?
You mightn’t think about it, but cleaning your Shark Robot Vacuum’s brush roll can make a world of difference.
Start by unplugging the vacuum for safety.
Use a Phillips head screwdriver to take off the brush roll cover, then clear away any hair or debris wrapped around the brush.
Wipe it down with a damp cloth, check for damage, and reassemble everything securely to keep your vacuum performing at its best.
How Often Should You Replace Your Vacuum Roller Brush?
You should replace your vacuum roller brush every 6 to 12 months or after about 300 hours of use to keep it performing well.
If you notice a drop in suction or the brush isn’t spinning correctly, it’s time for a change, no matter how long it’s been.
Regular cleaning every two weeks can help extend its life, so keep an eye out for frayed bristles or visible damage, too.
How to Clean a Vacuum Brush Roll With Vinegar?
Ever wondered why your vacuum’s losing its cleaning power?
To clean your brush roll with vinegar, first unplug the vacuum and carefully remove the brush roll.
Mix equal parts vinegar and water in a spray bottle, lightly spritz the solution on the brush roll, and scrub it gently with a soft cloth.
Rinse off the vinegar, let it dry completely, and then reassemble your vacuum.
Regular cleaning keeps your vacuum performing at its best!
Conclusion
Taking care of your vacuum’s brush roll isn’t just a chore—it’s essential for keeping your home clean. Did you know that a well-maintained vacuum can improve air quality by reducing allergens by up to 50%? By regularly cleaning and inspecting your beater bar, you’re not just prolonging your vacuum’s life; you’re also creating a healthier environment for you and your loved ones. So, make it a habit, and enjoy the fresh, clean air in your home!