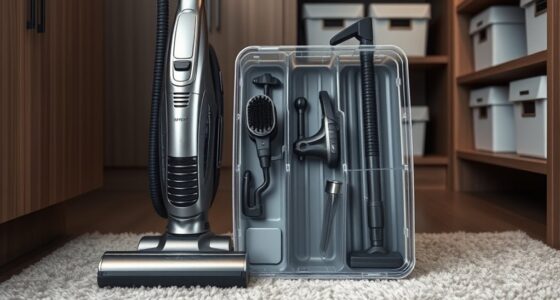
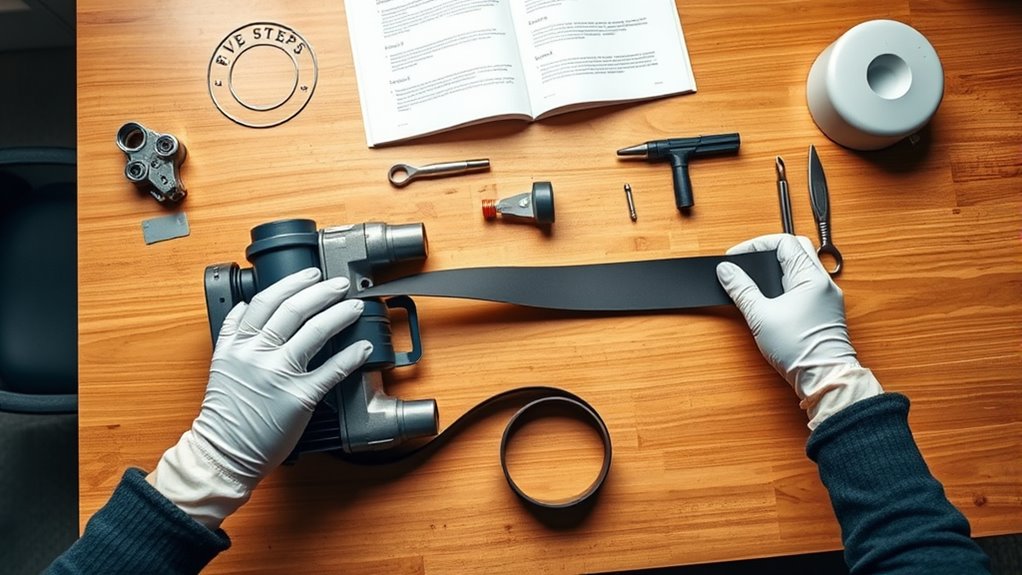
To replace a vacuum belt in five easy steps, first gather your tools and prepare the vacuum. Remove the bottom plate by unscrewing it and detaching any brush. Next, unplug the vacuum, slide off the old belt, and clear any debris. Install the new belt around the motor pulley, reattach the brush, and guarantee everything’s aligned. Finally, reassemble the vacuum securely and test it out. If you want to learn more tips, keep going!
Key Takeaways
- Gather essential tools and a compatible new vacuum drive belt before starting the replacement process.
- Remove the bottom plate by unscrewing the four screws and detaching it gently.
- Unplug the vacuum, clear debris, and slide off the old belt from the drive pulley.
- Install the new belt around the motor pulley, ensuring proper alignment and tension with the brush.
- Reassemble the vacuum by securing the bottom plate and testing for smooth operation of the new belt.

HASME 104217 Vacuum Cleaner Drive Belt Replacement for ProTeam Fits for ProForce 1500 1500XP 15XP 1200XP HEPA and 1500XP HEPA Upright, 2-Pack
Replaces Part Number for 104217
As an affiliate, we earn on qualifying purchases.
As an affiliate, we earn on qualifying purchases.
Gather Your Tools and Prepare the Vacuum

Before you plunge into replacing your vacuum belt, gather a few essential tools. You’ll need a Philips tip screwdriver or an Allen wrench, as these are key for the job.
Make sure you have a new vacuum drive belt that’s compatible with your specific model, since sizes and types can vary.
To set up for the repair, place the vacuum cleaner on a stable workbench, giving you easy access and ample space.
Familiarize yourself with the vacuum’s assembly by locating the four screws that secure the bottom plate.
Once you’ve got your tools and workspace ready, you’re all set to move forward and tackle the replacement.
With everything in place, you can make this process smooth and efficient.

Vacuum Belt Replacement for Hoover Elite Rewind Plus Upright Vacuum Cleaner, fits Model: UH71003, UH71009, UH71011, UH71012, UH71013, UH71200, UH72003, UH72011
Vacuum cleaner belts compatible with Hoover Elite Rewind Plus Upright Vacuum Cleaner, fits model: UH71003, UH71009, UH71011, UH71012,…
As an affiliate, we earn on qualifying purchases.
As an affiliate, we earn on qualifying purchases.
Remove the Bottom Plate
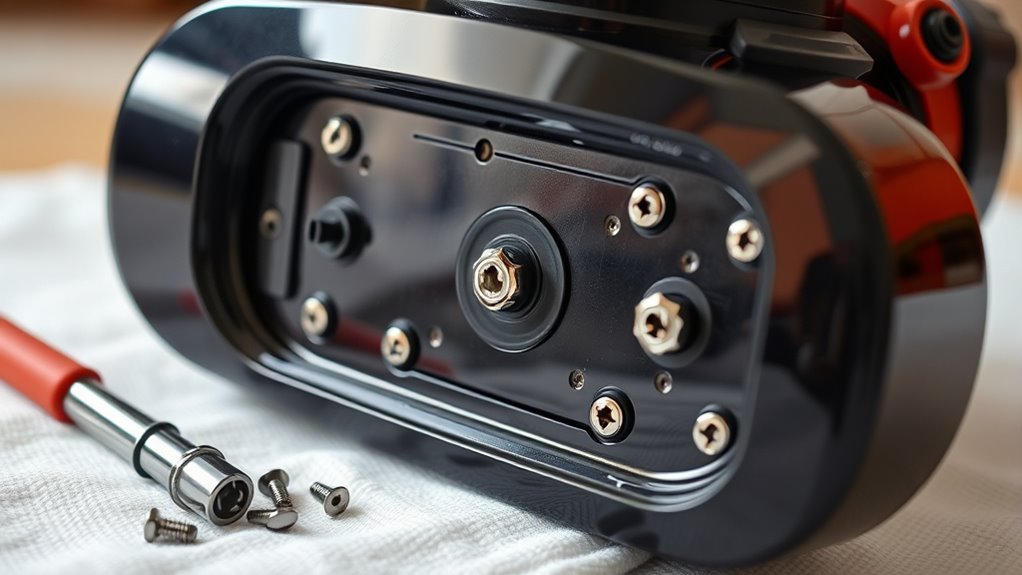
To start the replacement process, you’ll need to remove the bottom plate of your vacuum cleaner.
First, place the vacuum on a stable workbench for easy access.
Locate the four screws securing the bottom plate and use a Philips screwdriver or an allen wrench to remove them.
Once the screws are out, press down on the tab on the plate and gently pull it off to detach the bottom plate.
After removing the screws, press the tab and gently pull to detach the bottom plate.
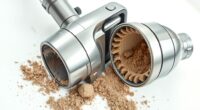
After that, you’ll need to take out the brush to access the belt underneath.
With the brush removed, the drive pulley will be exposed, allowing you to continue with the belt replacement process.
Make sure to keep all parts organized for easy reassembly later on!

Style 7/9/10 P/N 3031120 Replacement Belt For Bissell Vacuum,Vacuum Belt Fit Bissell Powerforce Helix Powerlifter Cleanview Swivel Rewind Pet Vacuum Cleaner Replace Parts 2031093 32074 3031123 2-Pack
PERFECT UNIVERSAL COMPATIBILITY:These 3031120 belt Compatibility With Perfectly fits Bissell style 7/9/10/12/14/16,Suitable for most Bissell vacuum cleaner models…
As an affiliate, we earn on qualifying purchases.
As an affiliate, we earn on qualifying purchases.
Detach the Old Belt
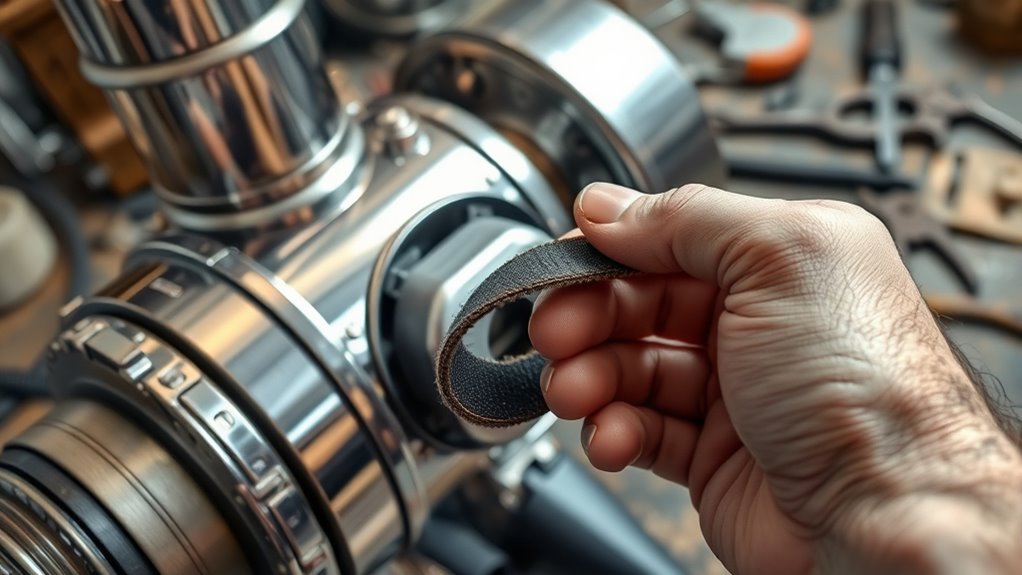
With the bottom plate removed and the brush assembly exposed, you’re ready to detach the old belt. Follow these steps to guarantee a smooth process while replacing the belt:
- Unplug the vacuum: Always prioritize safety by disconnecting it from the power source.
- Remove the brush: Take out the brush from its housing to gain access to the old belt.
- Clear the area: Make sure the drive pulley and surrounding space are free of debris to facilitate the new installation.
- Slide off the belt: Carefully remove the old belt from the drive pulley; it’s usually stretched and worn out.
Now that you’ve detached the old belt, you’re prepared for the next step in replacing the belt!

Generic Belt Replacement Change Tool for Dyson Vacuum Cleaners
Versatile Belt Tool: Specially designed to fit Dyson vacuum cleaners, compatible with DC04, DC07, and DC14 models for…
As an affiliate, we earn on qualifying purchases.
As an affiliate, we earn on qualifying purchases.
Install the New Belt
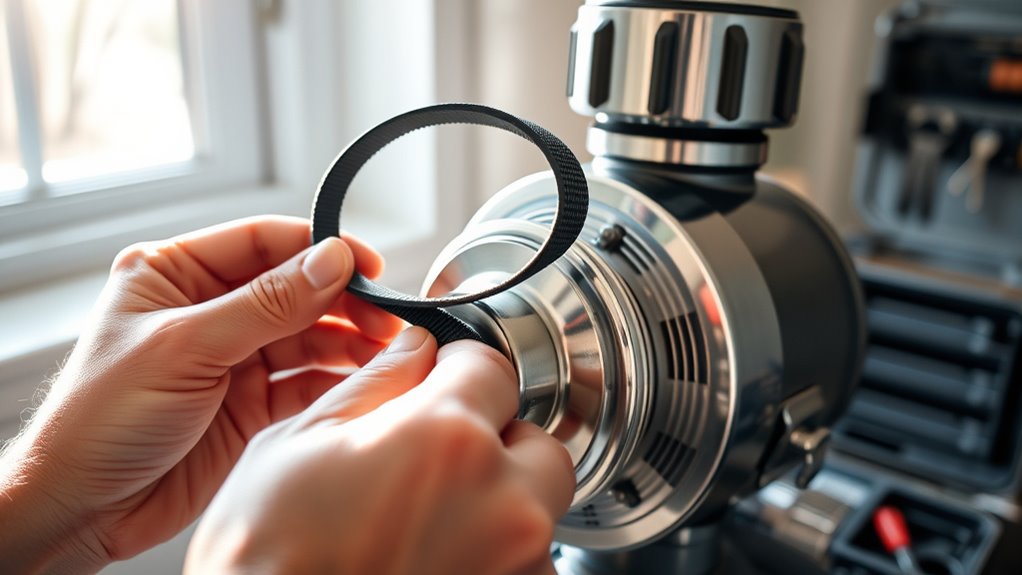
Now it’s time to install the new belt and get your vacuum back in working order. Start by sliding the new belt around the motor pulley or motor shaft, making sure it fits snugly.
Next, insert the brush through the center of the new belt, ensuring it’s positioned correctly. Align the squared-off section of the brush with the vacuum housing to guarantee proper placement.
Once everything lines up, snap the brush back into place, verifying there’s sufficient tension on the new belt. After installation, take a moment to double-check that the belt is aligned properly on the pulley.
This step is essential for the efficient performance of your vacuum cleaner, so don’t skip it!
Reassemble the Vacuum
Reassembling your vacuum is essential to confirm it works properly after replacing the belt. Follow these steps to get everything back in order using simple tools:
- Carefully position the plate back onto the vacuum, ensuring all components are aligned.
- Replace the four screws that secure the plate, tightening them snugly—just don’t over-torque.
- Double-check that the belt is aligned on the drive pulley to avoid slippage during operation.
- Reattach any additional components, like the brush, following the manufacturer’s guidelines for correct alignment.
Once everything’s back together, turn on the vacuum to confirm the new belt operates smoothly and the brush rotates effectively.
Test your vacuum to ensure the new belt runs smoothly and the brush spins effectively.
You’ll be back to cleaning in no time!
Frequently Asked Questions
How Do You Replace a Vacuum Belt?
To replace a vacuum belt, start by placing your vacuum on a stable surface.
Remove the screws securing the bottom plate to access the brush and drive pulley.
Take out the brush and slide off the old belt.
Inspect for any wear before installing the new belt, making sure it’s around the motor pulley first.
Reinsert the brush, secure it, and replace the bottom plate, ensuring everything’s aligned for ideal performance.
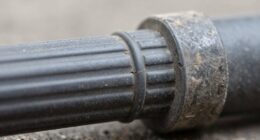
How to Tell if a Vacuum Belt Is Bad?
If your vacuum’s losing suction, start by scrutinizing the belt. Signs of serious strain include cracks, fraying, or stretching.
If the brush roller isn’t spinning when you switch it on, that’s a strong signal the belt’s broken or slipped off. You might also notice a burning smell or hear unusual noises, indicating slippage or looseness.
Regularly checking the belt can save you from bigger vacuum problems down the road.
What Can You Use in Place of a Vacuum Belt?
If you find yourself without a vacuum belt, you can use a thick rubber band or a piece of heavy-duty fabric as a temporary fix.
Just make sure whatever you choose can handle the tension without breaking. An old bicycle inner tube also works well due to its durability and elasticity.
However, keep an eye on your vacuum’s performance, as these substitutes mightn’t provide the same suction power as a proper belt.
How Does a Vacuum Belt Work?
A vacuum belt connects the motor to the brush roll, enabling it to spin and pick up dirt effectively.
When you turn on your vacuum, the motor drives the belt, which transfers power to the brush roll. This action agitates carpets or floors, enhancing suction and cleaning performance.
Over time, belts wear out, so you’ll need to check and replace them regularly to keep your vacuum operating at its best.
Conclusion
As you’ve navigated the journey of replacing your vacuum belt, think of it as reviving a trusty steed. Just like tending to a horse guarantees it gallops smoothly, caring for your vacuum keeps it running at its best. With a new belt in place, your vacuum is ready to tackle the dust and debris of your home, much like a knight prepared for battle. Embrace your role as the caretaker, and let your vacuum ride on to victory!