
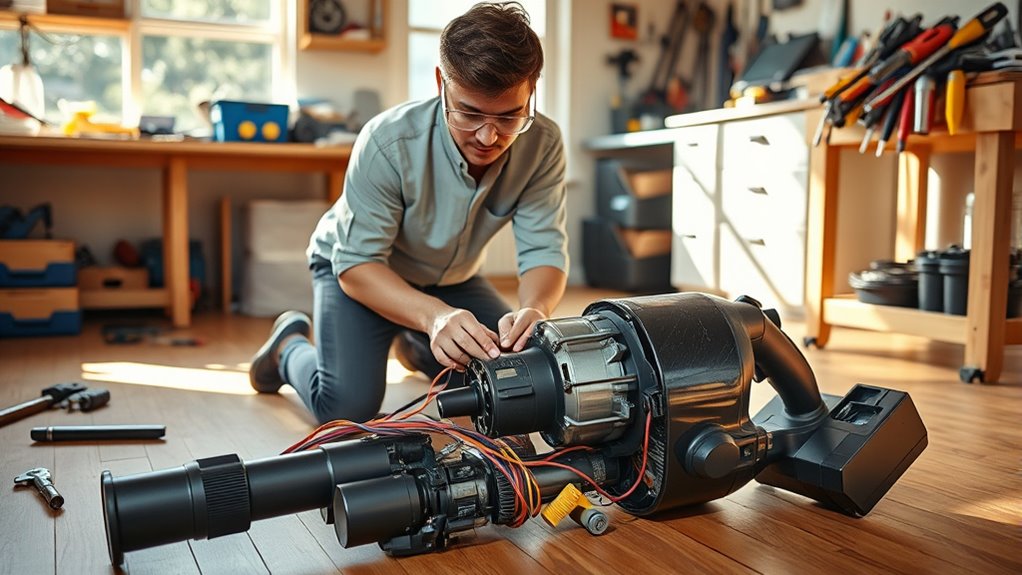
You can save money and extend your vacuum’s lifespan with DIY repairs. Start by understanding key components like the motor, filters, and brush roll. Common issues, such as loss of suction or strange noises, have simple solutions you can tackle at home. Essential tools like screwdrivers and a multimeter will make repairs easier. With regular maintenance and inspection tips, you’ll keep your vacuum running smoothly. Stick around to uncover more helpful tips and insights!
Key Takeaways
- Regularly clean or replace filters every 1-3 months to ensure optimal airflow and suction efficiency.
- Empty dustbins or replace bags after each use to maintain strong suction power.
- Inspect and clean the brush roll weekly to prevent obstructions and enhance cleaning performance.
- Check hoses for clogs monthly and clear any blockages to ensure unobstructed airflow.
- Engage in routine maintenance to extend the vacuum’s lifespan and save on repair costs.
Understanding Your Vacuum Cleaner Components
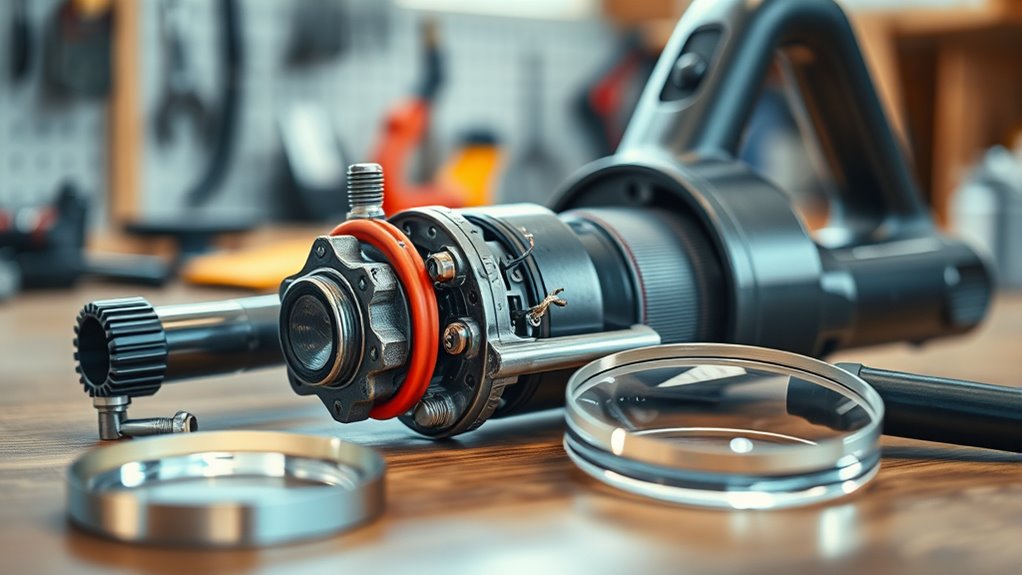
Understanding the components of your vacuum cleaner is important for effective DIY repairs.
The motor is the heart of your vacuum, driving the suction and brush roll. Motor issues can greatly affect performance, so keep it well-maintained.
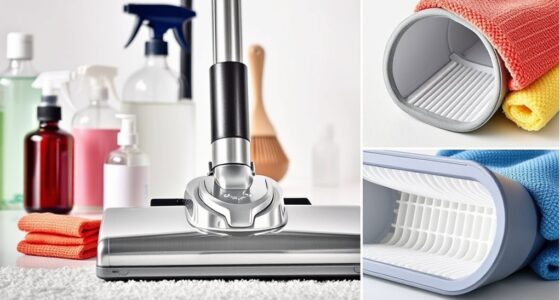
Filters are essential too; they capture dust and allergens, and you should clean or replace them regularly to maintain ideal airflow.
The brush roll agitates dirt, so check for tangles and wear to guarantee effective cleaning.
Don’t forget about the hoses—blockages or kinks here can reduce suction considerably.
Finally, electrical components, like the power cord and switches, are critical for operation.
Regular vacuum cleaner maintenance keeps everything running smoothly and prolongs your machine’s lifespan.
Common Issues and Their Solutions
While vacuum cleaners are essential for maintaining a clean home, they can encounter a variety of common issues that hinder their performance.
Vacuum cleaners play a crucial role in home cleanliness, but they often face issues that affect their efficiency.
Addressing these problems promptly can save you time and money. Here are some common problems and their solutions:
- Loss of suction: Check for clogged filters, full dust bags, or blocked hoses; clean or replace as needed.
- Poor suction: Regular maintenance of the brush roll or beater is vital.
- Strange noises: Inspect and clean worn bearings or check for air leaks.
- Overheating: Guarantee proper airflow by clearing any clogs.
- Electrical issues: Test power cords and switches with a multimeter for diagnosis.
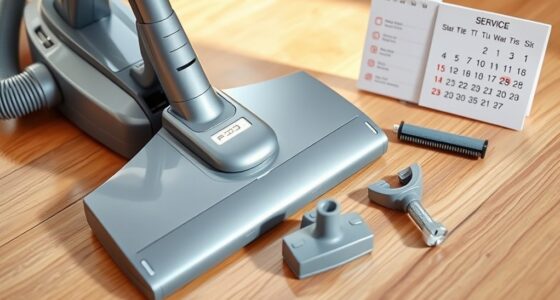
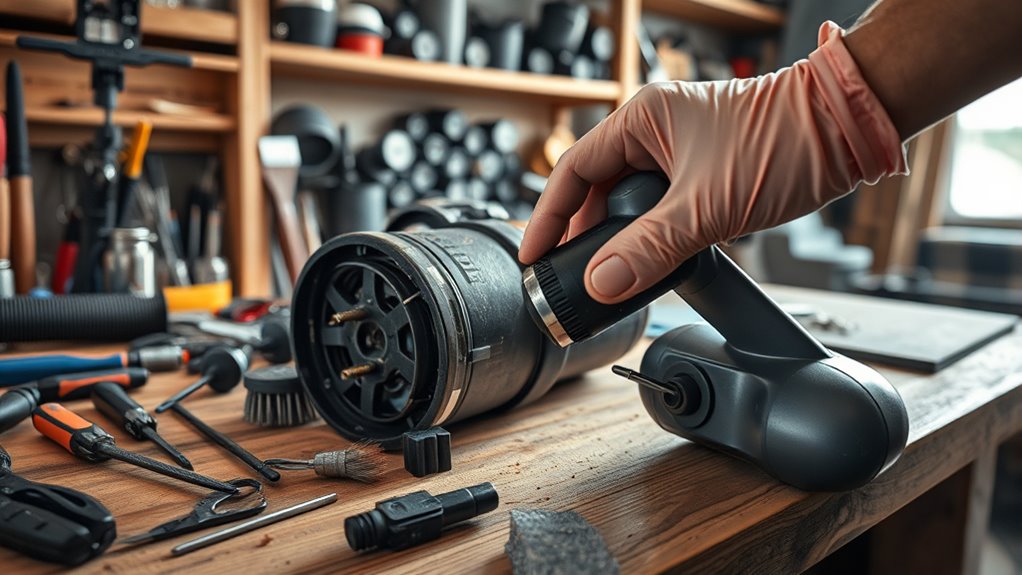
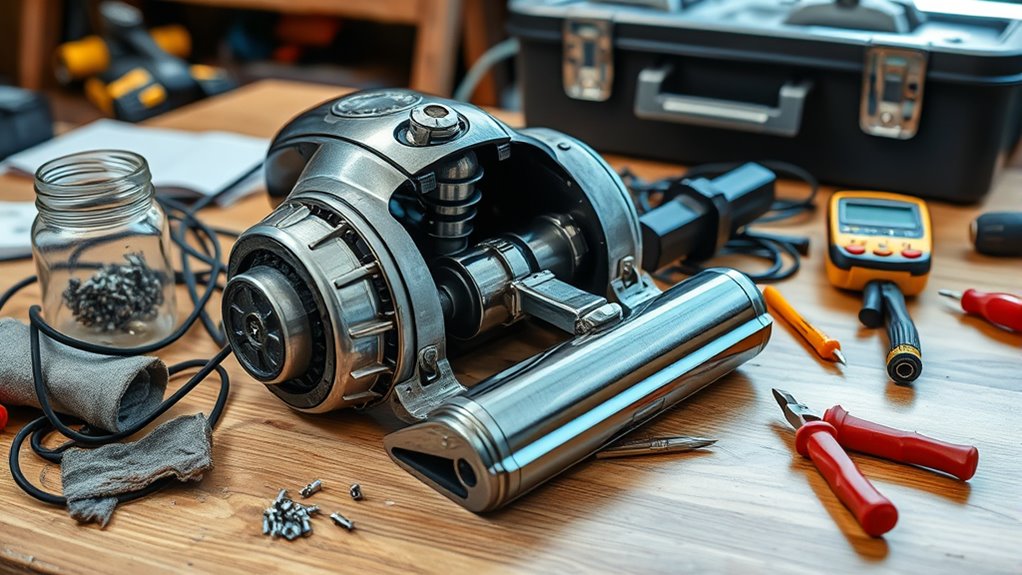
Essential Tools for DIY Repairs
To tackle DIY vacuum repairs effectively, you’ll need some essential tools at your side.
A Phillips screwdriver, multimeter, and pliers are must-haves for accessing and fixing internal components.
Don’t forget to prioritize safety equipment, too, as it’ll keep you protected while working on your vacuum.
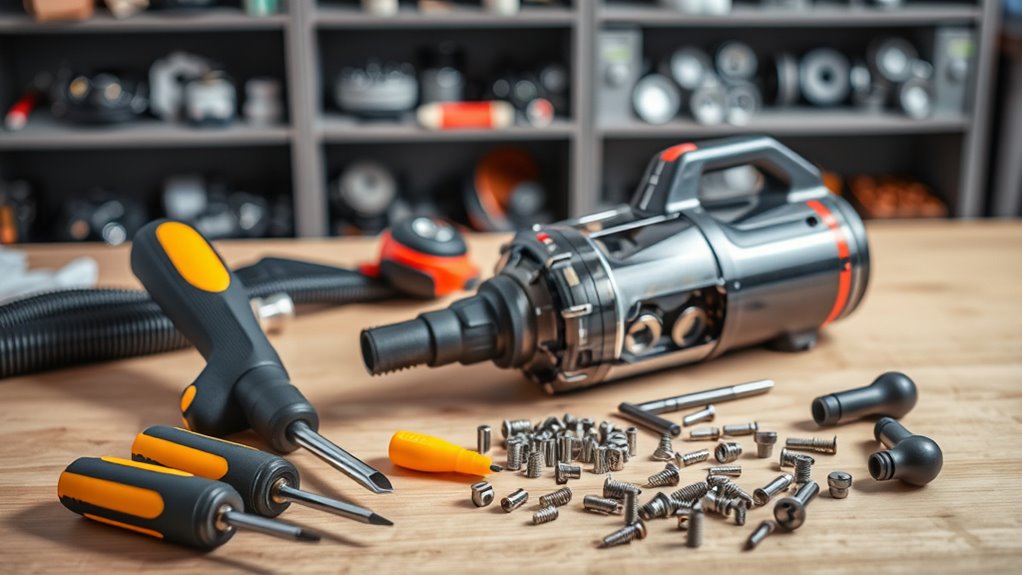
Basic Repair Tools
When tackling DIY vacuum cleaner repairs, having the right tools at your disposal can make all the difference.
These essential tools will help you with basic troubleshooting and repairs, potentially saving you from costly repair services or needing professional help.
Here’s what you’ll need:
- Phillips screwdriver: For removing the casing and accessing internal components.
- Flathead screwdriver: Useful for prying apart clips or tabs.
- Multimeter: Vital for testing electrical components like fuses and switches.
- Pliers: Great for gripping and removing small parts or stubborn debris.
- Cleaning brushes: Important for maintaining and clearing dust from filters.
With these tools, you’ll be well-equipped to tackle most vacuum issues and extend its lifespan.
Safety Equipment Essentials
Having the right tools is only part of the equation for successful DIY vacuum repairs; ensuring your safety is just as important. Familiarize yourself with potential safety risks, like electrical shocks when working with components.
Always follow the manufacturer’s instructions and wear safety goggles to protect your eyes from debris. Use gloves when handling cleaning brushes or replacement parts to avoid injury.
Remember, maintenance is key; regularly check filters and replace the bag to maintain suction. A flexible brush can help you clean hard-to-reach areas safely.
If you encounter complex issues, don’t hesitate to ponder a professional repair. With the right safety measures in place, you’ll tackle those repairs with confidence and ease.
Step-by-Step Troubleshooting Guide
Before diving into vacuum cleaner repairs, it’s crucial to troubleshoot effectively. Follow these troubleshooting steps to identify common issues:
- Empty the dustbin or check the dust bag for clogs; a full container hampers suction.
- Check the Brush Roll for tangles or debris; verify it spins freely for peak performance.
- Clean the Brush to avoid obstructions that could reduce efficiency.
- Perform regular filter maintenance by cleaning or replacing filters as recommended by the manufacturer.
If problems persist, consult a professional for deeper electrical or motor-related repairs that may require expert assistance.
Maintenance Tips for Optimal Performance

To keep your vacuum cleaner running at its best, regular maintenance is essential. Following these maintenance tips will enhance suction and prolong its lifespan:
| Maintenance Task | Frequency |
|---|---|
| Clean or replace filters | Every 1-3 months |
| Empty dustbin or replace bag | After each use |
| Inspect and clean brush roll | Weekly |
| Check hoses for clogs | Monthly |
Filter Care and Replacement
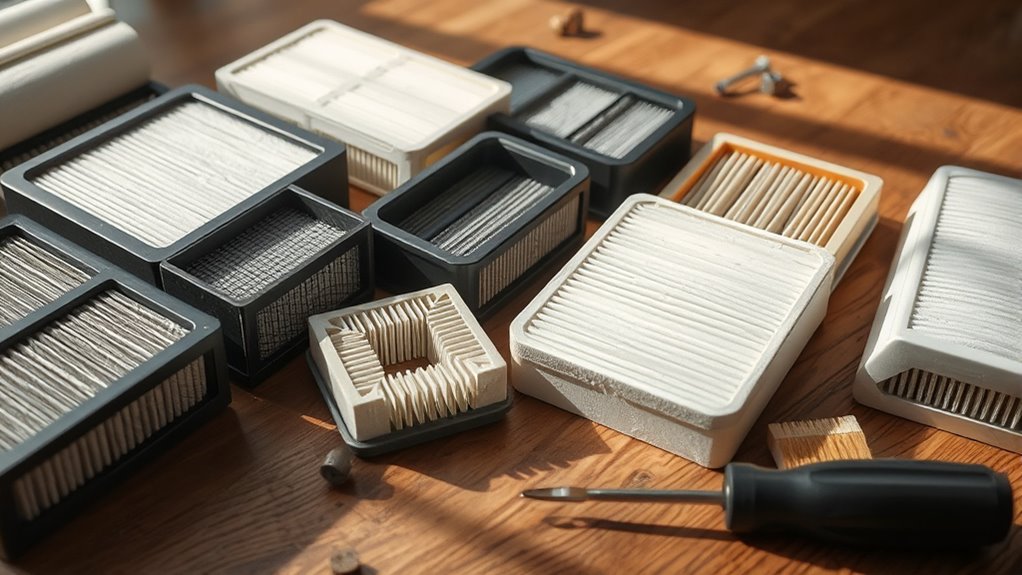
Filters play an essential role in your vacuum cleaner’s performance, so keeping them clean and replacing them when necessary is important.
Neglecting filter care can lead to clogged filters, which may reduce suction by up to 50% and diminish efficiency. Regularly checking and cleaning pre-filters can also help maintain optimal performance. Additionally, using cleaner options like EPA-certified wood stoves can reduce harmful emissions, ultimately contributing to better indoor air quality. Regular use of a vacuum helps improve indoor air quality by reducing allergens and dust particles.
To maintain your vacuums effectively, follow these tips:
- Clean washable filters every 1-3 months.
- Replace filters that are damaged or excessively dirty.
- Guarantee HEPA filters are maintained for better air quality.
- Always reinstall filters properly after cleaning or replacement.
- Schedule regular maintenance to prolong your vacuum’s life.
Additionally, using HEPA filters can significantly improve indoor air quality by trapping allergens and dust.
Addressing Brush Roll and Attachment Problems
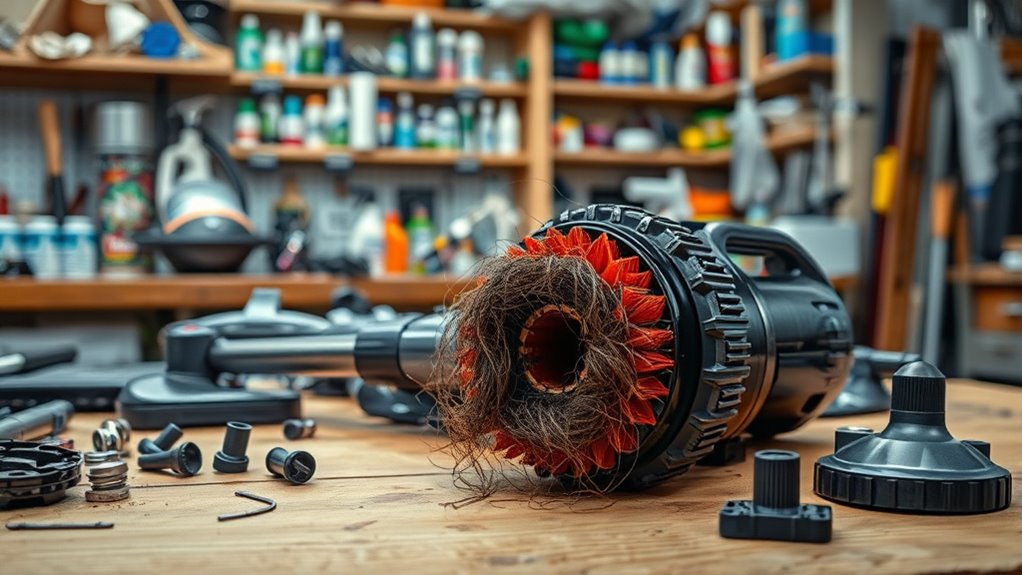
When it comes to keeping your vacuum running smoothly, brush roll maintenance and clearing attachment blockages are key.
You should regularly check the brush roll for tangled hair and debris, as well as inspect attachments for clogs.
Brush Roll Maintenance Tips
How often do you take a moment to check your vacuum cleaner’s brush roll?
Regular maintenance can greatly extend its lifespan and improve performance.
Here are some essential maintenance tips:
- Inspect for tangled hair, string, or debris that can impede rotation.
- Clean the brush roll and housing to prevent dust buildup.
- Use scissors to remove any tangled materials without damaging the bristles.
- Check the brush roll bearings; if they’re stiff or noisy, consider lubrication or replacement.
- Verify the brush roll is properly seated and that drive belts are intact.
Clearing Attachment Blockages
After confirming your brush roll is in good shape, it’s time to turn your attention to the attachments, as they can also affect your vacuum’s performance. Clearing attachment blockages is essential to prevent loss of suction. First, inspect attachments by detaching them and using a broom handle to clear any obstructions. Remember, blockages can greatly restrict airflow, impacting cleaning performance. Regularly conduct routine maintenance on attachments; clean them with a damp cloth and make certain filters are debris-free. Here’s a quick reference table for effective maintenance:
| Task | Frequency | Purpose |
|---|---|---|
| Inspect Attachments | Monthly | Identify blockages |
| Clean Filters | Every 3 months | Ideal airflow |
| Check Brush Roll | Monthly | Verify it spins freely |
| Replace Worn Bristles | As needed | Maintain suction power |
When to Seek Professional Help
Recognizing the right moment to seek professional help for your vacuum cleaner can save you time and money. If you encounter any of the following signs, don’t hesitate to consult an expert:
- Persistent loss of suction despite basic vacuum maintenance
- Unusual noises or burning smells indicating motor or electrical issues
- Failure to turn on or intermittent power problems
- Brush roll not spinning even with a functional belt
- Complex issues requiring disassembly of intricate parts
Addressing these signs of wear with professional help guarantees peak performance and prevents further damage.
Future Trends in Vacuum Technology
As vacuum technology continues to evolve, you can expect exciting innovations that enhance both convenience and efficiency in your cleaning routine.
DIY vacuum cleaners are becoming smarter, with AI-equipped models offering predictive maintenance alerts to keep you informed of potential issues. This means you can address specific maintenance needs before they escalate. Furthermore, many of these smart vacuums are designed with advanced filtration systems, which help to capture allergens and improve indoor air quality. Proper cleaning techniques ensure that these advanced systems function optimally. Additionally, the integration of AI with existing security frameworks enhances cybersecurity measures for smart devices, making them safer for household use.
Advanced navigation systems in robotic vacuums utilize sensors to optimize cleaning paths, improving efficiency in various home environments.
Additionally, manufacturers are focusing on eco-friendly materials and energy-efficient motors, making future vacuum models more sustainable. The rise of modular designs means you’ll easily upgrade or repair your well-maintained vacuum, promoting a culture of maintenance that saves you money while being kind to the planet. Furthermore, many upcoming models will feature strong suction power, ensuring thorough cleaning on various surfaces.
Empowering Yourself Through DIY Repairs
When you take on DIY vacuum repairs, you boost your confidence in handling household issues.
This hands-on approach sharpens your problem-solving skills and saves you money that you’d otherwise spend on professionals.
Plus, the satisfaction of fixing your own vacuum is a rewarding experience that benefits both your wallet and the environment.
Boosting Repair Confidence
Many homeowners underestimate their ability to tackle DIY vacuum repairs, but taking the plunge can be incredibly rewarding. By engaging in simple maintenance tasks, you not only save money but also boost your repair confidence.
Here are a few ways to empower yourself through DIY repairs:
- Understand the mechanics of your vacuums, including filters and brush rolls. Regular maintenance of HEPA filters is crucial for optimal performance, just as regular cleaning is essential for air purifiers.
- Utilize online resources like video tutorials and guides for support.
- Learn to clean filters and check for clogs regularly, which is similar to the regular maintenance required for air purifiers.
- Address common issues directly, improving performance.
- Appreciate your appliances more, promoting sustainability.
- Knowing the suction power of your vacuum can help you diagnose performance issues effectively.
Enhancing Problem-Solving Skills
While tackling DIY vacuum repairs might seem intimidating at first, it’s an excellent opportunity to enhance your problem-solving skills. Understanding the mechanics of your vacuum, like the motor and electrical systems, helps you diagnose issues such as loss of suction or a malfunctioning brush.
By fixing problems independently, you not only restore functionality but also greatly extend the life of your vacuum. Using DIY methods fosters confidence as you learn essential tools, making home clean tasks easier. Each repair reinforces the importance of self-sufficiency, proving that service is vital.
With each successful fix, you cultivate a proactive mindset, empowering yourself to tackle other maintenance challenges around the house. So, jump in and discover the satisfaction of DIY!
Saving Money Effectively
By taking on DIY vacuum repairs, you can considerably cut costs while also gaining valuable skills. These cost-effective solutions can save homeowners up to 50% compared to professional service fees, especially for common issues like loss of suction. Here are some basic repairs you can handle:
- Clean or replace filters
- Empty dustbins regularly
- Check brush rolls and belts
- Clear blockages in hoses
- Perform routine maintenance
Engaging in regular DIY maintenance can even improve vacuum performance by 30%, enhancing suction power and efficiency. Additionally, maintaining a clean home environment helps reduce allergens and pollutants, which can further enhance your vacuum’s efficiency in keeping your space tidy. Plus, utilizing online resources and tutorials empowers you to confidently tackle repairs, helping you extend the life of your vacuum cleaner and avoid premature replacements. Additionally, understanding basic maintenance strategies can further enhance your DIY repair skills and overall vacuum performance.
Frequently Asked Questions
How Can I Extend the Life of My Vacuum?
To extend the life of your vacuum, start by regularly cleaning or replacing the filters as per the manufacturer’s guidelines.
Inspect and clean the brush roll to remove debris and hair, ensuring it remains efficient.
Empty the dustbin or replace the bag frequently to maintain airflow.
Check hoses and attachments for blockages, and store your vacuum in a dry, dust-free place to prevent damage from moisture and dust.
Taking these steps can greatly enhance your vacuum’s longevity.
What Is the Proper Maintenance of a Vacuum Cleaner?
Imagine your vacuum gliding effortlessly across your floor, picking up every speck of dust.
To keep it performing like that, you need to maintain it properly. Regularly empty the dustbin or replace the bag to prevent clogs. Clean or replace filters, and inspect the brush roll for tangled hair.
Don’t forget to check hoses for blockages. These simple steps will guarantee your vacuum runs smoothly, extending its lifespan and keeping your home spotless.
How to Fix a Dead Vacuum?
If your vacuum’s dead, start by checking the power cord for visible damage.
Next, test the power switch with a multimeter to verify it’s working.
Don’t forget to inspect the fuse or circuit breaker for any blown fuses; replace them if necessary.
Finally, look for signs of overheating in the motor.
If it still won’t turn on, consult the manufacturer’s manual or consider getting professional help.
How to Fix Vacuum Cleaner Suction?
To fix your vacuum cleaner’s suction, start by checking for clogged filters and clean or replace them as needed.
Empty the dustbin or replace the bag if it’s full, since a full container can drastically reduce suction.
Inspect the brush roll for tangled hair and debris, as a stuck brush won’t spin properly.
Finally, look for blockages in the hose and attachments to guarantee smooth airflow.
Regular maintenance keeps your vacuum working efficiently!
Conclusion
By taking the reins of your vacuum cleaner repairs, you’re not just saving money; you’re also breathing new life into your trusty appliance. Embracing DIY fixes empowers you to tackle common issues with confidence and keep your vacuum running smoothly. Sure, some tasks may seem challenging, but with a little practice, you’ll find it’s often easier than you think. So, roll up your sleeves and give your vacuum a little TLC—it’s a rewarding journey toward self-sufficiency!