To keep your vacuum cleaner in peak shape, perform regular maintenance like changing bags, checking filters, and cleaning the brush roll. Look out for signs that indicate issues, such as loss of suction or unusual noises. When you notice burning smells or persistent problems after basic checks, it’s time to call a pro. This can prevent further damage and extend your vacuum’s life. There’s more to guarantee your vacuum runs smoothly and efficiently.
Key Takeaways
- Regularly check and replace vacuum bags when two-thirds full to maintain suction and prevent motor strain.
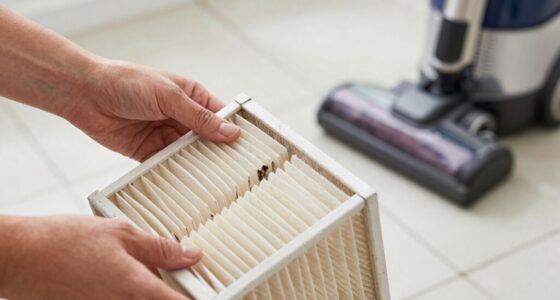
- Inspect filters every three to six months to ensure optimal suction and air quality.
- Clean the brush roll after each use to prevent overheating and mechanical issues.
- Unusual noises, burning smells, or loss of suction indicate the need for professional evaluation and repairs.
- Timely professional consultations can prevent further damage and extend the life of your vacuum cleaner.

18 Pack Vacuum Bags for iRobot Roomba i7 i7+ i8 i8+ i3 i3+ i4 i4+ j7 j7+ j9+ s9 105 405 505 705 Combo, i, s, j, 100, 400, 500, Max 705 Combo Vac Series, All Clean Base Automatic Dirt Disposal Bags
These replacement Vacuum Bags for iRobot Roomba i7 i7+ i7Plus i8 i8+ i1+ i3 i3+ i4 i4+ i6…
As an affiliate, we earn on qualifying purchases.
As an affiliate, we earn on qualifying purchases.
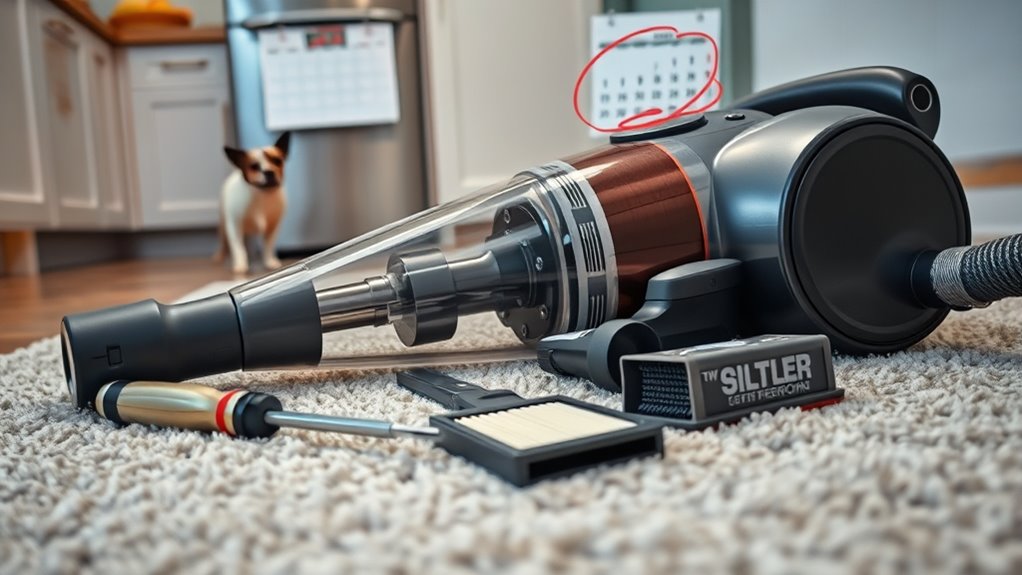
Importance of Regular Vacuum Maintenance
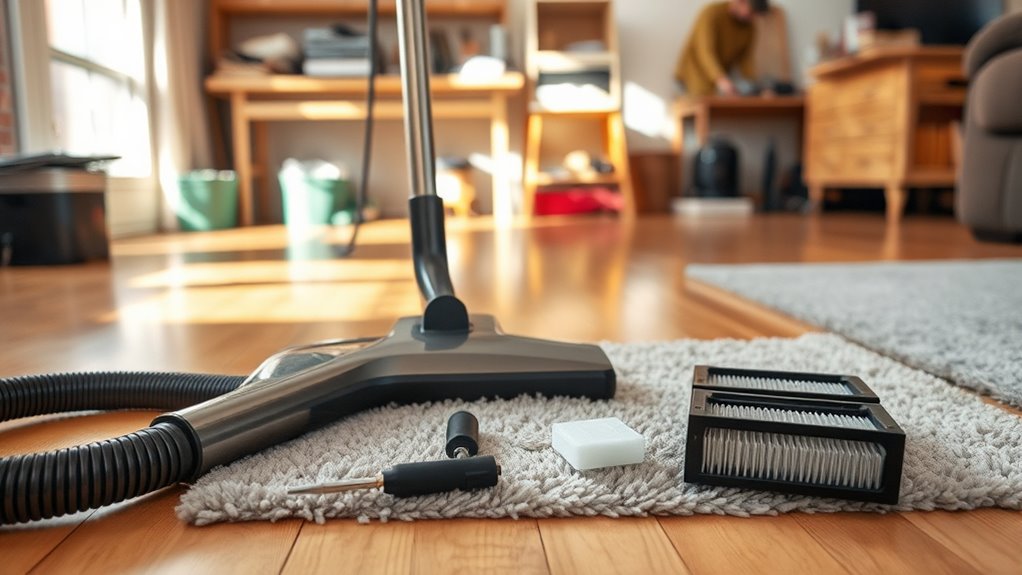
While you might think a vacuum cleaner just needs to be plugged in and used, regular maintenance is essential for keeping it running efficiently and effectively. Neglecting this can lead to common issues like loss of suction and costly vacuum repairs. You should change vacuum bags when they’re two-thirds full to maintain peak suction, especially if you have pets. Additionally, using a vacuum with high suction power can greatly enhance cleaning performance and prolong the life of your device. Regular maintenance can also ensure that your vacuum continues to effectively capture allergens, which is particularly important for allergy sufferers. A clean vacuum contributes to better indoor air quality, further benefiting those with allergies. Don’t forget to clean the brush regularly and inspect hoses for clogs; different carpet types may require specific vacuuming techniques to avoid damage. Routine checks and belt replacements every three to six months can prevent further damage.
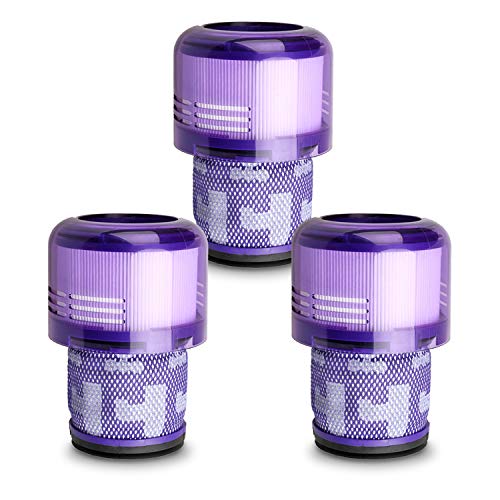
Lemige 3 Pack Vacuum Filters Replacement Parts Compatible with Dyson V11 Origin V11 Torque Drive V11 Animal V11 Complete V11 Extra V15 Detect V15s Detect Submarine Vacuums, Compare to Part 970013-02
FIT MODELS – V11 V15 Filter Replacement for Dyson V11 Origin Cordless Vacuum (B00FZPRUTY, B0C2J7R8PY) V11 Animal V11…
As an affiliate, we earn on qualifying purchases.
As an affiliate, we earn on qualifying purchases.
Signs Your Vacuum Needs Attention
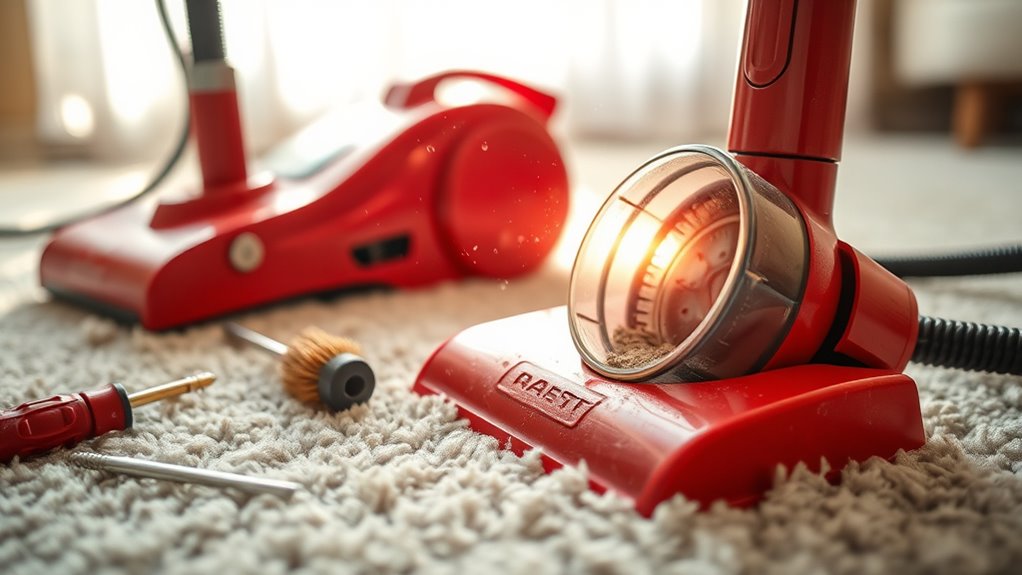
How can you tell when your vacuum cleaner needs some attention? Pay close attention to these signs:
- Loss of Suction Power: If you notice a decrease in suction, even after changing the bag or cleaning the filters, you might’ve a clogged hose or brush roll.
- Unusual Noises: Listen for loud, strange sounds or a burning rubber smell; these could indicate motor or drive belt issues that need immediate care.
- Dust Clouds: If your vacuum emits dust clouds, it likely has a full or damaged bag that needs replacing.
- Frequent Shutdowns: If your vacuum shuts down often or won’t power on, it could signify a major electrical problem requiring professional evaluation.
Regular tune-ups can help prevent these issues! Additionally, consistent maintenance of your vacuum can prolong its lifespan and efficiency.

Eureka Corded Stick Vacuum Cleaner for Home Pet Hair, Lightweight Stick Vacuum Cleaner with Powerful Suction for Carpet Tile and Hard Floor, Blue, 3-in-1 Handheld Vac NES312
Powerful Suction: 350W continuous suction effortlessly extracts embedded dust, debris, and pollen from surfaces and crevices. The motorized…
As an affiliate, we earn on qualifying purchases.
As an affiliate, we earn on qualifying purchases.
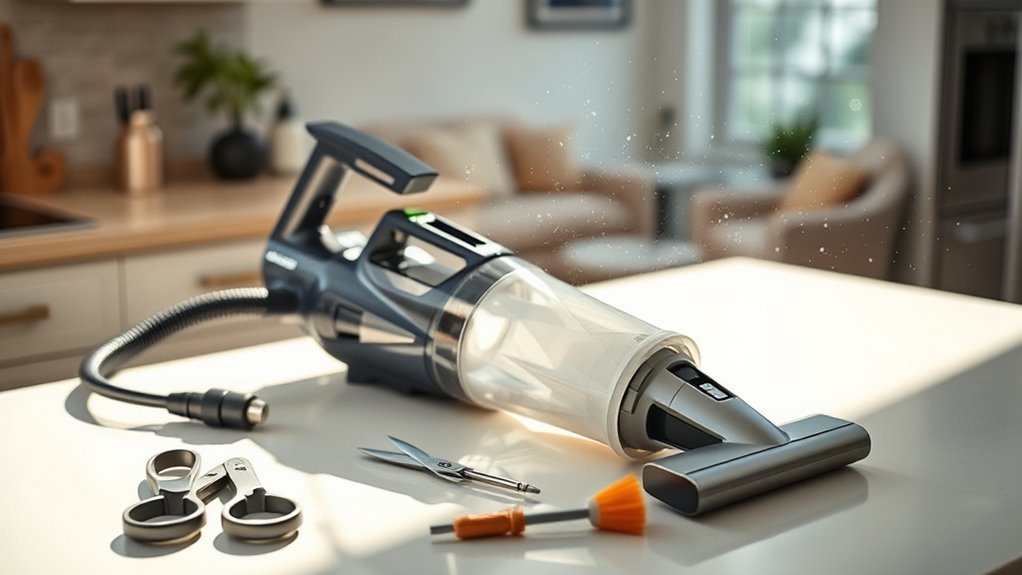
Basic Maintenance Tasks You Can Do at Home
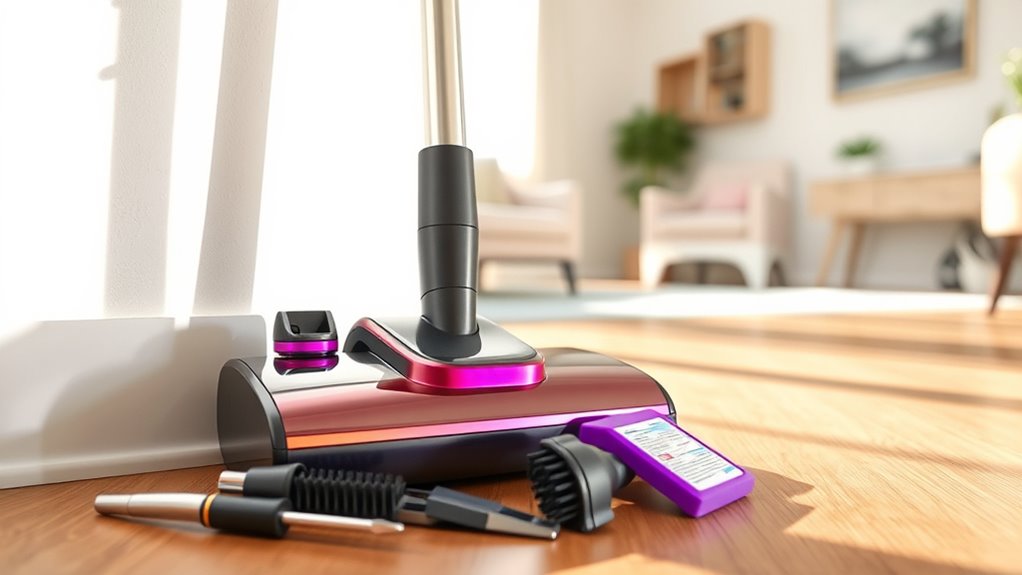
Keeping your vacuum cleaner in good shape is easier than you might think. Regular maintenance can considerably boost the performance of your vacuum. Here are some basic tasks you can do at home:
| Task | Frequency | Purpose |
|---|---|---|
| Check your filter | Every three to six | Maintain suction and air quality |
| Inspect vacuum bags | When two-thirds full | Prevent motor strain |
| Clean brush | After each use | Avoid overheating and improve cleaning |
| Check for clogs | As needed | Guarantee strong suction power |
| Inspect the belt | Every three to six | Replace if worn for effective cleaning |

ZITFRI Style 7/9/10 P/N 3031120 Replacement Belt For Bissell Vacuum,Vacuum Belt Fit Bissell Powerforce Helix Powerlifter Cleanview Swivel Rewind Pet Vacuum Cleaner, 2031093 32074 3031123, 2Pack
PERFECT UNIVERSAL COMPATIBILITY:These 3031120 belt Compatibility With Perfectly fits Bissell style 7/9/10/12/14/16,Suitable for most Bissell vacuum cleaner models…
As an affiliate, we earn on qualifying purchases.
As an affiliate, we earn on qualifying purchases.
Changing the Vacuum Bag: A Step-by-Step Guide
Knowing when to change your vacuum bag is essential for maintaining its performance.
Look for signs like diminished suction or a full bag indicator if your model has one.
Let’s go through the proper steps to replace the bag and keep your vacuum running smoothly.
Signs of a Full Bag
Recognizing the signs of a full vacuum bag is essential for maintaining your vacuum’s performance. Ignoring these signs can lead to loss of suction, diminished cleaning performance, and poor indoor air quality.
Here are four signs to watch for:
- Decreased suction power: Noticeable drop in suction indicates a full bag.
- Frequent clogging: If you’re experiencing more clogs than usual, it’s likely due to full bags.
- Dust release: If dust escapes during cleaning, it’s time to replace the bag.
- Bag indicator: Some models have alerts that signal when the bag is nearly full.
Keep spare replacement bags handy for efficient maintenance and to guarantee effective dust containment.
Proper Bag Replacement Steps
When it’s time to change your vacuum bag, following the right steps can make the process quick and hassle-free.
Start by checking your bag; replace it when it’s two-thirds full to maintain suction and prevent motor strain. Confirm you have compatible spare bags ready, especially if you have pets, as they fill up quickly.
Next, carefully remove the old bag, sealing it properly to prevent dust escape and protect your indoor air quality. Always follow the manufacturer’s instructions for your specific model to confirm a proper fit.
Regularly changing the bag boosts your vacuum’s efficiency and helps reduce allergens in your home, leading to a healthier environment for you and your family.
Filter Maintenance: Keeping Your Air Clean
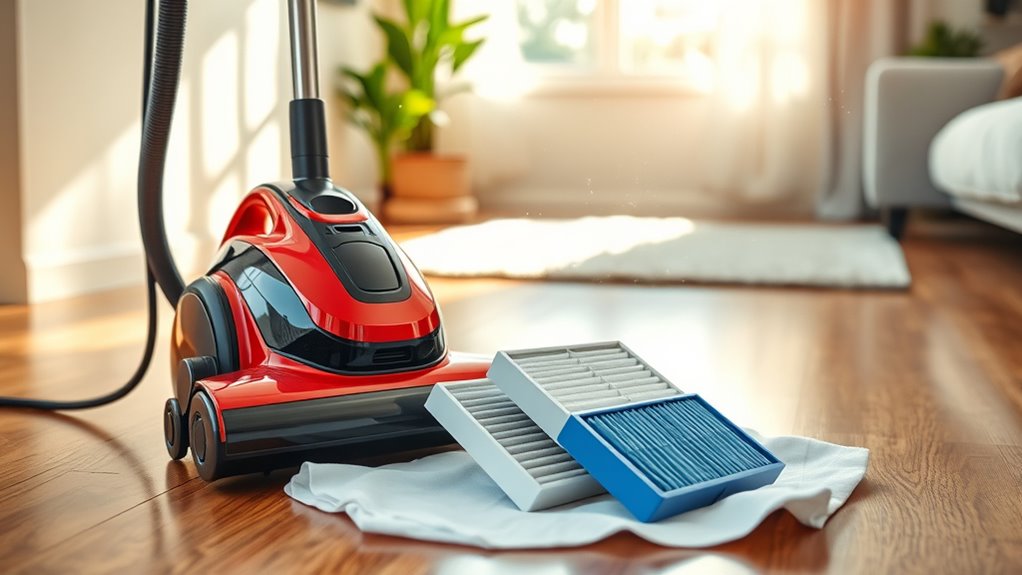
To keep your indoor air clean and your vacuum running efficiently, regular filter maintenance is essential. Neglecting this can diminish your vacuum’s suction and allow dust and allergens back into your home.
Here’s what you should do:
- Check and clean reusable filters every 3 to 6 months to maintain peak performance.
- Rinse washable filters with water, avoiding soap, and let them air-dry for at least 24 hours.
- Replace HEPA filters every 6 to 12 months as per manufacturer instructions to capture 99.97% of harmful particles.
- Inspect all filters regularly, including secondary ones, since clogged filters can hinder suction.
When and How to Replace Your Vacuum Belt
If you notice a burning smell or a brush roll that’s sluggish or completely still, it’s likely time to replace your vacuum belt.
Vacuum belts can wear or become damaged over time, so it’s best to check them every three to six months, depending on your usage.
Check your vacuum belt every three to six months for wear to ensure optimal performance.
Before you start, unplug your vacuum to guarantee safety.
Inspect the old belt for signs of wear, such as stretching, cracks, or fraying.
When installing a new belt, make certain it’s the correct size and properly tensioned to maintain peak cleaning performance.
Regularly replacing your vacuum belt can prevent motor strain and extend your vacuum cleaner’s lifespan, assuring it works efficiently for years to come.
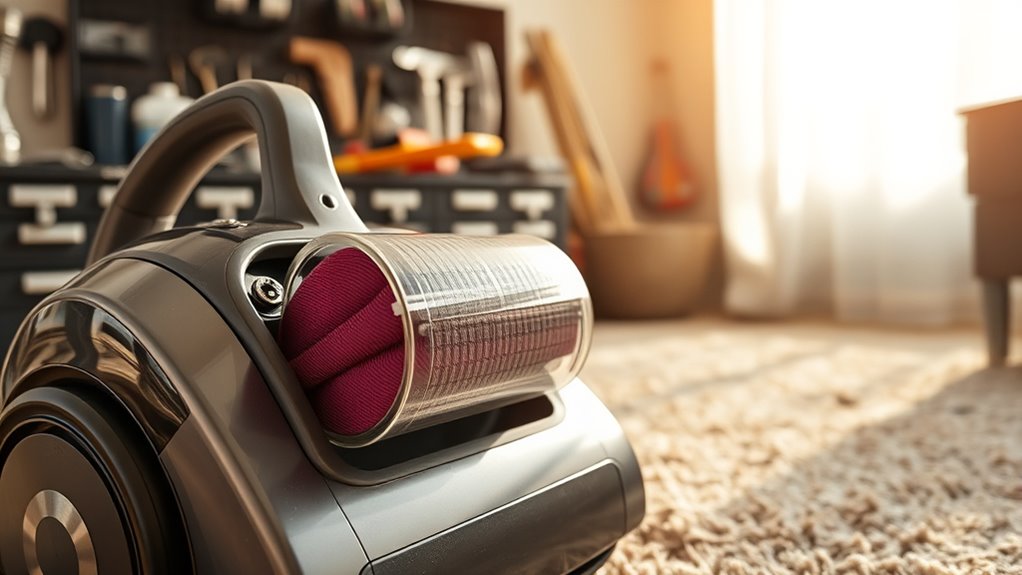
Cleaning the Brush Roll for Optimal Performance
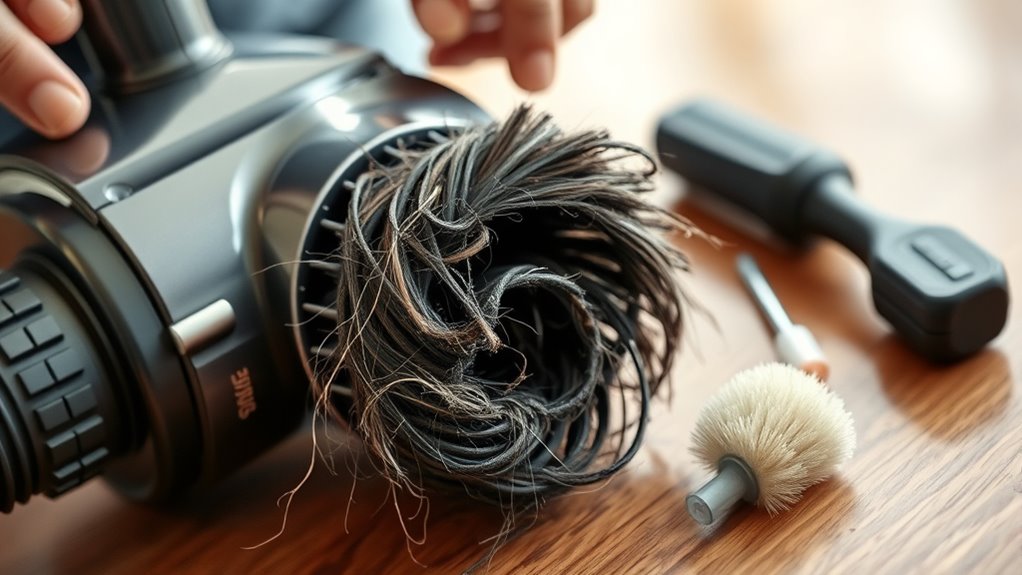
A clean brush roll is essential for your vacuum’s performance, as hair and debris can quickly accumulate, leading to reduced efficiency and even overheating.
Regular maintenance will help guarantee your vacuum operates at its best. Here’s how to clean the brush roll effectively:
- Detach the brush roll from your vacuum.
- Inspect the brush roll for tangles and debris.
- Cut away any tangles using scissors or a seam ripper.
- Remove remaining debris with tweezers.
Troubleshooting Common Vacuum Issues

Have you ever wondered why your vacuum isn’t picking up dirt like it used to? You might need to check a few common vacuum issues. Start with the vacuum’s bag or filter; a full bag or clogged filter can markedly reduce suction. If you hear unusual noises, inspect the brush roll and belt for blockages. A burning smell could indicate a failing drive belt, so check it immediately to avoid costly repairs. Finally, if dust clouds are released, your bag may be full or damaged.
Here’s a quick troubleshooting guide:
| Issue | Action Required |
|---|---|
| Loss of suction | Check bag/filter |
| Unusual noises | Inspect brush roll/belt |
| Burning smell | Examine drive belt |
| Dust clouds | Replace bag/filter |
When to Seek Professional Help
Recognizing when to seek professional help can save you time and money in the long run.
Knowing when to call a professional can ultimately save you both time and money.
Here are four key signs that indicate it’s time to call in an expert:
- Burning Smell: This could signal issues with the power cord, drive belt, or motor needing immediate inspection.
- Loss of Suction Power: If replacing bags and cleaning filters doesn’t help, deeper mechanical problems may be at play.
- Unusual Noises: Grinding or squeaking sounds often indicate mechanical failures that require professional diagnosis.
- Dust Clouds: If you notice dust released during operation, it’s essential to inspect your filters and guarantee proper air quality.
Don’t hesitate to consult a professional when you encounter these issues!
Tips for Extending the Life of Your Vacuum Cleaner
To keep your vacuum cleaner running smoothly and efficiently, regular maintenance is essential.
Make sure to change your vacuum bags when they’re two-thirds full to prevent motor strain. Every six months, visually inspect your vacuum’s belt; replacing an old belt can greatly enhance performance.
Additionally, clean or replace filters according to their needs: washable filters should be cleaned every eight weeks, while HEPA filters need replacement every 6 to 12 months.
Routinely clean the brush roll to remove hair and debris, preventing overheating.
Finally, store your vacuum in a cool, dry environment and handle it gently.
Frequently Asked Questions
How to Tune up a Vacuum Cleaner?
To tune up your vacuum cleaner, start by checking and cleaning or replacing the filters.
Inspect the brush roll for hair and debris, cutting away any tangles. Change the vacuum bag when it’s two-thirds full to maintain suction power.
Next, examine the belt for wear and replace it if necessary.
Finally, clean the hose for blockages using a flexible drain snake.
Regular maintenance will keep your vacuum running smoothly and efficiently.
What Is the Common Problem of a Vacuum Cleaner?
Common problems with your vacuum cleaner often include loss of suction, which usually stems from full bags, clogged filters, or hose blockages.
You might also notice unusual noises like squeaks or grinding, indicating potential blockages or worn parts.
A burning smell? That could mean motor issues.
If you see dust clouds when turning it on or off, it’s likely time to check your filters or bags.
Regular maintenance can help prevent these issues.
How Can I Improve My Vacuum Cleaner Performance?
To improve your vacuum cleaner’s performance, start by regularly changing or cleaning the bags when they’re two-thirds full.
Check and replace filters every 6 to 12 months to keep air quality high.
Clean the brush roll frequently to prevent hair and debris buildup.
Inspect the vacuum belt every three to six months, replacing it if it’s worn.
Finally, keep hoses clear of clogs for peak suction and efficiency.
What Can I Use to Make My Vacuum Smell Better?
Did you know that 50% of people say they avoid cleaning because of unpleasant smells?
To make your vacuum smell better, try adding a few drops of essential oils to a cotton ball and placing it in the bag or canister.
Sprinkle baking soda inside before use to neutralize odors, and regularly change the vacuum bag when it’s two-thirds full.
Don’t forget to clean or replace filters to maintain freshness!
Conclusion
By staying on top of your vacuum’s maintenance, you can keep it running smoothly and efficiently. For example, consider a family who neglected their vacuum for years; they struggled with poor suction until they finally cleaned the filter and brush roll. Suddenly, their vacuum worked like new again! Regular upkeep not only enhances performance but also extends the life of your appliance. So, don’t wait—give your vacuum some love and attention today!