
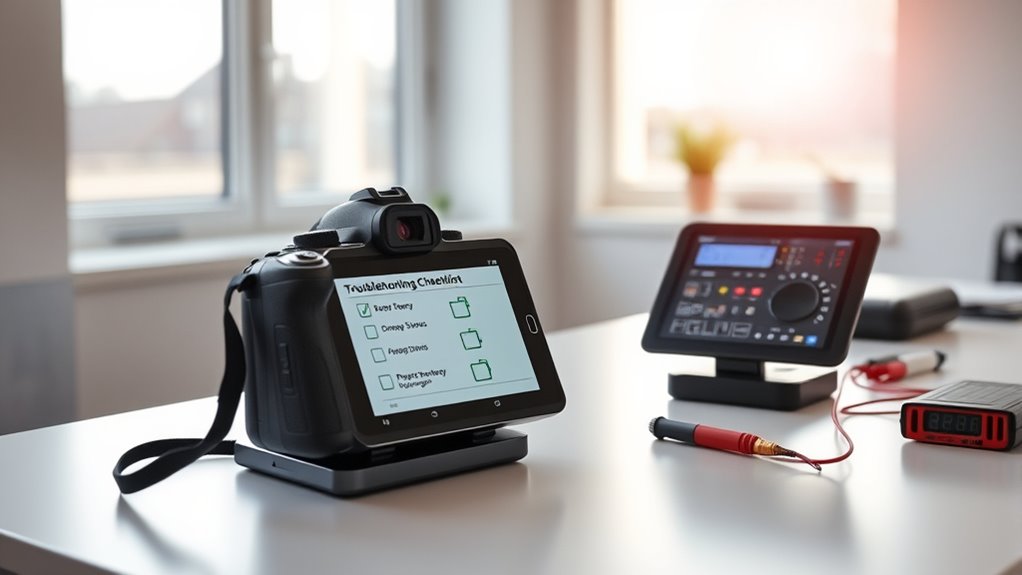
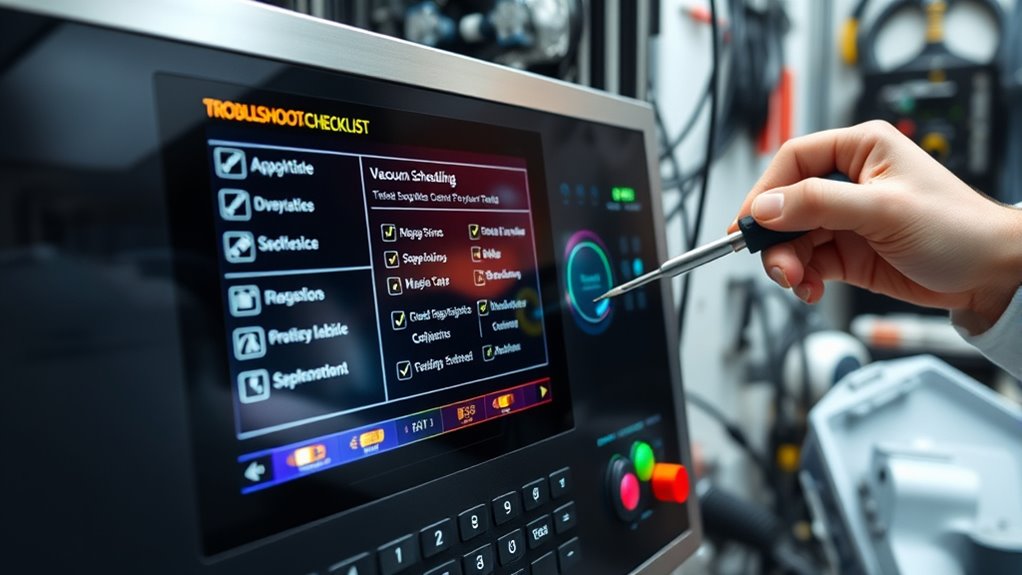
To troubleshoot vacuum scheduling issues, start by checking that your device is plugged in, powered on, and connected to a stable Wi-Fi network. Verify that your schedule is set correctly, and ensure the app has the necessary permissions. Next, update your firmware and app to the latest versions. If problems persist, inspect the battery, charging ports, sensors, and mechanical parts for dirt or damage. Following these steps helps you identify common issues—explore further for detailed guidance.
Key Takeaways
- Verify power supply, outlet functionality, and update firmware to ensure the vacuum operates correctly.
- Confirm scheduling settings, time zone accuracy, and app permissions for proper synchronization.
- Check battery health, charging ports, and mechanical components like brushes and sensors for maintenance needs.
- Inspect filters, sensors, and mechanical parts for obstructions, dirt buildup, or wear to prevent malfunctions.
- Perform regular preventive maintenance, system updates, and resets to avoid scheduling issues and ensure optimal performance.
Top picks for "troubleshoot checklist vacuum"
Open Amazon search results for this keyword.
As an affiliate, we earn on qualifying purchases.
Checking the Power Source and Connectivity
Before troubleshooting your vacuum’s scheduling issues, you should first make sure it’s properly plugged in and receiving power. Power surges can disrupt outlet stability, causing your vacuum to lose connection or shut off unexpectedly. Check that the power cord is securely connected to the outlet. If your outlet experiences frequent power surges, consider installing a surge protector to stabilize the connection. Test the outlet by plugging in another device to confirm it’s working properly. Avoid using overloaded outlets or extension cords that may cause inconsistent power flow. Ensuring a stable power source is essential before moving on to other troubleshooting steps. Addressing power surges and outlet stability prevents false scheduling failures caused by electrical issues.
Verifying the Scheduler Settings

Start by confirming that the scheduled times are set correctly for your device. Next, verify your vacuum model is compatible with the scheduling feature. These checks help identify if incorrect timings or device limitations are causing issues. Additionally, ensure that your device’s auto functions are enabled to allow the scheduler to operate properly.
Confirm Scheduled Times
To make certain your vacuum runs smoothly, it’s essential to verify that the scheduled times are set correctly. First, double-check the scheduled accuracy to ensure the vacuum activates at the right moments. Confirm that the scheduled times align with your daily routine and intended cleaning periods. Additionally, verify the time zone settings on your device, as incorrect time zones can cause the vacuum to operate at unexpected times. If the schedule appears off, adjust the times or correct the time zone to match your local time. Regularly reviewing these settings helps prevent missed cleanings or unnecessary runs. Moreover, ensuring the air quality sensors are functioning properly can enhance the effectiveness of automated cleaning schedules. By confirming your scheduled times and ensuring the correct time zone, you keep your vacuum operating reliably and avoid troubleshooting avoidable scheduling issues.
Check Device Compatibility
Making certain your device supports the scheduling features is a crucial step in troubleshooting. First, check your device model against the compatibility list provided by the manufacturer. Not all vacuum models have scheduling capabilities, so verifying this prevents unnecessary frustration. Look for a specific mention of scheduling in your user manual or on the manufacturer’s website. If your device isn’t listed on the compatibility list, it likely doesn’t support scheduling features. Additionally, confirm that your model’s firmware is up to date, as updates can add or improve scheduling functions. Lastly, consider whether any app or software requirements are necessary for scheduling to work properly. Be sure to also verify device compatibility to ensure your model includes the necessary features for scheduling.
Inspecting the Vacuum’s Firmware and App Integration
Make sure your vacuum’s firmware is compatible with your app to prevent scheduling issues. If you’re having trouble connecting, check your app’s settings and your device’s Bluetooth or Wi-Fi connection. Updating both the firmware and the app can often resolve bugs and improve overall performance. Additionally, reviewing Kia Tuning options for compatibility can help ensure all components work seamlessly together.
Firmware Compatibility Checks
Checking the firmware version on your vacuum and verifying its app integration is essential to troubleshoot scheduling issues effectively. Firmware mismatches can cause conflicts that prevent your vacuum from following scheduled commands. Ensuring your device has the latest software updates helps maintain compatibility and smooth operation. Additionally, regularly verifying firmware compatibility ensures your device functions optimally with the app and reduces the risk of errors.
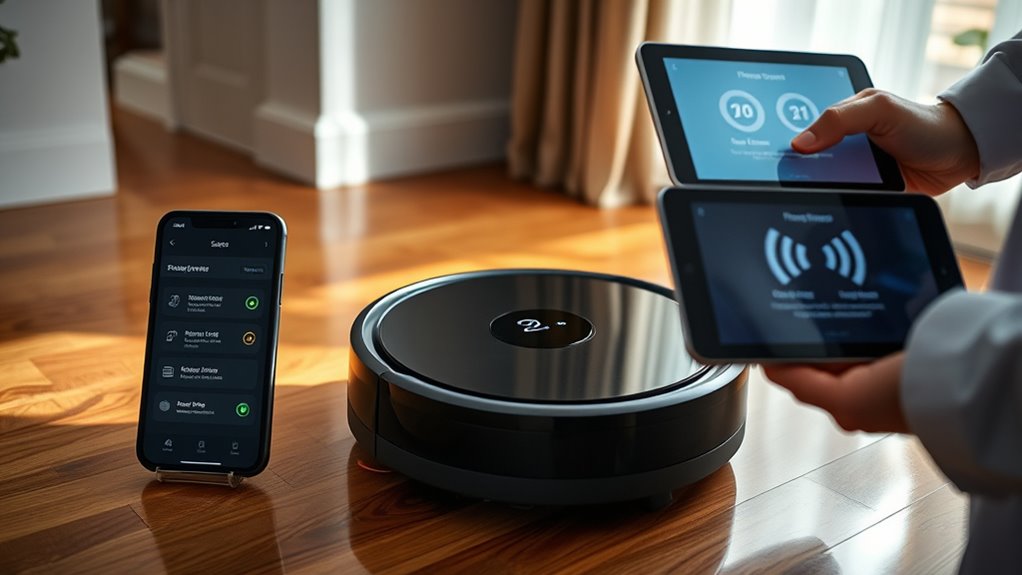
App Connection Troubleshooting
When troubleshooting app connection issues, inspecting the vacuum’s firmware and app integration is a crucial first step. Start by checking if the firmware is up-to-date, as outdated firmware can hinder remote diagnostics and disrupt app communication. Verify your app has the necessary user permissions enabled, such as location and Bluetooth access, which are often required for stable connection. Confirm that your Wi-Fi network is functioning properly and that the vacuum is within range. If the app still isn’t connecting, try disconnecting and reconnecting your device, and restart both the vacuum and your smartphone. Proper user permissions and current firmware are key to seamless app integration, so addressing these factors can resolve many connection problems quickly. Additionally, ensuring your device’s wireless connectivity is stable can prevent interruptions during the setup process.
Updating Firmware and App
Ensuring your vacuum’s firmware and app are up to date is essential for reliable operation and connectivity. Firmware updates often include bug fixes, new features, and performance improvements that enhance app synchronization and overall functionality. To stay current, check for updates regularly through the app or manufacturer’s website. Confirm your device is connected to Wi-Fi during updates to prevent interruptions. Keeping firmware current reduces scheduling issues and improves integration with your app. Additionally, understanding credit card security measures can help protect your personal information if your device connects to online payment systems.
- Check the app’s update notifications regularly
- Visit the manufacturer’s website for firmware downloads
- Enable automatic firmware updates if available
- Restart your device after firmware installation
- Confirm app synchronization is complete after updates
Ensuring Proper Battery and Charging Status
A properly charged battery is essential for your vacuum’s reliable operation and scheduling accuracy. Check the battery health regularly to guarantee it holds a charge effectively. If your vacuum isn’t holding a charge or runs out quickly, it might indicate a degraded battery that needs replacing. Make sure the charging ports are clean and free of debris, as dirt can interfere with proper charging. When plugging in, ensure the connection is secure and the charger is functioning correctly. Avoid using damaged cables or connectors. If your vacuum isn’t charging despite these steps, try using a different power outlet. Maintaining good battery health and ensuring charging ports are clean and functional will help your vacuum stay ready to follow its schedule seamlessly. Additionally, regularly inspecting the battery maintenance can extend its lifespan and improve overall performance.
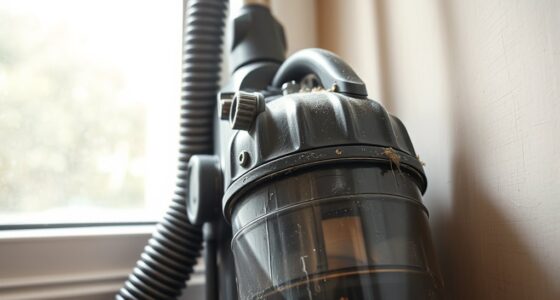
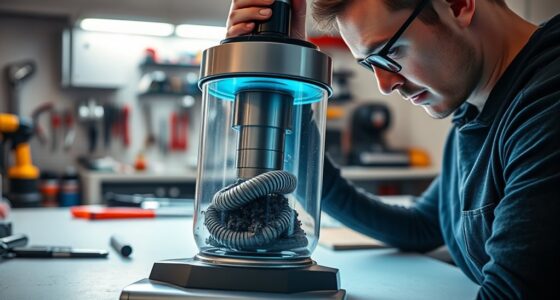
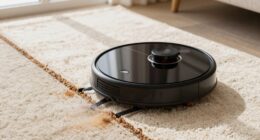
Troubleshooting Mechanical and Sensor Malfunctions
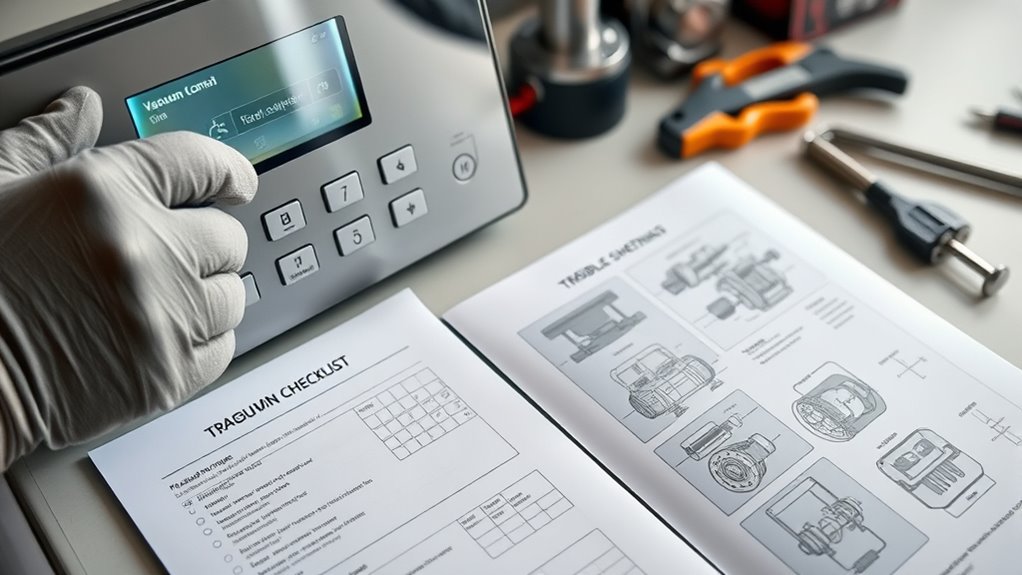
Mechanical and sensor malfunctions can cause your vacuum to stop working properly or ignore scheduled tasks. You might notice issues like the brush wearing unevenly or sensors failing to detect obstacles. These problems often stem from brush wear, which reduces cleaning efficiency, or filter clogs that hinder airflow. To troubleshoot:
- Check the brushes for excessive wear and replace if needed
- Inspect sensors for dirt or obstructions
- Clear filter clogs to restore airflow
- Ensure all mechanical parts are properly aligned
- Test sensors with a soft cloth for dirt or debris
- Regular maintenance, inspired by home decoration ideas, can help prevent these issues before they arise
Addressing these issues helps your vacuum operate smoothly and follow your schedule. Regular maintenance prevents sensor errors and mechanical breakdowns, keeping your device functioning reliably.
Resetting and Updating the Vacuum System
When your vacuum isn’t following the scheduled tasks, resetting and updating its system can often resolve the issue. Start by turning off the vacuum, then reconnect and restart it. Updating the firmware ensures the system has the latest features and fixes, which can reduce vacuum noise and improve cleaning coverage. Regular maintenance, including system updates, can help prevent issues before they arise.
Frequently Asked Questions
How Often Should I Update My Vacuum’s Firmware?
You should update your vacuum’s firmware whenever a new version is available, ideally every few months. Firmware updates improve performance, fix bugs, and enhance cleaning schedules. Regular updates ensure your vacuum operates efficiently and follows your preferred cleaning routines. Keep an eye on the manufacturer’s notifications or app alerts, and don’t delay updating—this keeps your device running smoothly and maintains peak cleaning schedules.
Can Scheduling Issues Be Caused by Wi-Fi Interference?
Did you know that Wi-Fi interference affects about 40% of smart device issues? Scheduling problems can definitely be caused by Wi-Fi signal interference. When your vacuum relies on a strong, stable connection, interference issues—like overlapping signals from other devices or thick walls—can disrupt its schedule. To fix this, try relocating your router or reducing interference sources. Ensuring a clear Wi-Fi signal helps your vacuum stick to its schedule reliably.
What Should I Do if the Vacuum Doesn’t Recognize Its Charging Dock?
If your vacuum doesn’t recognize its charging dock, first check the alignment of the charging dock, ensuring it’s properly positioned and unobstructed. Next, clean the battery contacts on both the vacuum and the dock with a soft cloth to remove dust or debris. This improves contact and helps the vacuum recognize the dock. After these steps, try reconnecting or restarting your vacuum to see if it properly docks and charges.
Is There a Way to Manually Override the Scheduled Cleaning?
Think of your vacuum as a ship steering a sea of dust; sometimes, you need to guide it manually. To do so, you can perform a manual override, allowing you to bypass scheduled cleaning and take control. Check your device’s settings or app for scheduling adjustments, where you can pause, start, or reschedule cleaning times. This guarantees you maintain command over your vacuum’s voyage, even when the autopilot isn’t enough.
How Do I Reset My Vacuum to Factory Settings?
To perform a factory reset on your vacuum, follow the reset procedure specified in your user manual, which usually involves pressing and holding certain buttons simultaneously. Typically, you’ll hold the power button and a specific reset button for about 10-15 seconds. This process restores your vacuum to its factory settings, clearing any custom schedules or preferences. Make sure to reconfigure your settings afterward for ideal performance.
Conclusion
By following these troubleshooting steps, you can keep your vacuum running smoothly. When the power’s steady and the settings are right, cleaning becomes effortless. But neglecting firmware updates or sensor checks can lead to setbacks. Stay proactive—reset and update when needed—and avoid frustrating breakdowns. Because a well-maintained vacuum isn’t just about technology; it’s about keeping your space spotless and your day stress-free. Balance the technical and the practical for the best results.