
To troubleshoot vacuum noise in minutes, start by checking the brush roll and belt for tangled hair or debris and verify the belt is tight. Next, clear any blockages in the hose and nozzle, and clean or replace clogged filters and dust containers. Tighten or replace loose or worn parts like wheels and screws, and listen carefully for unusual sounds to identify issues. If you want detailed tips, there’s more to explore below.
Key Takeaways
- Check the brush roll and belt for tangles or looseness; replace if damaged.
- Clear blockages from the hose, nozzle, and filters to ensure unobstructed airflow.
- Inspect and clean or replace filters and empty the dust container regularly.
- Tighten loose or worn parts, including wheels, screws, and the belt.
- Listen for unusual noises to identify specific issues like debris, worn brushes, or belt squeals.

KEEPOW Style 7/9/10 P/N 3031120 Replacement Belt for Bissell Vacuum, 2 Pack
WIDE COMPATIBILITY: These style 7/9/10 p/n 3031120 belt compatible with Bissell CleanView Swivel Rewind Pet Vacuum (2256, 2254,…
As an affiliate, we earn on qualifying purchases.
As an affiliate, we earn on qualifying purchases.
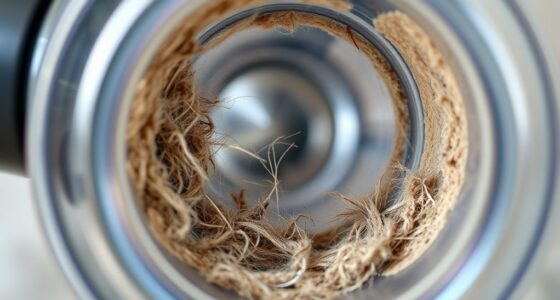
Check the Vacuum’s Brush Roll and Belt
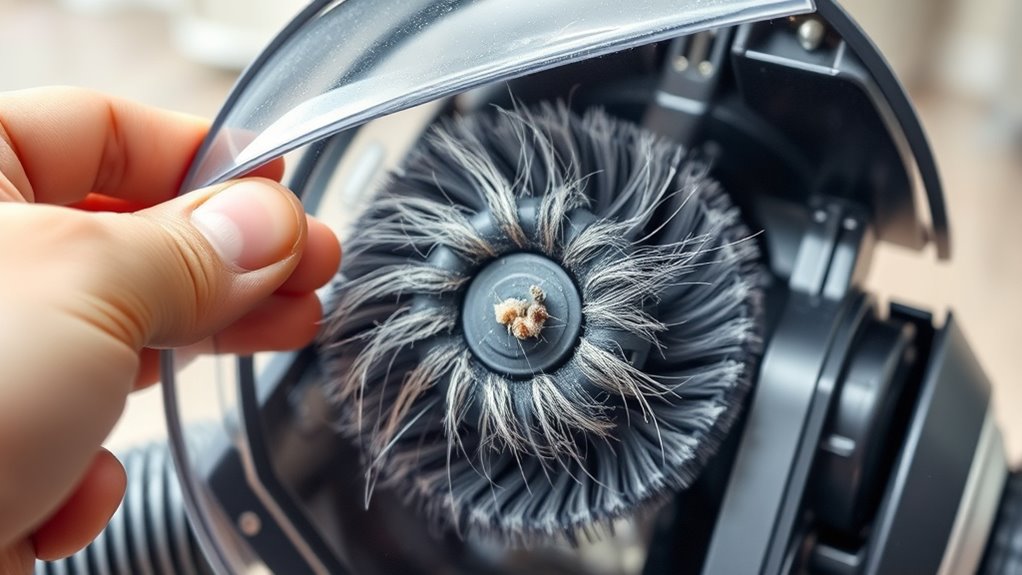
To begin troubleshooting vacuum noise, you should check the brush roll and belt, as these components play a crucial role in the vacuum’s performance. First, examine the brush roll for tangled hair, string, or debris that could cause unusual noises. If you notice any obstructions, remove them carefully. Next, inspect the belt tension; a loose or worn belt can cause squealing or rattling sounds. To check, turn off the vacuum and unplug it, then remove the cover to access the belt. Ensure the belt is tight enough to spin the brush roll without slipping but not so tight that it causes strain. Adjust or replace the belt if it’s worn or damaged. Proper tension keeps the brush roll running smoothly and minimizes noise. Regular maintenance of the brush roll components can also prevent noise issues and extend the lifespan of your vacuum.
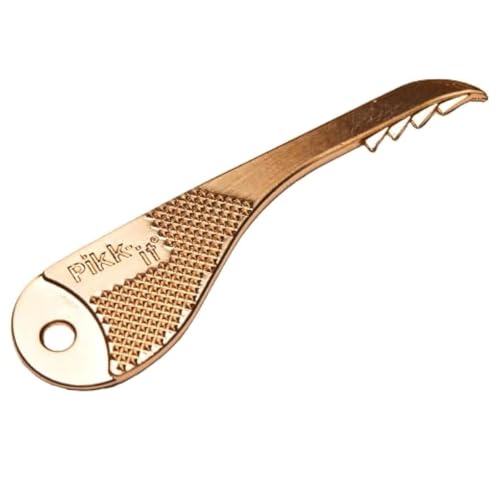
Pikk-it Vacuum Hair Brush Cleaner Tool – Removes Tangled Hair from Vacuums & Hairbrushes | Pet & Human Hair Removal Comb Rake | Improves Vacuum Cleaning Power (Single/Twin Pack) (1)
✅ WORKS ON ANY VACUUM: Pikk-it's unique design works with any vacuum, ensuring your device cleans more efficiently….
As an affiliate, we earn on qualifying purchases.
As an affiliate, we earn on qualifying purchases.
Inspect and Clear Blockages in the Hose and Nozzle

Have you checked the hose and nozzle for blockages? Hose obstructions and nozzle clogs can cause your vacuum to work harder, increasing noise levels. To clear these issues:
Check and clear blockages in your vacuum’s hose and nozzle to reduce noise and improve performance.
- Remove the hose and inspect it for debris or obstructions, then clear any blockages.
- Check the nozzle for clogs or debris buildup, and remove any obstructions carefully.
- Use a long, flexible brush or broomstick to dislodge stubborn blockages inside the hose or nozzle.
- Regular maintenance can prevent industrial juice manufacturing process issues that might contribute to decreased vacuum performance.

Sealegend Dryer Vent Cleaner Kit Vacuum Hose Attachment Compatible with Most Vacuum Cleaner, Quickly Lint Remover Cleaning Supplies
[FITS MOST VACUUM CLEANERS ] Sealegend dryer vent vacuum attachment features a premium universal connector design, compatible with…
As an affiliate, we earn on qualifying purchases.
As an affiliate, we earn on qualifying purchases.
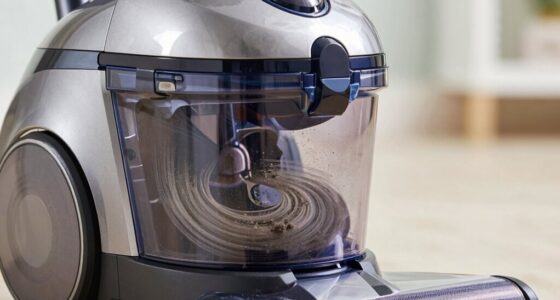
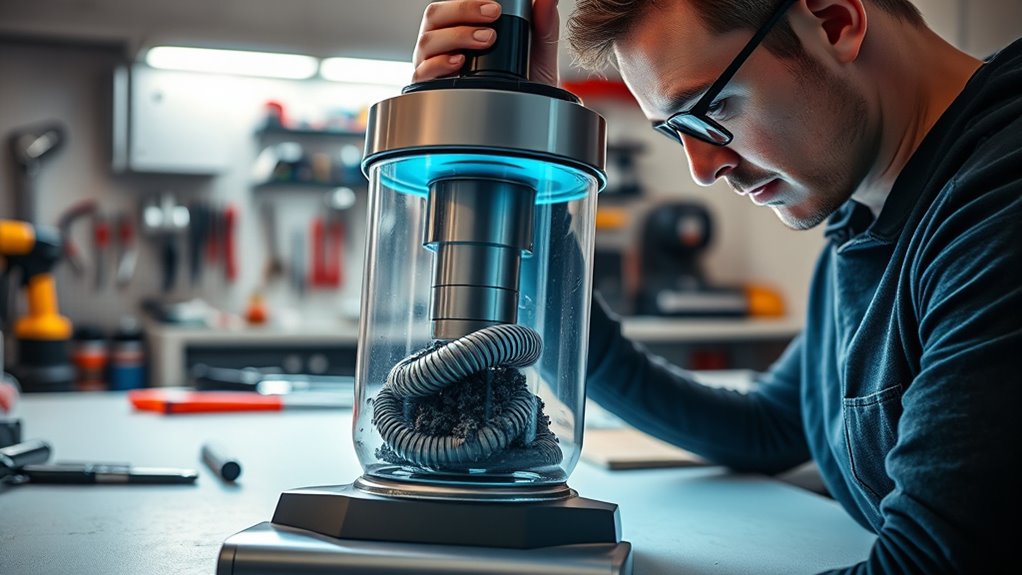
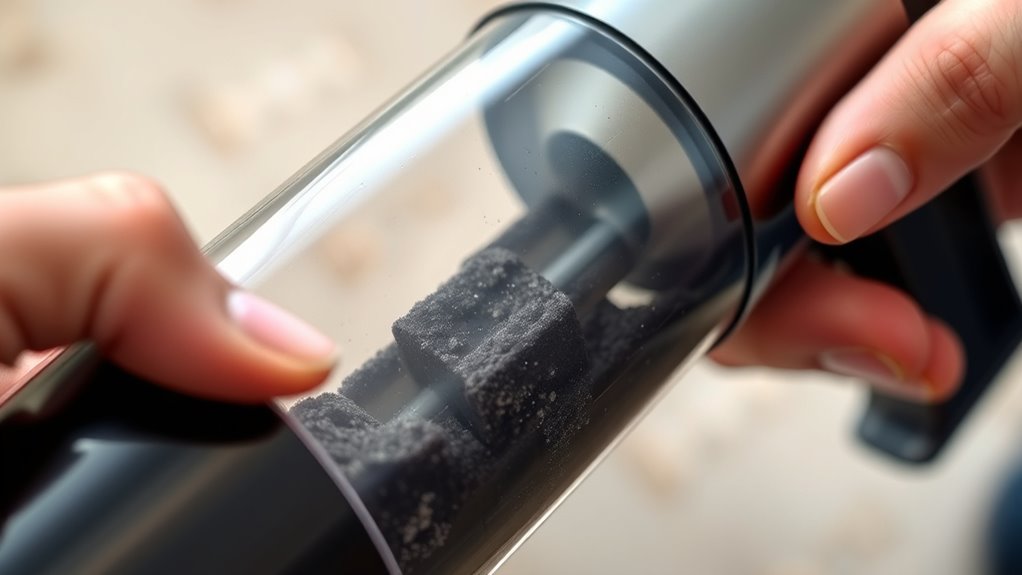
Examine the Filters and Dust Container
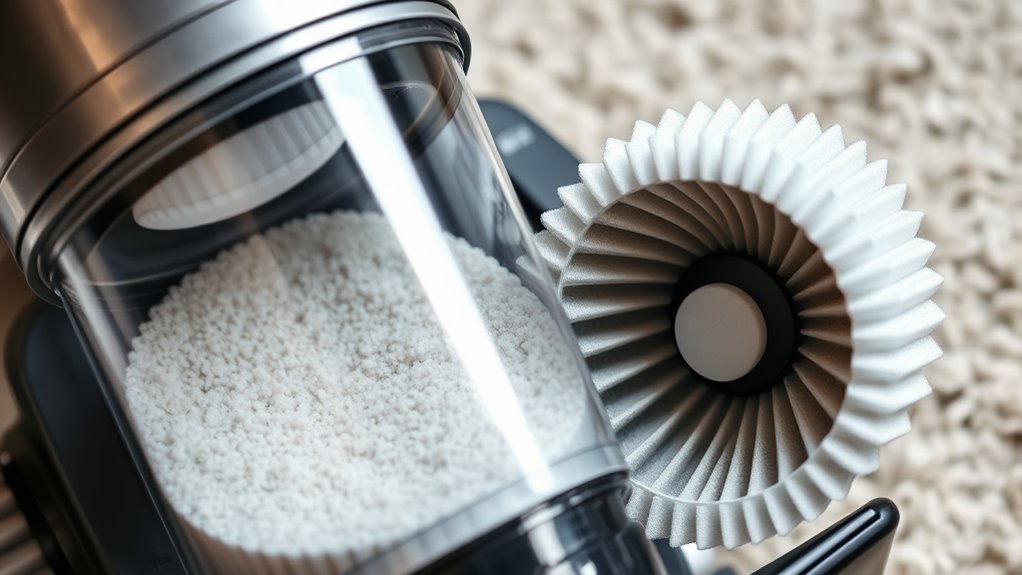
Since clogged filters and a full dust container can restrict airflow and cause your vacuum to work harder, it’s important to examine them regularly. Start by checking the HEPA filter; if it’s dirty or clogged, wash or replace it according to the manufacturer’s instructions. A clean filter ensures proper airflow and reduces noise. Next, empty the dust container if it’s full—overfilled containers force your vacuum to strain, increasing noise levels. Inspect the dust container for any blockages or debris that might obstruct airflow. Make sure the dust container is securely attached after cleaning to prevent air leaks, which can also cause noise. Regularly maintaining these parts helps your vacuum operate smoothly and quietly, preventing unnecessary strain on the motor. Additionally, understanding retirement planning can help you allocate resources for proper maintenance and upgrades over time.

4 Pack HEPA Vacuum Replacement Filters Compatible with AFNOP Acevac11 Cordless Vacuum Cleaner, with 4 Pack Sponge Sets
Includes 4 HEPA replacement filters and 4 pieces of sponge sets, offering great value for uninterrupted cleaning. Long-lasting…
As an affiliate, we earn on qualifying purchases.
As an affiliate, we earn on qualifying purchases.
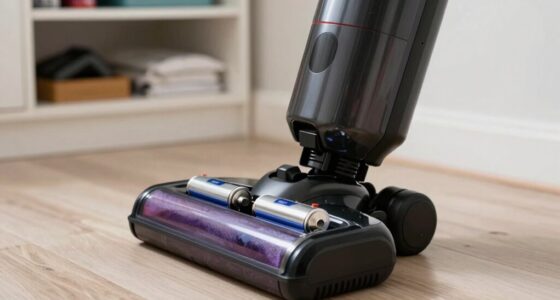
Tighten or Replace Loose or Worn Parts
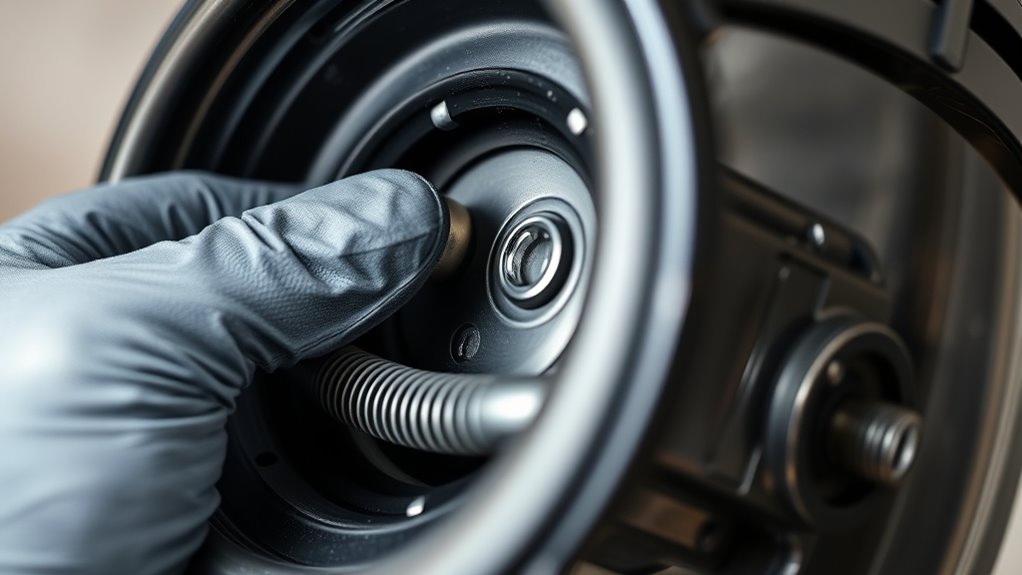
Loose or worn parts are often the culprit behind vacuum noise, so it’s important to check them regularly. Over time, components like the brush roller and belt tension can loosen or wear out, causing excessive noise. To fix this:
- Inspect the brush roller for looseness or damage, and tighten or replace it if needed.
- Check the belt tension—if the belt is loose, tighten it or replace it to restore quiet operation.
- Examine other parts like wheels and screws, tightening any that are loose or worn to prevent rattling.
- Regular maintenance and inspections help prevent future issues and ensure optimal performance by identifying wear and tear early.
Test the Vacuum and Identify Unusual Noises
After tightening or replacing worn parts, it’s time to test the vacuum and listen for any unusual noises. Pay attention to changes in motor performance and sound frequency, as these indicate potential issues. Unusual sounds like grinding, squealing, or rattling can reveal problems with belts, bearings, or the motor itself. To help recognize patterns, consider this table:
| Sound Type | Possible Cause | Action Needed |
|---|---|---|
| High-pitched whine | Worn motor brushes | Replace motor or brushes |
| Rattling noise | Loose parts or debris | Tighten or clear obstructions |
| Squealing | Belt or wheel issues | Adjust or replace belt/wheel |
| Grinding | Motor component failure | Professional inspection |
Listening carefully helps you identify issues quickly, ensuring your vacuum performs at its best. Additionally, paying close attention to sound patterns can help you diagnose problems more accurately.
Frequently Asked Questions
How Often Should I Perform Routine Vacuum Maintenance?
You should perform routine vacuum maintenance every three to six months. Check your vacuum filter regularly, replacing it when it’s dirty or clogged to keep performance ideal. Also, inspect the belt and replace it if you notice cracks or signs of wear. Regular maintenance ensures quieter operation, prevents motor strain, and extends your vacuum’s lifespan, keeping it running smoothly and efficiently with minimal noise.
Can I Fix Vacuum Noise Issues Myself or Need Professional Help?
You can often fix vacuum noise issues yourself with simple DIY fixes like checking for blockages, tightening loose parts, or replacing filters. These quick steps can save you time and money. However, if the problem persists or involves internal components, it’s best to seek professional repair. Trust your skills for minor adjustments, but don’t hesitate to call in experts when facing complex issues to ensure your vacuum runs smoothly and quietly.
What Are Signs That My Vacuum Needs Replacement Parts?
If your vacuum is making strange noises or not cleaning effectively, it might need replacement parts. Check the vacuum filter; if it’s clogged or damaged, replace it. Also, inspect the brush roller for hair or debris that could hinder movement. Unusual sounds, loss of suction, or poor cleaning performance are signs you should replace these parts to restore your vacuum’s efficiency and reduce noise.
How Does Vacuum Age Affect Noise Levels?
As your vacuum ages, its noise levels tend to increase because wear and tear on components like motors and belts cause louder operation. Over time, dust buildup and motor strain also contribute to higher noise. Regular maintenance can help, but if your vacuum is old and noisy despite cleaning, it might be time to contemplate replacing it. Aging vacuums simply don’t operate as quietly as newer models do.
Are There Specific Vacuum Models Prone to Louder Noises?
Some vacuum models are more prone to louder noises due to their design, brand reliability, and motor quality. Brands known for robust construction often experience fewer noise issues, but cheaper or older models may lack effective noise reduction techniques, leading to louder operation. To minimize noise, consider upgrading to a model with better noise reduction features, ensuring your vacuum’s design and brand reliability work together to deliver quieter, more efficient cleaning.
Conclusion
By following these simple steps, you can quickly diagnose and fix vacuum noise issues, saving time and money. Many believe that regular maintenance prevents major problems, and studies support that consistent care extends your vacuum’s lifespan. So, don’t ignore unusual sounds—investigate them promptly. With a little effort, you’ll keep your vacuum running quietly and efficiently, making cleaning less of a chore and more of a breeze. Trust your instincts and enjoy a quieter home today.