If your vacuum is too loud, start by checking for loose or damaged parts like belts, hoses, or filters, and tighten or replace them as needed. Clear any blockages and make sure filters are clean to reduce motor strain and noise. Wrapping the hose with foam or fabric can dampen vibrations quickly. Regular maintenance like these simple fixes can make a big difference, and there’s more tips to keep your vacuum whisper-quiet.
Key Takeaways
- Check and tighten loose parts, belts, and fittings to reduce rattling and squealing sounds.
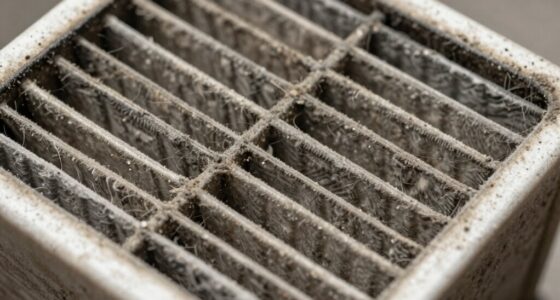
- Clear blockages in hoses, filters, and brushes to improve airflow and decrease motor strain.
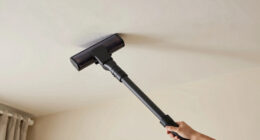
- Add soundproofing materials like foam padding or fabric sleeves around the vacuum or hose.
- Replace worn or dirty filters and damaged components promptly to prevent noise amplification.
- Regular maintenance and using high-quality parts, such as Suprem fabric, help keep your vacuum quieter.
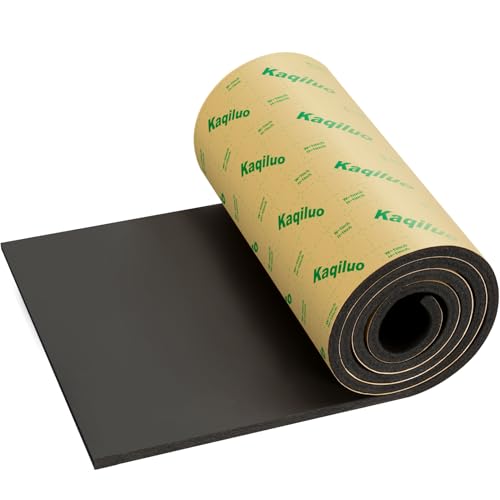
Kaqiluo High Density Self-Adhesive Sound Insulation Acoustic Closed Cell Foam, 5.8 sqft x 0.4in Thick, 50+kg/m³ ,Sound Proof Padding, Fire/Water Resistant Acoustic Treatment Foam
- Sound Insulation: Reduces noise and echoes
- High-Density Material: 50+kg/m³ for effective noise reduction
- Fire and Water Resistant: B1 fire rating and waterproof
As an affiliate, we earn on qualifying purchases.
As an affiliate, we earn on qualifying purchases.
Why Is My Vacuum So Noisy? Common Causes Explained
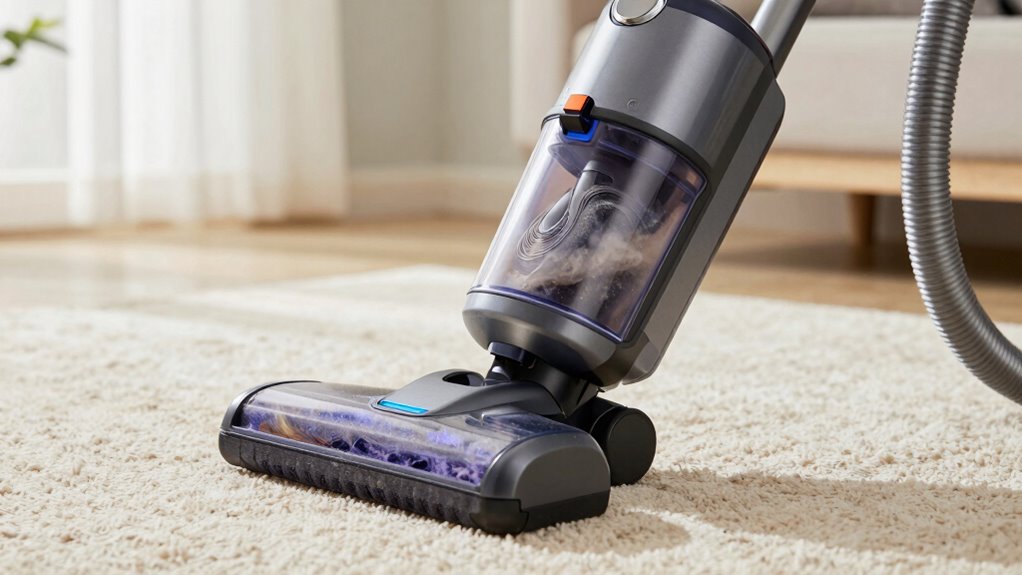
If your vacuum suddenly becomes louder than usual, it’s likely due to common issues that affect its noise level. Several causes of loudness can contribute, making your vacuum noisier than it should be. One typical reason is a clogged or blocked hose, which causes the motor to work harder, increasing vacuum noise. Worn-out belts or bearings can also produce loud squealing or grinding sounds. Additionally, loose or damaged parts, like the brush roll or fan blade, can create rattling or banging noises. Sometimes, debris caught in the motor or filters can strain the system, amplifying noise levels. Understanding these causes of loudness helps you identify what might be wrong and prevents further damage, saving you time and money in the long run. Moreover, inspecting the motor components regularly can help maintain optimal performance and noise levels, as proper maintenance is key to ensuring the efficiency of modern toilets.
Quick Fixes to Silence Your Vacuum Instantly
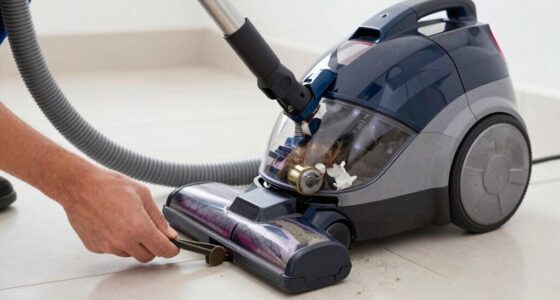
When your vacuum suddenly becomes unbearably loud, quick adjustments can often restore peace without the need for professional repairs. Start by inspecting the vacuum’s attachments and hose for blockages or loose fittings, as these can amplify vacuum noise. Tighten any loose parts and clear debris to reduce rattling sounds. Using soundproofing techniques, place a folded towel or foam padding around the vacuum’s base or hose connections to dampen noise. Additionally, check the vacuum’s filters; replacing or cleaning them can lessen the loud motor noise. Wrapping the hose with fabric or foam sleeves absorbs vibrations and muffles sound. Incorporating soundproofing methods can further enhance noise reduction efforts. These simple steps provide immediate relief, making your vacuum quieter and more pleasant to use without extensive repairs. Paying attention to vacuum maintenance can also prevent future noise issues and keep your appliance running smoothly. Regularly inspecting and maintaining your vacuum’s components can help prevent loud noises from developing over time. Exploring sound wave technology insights can offer additional ways to minimize noise emissions effectively.
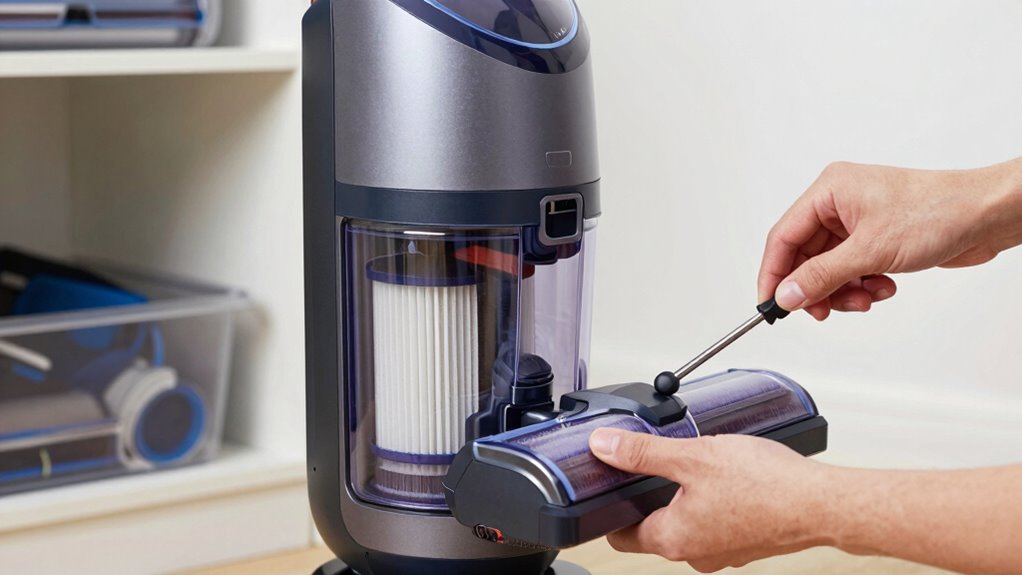
How to Check and Replace Worn Vacuum Parts

Start by inspecting your vacuum for any worn or damaged components like belts, brushes, or hoses. Once you’ve identified what’s worn, gather the correct replacement parts to guarantee a proper fit. Proper installation tips are essential to make sure everything is secure and functioning quietly again. Remember, clearer thinking can help you identify issues more accurately and quickly. Additionally, understanding local culture and traditions can sometimes provide insights into unique appliance maintenance habits specific to your area. Paying attention to manufacturer guidelines can also ensure that replacements are installed correctly and safely. Being familiar with basic troubleshooting techniques can further help prevent future problems and maintain optimal noise levels.
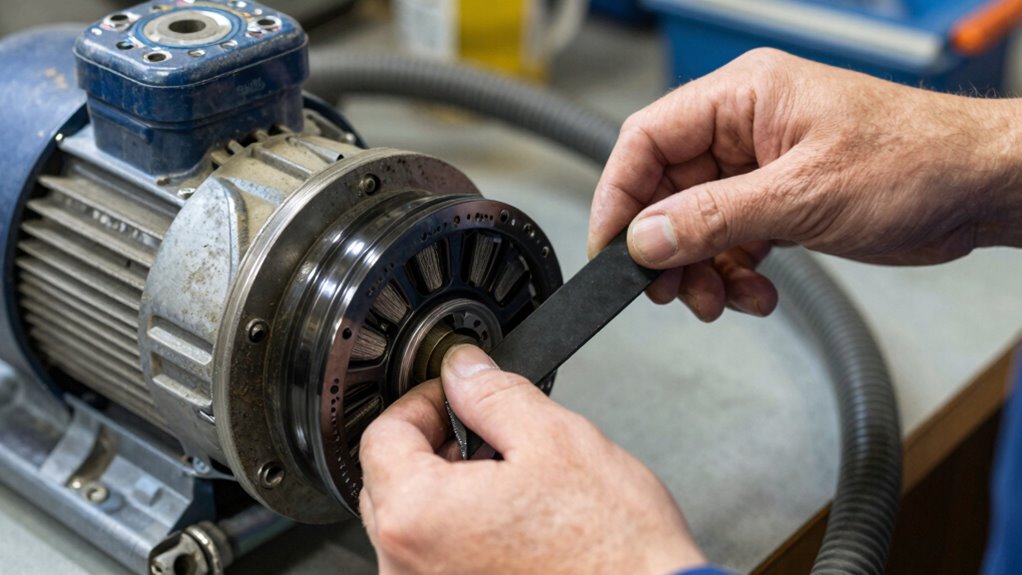
Identify Worn Components
Worn vacuum components often cause increased noise levels, so inspecting these parts is essential for reducing loudness. Check the motor for unusual motor noise, which indicates potential wear or damage. Examine the belt for signs of wear or fraying, as a worn belt can cause rattling or squealing. Additionally, listen for vibrations or rattling sounds that suggest loose or damaged parts. Use the table below to identify common worn components and their symptoms:
| Component | Signs of Wear | Impact on Noise |
|---|---|---|
| Motor | Unusual motor noise, overheating | Increased overall loudness |
| Belt | Fraying, cracks, slipping | Squealing, rattling |
| Bearings | Grinding sounds, wobbling | Excess noise, vibration |
| Brushes | Excessive sparking, wear | Motor noise, reduced suction |
Regularly checking these components can help prevent further damage and maintain a quieter operation, much like choosing support breakfast options that enhance your overall experience. Additionally, understanding worn components can lead to more effective troubleshooting and maintenance strategies. Being aware of sound indicators can also help you identify issues before they become more severe. Recognizing the role of media in shaping perceptions about appliance issues can sometimes help in troubleshooting myths or misconceptions. Since some noise issues may stem from internal wear, understanding these factors can assist in timely repairs and prolong the lifespan of your vacuum.
Gather Replacement Parts
Before replacing any vacuum parts, it’s important to first identify which components are worn or damaged. Check your vacuum accessories, such as brushes, filters, belts, and hoses, for signs of wear or cracks. Once you’ve pinpointed the worn parts, gather the appropriate replacement parts designed for your vacuum model. Make sure to select quality replacement parts to ensure durability and proper function. Keep a small toolkit handy to assist with removal and installation. Having these replacement parts ready saves time and prevents unnecessary delays. If you’re unsure about compatibility, consult your vacuum’s manual or contact the manufacturer. Proper maintenance can extend the lifespan of your vintage vacuum and keep it running smoothly. Additionally, choosing high-quality fittings and accessories can improve your vacuum’s noise reduction capabilities. Gathering the right replacement parts now ensures you can quickly restore your vacuum’s noise levels and overall performance. Regular inspection of your vacuum components can help identify issues early and prevent costly repairs.
Proper Installation Tips
To guarantee your vacuum runs quietly after replacing parts, it’s important to properly check and install each component. Start by inspecting worn or damaged parts for signs of wear, ensuring they fit securely without gaps. Proper installation helps maintain the vacuum’s aesthetics, preventing loose or misaligned parts that can cause noise. Be sure to follow the manufacturer’s instructions to preserve your vacuum’s brand reputation for quality performance. When replacing filters, belts, or brushes, double-check that they’re seated correctly and click into place. Avoid forcing parts, as improper installation can lead to rattling or increased noise. Taking these steps ensures your vacuum operates smoothly, reducing noise and extending its lifespan, all while maintaining a sleek appearance. Proper installation is key to quiet, effective cleaning. Additionally, understanding the essential oils for noise relief can provide alternative methods to minimize vibrations and sounds during operation. Regularly check for worn parts and replace them promptly to prevent noise issues from developing. For added noise reduction, consider regular maintenance and the use of noise-absorbing materials to keep your vacuum components in optimal condition. Recognizing the importance of security zone info can also help you safeguard your home environment while performing maintenance.
When to Tighten Belts, Replace Filters, or Fix Hoses
If your vacuum starts making unusual noises or isn’t performing as well as it used to, it’s time to check the belts, filters, and hoses. Loose belt tension can cause squealing or slippage, reducing cleaning efficiency and increasing noise. Tighten the belt if it feels loose or looks worn. Replace filters when they’re clogged or dirty to prevent airflow restrictions that can cause the motor to strain and become louder. Hose repairs are necessary if you notice leaks, cracks, or disconnections, which can lead to loss of suction and increased noise. Regular inspections help identify these issues early, so you can tighten belts, replace filters, or fix hoses before they cause more significant problems or noise. Staying on top of these maintenance tasks keeps your vacuum running quietly and effectively. Additionally, using Suprem fabric in vacuum components or accessories can enhance durability and reduce wear over time.
Long-Term Maintenance Tips for a Quieter Vacuum
To keep your vacuum running quietly over time, make it a habit to replace filters regularly and check for blockages. Clogged filters and obstructions can cause the motor to work harder and create more noise. Staying on top of these simple tasks helps maintain peak performance and keeps noise levels down.
Regular Filter Replacement
Regularly replacing your vacuum’s filter is one of the simplest ways to keep noise levels down over time. A clean vacuum filter prevents dust buildup that can cause your machine to work harder and become louder. When filters are clogged with dirt and debris, the motor has to strain more to generate suction, which increases noise. By changing the filter as recommended by the manufacturer, you guarantee airflow remains unobstructed, allowing your vacuum to operate smoothly and quietly. Remember, a fresh filter not only reduces noise but also improves cleaning efficiency and prolongs your vacuum’s lifespan. Make filter replacement a regular part of your maintenance routine, and you’ll notice a significant decrease in noise levels during each use.
Check for Blockages
Have you checked for blockages in your vacuum’s hoses and brushes lately? Blockages can restrict airflow, forcing your vacuum to work harder and louder. To keep noise levels down, perform regular blockage removal. Start by inspecting hoses, filters, and brush attachments for debris or tangled hair. Clearing these obstructions improves airflow and reduces noise. Use a broomstick or similar tool to dislodge stubborn clogs. Remember, a well-maintained vacuum runs quieter and more efficiently. Here’s a quick guide:
| Area to Check | Signs of Blockage | How to Clear |
|---|---|---|
| Hoses | Reduced suction, whistling | Detach and clear debris |
| Brushes | Hair tangled, stiff brushes | Remove hair and debris |
| Filters | Dust buildup, clogging | Wash or replace |
| Attachments | No suction or noise | Clear obstructions |
Regular blockage removal guarantees maximum airflow enhancement and a quieter vacuum.
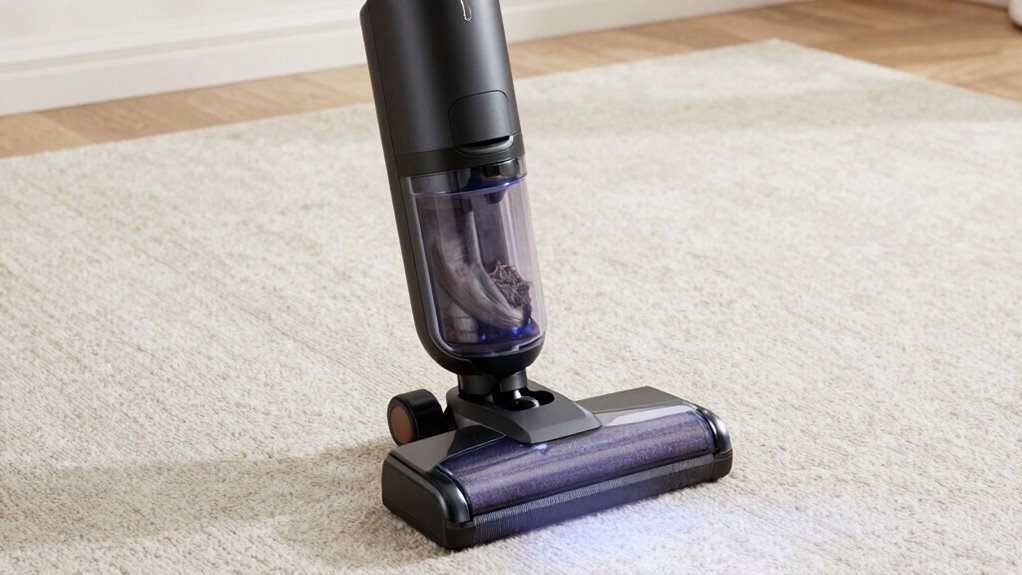
Should You Upgrade to a Quieter Vacuum Model?
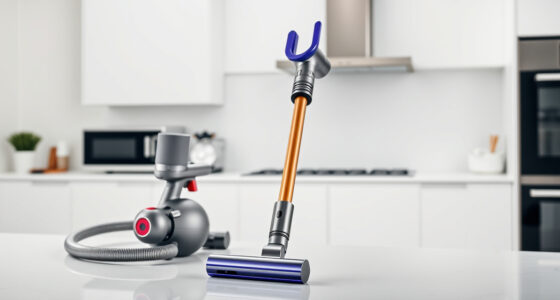
If your current vacuum is too loud and disrupting your daily routine, upgrading to a quieter model might be worth considering. Modern vacuums with advanced noise reduction techniques often feature better soundproofing and quieter motors. These models are designed to minimize noise at the source, making your cleaning less disruptive. Before making a switch, evaluate whether your current vacuum can benefit from additional vacuum soundproofing measures or if an upgrade offers a significant noise reduction. If you frequently vacuum during early mornings or late nights, a quieter model can improve your comfort and peace of mind. Ultimately, investing in a vacuum engineered for noise reduction can enhance your cleaning experience without sacrificing performance.
Frequently Asked Questions
Can Using a Vacuum on Different Surfaces Affect Noise Levels?
Yes, using your vacuum on different surfaces can affect noise levels. Surface compatibility plays a big role, as certain floors like hardwood or tile are quieter, while carpets may amplify sound due to thicker fibers. This results in noise variation, depending on the surface you’re cleaning. To minimize noise, switch to appropriate attachments and settings for each surface, helping your vacuum operate more quietly across various flooring types.
Are There Specific Brands Known for Quieter Vacuum Models?
Some vacuum brands are renowned for quieter models, thanks to their strong reputation for incorporating quiet model features. Brands like Miele, Dyson, and Shark often lead with innovative noise reduction technology, making cleaning less disruptive. By choosing a vacuum from these brands, you benefit from their focus on quiet operation and reliable performance, ensuring your cleaning sessions are effective without disturbing your household.
How Often Should I Perform Maintenance to Keep Noise Levels Low?
Think of your vacuum as a finely tuned instrument; regular maintenance keeps its melody smooth. You should check the vacuum filter every 1-3 months and replace the belt as needed, usually every 6-12 months. This routine prevents clogs and mechanical noise, ensuring quieter operation. Staying proactive with these steps keeps your vacuum humming softly, preserving its harmony and extending its lifespan.
Does the Age of My Vacuum Impact Its Noise Output?
Yes, the age of your vacuum impacts its noise output. Over its lifespan, components wear down, leading to noise deterioration. As your vacuum gets older, it may become louder due to motor strain or loose parts. Regular maintenance can slow this process, but eventually, older vacuums tend to produce more noise. Keeping your vacuum in good shape helps minimize noise, even as it approaches the end of its lifespan.
Are There DIY Soundproofing Options for My Existing Vacuum?
Yes, you can try DIY modifications for soundproofing your vacuum. Start by adding soundproofing solutions like foam or rubber around the motor housing or inside the dustbin. You might also replace noisy parts or seal gaps with weatherstripping. These DIY modifications can substantially reduce noise, making your vacuum quieter without buying a new one. Just ensure your modifications don’t block airflow or impact performance.
Conclusion
If your vacuum’s noise feels unbearable, it’s tempting to think you need a new one. But often, a simple fix like tightening belts or replacing filters can restore peace. Some believe louder vacuums are more powerful, but that’s a myth—quieter models can be just as effective. Taking care of your vacuum not only reduces noise but also extends its life. So, before upgrading, try these tips—you might be surprised how much calmer your cleaning routine becomes.