Before every robot vacuum run, you should thoroughly prepare your home by clearing clutter, removing small objects, and securing loose cables to prevent jams or damage. Confirm the vacuum is fully charged and positioned correctly on its station for peak performance. Additionally, set up no-go zones around delicate furniture or restricted areas. Taking these steps helps your vacuum clean better and last longer. Continue on to discover even more tips to maximize your robot’s efficiency.
Key Takeaways
- Clear all floor clutter, small objects, and loose debris to prevent obstructions and damage.
- Unplug and secure cords or cables to avoid tangling or entanglement.
- Conduct a quick hazard check, removing sharp, fragile, or uneven items that could harm the vacuum.
- Ensure the charging station is properly placed on a flat, unobstructed surface for optimal charging.
- Set up virtual barriers or no-go zones to protect delicate furniture, pet areas, and restricted zones.
As an affiliate, we earn on qualifying purchases.
Why Preparing Your Home Before Vacuuming Matters
Preparing your home before vacuuming is essential because it guarantees the robot vacuum can clean effectively without interruptions. When you clear clutter and secure loose cords, you improve both home safety and cleaning efficiency. Removing small objects prevents the vacuum from getting stuck or damaging itself, which could lead to safety hazards. Making certain pathways are clear allows the robot to cover every inch, maximizing cleaning results. Additionally, securing rugs or loose edges keeps the vacuum from slipping or tumbling. Taking these simple steps creates a safer environment and ensures the robot can operate smoothly. Proper preparation minimizes the risk of accidents, enhances overall cleaning performance, and saves you time by avoiding frequent manual interventions. Understanding floor safety and how to maintain a hazard-free space helps your robot vacuum work at its best. Ensuring your flooring is free of debris and obstacles prevents damage to the vacuum’s components and prolongs its lifespan. Implementing home organization strategies can further optimize your cleaning routine and reduce clutter that might obstruct the vacuum’s path. Being aware of security zone considerations can also help you set safe boundaries for your robot vacuum to avoid restricted or delicate areas. A clutter-free environment also supports the mobility of your robot, enabling thorough cleaning in every room.
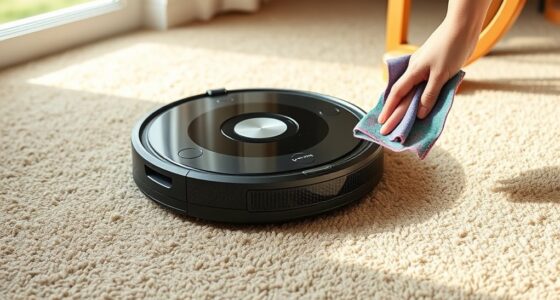
Make Sure Your Robot Vacuum Is Fully Charged
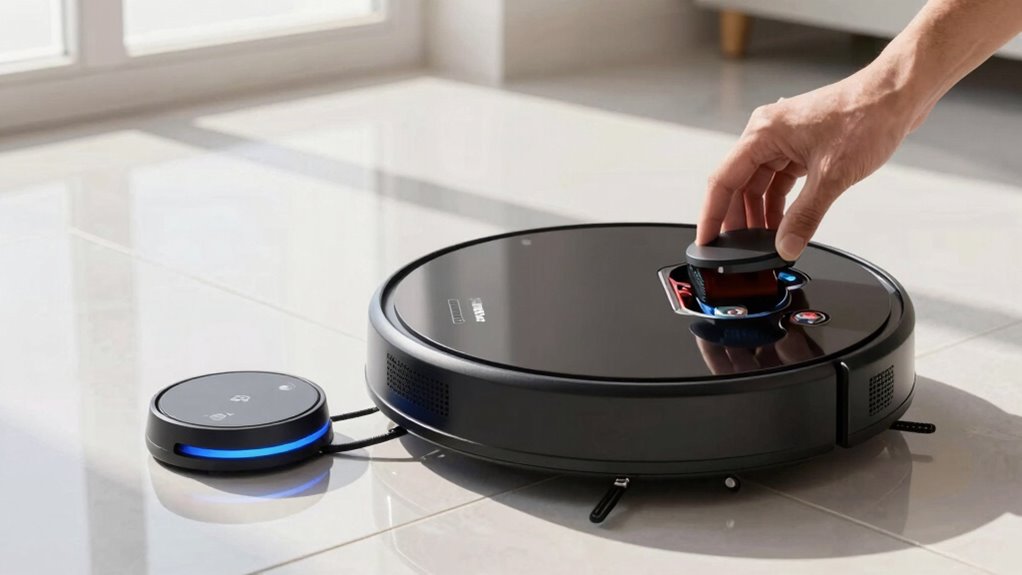
Before starting your robot vacuum, check that the battery is fully charged to guarantee it can complete the job. Make sure the charging station is placed in an accessible spot so it can recharge properly. Avoid partial charges, as they can reduce battery life and cleaning efficiency. Additionally, ensure proper airflow around the unit during operation to prevent overheating and maintain optimal performance airflow management. Proper battery maintenance can also extend the overall lifespan of your vacuum, ensuring consistent performance over time. Regularly inspecting and cleaning the charging contacts helps improve charging efficiency and prolongs battery health. Ensuring the vacuum’s body integrity remains intact is essential for safe and effective operation. Maintaining a clean air filter can further optimize your vacuum’s operation.
Battery Level Check
Ensuring your robot vacuum is fully charged before each run prevents interruptions and incomplete cleaning. Check the battery level to confirm it’s at or near full capacity, which helps maintain the device’s battery health over time. If the battery is low, give it enough time to fully recharge, considering the charging duration specified by the manufacturer. A healthy battery guarantees maximum runtime and peak cleaning performance. Avoid starting a cleaning session with a partially charged battery, as this can lead to mid-clean power loss and the need for frequent recharging. Regularly monitoring the battery status keeps you aware of its condition and helps you plan for replacements if needed. Proper battery maintenance is essential for prolonging your robot vacuum’s lifespan and ensuring consistent cleaning results. Being aware of your device’s power management features can also help optimize its performance. This simple step guarantees your robot vacuum works efficiently, covering your space thoroughly each time.
Charging Station Placement
Proper placement of your robot vacuum’s charging station directly impacts its ability to recharge fully and operate efficiently. To choose the most suitable station location, consider these factors: 1. Place it against a wall or corner to prevent movement disruptions. 2. Ensure easy access for the vacuum to dock without obstacles. 3. Keep it on a flat, level surface to maintain stable contact. 4. Avoid placing it near clutter, cords, or high-traffic areas that may block docking. Additionally, consider local automation options to integrate the charging station with your smart home system for better scheduling and control. Being aware of manipulation tactics can help you set boundaries and prevent potential interference with your smart devices. Proper placement also supports energy efficiency, helping to conserve power during charging cycles. Ensuring the station’s placement helps maintain optimal battery health, prolonging your vacuum’s lifespan and efficiency. Regularly checking the charging contacts can further improve charging performance and overall device longevity.
Avoid Partial Charging
A partially charged battery can cause your robot vacuum to underperform or stop mid-cleaning. To maximize battery longevity, guarantee your vacuum is fully charged before each run. Consistently charging to full capacity helps maintain ideal battery health over time, preventing rapid degradation. Avoid frequent partial charges, as they can negatively impact the battery’s lifespan and reduce overall performance. Developing good charging habits, such as plugging in after each use and avoiding leaving the battery at low levels for extended periods, keeps your vacuum ready and reliable. Always check that the battery indicator shows a full charge before starting a cleaning session. This simple step ensures your robot operates efficiently, saves time, and extends the life of its battery. Maintaining proper battery care is essential for optimal performance and longevity, especially since consistent full charges support the battery’s overall health over time. Additionally, being aware of power management features can help you optimize charging routines and prolong your vacuum’s operational lifespan. Developing an understanding of battery technology can further help you make informed decisions about charging practices. Regularly monitoring your vacuum’s battery performance can also help identify when it might need servicing or replacement to keep it running smoothly.
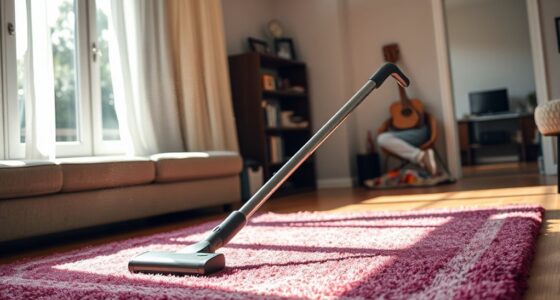
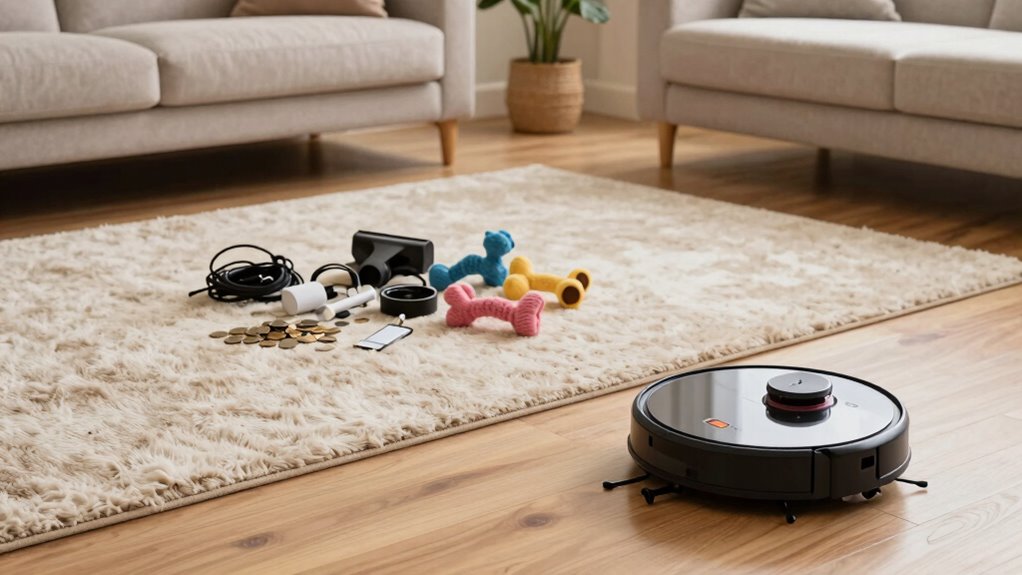
Clear Obstacles and Declutter for Better Cleaning
Before starting your robot vacuum, take a moment to clear the floor. Remove small items, tidy up cords, and pick up clutter to prevent obstructions. This simple step guarantees your vacuum cleans more efficiently and thoroughly. Additionally, ensuring the suction path is unobstructed allows for optimal performance.
Remove Small Items
Clear the area of small items and obstacles to guarantee your robot vacuum can clean effectively. Small items, like loose change, socks, or pet toys, can block the vacuum’s path or cause it to miss spots. Before starting, pick up:
- Small items like jewelry or keys scattered on the floor
- Pet toys left in the cleaning zone
- Loose papers or fabric scraps
- Any tiny objects that could get stuck in the brushes or wheels
Removing these clutter pieces ensures your vacuum operates smoothly and thoroughly. Pet toys, in particular, can be mistaken for debris or get lodged in the brushes. Taking a minute to clear these obstacles makes a significant difference in the cleaning performance and prevents potential malfunctions.
Tidy Up Cords
Since cords and cables can easily trip up your robot vacuum or get tangled in its brushes, maintaining a tidy space before each cleaning session is essential. Effective cord management and cable organization help prevent these issues. Before starting, unplug and neatly coil any loose cables, keeping them out of the vacuum’s path. Use cable clips or ties to secure cords along walls or furniture, reducing clutter. Clearing the area of tangled wires ensures your robot can move smoothly without interruptions or damage. Remember, a clutter-free environment not only protects your device but also allows it to reach every corner more efficiently. Taking a few moments to tidy up cords makes a significant difference in your robot vacuum’s performance and longevity.
Clear Floor Clutter
Have you ever noticed how small objects or clutter can block your robot vacuum’s path? Clear floor clutter to improve floor organization and debris removal. Before each run, pick up items that might obstruct the vacuum, like:
- Shoes or slippers left in the way
- Small toys scattered across the floor
- Loose cords or cables that could tangle the brushes
- Papers or lightweight objects that can get stuck in the wheels
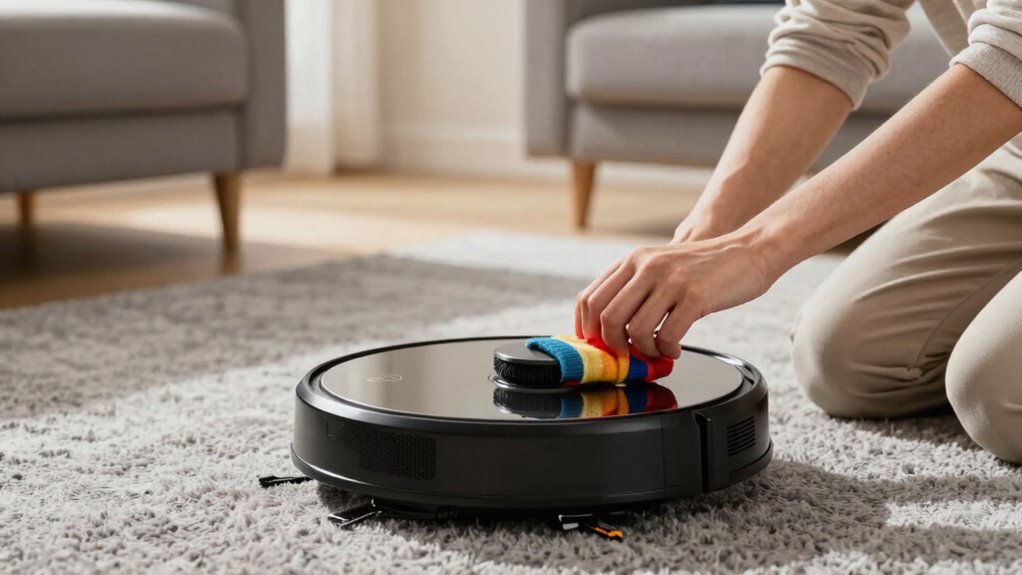
Identify and Remove Hazards That Could Damage Your Robot
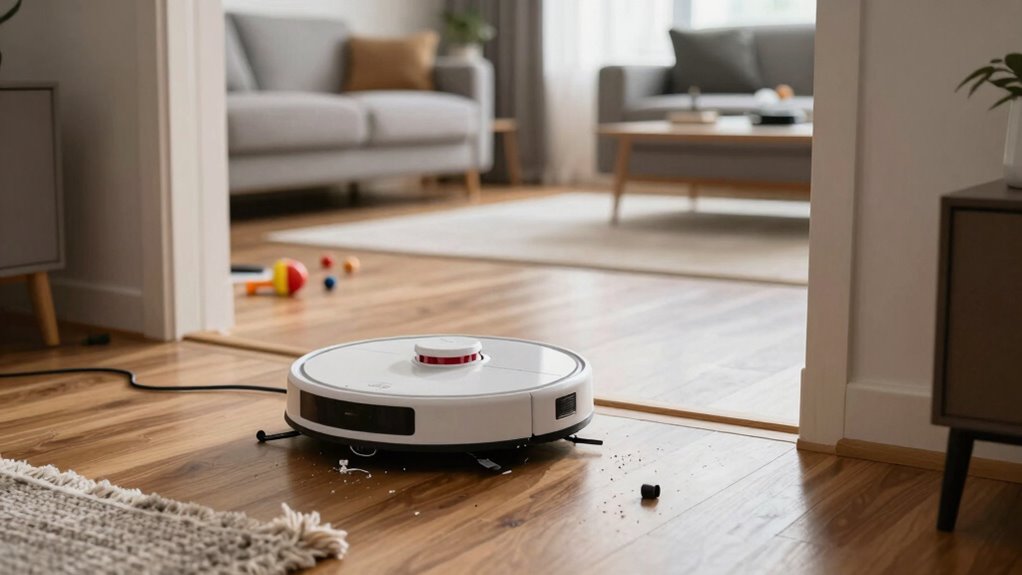
Before starting your robot vacuum, it is essential to identify and remove potential hazards that could cause damage. Begin with a quick hazard assessment of the area. Look for sharp objects, loose wires, or fragile decorations that the vacuum could knock over or get stuck in. Remove obstacles like small toys, cables, or uneven rugs that could entangle the robot or impair its movement. Check for clutter that might hide hazards and clear them away. Ensuring a tidy, hazard-free environment helps prevent costly repairs and keeps your robot functioning smoothly. Taking a few moments to assess and eliminate obstacles will save you time and frustration during the cleaning cycle. Remember, a safe start is a thorough hazard assessment and obstacle removal.
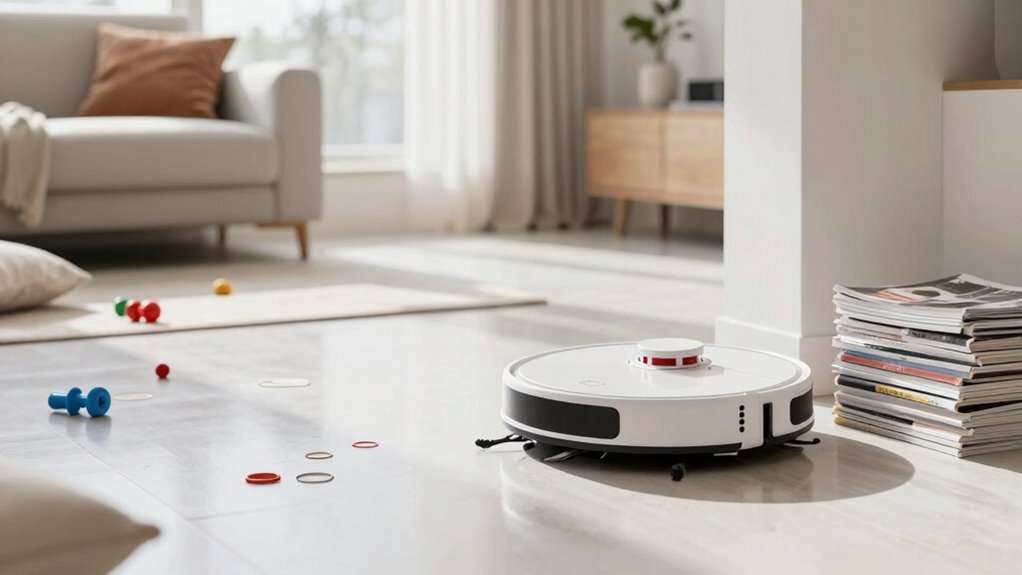
Set Up Virtual Walls or No-Go Zones to Guide Cleaning
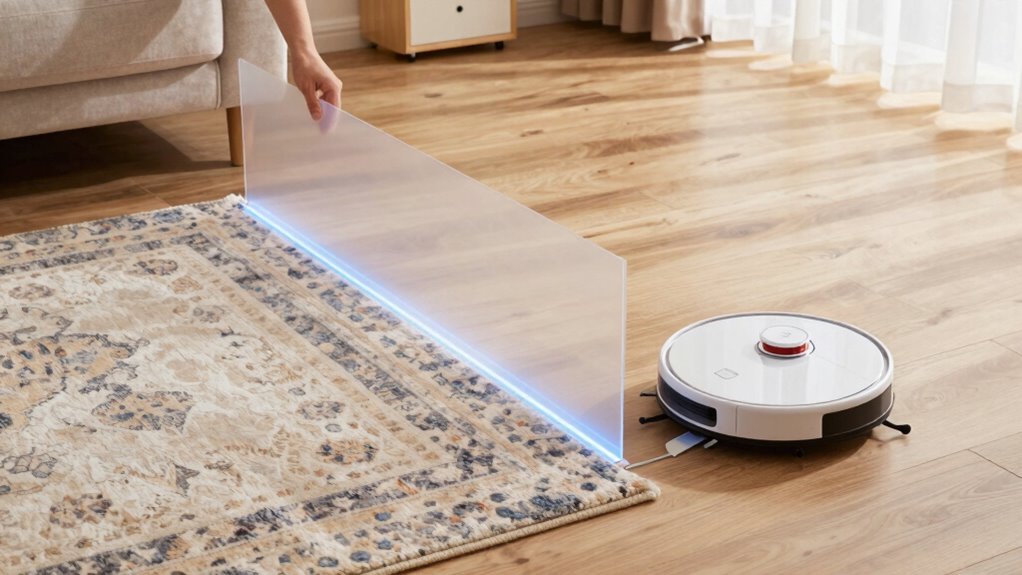
After removing hazards and obstacles, the next step is to guide your robot vacuum’s cleaning path effectively. Virtual wall setup and no go zone planning help prevent it from entering areas you want to protect or avoid. To do this, imagine:
- Placing virtual walls across doorways or entry points to block off certain rooms.
- Marking no go zones around pet bowls, cords, or delicate furniture.
- Using magnetic strips or app features to create invisible barriers.
- Updating zone maps regularly to adapt to changing furniture or clutter.
These steps ensure your vacuum focuses only on desired areas, saving time and energy. Proper no go zone planning minimizes missed spots and prevents accidents, making your cleaning routine more efficient and worry-free.
Adjust Your Cleaning Schedule for Best Results
To get the most out of your robot vacuum, adjusting your cleaning schedule is essential. Consistent scheduling ensures your device works efficiently without interruptions or missed spots. Set a regular cleaning frequency based on your household’s needs—more frequent cleanings for high-traffic areas or pets, and less for rarely used spaces. Maintaining scheduling consistency helps your vacuum develop a routine, reducing the chances of dirt buildup. Review your environment periodically, and tweak your schedule if you notice dust accumulating or if your schedule changes. By fine-tuning when your robot runs, you maximize coverage and maintain a cleaner home overall. Remember, a well-planned cleaning schedule keeps your space tidy without overworking your device or wasting energy.
Frequently Asked Questions
How Often Should I Clean or Replace the Robot Vacuum’s Filters?
You should clean your robot vacuum’s filters every 1 to 2 weeks to maintain ideal filter maintenance. Replace them according to the manufacturer’s replacement schedule, usually every 2 to 3 months, or sooner if they’re heavily clogged or damaged. Regular cleaning and timely replacements ensure your vacuum performs efficiently, prolongs its lifespan, and maintains good air quality in your home. Keep an eye on signs it’s time for a new filter.
Can I Schedule Multiple Cleaning Sessions Throughout the Day?
Ever wonder if you can maximize your robot vacuum’s cleaning power? Absolutely! Scheduling flexibility allows you to set multiple cleaning cycles throughout the day, keeping your home consistently tidy. Just check your device’s app or controls to confirm it supports multiple sessions. This way, you maintain a cleaner space without manual intervention, especially during busy days or when hosting guests. So, go ahead—schedule those multiple cleanings for a spotless home!
What’s the Best Way to Troubleshoot if My Robot Vacuum Gets Stuck?
If your robot vacuum gets stuck, start troubleshooting by checking for navigation challenges and obstacle detection issues. Clear the area of clutter and make sure sensors are clean. Update the firmware if needed, and recalibrate if possible. Observe its path to identify stubborn obstacles or markings that confuse its navigation. Regular maintenance and a tidy cleaning zone help prevent future getting stuck problems, keeping your vacuum running smoothly.
How Do I Update the Firmware or Software of My Robot Vacuum?
To update your robot vacuum’s firmware or software, start by opening the companion app on your phone. Check for firmware updates or software installation options in the settings menu. If an update is available, follow the prompts to download and install it. Make sure your vacuum is connected to Wi-Fi during the process. Keeping firmware updates current guarantees your vacuum runs smoothly and has the latest features.
Is It Safe to Use Cleaning Solutions or Liquids on My Robot Vacuum?
Using cleaning liquids or solutions on your robot vacuum isn’t safe, as it can cause damage or safety concerns. Avoid applying cleaning liquids directly to the device or its sensors. Instead, use a slightly damp cloth for wiping surfaces and keep liquids away from the vacuum’s electronic parts. This guarantees your vacuum stays in good condition and minimizes safety concerns related to spills or malfunctions.
Conclusion
Taking a few moments to prepare your home before each robot vacuum run can make all the difference. Did you know that properly clearing obstacles and setting virtual boundaries can improve cleaning efficiency by up to 30%? By ensuring your vacuum is fully charged, free of hazards, and guided correctly, you’ll get the most out of every session. A quick prep not only extends your robot’s lifespan but also guarantees a cleaner, more comfortable home every time.