
To deep-clean grout with baking soda and vinegar, sprinkle baking soda directly onto the grout lines, then spray with vinegar from a spray bottle. Let the fizzing reaction sit for 5 to 10 minutes to help loosen dirt and stains. Scrub vigorously with a brush or toothbrush, then wipe away residue with a damp cloth. This natural method restores brightness and fights stains. Keep going for more tips on maintaining spotless grout efficiently.
Key Takeaways
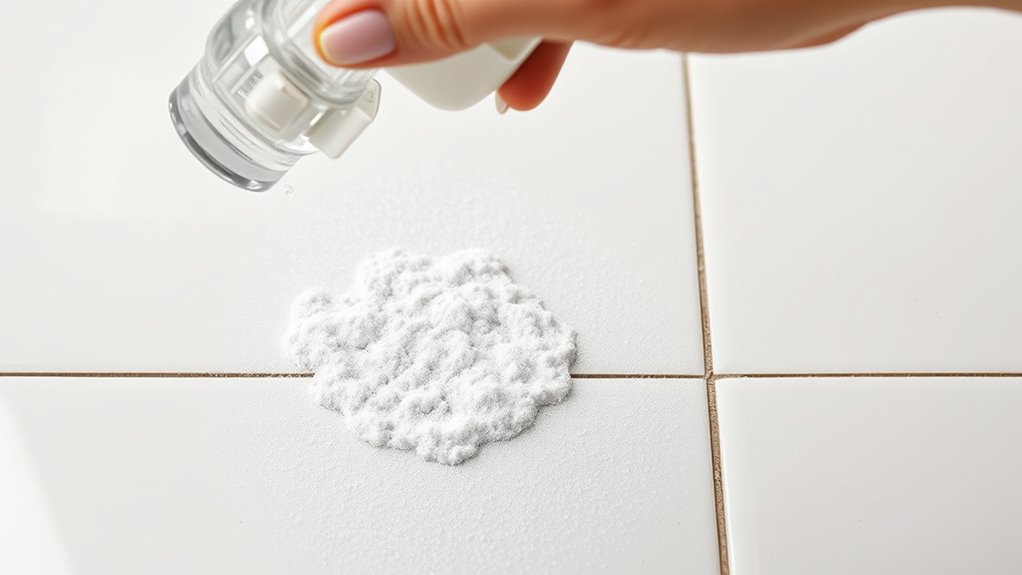
- Sprinkle baking soda directly onto grout lines, then spray vinegar to create a fizzing reaction that loosens grime.
- Let the baking soda and vinegar mixture sit for 5 to 10 minutes to enhance cleaning effectiveness.
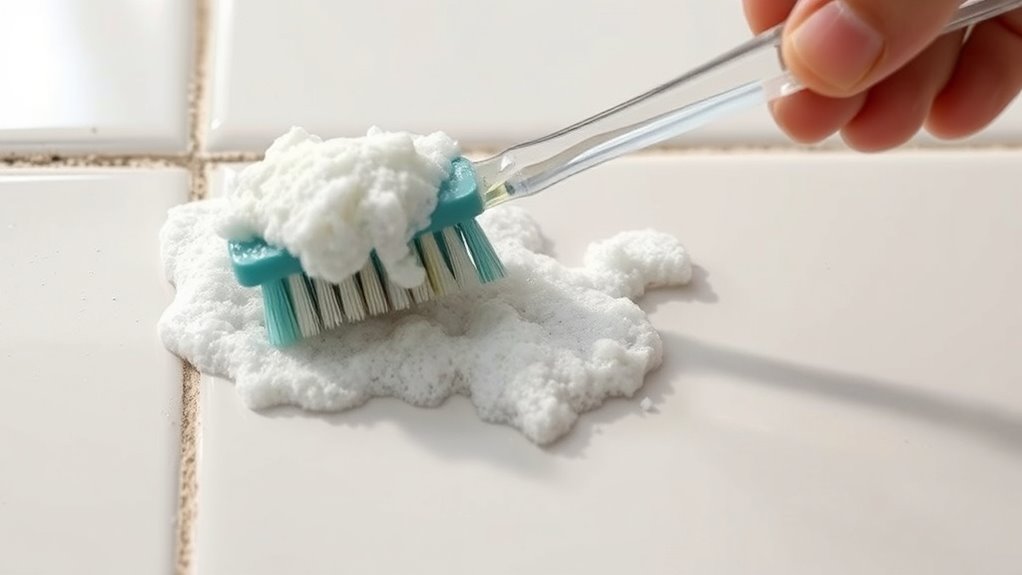
- Use a scrubbing brush or toothbrush to vigorously scrub the grout, removing embedded dirt and stains.
- Wipe the area with a damp cloth, rinse with clean water, and dry to reveal bright, clean grout.
- Regular deep cleaning with baking soda and vinegar maintains grout brightness and prevents stain buildup.
Have you ever noticed how grout lines can turn grimy over time, even with regular cleaning? It’s frustrating to see those once-clean lines develop stains and discoloration, making your entire space look dull. Fortunately, you don’t need harsh chemicals to restore their brightness. Natural cleaning solutions, like baking soda and vinegar, are powerful, eco-friendly options for grout stain removal and deep cleaning. They’re affordable, readily available, and gentle on your surfaces, making them perfect for revitalizing your tile without damage.
To start, gather your supplies: baking soda, white vinegar, a spray bottle, a scrubbing brush or old toothbrush, and a damp cloth. Begin by sprinkling a generous layer of baking soda directly onto the grout lines. Baking soda acts as a gentle abrasive that helps lift dirt and stains without scratching or harming your tiles. Once you’ve spread the baking soda, pour vinegar into your spray bottle and spritz it over the baking soda-covered grout. As the vinegar reacts with the baking soda, you’ll notice fizzing—that’s a sign it’s breaking down grime and lifting stains from the porous grout surface.
Gather baking soda, vinegar, and a brush to naturally refresh and clean your grout lines.
Let the mixture sit for about 5 to 10 minutes. During this time, the natural chemical reaction works to loosen dirt, mold, and stains embedded in the grout. Afterward, use your scrubbing brush or toothbrush to scrub along the grout lines vigorously. The combination of baking soda’s abrasiveness and vinegar’s acidity makes short work of stubborn stains, restoring the grout’s original color. If you encounter particularly tough spots, apply a bit more baking soda directly onto the stain and repeat the vinegar spray to boost cleaning power.
Once you’ve scrubbed thoroughly, wipe the area with a damp cloth to remove any residual paste and loosened grime. For best results, rinse the tiles with clean water and dry with a towel or microfiber cloth. This natural cleaning method not only removes surface dirt but also targets deeper stains, giving your grout a fresh, clean look. Regular use of this technique can prevent stains from setting in and keep your grout looking bright and new.
Frequently Asked Questions
Can Baking Soda and Vinegar Damage My Grout?
Yes, baking soda and vinegar can damage your grout if you’re not careful. The chemical reactions between these substances might cause a grout color change or weaken the grout over time, especially if it’s older or delicate. Always test a small area first and avoid excessive scrubbing. Using them occasionally and rinsing thoroughly helps prevent damage, ensuring your grout stays clean without risking harm.
How Often Should I Deep-Clean My Grout?
You should deep-clean your grout every 6 to 12 months to maintain its appearance and prevent mold buildup. Regular cleaning helps with grout maintenance, keeping it fresh and clean. If you notice stains or build-up sooner, don’t hesitate to clean more often. Consistent cleaning frequency guarantees your grout stays in good condition and prolongs its lifespan. Use gentle solutions like baking soda and vinegar to avoid damage during your cleaning routine.
Are There Any Safety Precautions When Using These Ingredients?
Are you aware of the potential hazards? When using baking soda and vinegar, always consider ingredient safety and be cautious of chemical reactions that might cause splattering. Wear gloves and guarantee good ventilation to avoid skin irritation or inhaling fumes. Never mix these ingredients in airtight containers, as the reaction can cause pressure buildup. By taking these precautions, you keep your cleaning safe and effective, protecting yourself and your home.
Will This Method Remove Heavy Mold or Mildew?
Yes, this method can help remove light mold or mildew, but for heavy growth, you should consider stronger solutions like bleach. Baking soda and vinegar are effective for mold removal and mildew prevention when used regularly. Keep in mind, guarantee proper ventilation and wear gloves to stay safe. For persistent or large mold issues, consult a professional to prevent health risks and ensure thorough cleaning.
Can I Use This Cleaning Method on All Tile Types?
Tile types tend to tolerate this technique, but you should verify cleaning compatibility before proceeding. Different surfaces like ceramic, porcelain, and glass usually fare well, while natural stone tiles such as marble or limestone might be sensitive to acids in vinegar. Always test a small, hidden area first to avoid damage. By being cautious, you can confidently cleanse your tiles without risking harm, ensuring a sparkling, spotless surface.
Conclusion
By now, you see how simple ingredients like baking soda and vinegar can transform your grout. Don’t worry about the fizz; it’s just cleaning magic happening! Imagine your tiles shining like new, grout lines spotless and fresh. With this easy method, you won’t need harsh chemicals or costly tools. Just a little scrubbing and patience, and you’ll enjoy a beautifully clean space. So go ahead—give it a try and enjoy the sparkling results!