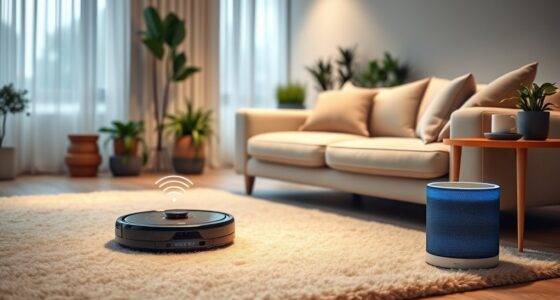
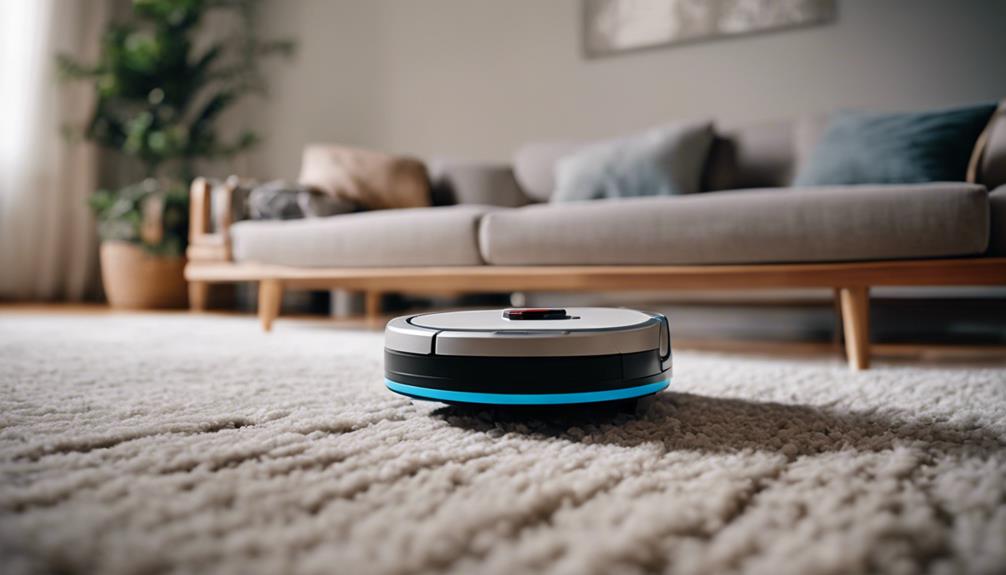
To effectively operate a robot vacuum cleaner, begin by placing it on a level surface next to a wall and making sure the charging dock is set up in a similar manner. Before starting the cleaning process, remove any clutter, loose cables, and wet spills from the area to improve efficiency. Turn on the vacuum using either the remote or manual start button after confirming that it is fully charged. To keep it working at its best, clean the filters and brushes regularly, empty the bin after each cleaning cycle, and correctly position it on the docking station. Experiment with different cleaning modes such as Clean, Spot, and Scheduled Cleaning to meet your specific needs. Finally, for any issues or safety concerns, refer to the manual and keep the vacuum away from stairs and water.
Key Takeaways
- Place robot on level surface against wall for efficient cleaning.
- Clear area of clutter and obstacles before activating.
- Use remote or manual start button to begin cleaning cycles.
- Regularly clean filters and brushes for optimal performance.
- Refer to manual for troubleshooting, avoid water exposure.
Setting Up Your Robot Vacuum
Before you start using your robot vacuum, make sure you set it up properly for efficient cleaning performance. Position the robot vacuum on a hard, level surface against a wall to guarantee peak charging and operation. Remember to keep it at least 4 feet away from stairwells to prevent any potential falls or accidents during cleaning sessions. Clear the cleaning area of clutter, loose cables, and wet substances to allow the robot vacuum to move freely and efficiently.
To activate the cleaning cycles, you can use the remote control or the manual start button on the robot vacuum itself. Additionally, don't forget to set the clock following the manufacturer's instructions.
Utilize the home base for overnight charging and storage, ensuring your robot vacuum is always ready for the next cleaning session. Setting up your robot vacuum correctly from the start will enhance its performance and make your cleaning experience hassle-free.
Charging and Positioning Correctly
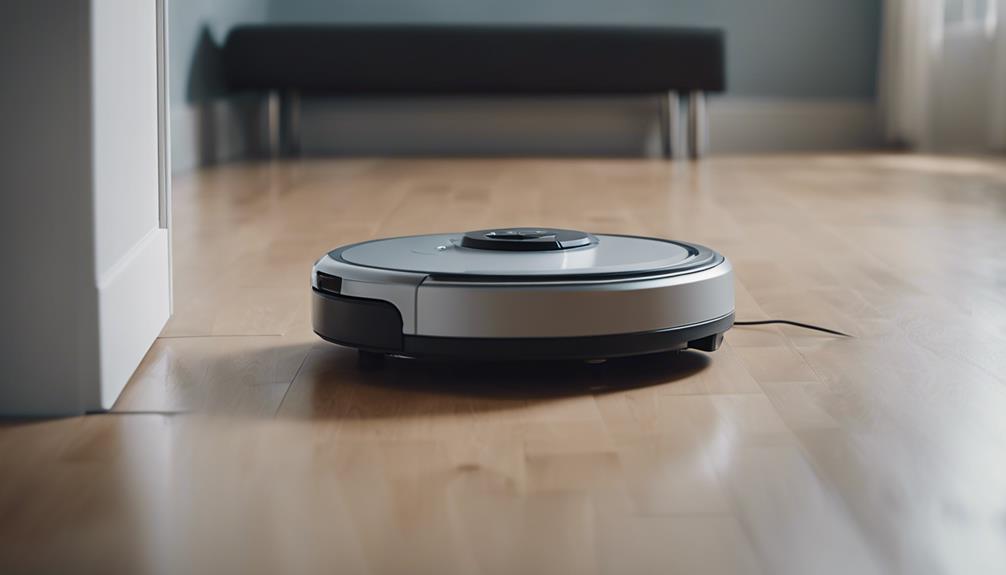
For peak performance, position the charging dock on a hard, level surface against a wall when setting up your robot vacuum cleaner. This guarantees that your Roomba can easily find its way back for charging after completing its cleaning cycle.
Here are some essential tips for charging and positioning your robot vacuum correctly:
- Optimal Placement: Confirm the charging dock is at least 4 feet away from stairs or obstacles to prevent your Roomba from falling or getting stuck during its return.
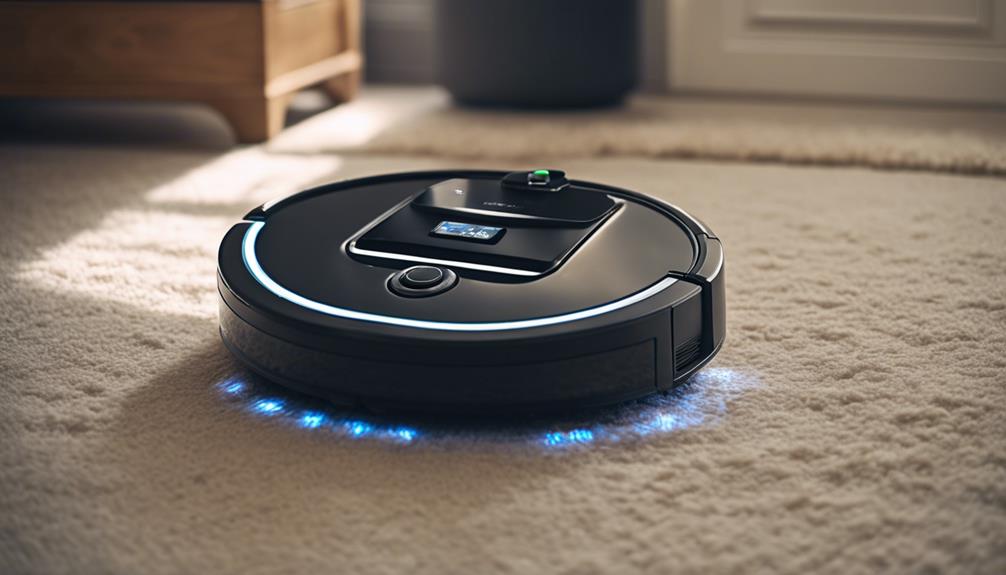
- Charging Status: Monitor Roomba's battery icon, which pulses amber while charging and turns green when fully charged, allowing for easy monitoring of its charging status.
- Battery Maintenance: Charge Roomba between cleaning cycles to maintain its battery life and overall efficiency, ensuring it's always ready for the next cleaning session.
- Operation Efficiency: Properly positioning and charging your Roomba guarantees uninterrupted operation and efficient cleaning cycles, providing you with a consistently clean home.
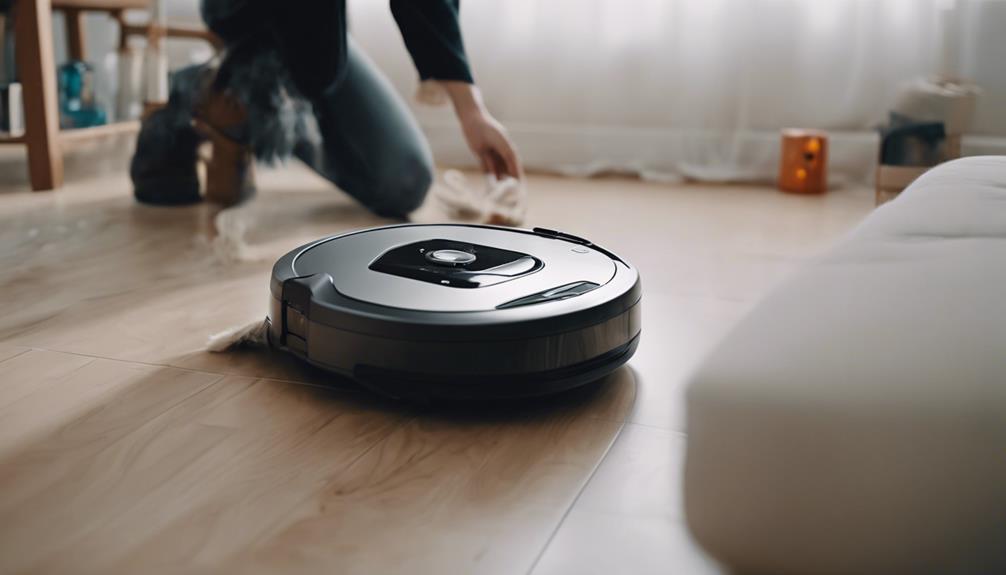
Clearing Clutter Before Cleaning
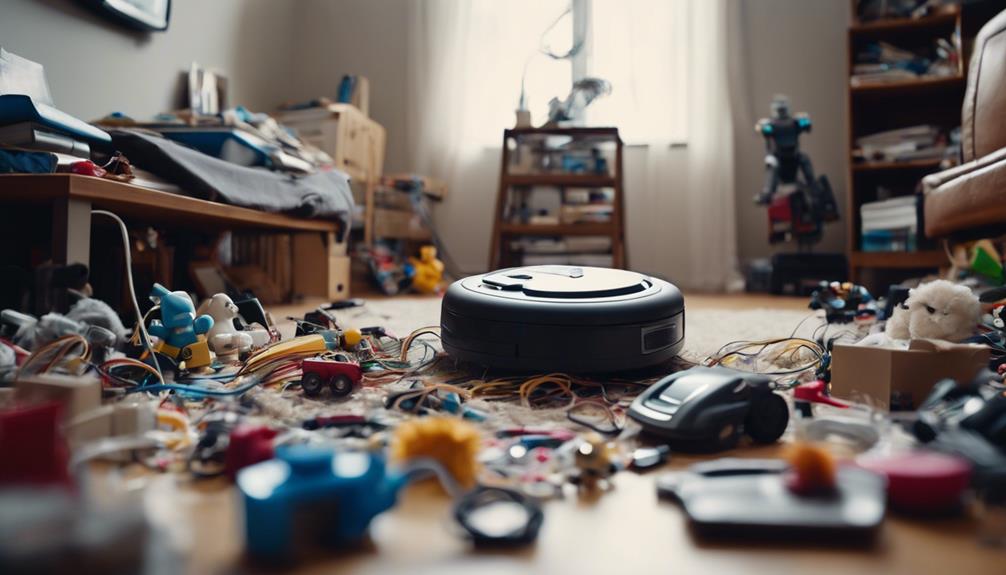
Prior to starting your robot vacuum, clearing clutter from the floor is crucial. Items like cables, toys, and shoes can obstruct its path and reduce efficiency.
Ensuring a clutter-free environment allows the vacuum to move freely and cover more ground, optimizing its cleaning performance.
Pre-Cleaning Setup
For optimal performance, clear away clutter and loose cables from the floor before starting the robot vacuum cleaner. This pre-cleaning setup guarantees smooth operation and prevents any hindrances during the cleaning process.
Here are some steps to follow before initiating the robot vacuum:
- Remove Obstacles: Pick up toys, shoes, and any other items on the floor that could obstruct the robot vacuum's path.
- Check for Wet Spills: Confirm the area is free of any spills or wet substances that could damage the robot vacuum.
- Set Up Virtual Walls: Use virtual walls to create boundaries that the robot vacuum shouldn't cross, preventing it from entering restricted areas.
- Activate the Robot: Use the remote control or manual start option to turn on the robot vacuum and begin the cleaning cycle.
Room Preparation Tips
Clearing clutter before cleaning guarantees peak performance of your robot vacuum cleaner by providing a smooth and obstacle-free environment for efficient navigation.
Make sure to remove any loose cables, small objects, or wet substances from the floor to prevent hindering the robot vacuum's movement. By creating a clear path for the robot vacuum, you secure that it can operate without interruptions, leading to a more thorough cleaning cycle.
Eliminating potential hazards like toys or shoes also helps prevent the robot vacuum from getting stuck during its operation. Remember, a clutter-free environment allows the robot vacuum to navigate smoothly and clean effectively.
If you have areas where you don't want the robot vacuum to venture into, consider using virtual walls to create boundaries that the device won't cross. This simple step can further enhance the efficiency of your robot vacuum cleaning routine.
Maximizing Cleaning Efficiency
Enhance your robot vacuum cleaner's performance by decluttering your space before each cleaning session to guarantee peak efficiency.
Here's how clearing clutter can maximize cleaning efficiency:
- Prevent Stalling: Eliminate loose cables and obstacles from the floor to avoid the vacuum getting stuck, ensuring a continuous cleaning process.
- Smooth Navigation: A clutter-free space allows the robot vacuum to maneuver smoothly, covering more area efficiently without interruptions.
- Avoid Tangles: Removing small objects like toys or shoes minimizes the risk of the vacuum getting tangled or blocked, maintaining uninterrupted cleaning.
- Thorough Cleaning: With a clear floor surface, the robot vacuum can effectively reach all areas, ensuring a detailed cleaning session that leaves no spot untouched.
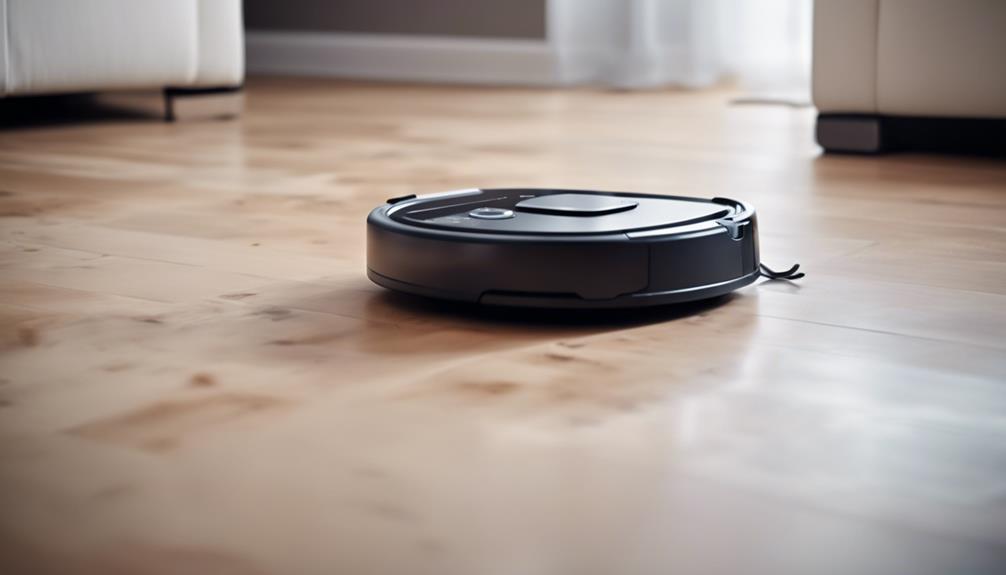
Activating Your Robot Vacuum
To activate your robot vacuum, start by ensuring it's fully charged and on the docking station. Press the power button or use the remote control to turn it on, then set your cleaning preferences like spot cleaning or scheduled routines.
Before beginning, clear the area of any obstacles for a smooth cleaning cycle.
Powering on the Vacuum
Locate the power button on your robot vacuum or use the remote control to activate it for cleaning. Once you've found the power button, press it once to turn on the vacuum and get it ready for operation. Next, you can use the remote control to set the cleaning mode and schedule the cleaning time for your robot vacuum cleaner. If you prefer hands-free operation, many robot vacuum cleaners also come with smartphone app connectivity, allowing you to control and monitor its cleaning progress from anywhere. Once your robot vacuum cleaner is set up and ready to go, simply sit back and let it do the work of keeping your floors clean.
Here are some essential steps to follow when powering on your robot vacuum:
- Confirm the vacuum is on a clear surface: Before powering on the device, make sure it's placed on a clutter-free area to prevent any obstacles during the cleaning process.
- Check for setup requirements: Some vacuum cleaners might need initial setup tasks such as setting the clock or connecting to a home base for charging.
- Follow manufacturer's instructions: Each robot vacuum may have specific details on how to power it on effectively, so refer to the user manual for precise guidance.
- Prepare for efficient cleaning: By following the correct power-on procedure, you set the stage for your robot vacuum to operate smoothly and efficiently.
Setting Cleaning Schedule
When activating your robot vacuum, setting a cleaning schedule is crucial for maintaining consistent and efficient floor cleaning in your home. Access the control panel or app interface to choose the days and times for the robot vacuum to clean, aligning with your household's routine. Make sure the robot vacuum is fully charged to avoid interruptions during its scheduled cleaning cycles. Adjust the cleaning frequency based on factors such as pet hair accumulation and foot traffic. It's vital to customize the cleaning schedule to meet specific cleaning needs for different areas of your home. Regularly monitor and update the schedule to adapt to any changes in your routine or cleaning requirements.
| Setting Cleaning Schedule Tips |
|---|
| Access control panel or app interface |
| Choose days and times for cleaning |
| Adjust frequency based on needs |
Recharging and Emptying the Bin
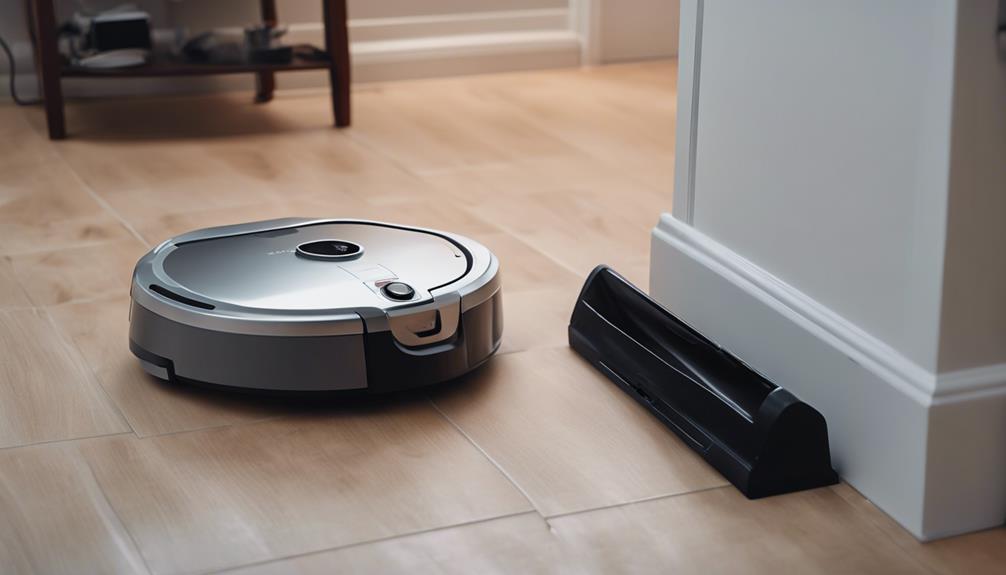
Guarantee proper alignment when placing your robot vacuum cleaner on the docking station for recharging. This guarantees efficient charging, keeping your Roomba ready for the next cleaning session.
Remember to:
- Monitor Charging Status: Watch for the battery icon on your robot vacuum, which will pulse amber while charging and turn green when fully charged.
- Empty the Bin: After each cleaning cycle, empty the bin to maintain peak performance and suction power. This simple step ensures your Roomba operates at its best.
- Clean Filter and Brushes: Regularly cleaning the filter and brushes helps prevent clogs and maintains efficiency. This maintenance task is crucial for the long-term performance of your robot vacuum.
- Long-Term Storage: When storing your robot vacuum for an extended period, keep it plugged in to ensure the battery remains charged and ready for use. This practice helps prolong the battery life and keeps your Roomba in top condition.
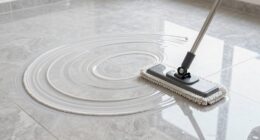
Maintaining Filters and Brushes
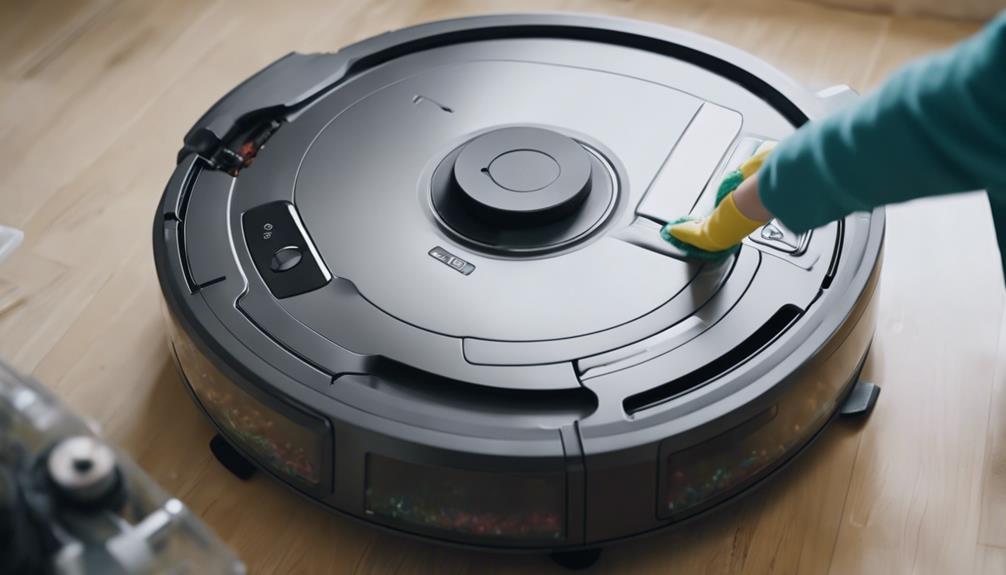
Regularly cleaning and replacing the filters in your robot vacuum cleaner is vital for ensuring peak performance and efficiency. Filters trap dust and allergens, preventing them from circulating back into your home. To maintain your robot vacuum effectively, it's essential to also clean the brushes regularly. Hair, dust, and debris can accumulate on the brushes, leading to clogs and reducing suction power. By following the manufacturer's recommendations for filter replacement intervals and keeping the brushes free from obstructions, you can guarantee your robot vacuum operates at its best.
To help you stay on top of filter and brush maintenance, here's a handy guide:
| Filter Maintenance Tips | Brush Maintenance Tips | Additional Steps |
|---|---|---|
| Clean or replace filters according to manufacturer's instructions | Remove hair and debris from brushes to prevent clogs | Use a small tool to untangle any trapped fibers |
| Check for blockages in the filter housing | Check for wear and tear on brushes and replace if necessary | Regularly inspect the overall condition of filters and brushes |
| Vacuum the filter to remove any trapped dirt | Use a brush or tool to clean the brush roll thoroughly | Follow a maintenance schedule to keep your robot vacuum in top condition |
Utilizing Different Cleaning Modes

To optimize cleaning efficiency, a robot vacuum offers various cleaning modes to suit different needs and preferences.
- Clean Mode:
This mode adjusts the cleaning time based on the room's size, ensuring thorough cleaning while optimizing battery usage.
- Spot Mode:
Designed for intensive cleaning, this mode targets specific areas with concentrated dirt and debris, providing a deeper clean in localized spots.
- Scheduled Cleaning Mode:
Users can preset specific cleaning times for the robot vacuum to operate autonomously, allowing for hassle-free cleaning even when you're away.
- Virtual Walls:
These barriers prevent the robot vacuum from crossing into restricted areas, helping define cleaning boundaries within a room. Available in manual and auto-on types, virtual walls offer flexibility in controlling the robot vacuum's cleaning path.
Using Virtual Walls Effectively
To effectively use virtual walls with your robot vacuum, start by strategically placing them in areas you want to block off, like around delicate items or pet bowls.
Set boundary zones using the virtual walls to guide your robot vacuum and maximize its cleaning efficiency.
Virtual Walls Placement Tips
Consider strategically placing virtual walls to effectively guide your robot vacuum cleaner and prevent it from entering restricted areas with delicate items or cords. Here are some tips to help you optimize the use of virtual walls:
- Position Perpendicularly:
Place virtual walls perpendicular to the direction you want to block off, creating a clear boundary for the robot vacuum to respect.
- Signal Emission:
Remember that virtual walls emit an infrared signal that the robot vacuum detects, signaling it to avoid crossing into restricted areas.
- Avoid Delicate Items:
Use virtual walls to guide your robot vacuum around pet food bowls, fragile decor, or specific rooms you want to keep off-limits, ensuring they remain undisturbed.
- Optimize Cleaning:
Setting Boundary Zones
When setting boundary zones using virtual walls for your robot vacuum cleaner, establish clear communication between the device and the robot to set effective cleaning boundaries.
Virtual walls are essential tools that utilize infrared signals to create invisible barriers, guiding the robot vacuum and preventing it from entering specific areas. These barriers are particularly useful for keeping the robot vacuum away from delicate objects, pet areas, or designated rooms where cleaning isn't required.
Ensure that your robot vacuum is compatible with virtual walls, as some models come with virtual walls included, while others may need to be purchased separately.
Maximizing Cleaning Efficiency
For maximizing cleaning efficiency with your robot vacuum cleaner, strategically utilizing virtual walls is key to directing its cleaning path effectively. Virtual walls serve as invisible barriers that guide your robot vacuum along desired routes, optimizing its performance.
Here are some tips for using virtual walls effectively:
- Establish Boundaries: Set up virtual walls to create no-go zones, preventing the robot vacuum from entering restricted areas like under furniture or around delicate objects.
- Direct Cleaning Paths: Use virtual walls to guide the robot vacuum along specific cleaning paths, ensuring thorough coverage of designated areas without unnecessary detours.
- Easy Setup: Virtual walls communicate with the robot vacuum using infrared signals and are simple to install, allowing you to customize cleaning zones effortlessly.
- Enhanced Focus: By strategically placing virtual walls to block off areas like pet bowls or cords, you can make certain that the robot vacuum concentrates on cleaning high-traffic zones effectively.
Troubleshooting Tips
To troubleshoot issues with your Roomba, refer to the troubleshooting chart in the owner's manual for effective solutions. Roomba uses a combination of beeps and blinking lights to communicate problems it encounters during operation. It's important not to submerge or spray water on your Roomba, as this could lead to damage to its internal components. When cleaning your Roomba, always use a dry cloth to prevent any moisture-related issues.
| Issue | Solution |
|---|---|
| Roomba not turning on | Check power source and make sure it's properly connected. |
| Roomba getting stuck | Clear any obstacles in its path and verify proper room layout. |
| Roomba not charging | Confirm charging dock connections and check power outlet. |
| Roomba experiencing errors | Reset Roomba by pressing and holding the clean button. |
Remember to refer to the owner's manual for detailed troubleshooting steps and always prioritize safety by following the outlined instructions.
Prioritizing Safety and Maintenance

Guarantee your robot vacuum's safety and peak performance by following essential maintenance tasks. To ensure smooth operation and prolong the life of your virtual assistant, here are some key maintenance tips to keep in mind:
- Avoid Hazards: Keep your robot vacuum away from stairs, water, and wet substances to prevent accidents and damage to the device.
- Regular Cleaning: Empty the bin after each use and clean the filter and brushes weekly to maintain peak performance.
- Proper Storage: Store the robot vacuum on the charger for long-term storage to maintain battery health and readiness for the next cleaning cycle.
- Troubleshooting Guide: Refer to the troubleshooting chart in the owner's manual to address any issues indicated by beeps and blinking lights promptly for safe operation.
Frequently Asked Questions
How to Operate a Robot Vacuum Cleaner?
To operate a robot vacuum cleaner, turn it on, set virtual walls if needed, clear the floor, choose a cleaning mode, and monitor its progress. Empty the dustbin as necessary. Enjoy a clean home with ease! The robot vacuum cleaner can be programmed to run on a regular schedule, keeping your home spotless without you having to lift a finger. Its sensors can detect stairs and obstacles, preventing it from falling or getting stuck. With its efficient cleaning technology, the robot vacuum cleaner can remove dirt, dust, and pet hair from all types of floors, leaving your home looking and feeling fresh. Say goodbye to the days of tedious vacuuming and hello to the convenience of a robot vacuum cleaner.
How to Operate a Robot Roomba?
To operate a robot Roomba, charge it on a hard surface with the Home Base overnight. Set up Virtual Walls for boundaries, clear clutter, and make sure no wet substances are on the floor. Choose Clean or Spot mode and use provided accessories for best performance.
Do Lights Need to Be on for Robot Vacuum?
Lights don't need to be on for a robot vacuum to clean effectively. Most models can navigate well in varying light conditions. They might even have low-light capabilities. Let your robot vacuum roam freely in the dark!
What Is the Best Cleaning Mode for a Robot Vacuum?
For best performance, choose the cleaning mode that suits your needs. Use Clean mode for thorough coverage, Spot mode for intense cleaning in specific areas, or Scheduled mode for preset convenience. Virtual walls can block off restricted areas.
Are the Steps for Opening a Robot Vacuum Cleaner Similar to Operating It?
If you’re wondering if the steps for opening a robot vacuum cleaner are similar to operating it, check out a stepbystep robot vacuum opening tutorial. This tutorial can guide you through the process of accessing the internal components of your robot vacuum, providing insight into its operation and maintenance.
Conclusion
To sum up, operating a robot vacuum cleaner is a breeze with the right knowledge and preparation. By following the simple steps outlined in this guide, you can guarantee your robot vacuum runs smoothly and efficiently.
Remember to keep your space clutter-free, use virtual walls when needed, and regularly maintain your device for peak performance. With a little effort and know-how, you can sit back, relax, and let your robot vacuum do the dirty work for you.
Happy cleaning!