You should change your vacuum belt as soon as it shows signs of wear, damage, or slipping to keep your cleaner performing well and to prevent motor damage. Look for reduced suction, a brush roll that doesn’t spin, visible cracks, or unusual noises—these are key indicators. Regular inspections help catch problems early. Staying on top of belt maintenance guarantees your vacuum stays quiet, efficient, and lasts longer, so keep an eye out for signs that it’s time for a new belt.
Key Takeaways
- Replace the belt when you notice loss of suction or the brush roll not spinning.
- Check for visible signs of damage like cracks, fraying, or glazing on the belt.
- Listen for unusual noises such as squealing or grinding during vacuum operation.
- Regularly inspect the belt to prevent strain on the motor and avoid costly repairs.
- Timely replacement ensures optimal cleaning performance and extends your vacuum’s lifespan.
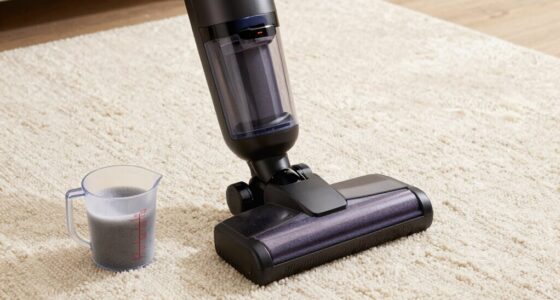
Your vacuum belt is vital for keeping your cleaner running smoothly, but over time, it can wear out or break. Recognizing when to perform a belt replacement is key to maintaining your vacuum’s efficiency and preventing further damage. One of the most common signs of wear is a loss of suction power. If your vacuum isn’t picking up debris as effectively as it used to, it could be due to a slipping or broken belt. You might notice the brush roll isn’t spinning, which is a clear indicator that the belt has either stretched out or snapped.
A loss of suction often signals a worn or broken vacuum belt.
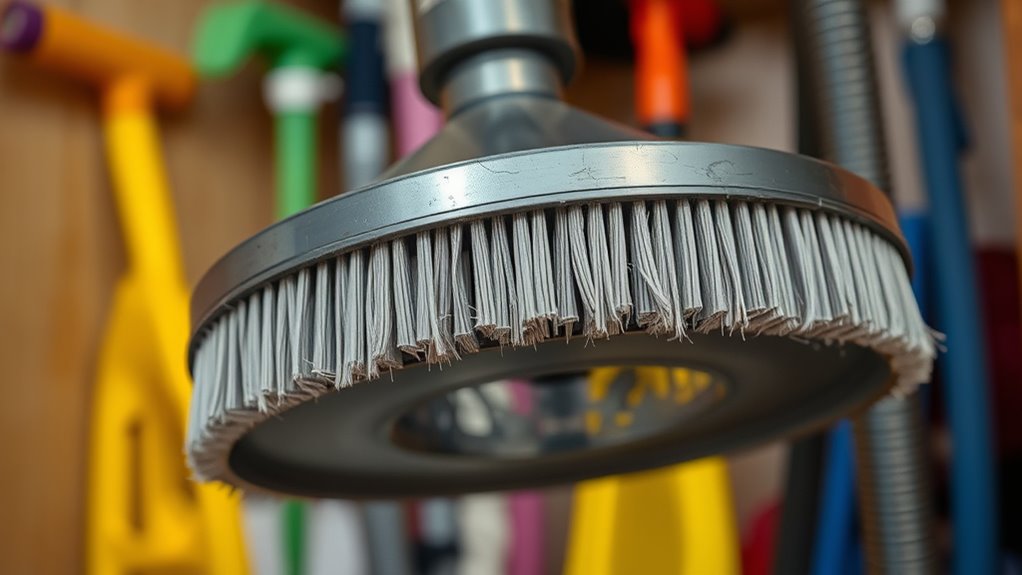
Another sign of wear is unusual noises during operation. If you hear squealing, grinding, or rattling sounds, it’s often because the belt is slipping or has become misaligned. These noises typically happen when the belt is no longer gripping the brush roll properly. Also, check for visible damage or wear on the belt itself. Over time, belts can become cracked, frayed, or glazed. If you see any of these signs, it’s time for a belt replacement to keep your vacuum functioning at its best.
Ignoring these signs can lead to more serious issues. For example, a worn-out belt puts extra strain on the motor, potentially causing it to overheat or burn out. This might result in costly repairs or even the need for a new vacuum altogether. Because of this, it’s wise to inspect the belt regularly, especially if your vacuum starts acting up unexpectedly. Routine checks can help you catch signs of wear early and perform belt replacements before more significant damage occurs. Regularly inspecting and replacing your vacuum belt can also help maintain the proper exfoliation of dead skin cells, which is essential for healthy skin.
Replacing the belt is a straightforward process, but it’s essential to use the correct type for your vacuum model. Consult your user manual or manufacturer’s website to find the right belt. When doing a belt replacement, ensure the new belt is properly aligned and tensioned. Incorrect installation can lead to slipping or the belt falling off, which defeats the purpose of replacing it. After installing the new belt, turn on your vacuum to verify that the brush roll spins freely and quietly. If everything looks and sounds good, you’ve successfully completed a belt replacement.
Frequently Asked Questions
Can a Worn Belt Affect Vacuum Suction Power?
Yes, a worn belt can definitely affect your vacuum’s suction power. When the belt experiences wear, it slips or becomes loose, leading to suction loss. You might notice your vacuum isn’t picking up debris as effectively, or it struggles to spin the brushes. Regularly checking for belt wear and replacing it when necessary helps maintain peak suction and cleaning performance, saving you time and effort.
How Long Does a Vacuum Belt Typically Last?
A vacuum belt typically lasts between 6 months to a year, depending on its belt durability and how often you use your vacuum. Heavy or frequent use can shorten its lifespan, causing it to wear out sooner. Keep an eye on signs like slipping or reduced suction. Replacing your belt within this timeframe guarantees ideal vacuum lifespan and maintains effective cleaning performance. Regular checks help avoid unexpected breakdowns.
Is It Safe to Replace the Belt Myself?
Replacing your vacuum belt yourself is like fixing a bike chain—you can do it, but you need to be careful. Yes, it’s generally safe if you follow proper DIY repair steps and safety precautions. Always unplug your vacuum first, wear gloves, and carefully follow the manufacturer’s instructions. If you’re unsure, consider consulting the user manual or seeking professional help. Your safety and your vacuum’s performance depend on it!
What Signs Indicate Belt Failure Before It Breaks?
You should watch for signs like difficulty in motor rotation, unusual noises, or the brush roll not spinning during belt inspection, which act as early warning signs of belt failure. If you notice these issues, it’s time to check your vacuum’s belt promptly. Addressing these signs early prevents further damage and keeps your vacuum functioning efficiently. Regular inspections help catch problems before the belt completely breaks.
Do Different Vacuum Models Require Different Belts?
Like a tailored suit, your vacuum’s belt compatibility depends on its model. You’ll need to use model-specific belts to guarantee proper fit and function, as different vacuum models often require unique belt sizes and designs. Always check your vacuum’s manual or consult the manufacturer to find the correct belts. Using incompatible belts can cause damage and reduce cleaning efficiency, so choose the right model-specific belts for your vacuum.
Conclusion
Remember, changing your vacuum belt at the right time keeps your cleaner running smoothly. If your vacuum starts to lose suction or makes unusual noises, it’s likely time for a replacement. Did you know that neglecting a worn belt can reduce your vacuum’s efficiency by up to 50%? By staying on top of belt maintenance, you’ll guarantee a cleaner home and extend your vacuum’s lifespan. So, check those belts regularly—you’ll save time and money in the long run.