After a renovation, start by thoroughly preparing your vacuum—check filters, clear blockages, and opt for a model with a HEPA filter to trap fine dust. Use appropriate attachments like crevice tools and upholstery brushes for hard-to-reach spots, and remove large debris first. Vacuum systematically across all surfaces, including carpets and corners. For a deeper clean, follow proper maintenance tips. Keep going to discover how to optimize your effort and breathe cleaner air.
Key Takeaways
- Use a vacuum with a HEPA filter and replace filters regularly to trap fine dust effectively.
- Clear the area of large debris and move furniture to ensure thorough cleaning of all surfaces.
- Attach crevice and brush tools to target corners, edges, and hard-to-reach spots for comprehensive dust removal.
- Vacuum systematically in a pattern, focusing on corners, baseboards, and textured surfaces.
- Follow up with damp wiping and air purifiers to remove residual dust and improve air quality.

Shark | Upright Vacuum Cleaner | Navigator Lift-Away | Swivel Steering | HEPA Filter | Vacuum for Pet Hair | Crevice Tool & Dusting Brush Included | For Carpets & Hard Floors | White/Silver | NV356E
LIFT-AWAY FUNCTIONALITY: lift away the detachable pod and easily clean above-floor areas like stairs, furniture, and more
As an affiliate, we earn on qualifying purchases.
As an affiliate, we earn on qualifying purchases.
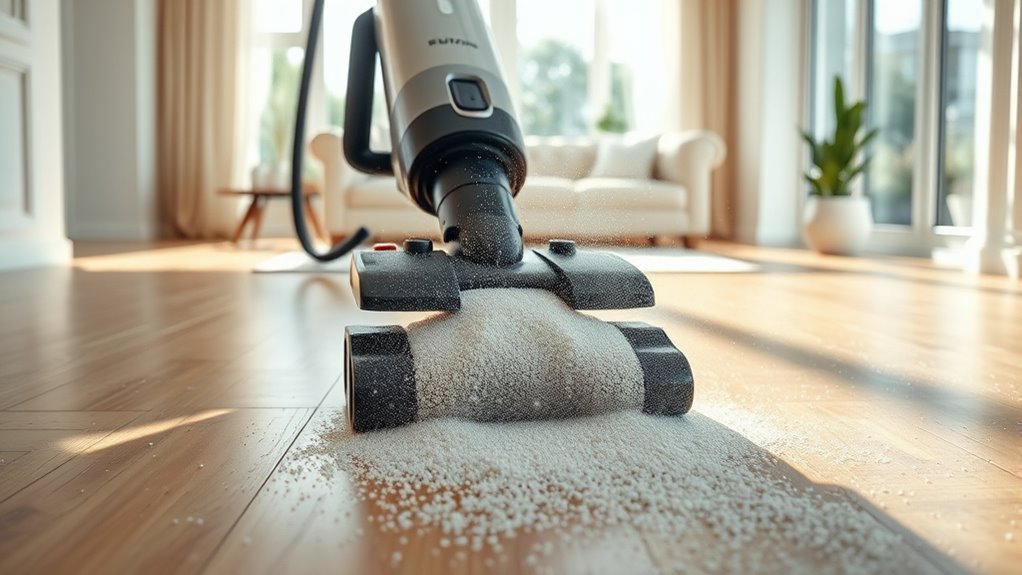
Preparing Your Vacuum Cleaner for Post-Renovation Cleanup
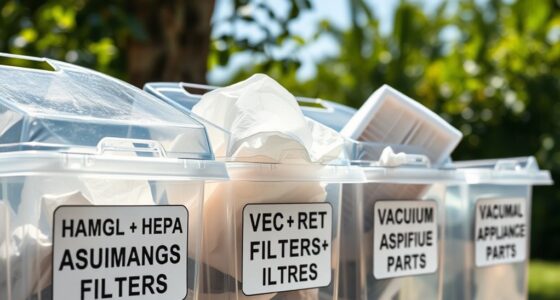
Before you begin vacuuming after renovations, it’s essential to prepare your vacuum cleaner to handle the dust and debris effectively. Start by checking the vacuum filter; a clean, high-quality filter ensures ideal airflow and prevents fine dust from clogging the machine. Replace or clean the filter if it appears dirty or clogged. Next, test the suction power; a sudden drop indicates that the filter or hose may be blocked. Clear any obstructions to restore full suction. Consider using a vacuum with a HEPA filter for better dust containment. Adjust the settings to the highest suction level suitable for your flooring type. Properly prepared, your vacuum will perform better, capturing more dust and debris efficiently, making your post-renovation cleanup faster and more effective. Ensuring filter maintenance is crucial for optimal performance, especially since sound healing science suggests that sound vibrations can influence equipment performance and health. Additionally, regularly inspecting and replacing worn filters can prevent potential breast cancer symptoms from worsening due to dust exposure in your environment. Regularly checking for dust accumulation in your vacuum components can further improve its efficiency and lifespan. Incorporating proper equipment care practices can extend the longevity of your vacuum and ensure it remains effective for future cleaning needs.

EZ SPARES Vacuum Crevice Attachment Kit,Micro Cleaning Tools for Keyboard,Crevice,Car,Vents & Tight Spaces,Compatible with Most Universal 1-1/4 Inch Hose Vacuums,Computer Cleaning Kit,All in Kit
【Universal Compatibility, Instant Upgrade】Engineered to fit virtually all standard vacuum cleaners with a 1-1/4-inch (32mm) inner diameter hose…
As an affiliate, we earn on qualifying purchases.
As an affiliate, we earn on qualifying purchases.
Choosing the Right Attachments for Fine Dust Removal
Once your vacuum is properly prepared, selecting the right attachments becomes key to effectively removing fine dust left behind after renovation. HEPA filters are essential, as they trap tiny particles and prevent dust from recirculating into the air. For surfaces like upholstery and drapes, use brush attachments to loosen and lift dust without damaging fabrics. A crevice tool is useful for getting into tight corners and along baseboards where dust tends to settle. When dealing with fine dust on delicate surfaces, choose attachments that won’t scratch or cause damage. Incorporating Hyundai Tuning techniques can also inspire innovative approaches to cleaning, such as utilizing specialized tools for stubborn dust particles. Understanding Volkswagen Tuning principles can help you select the most effective tools for specific surfaces and dust types. Selecting attachments with optimized airflow ensures maximum suction efficiency, making your cleaning process more effective. Proper air filtration during vacuuming is crucial for maintaining indoor air quality and preventing dust from re-entering the environment. Combining a HEPA-filtered vacuum with the appropriate brush attachments guarantees you’ll thoroughly remove dust, improving air quality and leaving your space clean and safe.
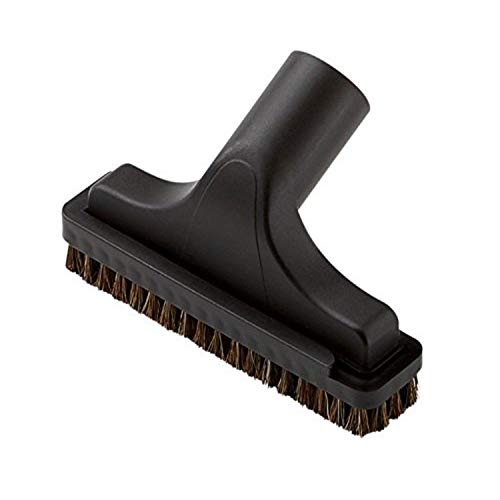
Broan-NuTone CT106G Upholstery Central Vacuum Hose Attachment, 6" x 3.96" x 1.92", Black, Gray
CENTRAL VACUUM UPHOLSTERY TOOL: Natural bristles deep clean fabric and furniture
As an affiliate, we earn on qualifying purchases.
As an affiliate, we earn on qualifying purchases.
Clearing Large Debris Before Vacuuming
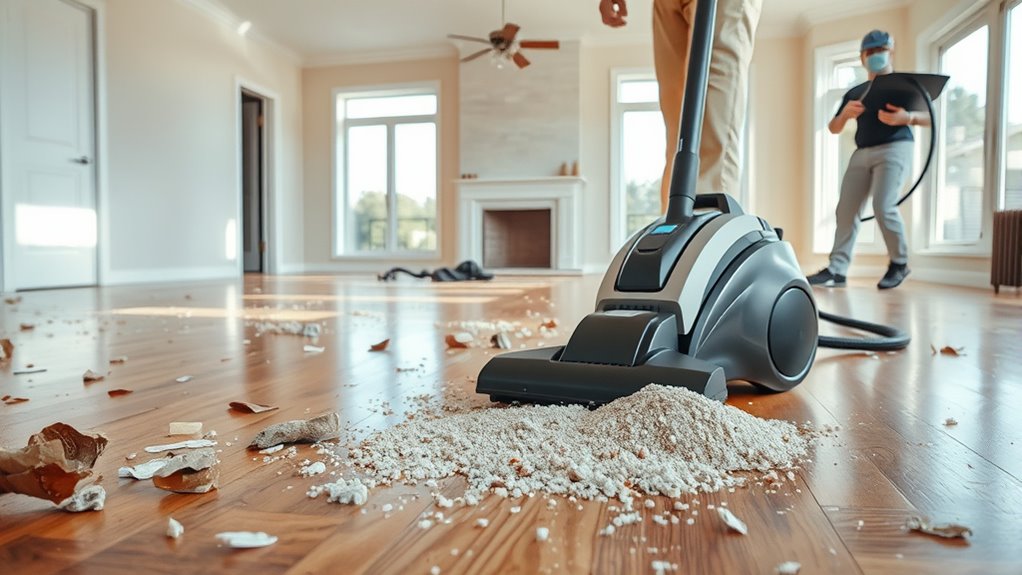
Before you start vacuuming, make sure to pick up heavy items and clear any obstructive blocks from your space. Removing these large debris will make the vacuuming process easier and prevent damage to your equipment. Taking a few extra minutes now saves you effort later, especially when ensuring your bedroom maintains its rustic charm and cozy ambiance. Natural materials like wood and linen can be delicate, so clearing obstacles helps protect these elements during cleanup. Additionally, inspecting for any water damage or structural issues beforehand can prevent further complications during the renovation cleanup process. Being aware of contrast ratio and its impact on visual clarity can also remind you to check for dust or smudges on your projectors and screens afterward. Incorporating proper surface preparation techniques can further facilitate a thorough and efficient cleaning.
Collecting Heavy Items
Heavy items and large debris can hinder your vacuuming process if left in place. To make cleaning easier, start by collecting heavy items, such as furniture or tools, and moving them to a safe area. Furniture relocation is essential to access all surfaces and corners thoroughly. Carefully lift and carry heavy items instead of dragging them, preventing damage to your floors and risking injury. Clearing these items first allows your vacuum to reach every inch without obstruction. Additionally, recognizing angel number signs can help you stay motivated and positive during the cleaning process. Taking the time to properly prepare the space before vacuuming can significantly improve your efficiency. Ensuring that the area is well-organized helps streamline the cleaning process and prevents overlooked spots. Incorporating organized storage solutions can further facilitate a smoother cleanup after renovation. Using a vacuum with automatic sensors can also help you detect remaining dust and debris more effectively. Once all heavy items are out of the way, you can focus on removing fine dust and smaller debris effectively. This step ensures a more efficient cleaning process and reduces the chances of damaging your vacuum or missing spots.
Removing Obstructive Blocks
Large debris like broken drywall, leftover wood, or construction materials can block your vacuum’s suction and make cleaning more difficult. Before you start vacuuming, clear these obstructive blocks to optimize airflow and guarantee your vacuum works efficiently. Remove large items carefully and dispose of them properly, so they don’t interfere with the suction path. Keeping the vacuum’s filter clean is also vital; a clogged filter reduces airflow and diminishes performance. Check and replace or clean the filter regularly during your cleanup process. By removing obstructions and maintaining proper filter condition, you’ll prevent suction loss and make your vacuuming more effective. This step helps you pick up fine dust more thoroughly and reduces strain on your equipment, making the entire cleanup faster and easier.

EyeVac Pro Touchless Vacuum Automatic Dustpan – Ultra Fast & Powerful – Great for Sweeping Salon Pet Hair Food Dirt Kitchen, Corded Canister Vacuum, Bagless, Automatic Sensors, 1400 Watt (Black)
FAST & POWERFUL: 1400W vacuum removes dust, pet hair, and debris instantly. Works on all hard floors including…
As an affiliate, we earn on qualifying purchases.
As an affiliate, we earn on qualifying purchases.
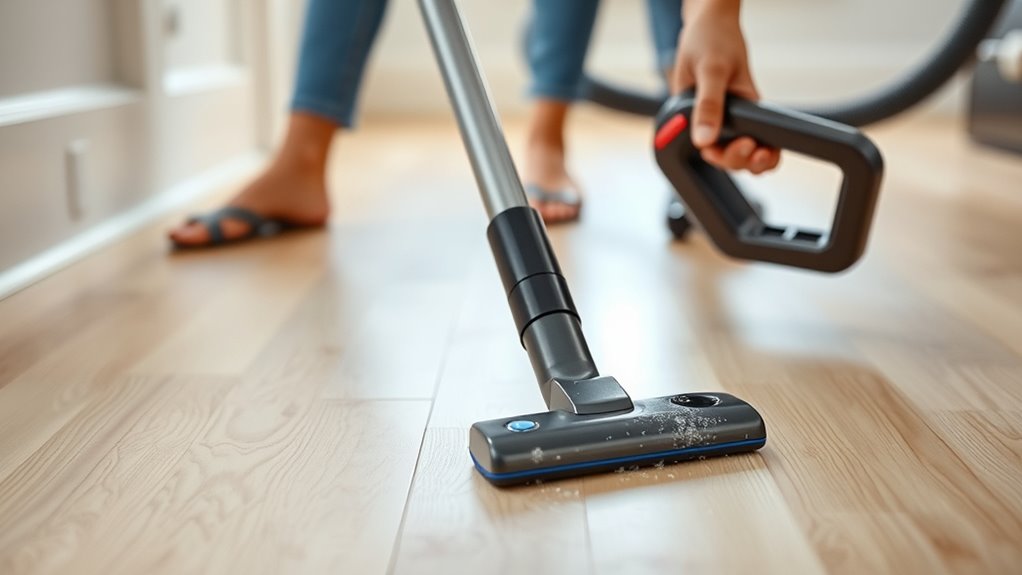
Techniques for Effective Dust Extraction From Surfaces
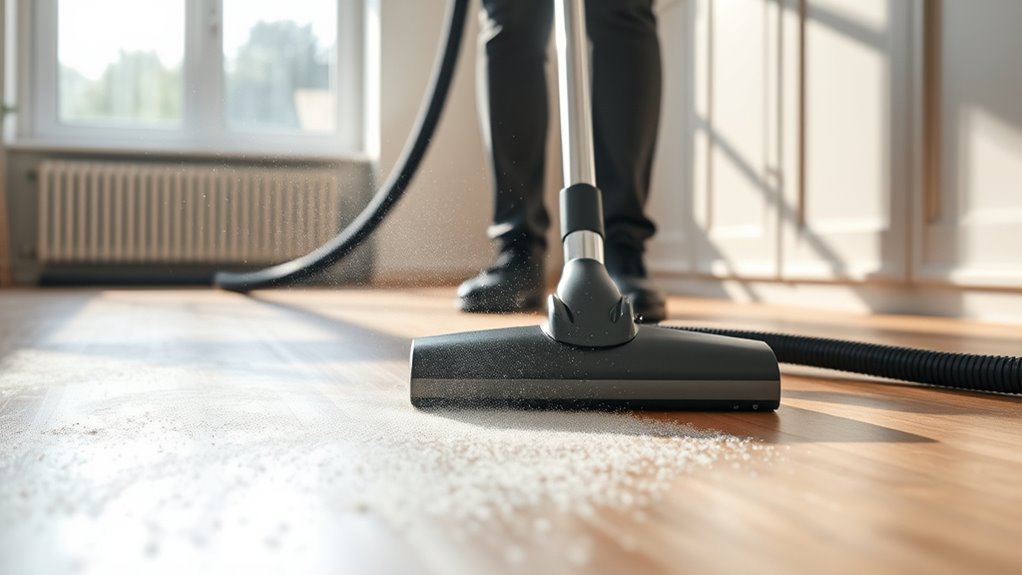
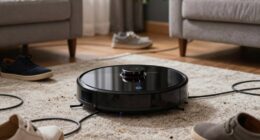
To effectively remove dust from surfaces after renovation, you need to employ targeted techniques that maximize efficiency. Start by using air filtration systems to trap airborne dust and prevent it from settling elsewhere. This helps improve air quality and reduces the spread of fine particles. Next, focus on dust containment by sealing off adjacent areas with plastic sheeting or barriers, preventing dust from migrating during cleanup. Use a vacuum with a high-efficiency particulate air (HEPA) filter to extract dust directly from surfaces, ensuring thorough removal. Always vacuum in a systematic pattern, working from top to bottom, to catch all dust. These techniques combine air filtration and dust containment to make your cleaning more effective and safer for indoor air quality.
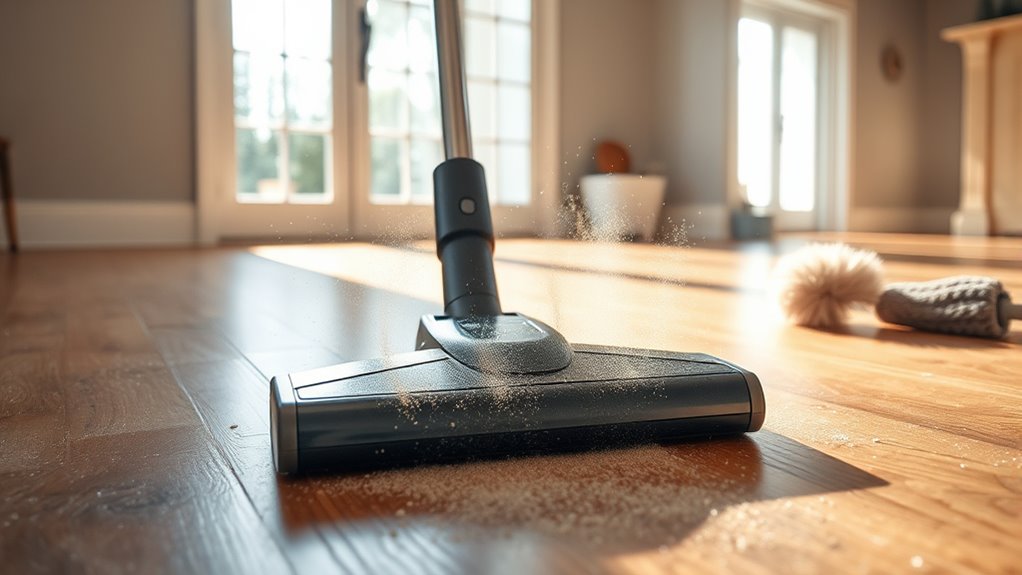
Special Tips for Vacuuming Carpets and Rugs

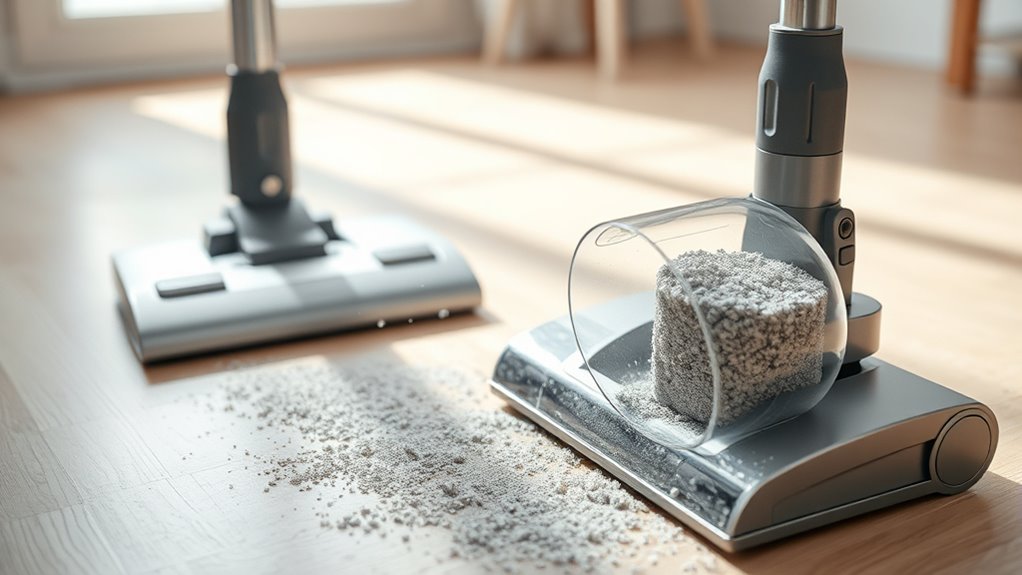
After employing effective dust extraction techniques on surfaces, focusing on your carpets and rugs is the next step to guarantee thorough cleaning. Start by choosing the right vacuum bag; opting for a high-quality, HEPA-filtered bag can trap fine dust particles more effectively, preventing them from recirculating into the air. When vacuuming, pay attention to cord management—keep the cord neatly arranged to avoid tangles and ensure smooth movement across the carpet. This minimizes missed spots and reduces strain on the vacuum’s motor. Use slow, deliberate passes over the entire surface, especially in high-traffic areas, to lift embedded dust. Regularly check and replace the vacuum bag as needed to maintain suction power. Proper technique and equipment care make a significant difference in achieving a truly clean, dust-free carpet.
Handling Dust in Hard-to-Reach Areas and Corners

To get dust out of tight spaces, grab your crevice attachment and focus on corners and edges. Use specialized tools designed for hard-to-reach spots to make sure no dust is left behind. This approach guarantees a thorough clean, even in the hardest places to reach.
Using Crevice Attachments Effectively
Using crevice attachments can considerably improve your vacuuming results in tight spaces and corners that are hard to reach with standard tools. These crevice tools are designed for precision, allowing you to access narrow gaps and edges effectively. Their attachment versatility makes them essential for thorough cleaning after a renovation, ensuring no dust or debris is missed. To maximize their effectiveness, choose the right attachment for each area, whether it’s a small gap or a long crevice. Below is a table highlighting different uses:
| Area | Best Crevice Tool Use |
|---|---|
| Baseboards | Narrow nozzle for dust removal |
| Window Frames | Slim attachment for tight corners |
| Between Cabinets | Extended reach for hidden dust |
| Floor Edges | Precise cleaning along edges |
| Behind Radiators | Narrow tip to access hidden spots |
Targeting Hidden Corner Spots
Hard-to-reach corners and hidden spots often trap dust and debris that standard vacuum attachments can’t easily access. To effectively clean these areas, focus on airflow enhancement by ensuring your vacuum’s filters are clean and functioning properly. Proper filter maintenance prevents airflow blockages, allowing suction to reach into tight corners. Use a combination of angled nozzles and flexible hoses to maneuver into awkward spaces, enhancing dust removal. Keep the vacuum’s vents unobstructed to maximize suction power. Regularly check and replace filters as needed to maintain peak performance. By maintaining ideal airflow and using the right attachments, you’ll ensure even the most hidden spots are free of fine dust, leaving your space thoroughly cleaned after renovation.
Employing Specialized Tools
Employing specialized tools can make a significant difference when tackling dust in tight corners and other tricky spots. To effectively remove fine dust, consider using:
- A narrow nozzle attachment for your vacuum cleaner to reach deep into corners and crevices.
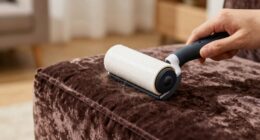
- A dust brush or upholstery tool to loosen debris from textured surfaces and edges.
- An extendable duster or flexible wand to access high or awkward spots without additional ladders.
Always wear a dust mask to protect yourself from airborne particles, especially in enclosed spaces. An air purifier running nearby can help filter out residual dust, improving indoor air quality. These tools and precautions ensure a thorough clean, leaving your space safer and dust-free after renovation.
Post-Vacuuming Steps to Ensure a Deep Clean
After you finish vacuuming, it’s essential to take a few extra steps to guarantee a truly deep clean. Begin by opening windows and doors to improve air quality and vent out any remaining dust particles. Wipe down surfaces with a damp cloth to remove residual dust that the vacuum may have missed. Use air purifiers with HEPA filters if available, as they help contain airborne dust and improve indoor air quality. Consider replacing or cleaning your vacuum filters to prevent dust from recirculating. Seal any gaps around vents or electrical outlets to prevent dust from escaping back into the air. These steps help maximize dust containment and ensure your space is thoroughly cleaned, making your environment safer and more comfortable after renovation.
Maintaining Your Vacuum to Keep It Effective for Future Use

To guarantee your vacuum continues to perform effectively, regular maintenance is essential. First, check and replace the vacuum filter regularly to ensure ideal filtration and prevent dust buildup. Second, clean or replace the vacuum bag or canister to maintain suction power. Third, follow proper cord storage tips by neatly wrapping the cord to avoid damage and tangles, which can affect performance. Regularly inspect the brush roll for hair and debris to keep it spinning freely. By staying on top of vacuum filter maintenance and proper cord management, you prolong your vacuum’s lifespan and ensure it remains effective for future use. These small steps make a big difference in maintaining the vacuum’s efficiency and overall cleaning power.
Frequently Asked Questions
How Often Should I Vacuum After a Renovation?
You should vacuum regularly after a renovation to keep dust contained and prevent buildup. Aim for daily vacuum maintenance in the initial week, then gradually reduce frequency as dust levels decrease. Consistent vacuuming helps remove fine dust particles effectively, protecting your air quality. Use a vacuum with a HEPA filter for better dust containment. Staying diligent guarantees your space stays clean and safe during the cleanup process.
Can I Use a Regular Vacuum for Fine Dust?
Sure, why not use your regular vacuum? It’s not like fine dust cares about filters or dust containment, right? But if you want to keep your vacuum working and your air clean, you’d better check that vacuum filter. Regular vacuums often spread fine dust instead of trapping it, so upgrading to one with a HEPA filter helps. After all, you’re vacuuming dust, not inviting it for tea.
What Safety Precautions Should I Take During Vacuuming?
During vacuuming, you should wear a mask to protect yourself from airborne fine dust and use equipment with good air filtration to prevent dust from recirculating. Guarantee your vacuum is well-maintained, with filters replaced regularly to maintain efficiency. Keep the area well-ventilated and avoid overloading the vacuum. These precautions help safeguard your health and keep your equipment functioning properly during cleanup.
How Do I Prevent Dust From Spreading While Vacuuming?
To prevent dust from spreading while vacuuming, start by sealing doors and vents to contain airborne particles. Place your vacuum in a central location, ideally on a hard surface, to minimize raising dust. Use a vacuum with a HEPA filter to trap fine particles effectively. Move slowly and systematically, ensuring you don’t disturb dust unnecessarily. This approach reduces airborne particles and keeps your space cleaner during the process.
Are There Specific Filters Recommended for Renovation Cleanup?
You should look for vacuums with HEPA filters for renovation cleanup. These filters excel at dust filtration, trapping tiny particles and preventing dust from escaping back into the air. Using a vacuum equipped with a HEPA filter ensures you effectively remove fine dust and allergens, making your space safer and cleaner. Always check that the vacuum’s filter is properly installed and maintained for maximum dust filtration during your cleanup process.
Conclusion
Did you know that proper post-renovation vacuuming can remove up to 99% of fine dust? By preparing your vacuum, using the right attachments, and following effective techniques, you’ll guarantee your space is truly clean and safe. Regular maintenance of your vacuum also keeps it performing at its best for future cleanup jobs. Take these steps seriously—you’ll not only protect your health but also extend your vacuum’s lifespan, making each cleaning easier and more efficient.