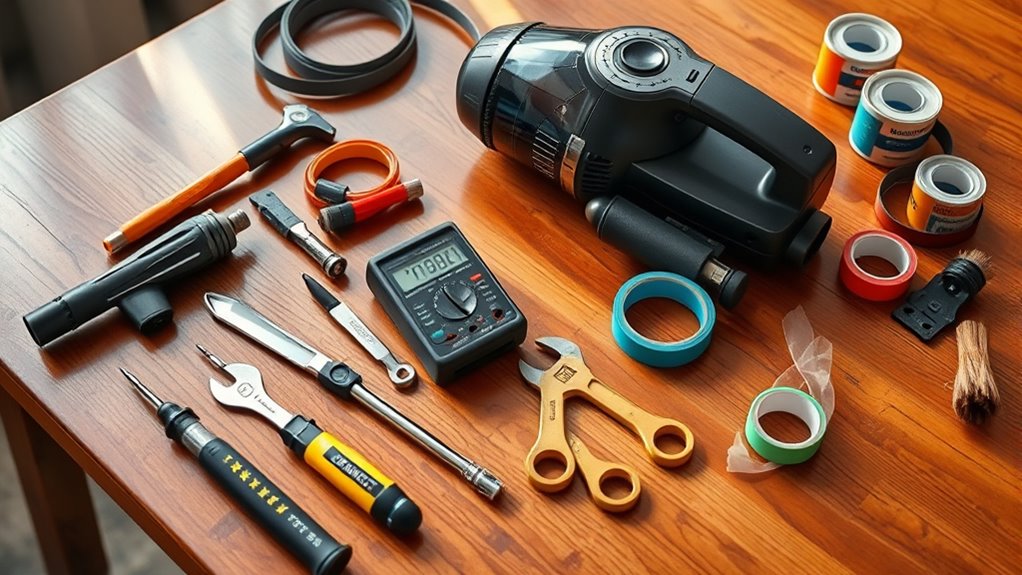

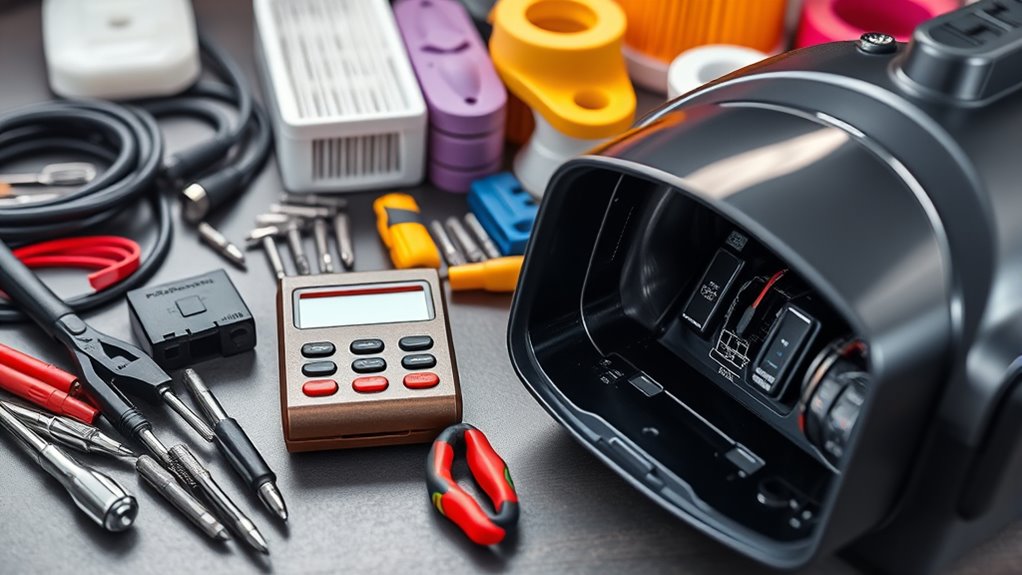
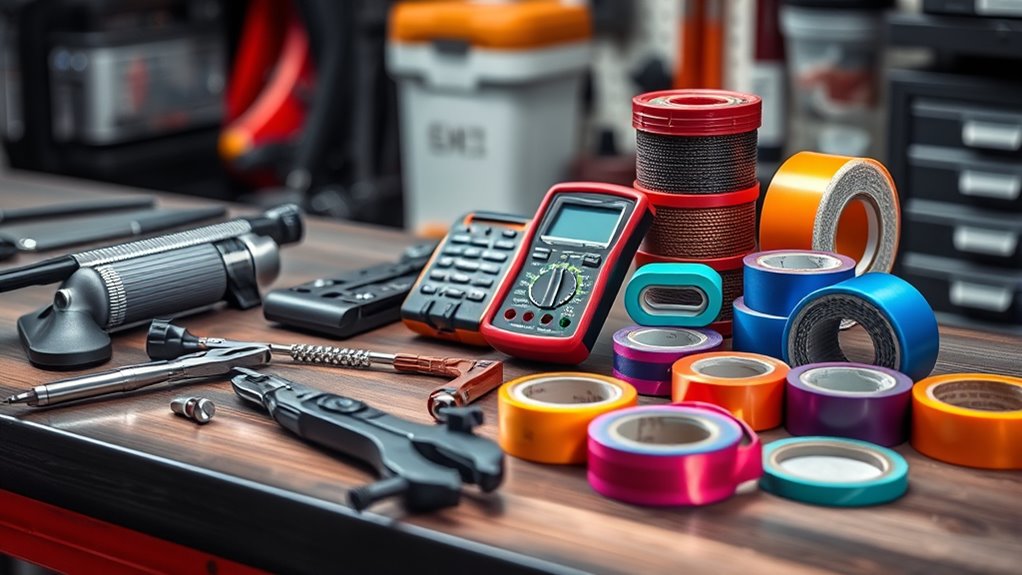
To keep your vacuum running smoothly, you’ll need essential hand tools like screwdrivers, pliers, and a multimeter for repairs. Don’t forget cleaning attachments for different surfaces, storage solutions for hoses, and maintenance supplies like filters and belts. Safety gear, such as goggles and masks, is a must when working on repairs. Plus, organizing your workspace can save time and hassle. Want to discover more tips and tricks for achieving ideal vacuum performance?
Key Takeaways
- Keep essential hand tools like screwdrivers, pliers, and a multimeter on hand for effective disassembly and electrical diagnostics.
- Utilize specialized cleaning attachments such as deluxe brushes and flexible tools to enhance vacuum performance and reach tight spots.
- Regularly replace filters and inspect belts to maintain optimal suction and air quality in your vacuum.
- Store hoses and accessories properly using wall-mounted racks or portable bins to prevent tangling and damage.
- Equip your workspace with safety gear and organize tools in labeled bins for efficient DIY repairs.
Essential Hand Tools for Vacuum Repair
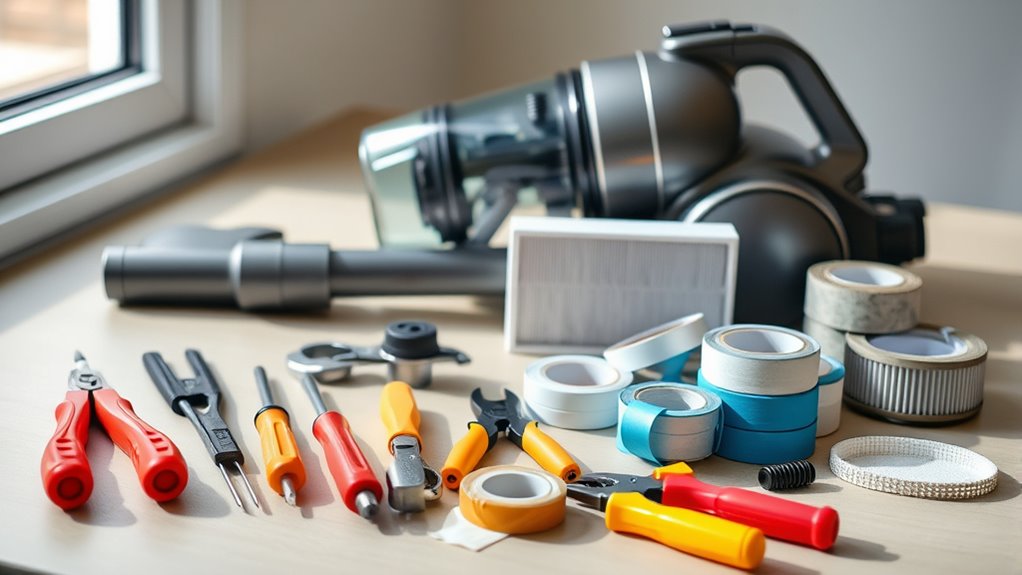
When tackling vacuum repairs, having the right hand tools on hand is essential for a successful fix. You’ll need screwdrivers to take the vacuum apart and access internal components for your DIY repair.
Pliers are also handy for gripping and twisting wires during disassembly and reassembly. If you suspect electrical issues, a multimeter will help you test connections and diagnose problems with the motor.
Scissors or a blade are vital for cutting away tangled hair from the brush roll, which can affect performance.
Finally, keep pipe cleaners or flexible tools nearby to clear clogs in narrow hose passages, ensuring proper airflow and suction. Armed with these tools, you’ll be well-equipped to tackle any vacuum repair confidently. Additionally, knowing how to choose top rated vacuums can enhance your understanding of common issues and maintenance needs.
Cleaning Attachments for Optimal Performance
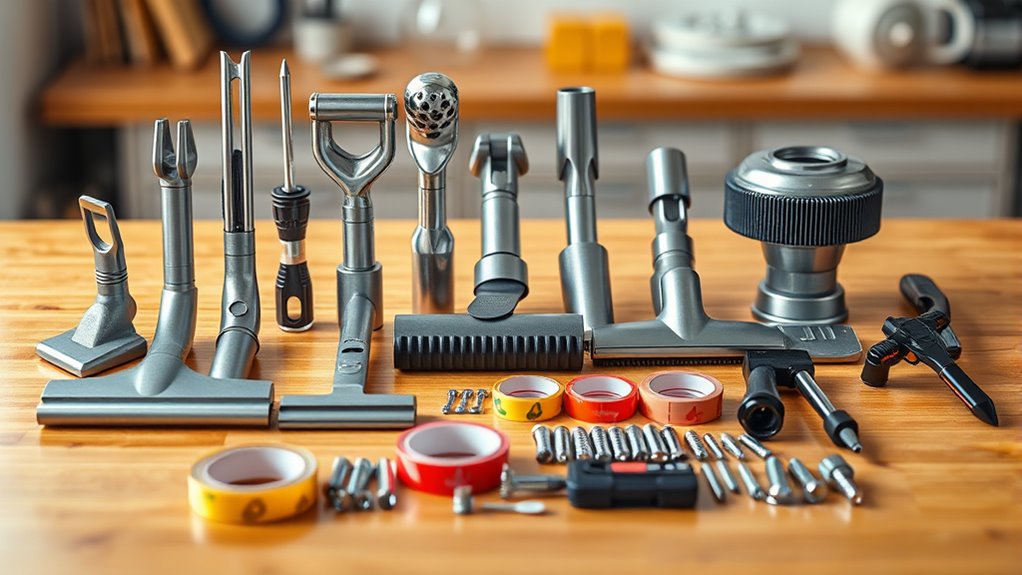
To keep your vacuum running at its best, using the right cleaning attachments is key.
Essential tools like the Deluxe Hard Floor Brush and specialized brushes can tackle various surfaces and messes effortlessly. Additionally, incorporating tools designed for dust removal efficiency can significantly enhance your cleaning routine and maintain optimal performance. Regular maintenance of your vacuum, including using the right attachments, supports a healthier lifestyle by promoting cleanliness and hygiene. Choosing specialized vacuums can further improve your cleaning experience by offering tailored solutions for different floor types and messes. Moreover, utilizing attachments that feature multi-surface capability allows for a more thorough cleaning across various areas of your home.
Let’s explore how these attachments can enhance your vacuum’s versatility and performance.
Essential Cleaning Tools
Essential cleaning tools can greatly enhance your vacuum’s performance and make maintenance a breeze.
By investing in the right attachments, you can guarantee regular maintenance is effective and efficient. Here are some essential tools to take into account:
- 4-Piece Central Vacuum Accessory Set: Includes a 12-inch hard floor tool and three basic cleaning tools for versatile use ($17.03).
- Deluxe Hard Floor Brushes: Perfect for various surfaces, priced from $9.45 to $41.64.
- Flexible Crevice Tool: Bends in any direction, ideal for tight spots ($19.19 – $19.73).
- 6-inch Upholstery Tool with Brush Strip: Great for upholstery, priced between $3.26 and $7.08.
- Round Dusting Brush: Excellent for gentle dusting at just $1.72.
These tools will keep your vacuum running smoothly! Regular maintenance, including cleaning filters, is essential for optimal function and extends the lifespan of your vacuum. Additionally, utilizing energy-efficient appliances can help reduce overall power consumption during your cleaning routine.
Specialized Cleaning Brushes
Specialized cleaning brushes are game-changers for maintaining your vacuum’s performance.
These brushes, like the round dusting brush, guarantee thorough cleaning on delicate surfaces without causing damage.
The flexible crevice tool bends easily, allowing you to reach tight spaces such as corners and between furniture, enhancing your vacuum’s efficiency.
For fabric surfaces, upholstery tools with brush strips, like a 6-inch model, effectively tackle pet hair and debris.
Additionally, a 12-inch deluxe hard floor brush, equipped with high-quality bristles, cleans tile, wood, and marble floors without scratching. Regular use of specialized attachments can significantly improve your vacuum’s cleaning capability and overall longevity.
Attachments for Versatility
When it comes to maximizing your vacuum’s efficiency, investing in versatile cleaning attachments can make a significant difference.
These attachments for versatility enhance your vacuum cleaners’ performance and help tackle various cleaning tasks with ease.
Consider these essential attachments:
- 12-inch Deluxe Hard Floor Brush: High-quality bristles, perfect for tile, wood, and marble ($9.45 – $19.36).
- 6-inch Upholstery Tool with Brush Strip: Ideal for small clean-ups, featuring a removable bristle bar ($3.26 – $7.08).
- Flexible Crevice Tool: Flexes in any direction, essential for tight spaces ($19.19 – $19.73).
- 12-inch Scallop Carpet Tool: Compact design for small areas ($20.20).
- Round Dusting Brush: Great for gentle dusting on various surfaces ($1.72).
These attachments can transform your vacuum into a multi-purpose cleaning machine.
Storage Solutions for Hoses and Accessories
When it comes to keeping your vacuum hoses and accessories organized, effective storage solutions make all the difference.
Wall-mounted storage racks, portable bins, and hose management options can help you save space and keep everything accessible.
Let’s explore how these tools can streamline your vacuum maintenance routine.
Wall-Mounted Storage Racks
Keeping your vacuum hoses organized can be a challenge, but wall-mounted storage racks offer a practical solution.
These racks not only keep your hoses off the floor, preventing tangling and damage, but they also maximize vertical space in your garage or utility room.
Here are some benefits of using wall-mounted storage racks:
- Space-saving design for efficient storage.
- Durable materials like metal or high-quality plastic for heavy hoses.
- Additional hooks or compartments to organize vacuum attachments.
- Quick installation with basic tools, usually under an hour.
- Enhanced accessibility to all your vacuum equipment.
Portable Storage Bins
For those who prefer flexibility in organizing their vacuum hoses and accessories, portable storage bins offer a versatile solution.
These bins help you maintain a tidy workspace and guarantee easy access during maintenance and repairs. Many portable storage bins come with compartments or dividers, allowing you to categorize tools like brushes, filters, and belts, enhancing your efficiency during DIY repairs.
Made from durable materials like plastic or metal, they protect your vacuum accessories, extending their lifespan. Look for bins with built-in handles or wheels for easy mobility, making it simpler to transport your tools to different areas.
Hose Management Solutions
To maintain an organized workspace and guarantee easy access to your vacuum hoses and accessories, investing in effective hose management solutions is essential. Proper storage helps keep your vacuum in top condition and prevents damage.
Here are some practical options:
- Wire Hose Hanger: Accommodates a 35-foot central vacuum hose, preventing tangling.
- Wand Wall Clamp: Keeps attachments organized and within reach.
- Free Flow Pipe and Hose Maintenance Sheets: Clear debris for superior airflow.
- Wall-mounted Hangers: Save space and reduce clutter in your garage or workshop.
- Hose Hanger: Protects hoses from kinks and bends, preserving suction power.
Using these solutions won’t only enhance functionality but also prolong the life of your equipment.
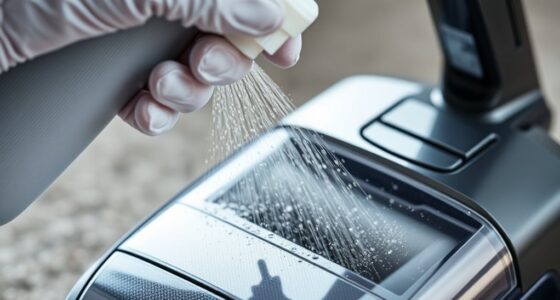
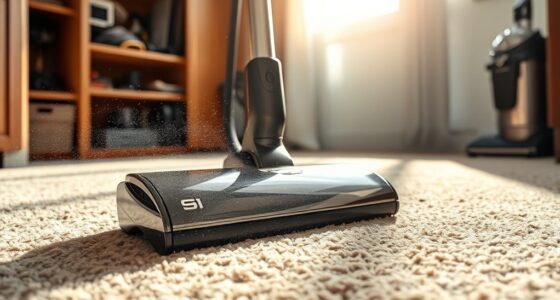
Maintenance Supplies: Filters and Belts
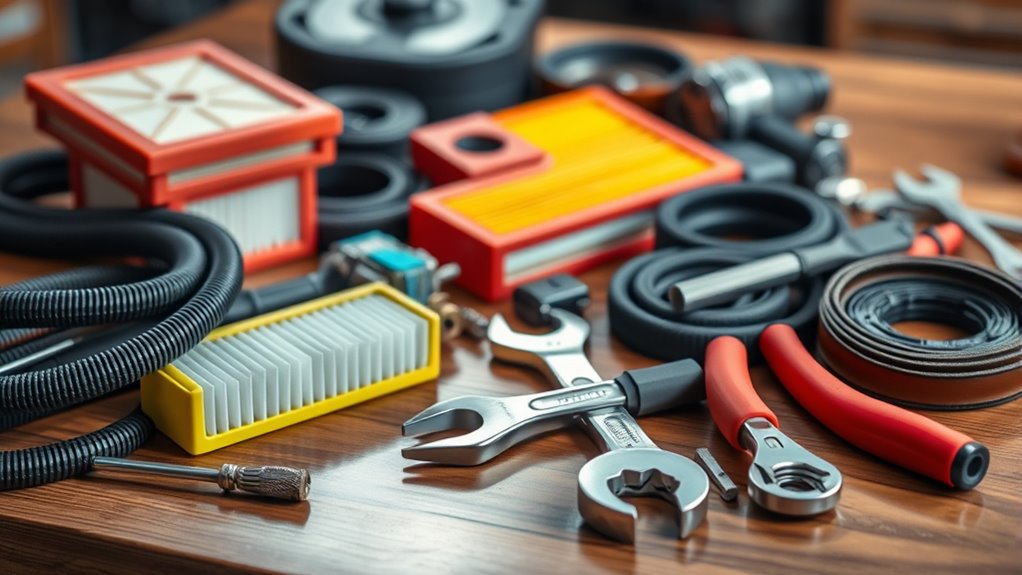
Maintaining your vacuum’s performance hinges on the quality of its filters and belts. Regularly replacing vacuum filters is essential for ideal air quality and vacuum efficiency, with HEPA filters being the gold standard for dust and allergen removal.
Check your vacuum model for the specific type of filter needed before purchasing to guarantee compatibility.
Equally important, inspect your vacuum belt for wear and replace it if the brush roller isn’t spinning or if you hear unusual sounds—this swap typically takes 10 minutes or less.
Don’t forget to frequently change vacuum bags or empty the dust canister to prevent reduced suction and motor strain. Keeping spare vacuum belts and filters on hand makes maintenance easier and keeps your vacuum running smoothly when you need it most.
Safety Equipment for DIY Repairs

Safety is paramount when tackling DIY vacuum repairs, and having the right equipment can make all the difference.
To protect yourself during the repair process, make sure you have the following safety gear on hand:
- Safety goggles to shield your eyes from dust and debris
- Gloves to prevent cuts and injuries from sharp components
- A dust mask or respirator to avoid inhaling fine particles
- Proper ventilation in your workspace to minimize harmful fume exposure
- A first aid kit to quickly address any minor injuries
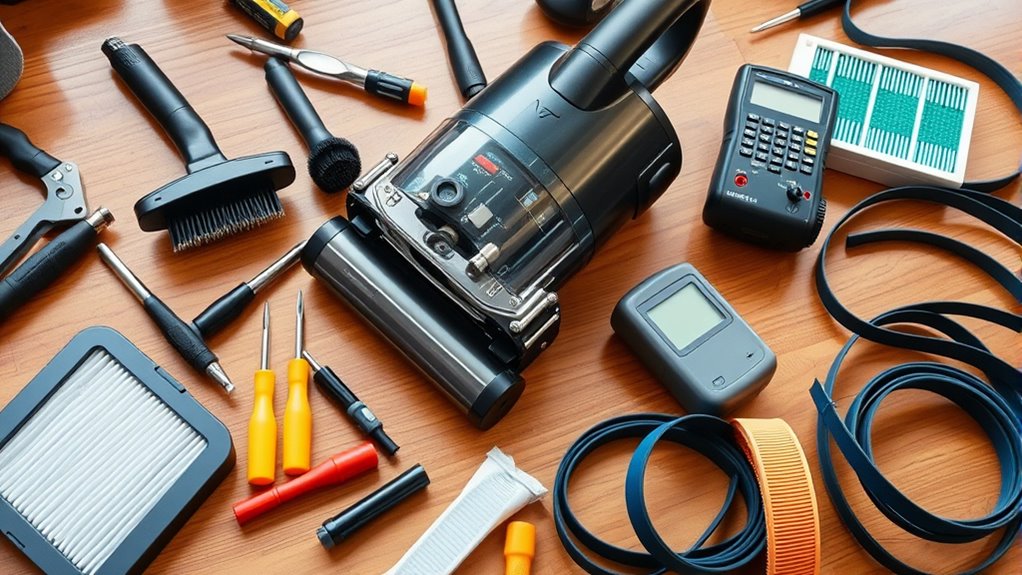
Troubleshooting Tools for Common Issues
Having the right safety equipment is just the first step in guaranteeing your DIY vacuum repairs go smoothly.
To fix your vacuum cleaner, start with a broomstick to push out clogs from the hose quickly. For dust buildup in hard-to-reach areas, use compressed air to maintain ideal airflow.
A small brush or toothbrush is essential for removing dust from filters and components, enhancing performance. If you encounter bigger clogs, pipe cleaners are your best bet for narrow passages.
Finally, keep scissors or a blade handy to cut away tangles of hair or fibers from the brush roll. Remember to remove the brush before tackling these issues for a more efficient repair process.
Specialized Tools for Deep Cleaning
When it comes to deep cleaning, having the right tools makes all the difference.
You’ll want to contemplate specialized brushes and powerful attachments that can tackle tough dirt and debris.
Let’s explore how these tools can enhance your vacuuming experience and elevate your cleaning game.
Deep Cleaning Brushes
Deep cleaning brushes are essential tools for achieving a thorough clean in your home.
These specialized brushes address your vacuum needs by removing embedded dirt, pet hair, and allergens from carpets and upholstery. Here are some key features to evaluate:
- Stiff bristles that agitate carpet fibers for better dirt extraction
- 6-inch upholstery tools with brush strips for targeted cleaning on furniture
- Adjustable heights to adapt to different surface types
- Rotating bristles for effective cleaning on both hard floors and carpets
- Regular use to maintain the appearance and longevity of your carpets
Incorporating deep cleaning brushes into your routine not only enhances cleaning efficiency but also prevents the buildup of grime and allergens, keeping your home fresh and inviting.
Powerful Vacuum Attachments
To maximize your vacuum’s performance, powerful attachments can make a significant difference in your cleaning routine.
The flexible crevice tool bends in any direction, making it perfect for reaching tight spaces and corners. For small clean-ups, the 6-inch upholstery tool with a brush strip features a removable bristle bar that enhances cleaning on various fabrics.
Don’t forget the round dusting brush, essential for gentle dusting on delicate surfaces without damage. For hard floors, the 12-inch deluxe hard floor brush with high-quality bristles efficiently removes dirt from tile, wood, and marble.
If you want ease, try the 14-inch deluxe hard floor brush with wheels, simplifying maneuverability on hard floors and rugs.
These powerful vacuum attachments guarantee a thorough clean every time.
Organizing Your Repair Workspace
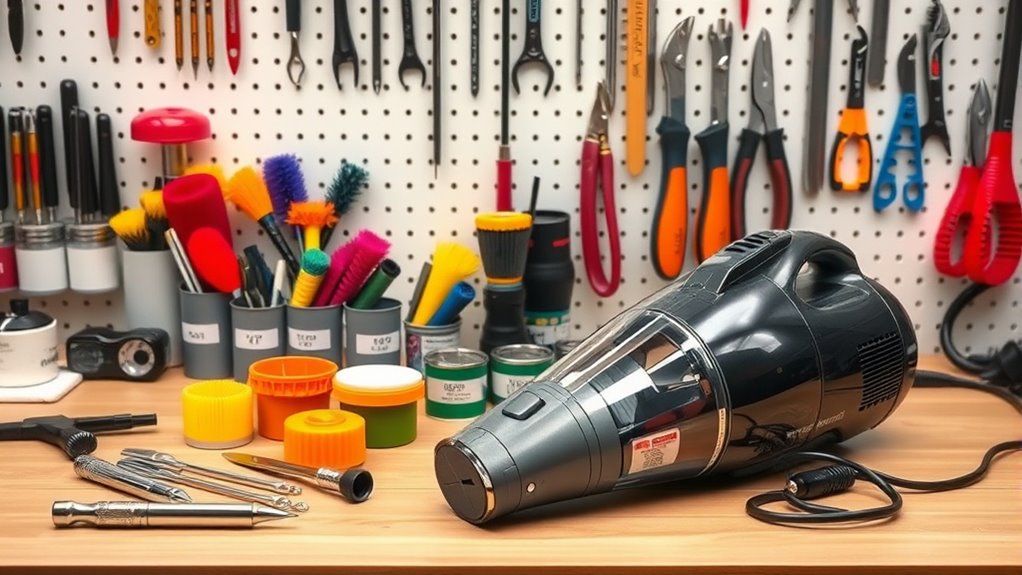
Creating an organized repair workspace is essential for efficient vacuum maintenance. When tackling a broken vacuum, having a structured area can greatly enhance your focus and productivity.
An organized repair workspace boosts focus and productivity for effective vacuum maintenance.
Here are some tips for organizing your repair workspace:
- Designate a well-lit area free from distractions.
- Use clear, labeled storage bins for tools and replacement parts.
- Create a checklist of common repair tasks and necessary tools.
- Incorporate a sturdy workbench for disassembly and organization.
- Keep cleaning supplies nearby for quick clean-up.
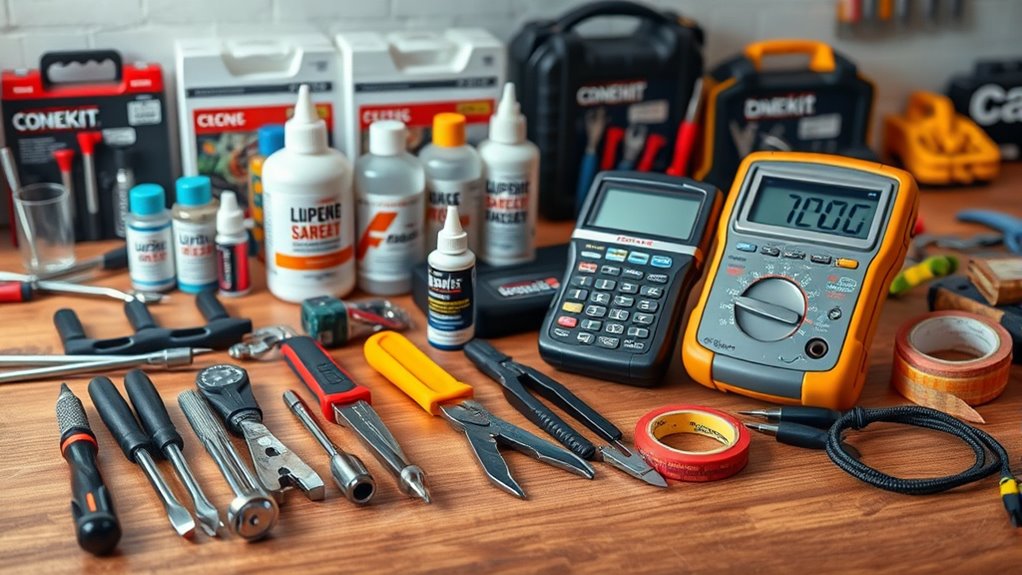
Recommended Brands for Repair Tools
Once your repair workspace is organized, the next step is ensuring you have the right tools for the job.
When tackling DIY vacuum repairs, consider Craftsman for versatile toolsets that include essential screwdrivers and pliers.
If you need something heavy-duty, DeWalt offers durable repair tools that stand the test of time.
For diagnosing electrical issues, check out Bosch’s precision tools, like multimeters.
Stanley is ideal for ergonomic hand tools, which enhance comfort during those longer maintenance sessions.
Finally, Milwaukee specializes in power tools and accessory sets that can help you complete repairs more efficiently.
With these trusted brands, you’ll have all the repair tools necessary to keep your DIY vacuum in top shape.
Additional Resources for Vacuum Maintenance
How can you guarantee your vacuum stays in great shape between repairs? Utilizing additional resources can enhance your DIY maintenance efforts.
Ensure your vacuum remains in optimal condition by leveraging helpful resources for effective DIY maintenance.
Here’s a list of valuable tools and information to help you:
- User Manuals: Refer to these for model-specific troubleshooting and repair instructions.
- Online Forums and Blogs: Connect with others for tips and personal experiences regarding common vacuum issues.
- Video Tutorials: Platforms like YouTube offer step-by-step guides for disassembly and part replacement.
- Manufacturer Websites: Download maintenance guides and FAQs to understand proper care, including vacuum bag and HEPA filter replacement.
- Specialty Retailers: Locate compatible replacement parts and accessories conveniently for effective repairs.
Frequently Asked Questions
What Is the Proper Care and Maintenance of Vacuum Cleaner?
To properly care for your vacuum cleaner, regularly check and replace the bags to maintain performance.
Clean or change the filters based on their type, and inspect belts and brushes for wear.
Make certain to clean the brush roll frequently, removing any hair or debris.
Always check for clogs in the hoses and filters to guarantee peak suction.
What Do I Need to Make a Vacuum Cleaner?
To make a vacuum cleaner, you’ll need a powerful motor for suction, usually rated in horsepower or CFM.
You’ll also require a collection canister or bag to store debris, along with a filtration system, like HEPA filters, to improve air quality.
Don’t forget a brush roll to agitate carpets and a sturdy housing with wheels for mobility.
Each component plays an essential role in the vacuum’s overall performance and efficiency.
What Are the Raw Materials Used in Vacuum Cleaners?
Isn’t it amusing how something so mundane as a vacuum cleaner is crafted from such a medley of materials?
You’ll find plastics like polypropylene and ABS forming the body, while copper and steel make up the motor for efficiency.
The filters, designed to catch those pesky allergens, often use synthetic fibers or HEPA materials.
Don’t forget the rubber belts for flexibility and nylon bristles for effective dirt removal—each plays an essential role!
How to Service a Vacuum Cleaner?
To service your vacuum cleaner, start by checking and replacing the vacuum bag, as a full bag can reduce performance.
Inspect the belt for wear and replace it if necessary.
Clean or replace the filters regularly to maintain air quality and efficiency.
Clear clogs from the hose and brush roll to guarantee strong suction.
Finally, conduct routine maintenance checks, like emptying dustbins and cleaning the brush, for peak performance.
Conclusion
In the grand tapestry of DIY vacuum maintenance, having the right tools is your Excalibur. With these essential supplies at your fingertips, you’re well-equipped to tackle any repair or upkeep challenge. Just like a knight in shining armor, you can restore your vacuum’s performance and extend its life. So gear up, embrace your inner craftsman, and let your vacuum serve you well for years to come. Happy repairing!