
Replacing a vacuum power cord is easy! First, gather your tools and materials, including a screwdriver, wire strippers, and a new plug. Assess the damage to determine if you need to replace just the plug or the entire cord. Strip the wires and wrap them around the terminal screws on the new plug. Finally, reassemble everything and test your vacuum to guarantee it works. If you need more detailed steps, there’s more to explore!
Key Takeaways
- Inspect the vacuum cord for damage; replace the plug for minor issues or the entire cord for extensive damage.
- Gather necessary tools like a screwdriver, wire strippers, and a screw-terminal replacement plug before starting the repair.
- Strip insulation from the wires, ensuring proper alignment and snug fit of components before assembling the replacement plug.
- Wrap the neutral and hot wires securely around their respective terminal screws and double-check all connections for tightness.
- Test the vacuum after reassembly by plugging it in and monitoring for any unusual sounds or overheating.
Tools Required
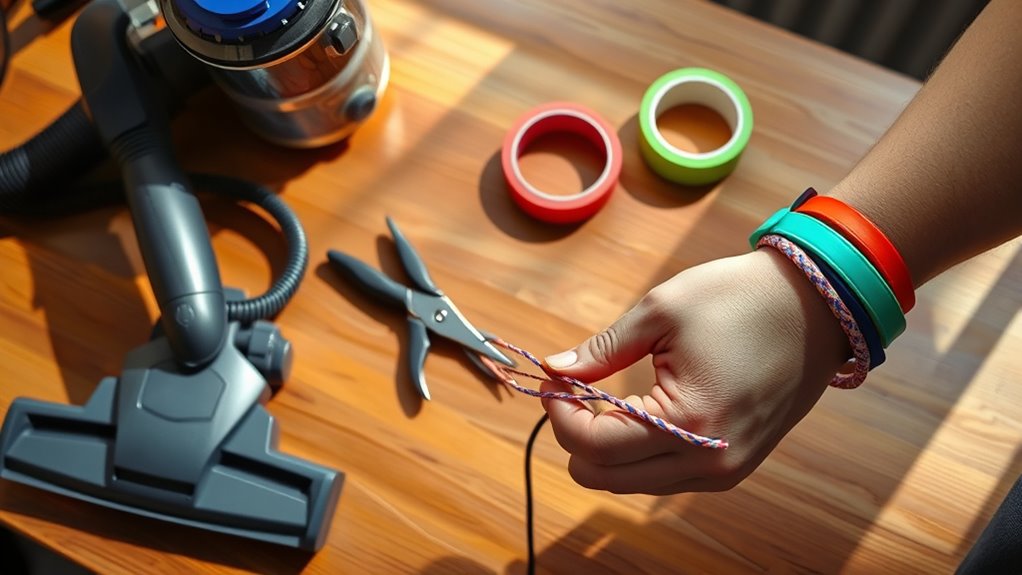
Before you plunge into replacing your vacuum’s power cord, make certain you have the right tools on hand.
Ensure you gather the necessary tools before starting the vacuum power cord replacement for a seamless repair experience.
The tools required for this task include a standard screwdriver, which is essential for disassembling the vacuum and accessing the damaged power cord. You’ll also need wire strippers to prepare the wires by removing the outer insulation and exposing the inner conductors for proper connection.
Don’t forget to have a screw-terminal replacement plug, as it’s the key component needed for the repair. Additionally, electrical scissors or wire cutters may come in handy for cleanly cutting off any damaged sections of the cord.
Having all necessary tools organized beforehand will guarantee a smooth and efficient repair process.
Materials Required
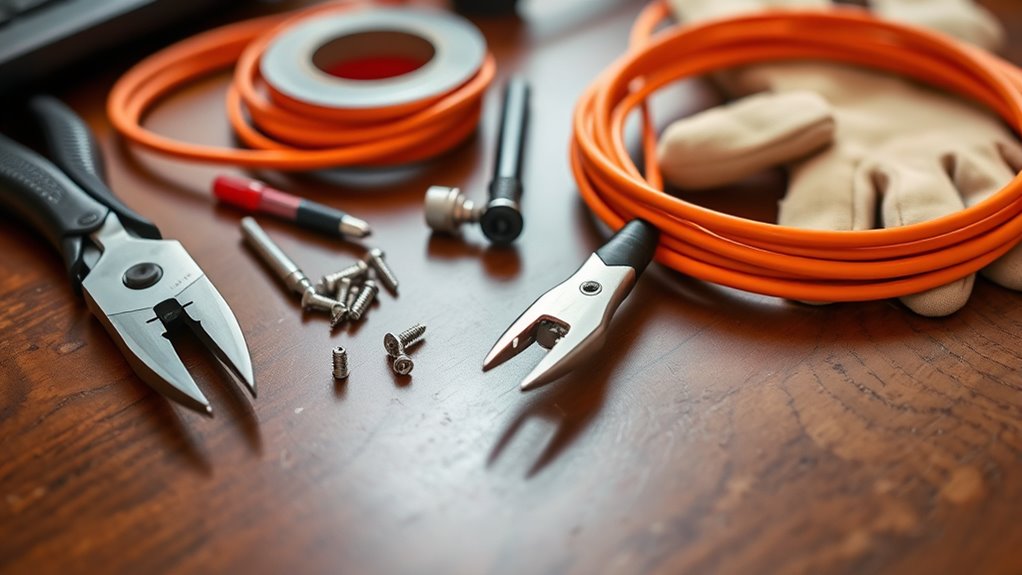
When replacing your vacuum power cord, you’ll need a few essential materials to guarantee a safe and effective repair.
Start with a screw-terminal replacement plug that matches your vacuum’s voltage and amperage, along with standard screwdrivers for disassembly.
Don’t forget wire strippers for prepping the wires and consider safety equipment to protect yourself during the process.
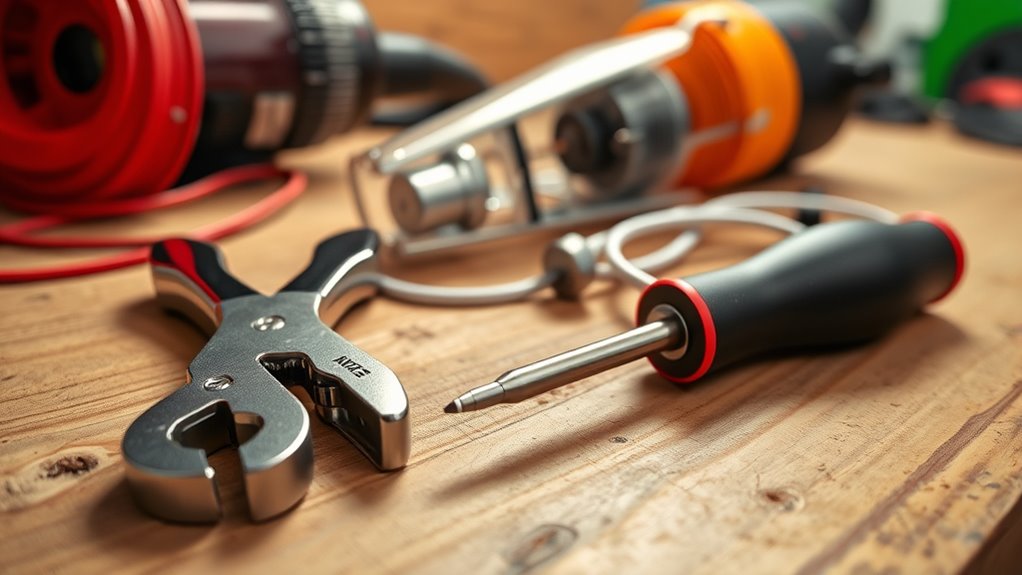
Essential Tools Needed
Replacing a vacuum power cord requires a few vital tools to guarantee the process goes smoothly.
First, you’ll need a standard screwdriver to disassemble the vacuum and access the power cord connection points.
Wire strippers are essential for preparing the wires; they’ll help you remove insulation and ensure clean connections when attaching the new plug.
Make sure to have a screw-terminal replacement plug on hand, as it’s necessary for securely connecting the vacuum’s power cord.
Additionally, check that the replacement plug matches the voltage rating and amperage of the original cord for safe operation.
Finally, gather electrical tape and connectors to secure and insulate your connections during the repair process.
With these vital tools needed, you’re ready to begin!
Types of Replacement Plugs
Selecting the right replacement plug is essential for ensuring your vacuum operates safely and efficiently.
There are three main types of replacement plugs to evaluate. Self-connecting plugs snap on easily and are typically non-polarized, making them great for quick repairs.
Terminal screw plugs, featuring screws for secure wire connections, are usually polarized and provide a more robust connection for appliances that draw more current.
Three-prong plugs are designed for higher power devices, adding an extra grounding prong for safety.
When choosing replacement plugs, make sure they match your vacuum’s voltage rating and amperage to maintain safe operation.
If you have a vintage appliance, be cautious, as specialized plugs may be required.
Safety Equipment Considerations
Before starting your vacuum power cord replacement, gather essential safety equipment to protect yourself and guarantee a smooth process.
You’ll need safety goggles and work gloves to shield yourself from accidental injury or electrical shock while handling components. A standard screwdriver is vital for disassembling the plug and securing connections.
Make sure to have wire strippers on hand to prepare the wires by removing insulation without damaging them. Don’t forget to acquire a screw-terminal replacement plug that matches your vacuum’s voltage and amperage requirements.
Finally, use proper insulation materials like heat shrink tubing or electrical tape to cover exposed wires and prevent electrical hazards.
Prioritize your safety throughout this repair process.
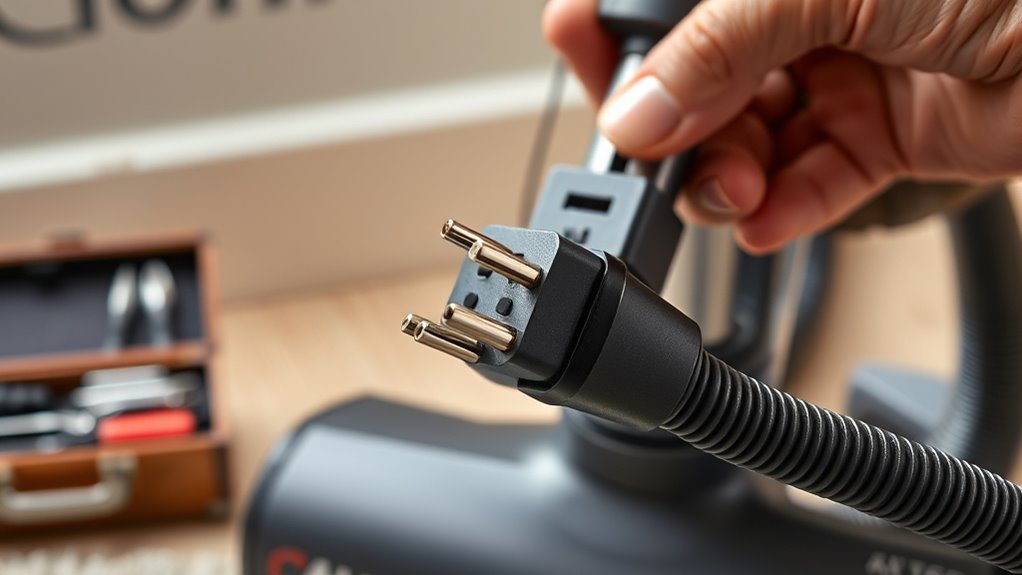
Assess the Damage
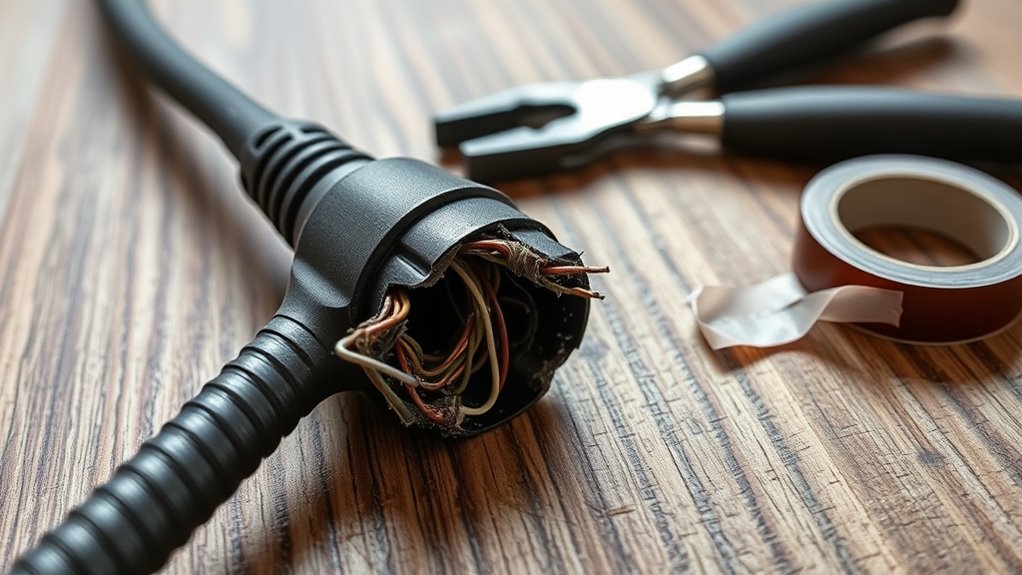
Evaluating the damage to your vacuum’s power cord is essential for ensuring safety and functionality. Start by inspecting the cord while it’s unplugged. Look for visible signs like fraying, nicks, or exposed wiring. Here’s a quick guide to help you assess the damage:
| Damage Type | Possible Solution | Action Required |
|---|---|---|
| Minor plug damage | Replace the plug only | No need to replace the cord |
| Frayed cord | Replace the whole cord | Full replacement necessary |
| Damage near plug | Cut cord and attach new plug | May save the cord if intact |
| Extensive damage | Replace the whole cord | Safety first; don’t patch it |
If damage is significant, don’t hesitate to replace the whole cord. Your safety depends on it!
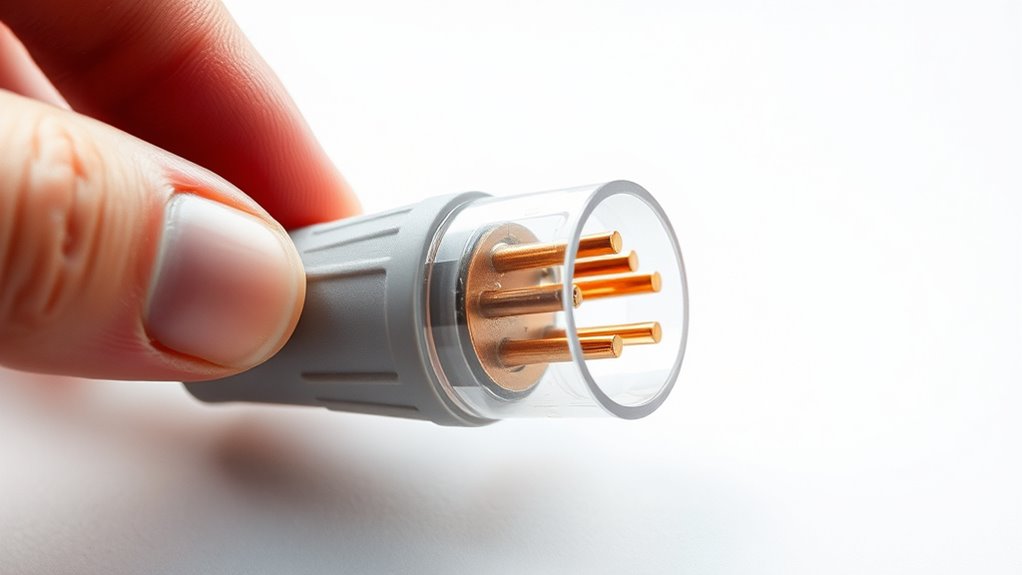
Prepare the Replacement Plug
Once you’ve determined the extent of the damage and decided to replace the plug, you’re ready to prepare the replacement.
First, push out the yellow insert using a screwdriver and set it aside for later reassembly. Next, remove the blades from the plug, paying close attention to their orientation for accurate reinstallation.
Don’t forget to slide the plug case onto the cord before proceeding; this step prevents assembly issues later on. If you’re using terminal screw plugs, strip about 3/4 inch of insulation from the wires and twist the stranded wire strands together for secure connections.
Finally, verify all components are properly aligned and fit snugly before reassembling the plug. This careful preparation sets you up for a successful power cord replacement.
Cut Off the Old Plug
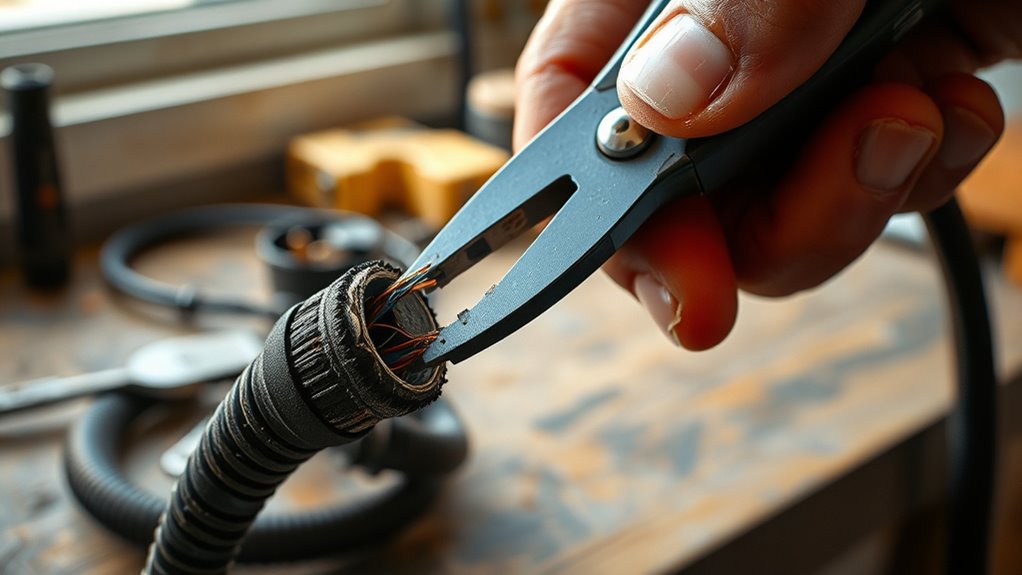
Now that you’ve prepared the replacement plug, it’s time to cut off the old plug.
Start by inspecting the cord for any damage, as you’ll want to remove any frayed or compromised sections.
Use wire strippers or scissors for a clean cut, ensuring you don’t accidentally nick the inner wires.
Identifying Damage Types
When you’re inspecting the vacuum’s power cord for damage, look closely for frays, cuts, or nicks, especially around the plug area. Exposed wiring can pose a serious fire hazard, so it’s important to address any issues immediately.
If you notice that the plug prongs are damaged but the cord itself is intact, you can simply replace the plug. However, if the cord shows significant fraying or cuts, you’ll need to replace the entire cord.
Proper Cutting Techniques
Before you cut off the old plug, make certain the vacuum is unplugged to avoid any risk of electrical shock.
Using proper cutting techniques is essential for a successful replacement. Here are some tips to follow:
- Use electrical scissors or wire cutters for a clean cut, avoiding uneven edges.
- Trim any damaged sections of the cord close to the plug to guarantee a smooth surface.
- Check the cord for additional damage; exposed wiring may require a full cord replacement.
- Strip about 1-1/2 inches of the outer covering carefully, avoiding nicks to the internal wires.
Open the New Plug Cover
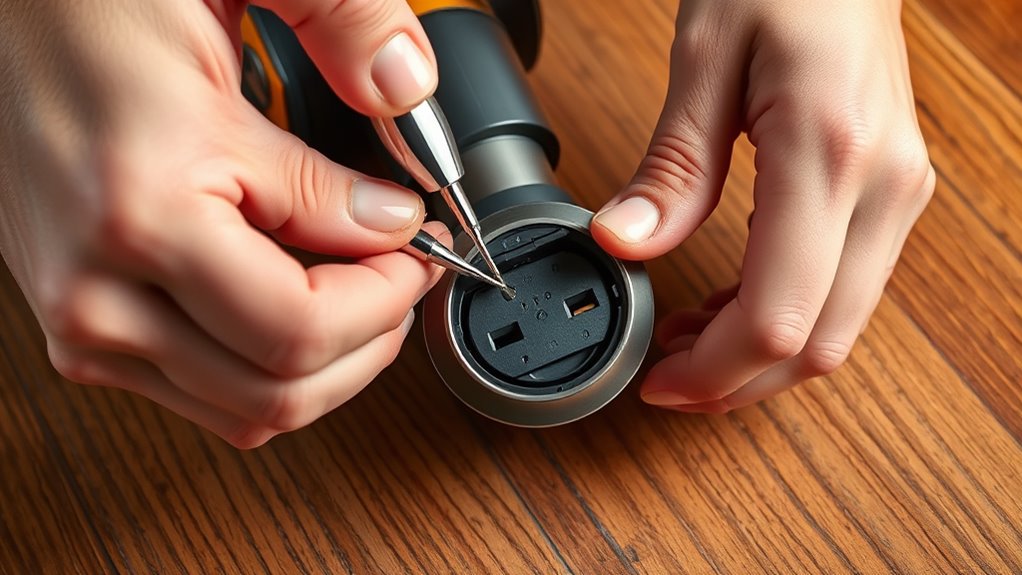
To successfully open the new plug cover, grab a standard screwdriver and remove the screws that hold the two halves of the plug together.
Once you’ve taken out the screws, carefully separate the plastic housing to reveal the interior wiring compartment. This is where you’ll connect the cord.
Make sure the plug cover is oriented correctly, as some designs have a specific side for inserting the cord. Before proceeding, check for any alignment markings or channels inside the plug that guide the placement of the cord for a secure fit.
Once opened, keep the plug cover pieces together to prevent losing any components during the installation process. This will make your task much smoother.
Insert Cord Through the Plastic Plug Cover
Now that you’ve opened the new plug cover, it’s time to insert the vacuum power cord. Follow these steps to guarantee a secure fit:
- Carefully thread the cut end of the vacuum power cord through the plastic plug cover.
- Make sure the outer insulation is positioned securely within the housing.
- If you’re using a self-connecting plug, align the cord with the designated wiring channel marked with a ‘W’.
- Check that the internal wires are free from kinks or damage as you insert the cord through the plastic plug cover.
Once everything is in place, double-check that the plastic cover is correctly oriented and fully assembled around the cord. This will help prevent any electrical hazards when the plug is closed.
Wrap Wires Around Terminal Screws
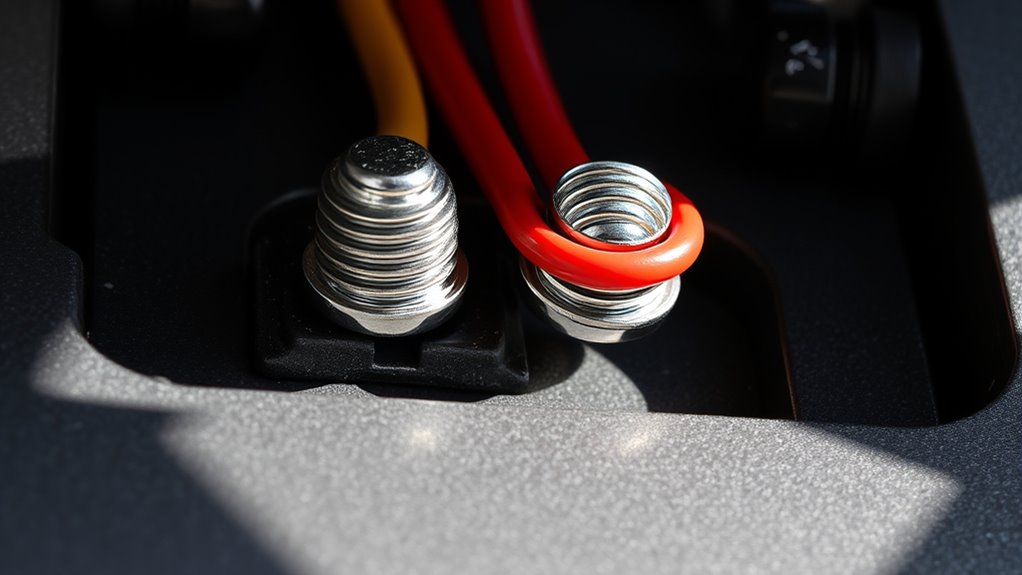
Secure the wires around the terminal screws to confirm a reliable connection.
First, identify the neutral wire with a ridge on its insulation and attach it to the silver-colored screw. The hot wire, which is smooth, connects to the brass-colored screw.
Before wrapping, twist the stranded wire strands together and bend them into hooks for easy wrapping. Remember to wrap wires around terminal screws in a clockwise direction; this guarantees they tighten securely when the screws are turned.
Guide the wires through the notches in the plug to avoid crimping, which can cause electrical failure.
Finally, double-check that all connections are tight and properly insulated to prevent any risk of electrical shorts.
Test Your Appliance

Once you’ve wrapped the wires around the terminal screws and confirmed they’re securely connected, it’s time to test your appliance. Plug in your vacuum cleaner and check if it powers on. Here’s what to do:
- Listen for any unusual sounds; they could indicate a malfunction.
- Test the suction on various surfaces to verify it functions properly.
- If it doesn’t operate, double-check all connections and make certain the plug is securely seated in the outlet.
- Monitor the vacuum closely during its first few uses for signs of overheating or unusual behavior.
If you notice anything off, it might be time to consult a service center. Trust your instincts and verify your vacuum is working as it should!
Frequently Asked Questions
How to Change a Power Cord on a Vacuum?
To change a power cord on your vacuum, first unplug the device.
Use wire strippers to remove the damaged plug and inspect the cord for any cuts. Strip about 1-1/2 inches of the outer covering to expose the internal wires.
Identify the hot and neutral wires by their insulation. Connect the hot wire to the brass screw and the neutral wire to the silver screw on a new plug.
Reassemble, then test your vacuum.
Can You Replace a Chewed Vacuum Cord?
They say where there’s a will, there’s a way, and yes, you can replace a chewed vacuum cord.
First, assess the damage—if it’s near the plug, you might just need a new plug; if it’s more extensive, consider splicing in a new cord.
Make sure to match the voltage and amperage, use insulated connectors, and secure everything properly.
With the right tools, you’ll have your vacuum running smoothly in no time!
Can You Replace a Vacuum Plug?
Yes, you can replace a vacuum plug if it’s damaged! Just make certain the new plug matches your vacuum’s voltage and amperage for safety.
You’ll find options like screw-terminal plugs, which secure wires with screws, or self-connecting plugs that snap on.
Identify the hot and neutral wires correctly, connecting the hot wire to the brass screw and the neutral to the silver screw.
After installation, test your vacuum to confirm it works properly.
What Gauge Wire Is a Vacuum Cord?
When it comes to vacuum cords, you’ll find they’re not just any old wires; they’re the lifelines of your cleaning machine!
Typically, standard household vacuums use 18-gauge wire, balancing flexibility and current capacity. For heavy-duty models, you might need a thicker 16-gauge wire to handle the power demands.
Always guarantee the replacement matches the original gauge to keep your vacuum running safely and efficiently—no one wants a fire hazard lurking in their cleaning equipment!
Conclusion
You’ve successfully replaced your vacuum’s power cord and avoided the fate of the dust bunnies lurking in your corners. With your newfound DIY skills, you might just be one step away from fixing your neighbor’s lawnmower or starting a home repair empire. Just remember, if all else fails, there’s always duct tape! So go forth, brave handyman, and may your future projects be as electrifying as your vacuum’s new lease on life!