
Before repairing your vacuum, always unplug it and confirm it’s fully disconnected from power to avoid shocks. Use proper tools like screwdrivers and pliers, and handle internal parts carefully, especially sharp edges or small components. Work in a well-lit, clutter-free space, and wear gloves if needed. Avoid forcing parts or working on damaged cords. Following these safety steps helps prevent accidents, and there’s more you can do to make certain safe repairs throughout the process.
Key Takeaways
- Always unplug the vacuum before beginning any repairs to prevent electrical shock.
- Use proper tools like screwdrivers and multimeters, avoiding makeshift or household tools.
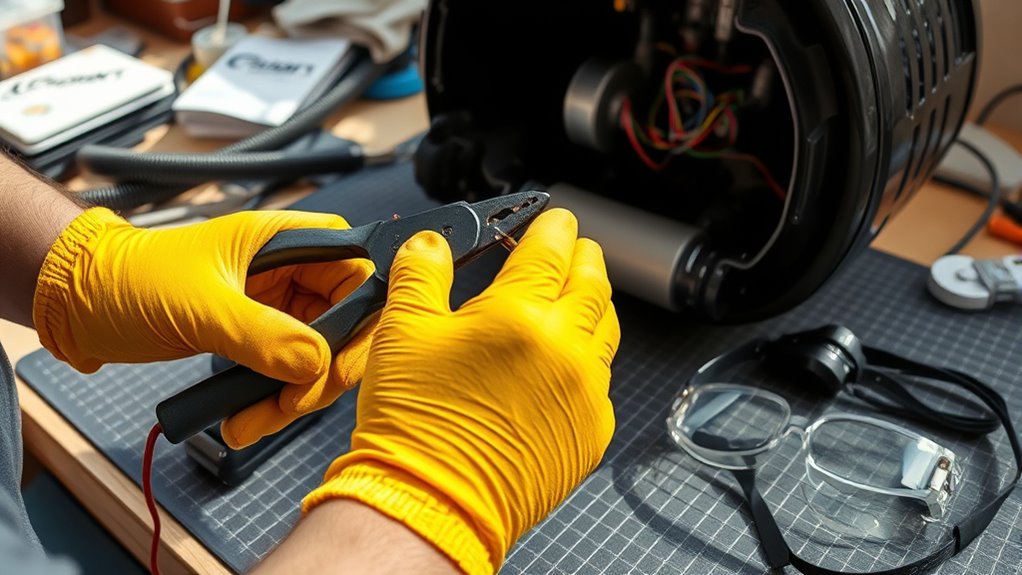
- Inspect cords and wires for damage; replace frayed or burnt parts before working.
- Handle internal components carefully, watching out for sharp edges and small parts.
- Work in a well-lit, clutter-free environment to ensure safety and efficiency during repairs.
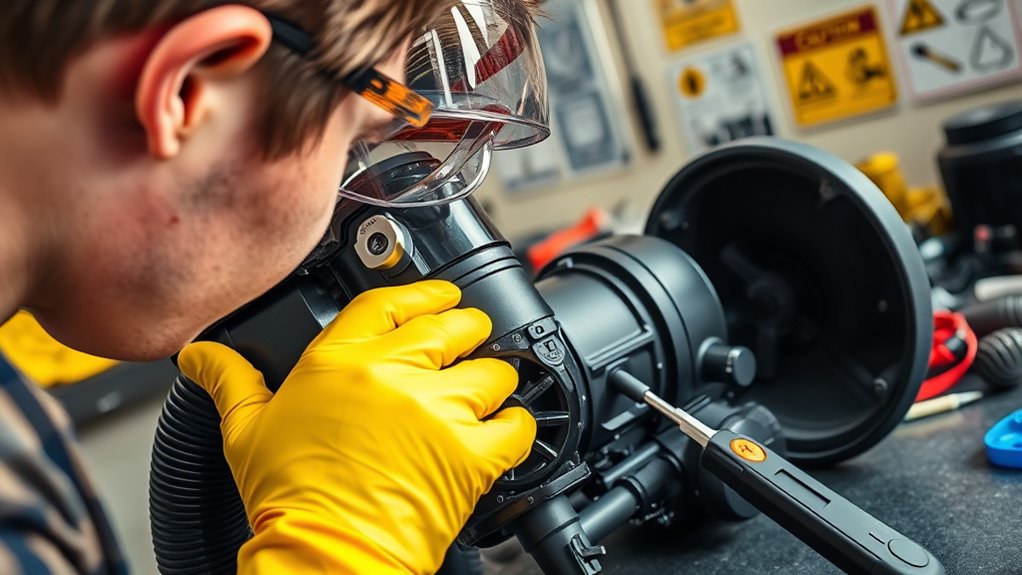
Repairing your vacuum yourself can save money and give you a sense of accomplishment, but it also comes with risks if you’re not careful. One of the most critical concerns is electrical hazards. Vacuums run on electricity, and mishandling electrical components can lead to shocks, burns, or even fires. Before you begin, unplug the device from the power outlet and double-check that it’s completely disconnected. Never attempt repairs on a plugged-in vacuum, especially when dealing with internal wiring or electrical parts. Be cautious with exposed wires or damaged cords, as these are common sources of electrical hazards. If you notice frayed wires or burn marks, consider replacing the cord or consulting a professional instead of risking an electrical shock. Proper home decor tools and techniques can help ensure safety during repairs. Tool safety is equally important when working on your vacuum. Use the proper tools designed for appliance repair—screwdrivers, pliers, and possibly a multimeter for testing electrical continuity. Avoid using makeshift tools or household items that aren’t intended for electronics, as they can slip or cause damage. Always handle tools with care, and make sure they’re in good condition. When removing screws or parts, work on a stable surface and keep tools organized to prevent accidents. Don’t force parts apart; if something doesn’t come loose easily, check for hidden screws or clips. Using the right tools not only protects you but also prevents damaging sensitive components, which could lead to more costly repairs or safety issues later. When working internally, be aware of sharp edges or small parts that can cause cuts or get lost. Wear gloves if necessary, and keep your workspace clear of clutter. As you proceed, stay alert for any signs of electrical issues, like burnt smells or sparking, which should prompt you to stop and seek professional help. Proper tool safety also means unplugging the vacuum before making adjustments or removing parts—never work on a machine that’s connected to power. If you need to test electrical parts, use a multimeter carefully, following the manufacturer’s instructions. This helps prevent accidental shorts or shocks.
As an affiliate, we earn on qualifying purchases.
Frequently Asked Questions
Can I Repair a Vacuum Without Unplugging It First?
No, you shouldn’t repair a vacuum without unplugging it first. For your safety, always disconnect the power cord to prevent electrical shock. Ensuring proper electrical grounding is vital before opening the device. By unplugging it, you eliminate the risk of accidental activation or power surges. Remember, taking these precautions protects you from potential injuries and helps maintain safe power cord safety practices during repairs.
Is It Safe to Use Household Tools for Vacuum Repair?
Using household tools for vacuum repair is generally safe if you’re careful. However, guarantee your tools are properly calibrated to avoid damaging delicate parts. When replacing parts, use tools designed for that purpose, not just random household items, to prevent mishaps. Think of your tools as precision instruments—using the right ones keeps you safe and your vacuum working like a dream. Always prioritize safety and follow manufacturer guidelines.
What Should I Do if I Encounter a Broken Wire?
If you encounter a broken wire, first unplug the vacuum to guarantee safety. Examine the wire insulation to identify the damage. Always wear safety gloves to protect your hands from sharp edges and electrical shock. If the wire is frayed or exposed, consider replacing it or repairing with electrical tape as a temporary fix. For extensive damage, it’s best to consult a professional to avoid risking injury or further damage.
How Can I Tell if the Motor Is Damaged?
Detecting a damaged motor is like diagnosing a sick animal. Start with a visual inspection for burnt smell, burnt wires, or visible damage. Then, perform a motor testing by checking if the motor spins freely or makes strange noises. If it stalls or hums loudly, it’s likely damaged. These steps help you determine if your motor needs professional repair or replacement, saving you time and effort.
Are There Risks of Electric Shock During Vacuum Repairs?
Yes, there’s a risk of electric shock during vacuum repairs if you don’t follow safety precautions. To stay safe, always unplug the vacuum before starting repairs, avoid touching exposed wires, and use insulated tools. Be cautious around electrical components, and if you’re unsure, consider consulting a professional. Taking these safety precautions mitigates your risk of electric shock and ensures a safer repair process.
Conclusion
Remember, repairing a vacuum is like walking a tightrope—you need focus and care to avoid falling into trouble. One time, I rushed to fix mine without unplugging it first and got a small shock; it’s a reminder that safety always comes first. By following these precautions, you’ll keep yourself safe and your vacuum working smoothly. Think of your efforts as building a sturdy bridge—every careful step guarantees a safe crossing.