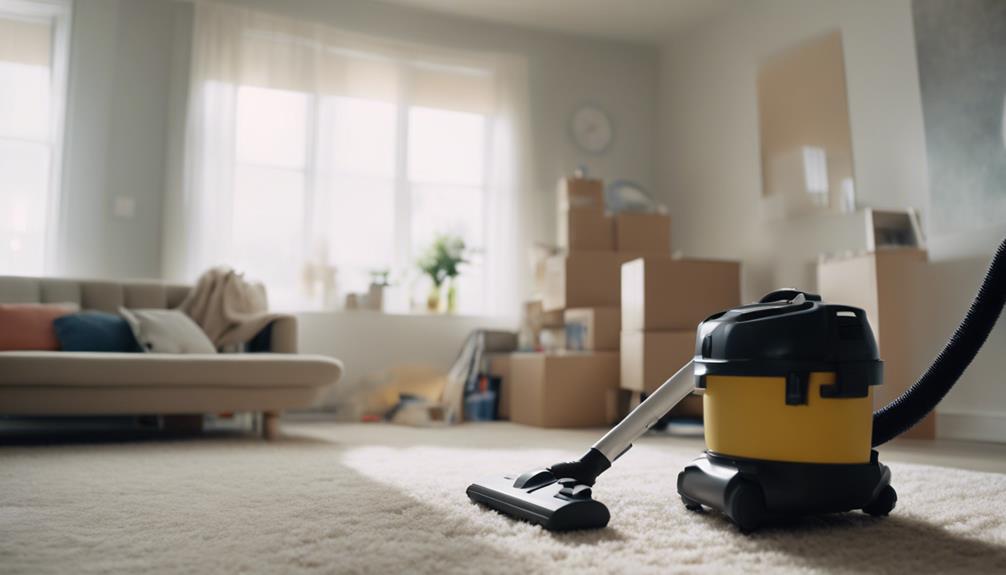
Before you settle into your new residence, make sure to thoroughly clean it from top to bottom. Begin by clearing out any debris from the floors, walls, and closets and inspect the walls for nails, screws, or any forgotten hardware. Next, focus on cleaning the kitchen, bathroom, and other spaces using vinegar and water solutions to clean various surfaces, appliances, and cabinets. Remember to sanitize high-touch areas such as toilet handles and sink faucets. Once you have completed the basic cleaning tasks, you will be all set to move in and personalize the space to your liking. Prepare to discover more helpful tips and tricks to make your new home sparkle!
Key Takeaways
- Remove debris from floors, walls, and closets to create a clean slate for moving in and deep cleaning.
- Clean appliances thoroughly, including the oven and refrigerator, to ensure they are ready for use.
- Pay attention to high surfaces like ceilings, cabinets, and shelves when deep cleaning to avoid missing spots.
- Use cost-effective and eco-friendly cleaning solutions like vinegar and water to tackle tough stains and grime.
- Don't forget to clean forgotten areas like door handles, light switches, and electric outlets to maintain a truly clean home.
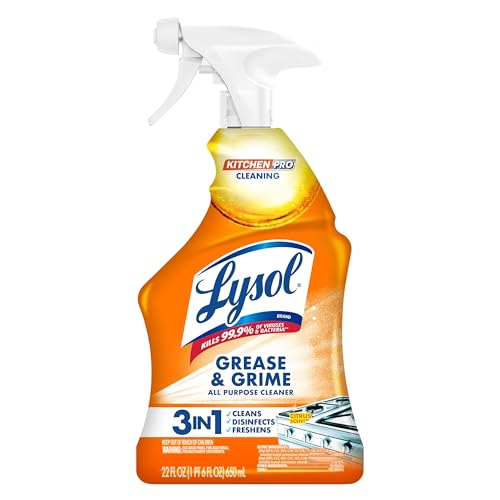
Lysol Pro Kitchen Spray Cleaner and Degreaser, Antibacterial All Purpose Cleaning Spray for Kitchens, Countertops, Ovens, and Appliances, Citrus Scent, 22oz
ELIMINATES 99.9% OF KITCHEN VIRUSES AND BACTERIA INCLUDNG SALMONELLA AND E.COLI: Lysol Pro Kitchen Cleaner is tested and…
As an affiliate, we earn on qualifying purchases.
As an affiliate, we earn on qualifying purchases.
Pre-Cleaning Preparation Tips
Before you unpack the first box, take a few hours to sweep away the remnants of the previous owners and get your new space ready for its fresh start. This pre-cleaning preparation is vital to guarantee a smooth shift into your new house or apartment. Remove debris from floors, walls, and closets to create a clean slate for moving in.
Check walls for nails, screws, or forgotten hardware that may need to be removed or addressed. Make sure appliances are empty and ready for thorough cleaning before moving into your new home.
As you start cleaning, utilize a cost-effective cleaning solution of vinegar and hot water for initial cleaning tasks. However, be cautious with items that shouldn't be cleaned with vinegar to avoid damage or unwanted reactions. Create a cleaning checklist to make sure you cover all areas, from the floors to the ceilings.
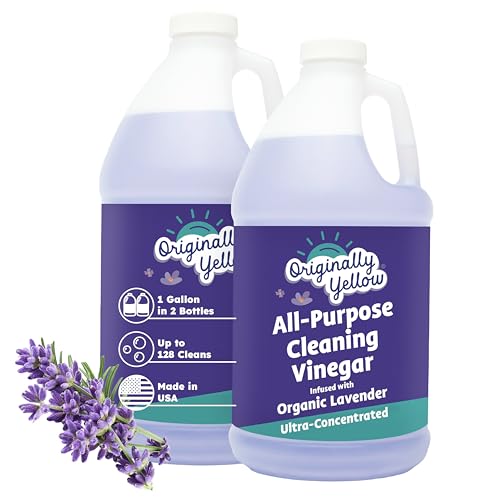
Originally Yellow Lavender White Vinegar For Cleaning Purpose | USA Made All Purpose Cleaner | Use as Glass, Kitchen & Floor Cleaner | Plant Derived Cleaning Vinegar 1 Gallon in 2 pack | 128 Oz
VINEGAR FOR CLEANING PURPOSE | Originally Yellow’s all-purpose cleaning vinegar works as a bathroom cleaner, glass cleaner, and…
As an affiliate, we earn on qualifying purchases.
As an affiliate, we earn on qualifying purchases.
Kitchen Deep Cleaning Essentials

As you tackle the kitchen deep cleaning, you'll need to focus on three key areas:
- Kitchen cabinets inside, appliances, and surfaces.
- Counters and sinks.
These essential points will guarantee your kitchen is sparkling clean and ready for move-in day.
Kitchen Cabinets Inside
What's lurking inside your kitchen cabinets that you should tackle first during your deep cleaning spree? It's time to give those cabinets a thorough cleaning!
Start by mixing a solution of equal parts water and vinegar in a spray bottle. Spray the solution onto the inside of your kitchen cabinets, making sure to cover all surfaces. Let it sit for a few minutes to allow the solution to penetrate and loosen any dirt and grime.
Next, grab a toothbrush and get into those hard-to-reach spots and corners where crumbs and dust tend to accumulate. Use the toothbrush to scrub away any stubborn stains or buildup.
After scrubbing, wipe down the shelves and drawers with warm water and soap to remove any remaining dirt and grime. Remember to avoid using vinegar on wooden cabinets and opt for wood-friendly cleaners instead.
Appliances and Surfaces
You'll tackle the heart of your kitchen's deep clean by focusing on appliances and surfaces, where grease, grime, and crumbs tend to accumulate. Clean appliances like the fridge, stove, and dishwasher thoroughly to guarantee a fresh start in the kitchen.
A water-vinegar solution is perfect for wiping down kitchen surfaces, cabinets, and countertops, leaving them sparkling clean.
Next, address those tough grease stains with a baking soda and hydrogen peroxide mixture for effective cleaning. Don't forget to focus on high surfaces like ceilings and cabinets in the kitchen to remove dust and dirt buildup.
Utilize specialized cleaning techniques for grout cleaning in bathrooms and tough kitchen stains for a spotless home. Remember, every surface and appliance deserves attention to give your kitchen a like-new shine.
Counters and Sinks
Now that your appliances and surfaces are sparkling clean, turn your attention to the kitchen counters and sinks, where crumbs, spills, and splatters can leave behind unsightly stains and germs. To tackle these areas, you'll need some essential cleaning tools and techniques.
| Cleaning Task | Cleaning Solution |
|---|---|
| Clean kitchen counters | Water-vinegar solution |
| Scrub sinks | Baking soda and water paste |
| Disinfect counters and sinks | Disinfectant spray |
| Clean hard-to-reach areas | Microfiber cloths and water |
| Remove streaks on countertops | Microfiber cloths and water |
To maintain a hygienic kitchen space, make sure to disinfect your counters and sinks regularly. Use microfiber cloths to clean these areas, as they are effective at picking up dirt and grime without leaving streaks or residue. Don't forget to pay attention to hard-to-reach areas around faucets and drains, where crumbs and spills tend to accumulate. By following these simple steps, you'll be able to enjoy a clean and hygienic kitchen space that's perfect for cooking and entertaining.

Retractable Gap Dust Cleaner Under Appliance Cleaning Tool, Bafezoze Flat Duster for Under Refrigerator Fridge Stove Couch Bed, Skinny Thin Duster for Tight Spaces
ELECTROSTATIC MICROFIBER FOR PET HAIR & DUST: Featuring electrostatic split microfiber, this gap duster attracts and locks in…
As an affiliate, we earn on qualifying purchases.
As an affiliate, we earn on qualifying purchases.
Bathroom Sanitizing Checklist
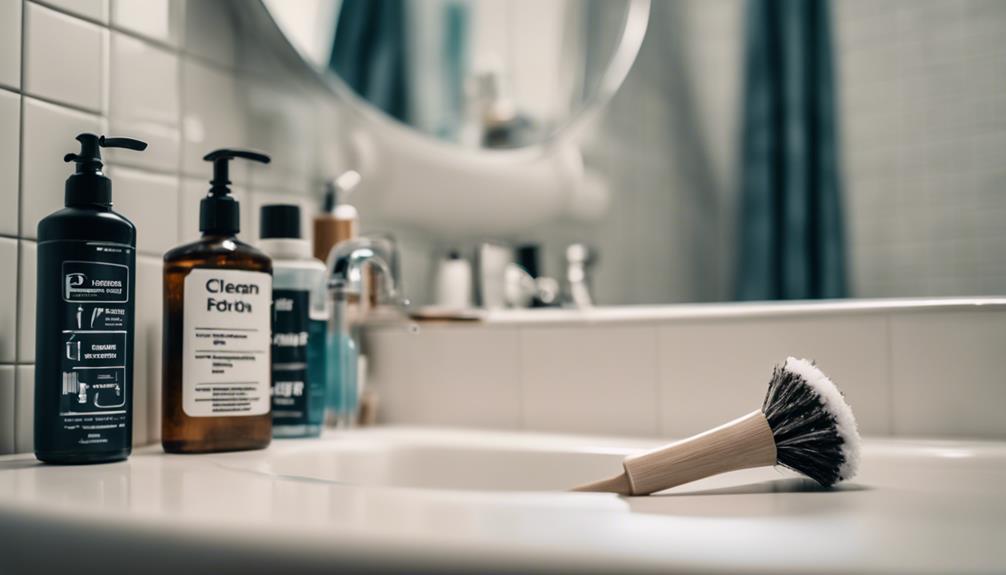
Now that you've tackled the kitchen, it's time to turn your attention to the bathroom, where a thorough sanitizing is essential.
You'll want to focus on three key areas:
- Toilet cleaning essentials
- Shower and bathtub scrub
- Sink and mirror shine
Toilet Cleaning Essentials
As you tackle the bathroom sanitizing checklist, start by focusing on the toilet, a breeding ground for bacteria and germs that require a deep clean with Blue Dawn dish soap and antibacterial spray to leave it sparkling and hygienic.
You'll want to replace the toilet seats during the cleaning process for a fresh start in your new home.
Don't forget to clean unexpected areas like the toilet paper holder, light switches, and faucets in the bathroom.
When cleaning the toilet, be sure to scrub away hard water stains on metal hardware using lemon juice as a natural cleaning solution.
Additionally, make sure to clean the shower head, which is often overlooked, to maintain water flow and prevent clogs in your bathroom.
By following these steps, you'll be able to breathe easy knowing your toilet is clean, sanitized, and ready for use in your new home.
Shower and Bathtub Scrub
You'll tackle the shower and bathtub next, using a mixture of baking soda and hydrogen peroxide to scrub and sanitize the surfaces effectively. This powerful combo will help remove dirt, grime, and soap scum, leaving your shower and bathtub looking like new. Don't forget to replace your shower curtains or liners for a fresh start and to guarantee mold and mildew buildup.
Take a few minutes to clean your showerheads with a vinegar solution to remove mineral deposits and improve water flow.
Next, scrub those grout lines with a toothbrush and a mixture of baking soda and water to eliminate mold and grime. Disinfect and sanitize all bathroom surfaces, including faucets, handles, and soap dishes, to establish a hygienic environment. Remember to clean every nook and cranny, as a deep clean is all about attention to detail.
Sink and Mirror Shine
Move on to the sink area, where a chlorine-free bleach and baking soda mixture will help you thoroughly clean sinks and plugs. This effective combination will leave your sink looking like new.
Next, turn your attention to the mirror, which can be sanitized and shined with a vinegar and water solution for a streak-free finish. Don't forget to address any lingering sink odors by placing lemon slices or baking soda down the drain to maintain a fresh and clean smell.
Wipe down sink faucets and handles with a disinfectant wipe to eliminate germs and bacteria.
Finally, don't overlook the sink drains and stoppers, which can easily become clogged if not cleaned regularly.

Professional Disposables Surface Disinfectant Super Sani-Cloth Wipes, 160Count
Highly Effective Formula: Our Super Sani-Cloth wipe boasts an impressive 55.5% of active germicidal agents, including quat and…
As an affiliate, we earn on qualifying purchases.
As an affiliate, we earn on qualifying purchases.
Thorough Cleaning of Cabinets
Cleaning your cabinets from top to bottom is essential to removing the hidden dirt and grime that can accumulate over time.
You'll want to remove all items from your cabinets to access every nook and cranny.
Then, use a water-vinegar solution or mild soap to wipe down all surfaces, paying special attention to cabinet handles, corners, and shelves. These areas tend to collect dust, dirt, and grime, so make sure to give them a good cleaning.
For those hard-to-reach spots, consider using a toothbrush for detailed cleaning.
Don't forget to clean the outside of your cabinets as well, including the doors and handles.
A clean cabinet isn't only visually appealing, but it also helps maintain a clean and healthy living environment.
Refrigerator and Freezer Cleaning
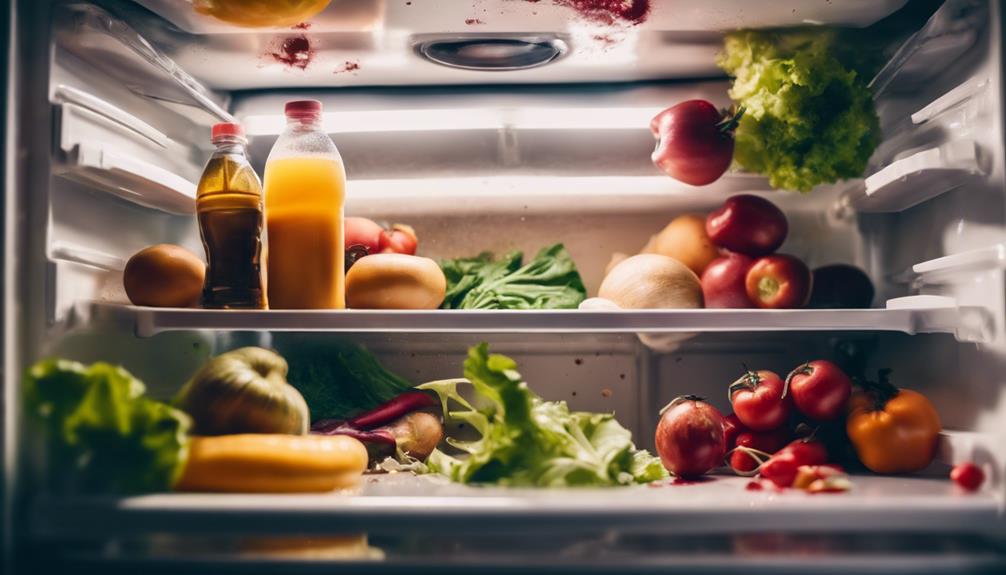
Now that your cabinets are sparkling clean, it's time to tackle the heart of your kitchen: the refrigerator and freezer, which require a deep clean to remove lingering odors and stains.
To clean the refrigerator, mix water and white vinegar to scrub all surfaces, removing any grime or residue. Boil water to loosen sticky grime and guarantee a clean and sanitized interior. Don't forget to wipe down shelves and crevices, making sure to eliminate any lingering odors or stains.
Next, defrost and clean the freezer separately, wiping down shelves and drawers with soap and warm water. This will secure a fresh start for your new kitchen.
Remember to replace refrigerator and freezer cleaning tasks regularly to maintain a hygienic environment for storing food. By following these steps, you'll be able to enjoy a clean and sanitized refrigerator and freezer, perfect for storing your favorite foods and drinks.
Take your time and be thorough, as a deep clean will make all the difference in maintaining a clean and healthy kitchen.
Oven and Stovetop Cleaning Guide
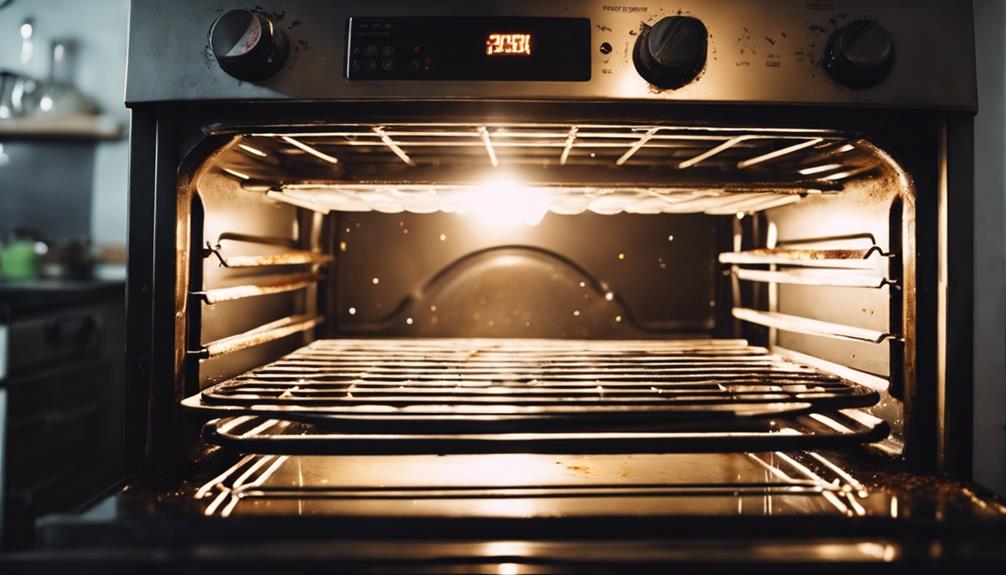
As you tackle the oven and stovetop, you'll need to remove tough grime that's built up over time.
You'll want to focus on cleaning between racks, where food residue and spills often accumulate.
Removing Tough Grime
To tackle the toughest grime in your oven and stovetop, you'll need a reliable solution that can cut through the mess, and a baking soda and water paste is just what you need to get started. This effective cleaning tip will help you deep clean your oven and stovetop, removing grease and spills that can be a real challenge.
Apply the paste to the affected areas, let it sit for a while, and then wipe it off with a damp cloth. For an extra sparkling stovetop, clean burners, grates, and knobs thoroughly. Don't forget to address stubborn spots and stains with baking soda and water solutions.
By tailoring your cleaning methods to the condition of your oven and stovetop, you'll get the best results. Remember, a deep clean of the oven interior and stovetop elements is essential for a fresh start in your new home.
Follow these cleaning tips to achieve a sparkling clean oven and stovetop that will make cooking a joy.
Cleaning Between Racks
You're ready to tackle the often-overlooked areas between the racks, where food residue and grime can accumulate, making it difficult to achieve a truly crucial clean. Cleaning between racks is an essential step in the oven and stovetop cleaning process.
To start, remove the oven racks and stovetop grates, and soak them in a bathtub filled with hot water and dish soap. This will loosen any tough grime and food residue.
Next, scrub the racks and grates with a brush and soapy water to remove any remaining grime and stains. For tough stains, create a paste with baking soda and water, and apply it to the affected area. Let it sit for 30 minutes before scrubbing and rinsing.
Here are some additional tips to keep in mind:
- Wipe down oven walls and doors with a vinegar and water solution to remove stains and odors.
- Utilize a microfiber cloth or sponge to clean hard-to-reach areas on the stovetop and oven surfaces.
- Soak the racks and grates for several hours or overnight for a more thorough clean.
- Dry the racks and grates thoroughly before reinstalling them to prevent water spots.
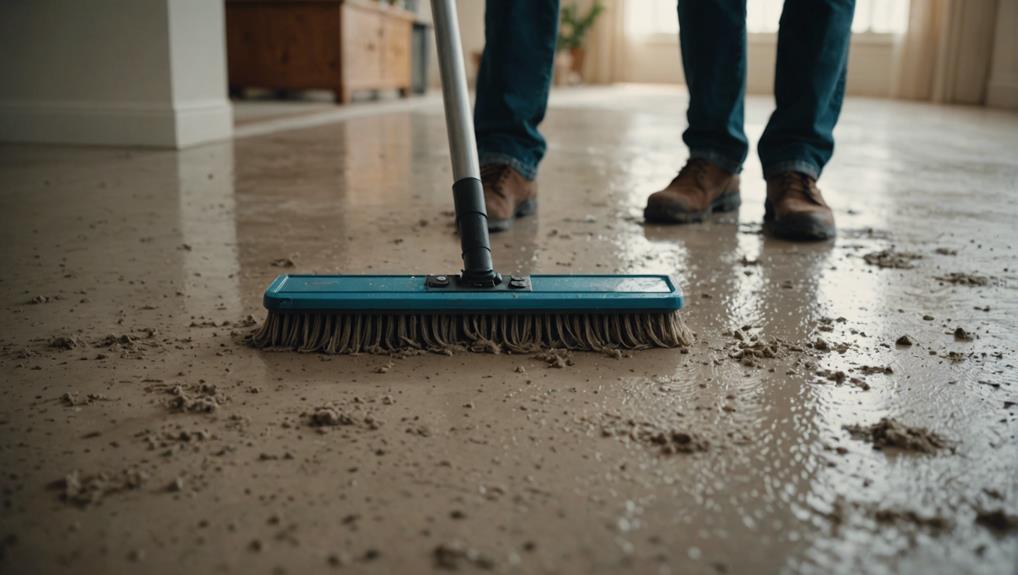
Cleaning Hard Floors and Carpets
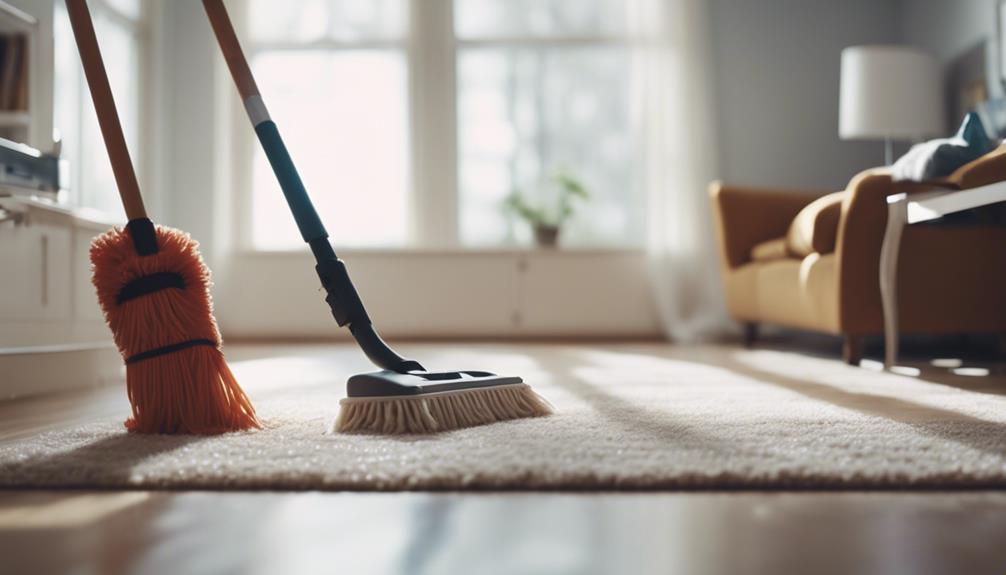
Before unpacking the first box, tackle the floors, which can harbor hidden dirt, dust, and allergens, by giving them a thorough cleaning. You'll want to start with the carpets, which can be a breeding ground for dust and allergens. Vacuum them thoroughly to remove dirt, dust, and allergens. For a deeper clean, consider steam cleaning to eliminate tough stains.
When it comes to cleaning hard floors, start by sweeping them to remove loose debris. Then, use appropriate cleaning solutions for the type of floor you have, whether it's wood, tile, or laminate. If you're not sure what to use, consider consulting with professional cleaners who can provide specialized floor treatments.
Don't be afraid to ask for help if you're unsure about the best cleaning method for your floors. Remember, a thorough cleaning of your floors will make a big difference in the overall cleanliness of your new home.
Dusting and Polishing Surfaces

Dust and dirt accumulate quickly on surfaces, hence, it's important to dust all shelves, countertops, and furniture to remove dirt and debris. You'll be amazed at how much dust and dirt can accumulate on surfaces, making them look dull and dirty.
To effectively dust surfaces, you'll need a microfiber cloth or duster that can trap dust particles, preventing them from spreading to other areas.
Here are some essential tips to keep in mind:
- Dust all surfaces, including shelves, countertops, and furniture, to remove dirt and debris.
- Use a microfiber cloth or duster to minimize spreading dust while cleaning surfaces.
- Polish wood surfaces with a suitable wood polish to restore shine and protect the finish.
- Consider using a furniture polish that also provides a protective barrier against future dust buildup.
Regular dusting and polishing can help maintain the cleanliness and appearance of your new home's surfaces. By following these simple steps, you'll be able to enjoy a cleaner, healthier, and more beautiful living space.
Cleaning Forgotten Areas Checklist
Securing cleanliness in these hidden areas before moving in is crucial as they can harbor dirt, germs, and odors. When conducting a thorough cleaning, don't forget to tackle those unexpected places that often get overlooked.
Start by cleaning door handles, light switches, and electric outlets to remove germs and grime. In your closets, eliminate musty smells and address pantry moths to ensure a fresh start. Dust shelves with a dry microfiber cloth and wipe down with a damp cloth for a thorough cleaning.
Don't forget to clean the rest of your washer and dryer by scrubbing the lint trap and wiping the dryer drum for best performance. Use a gentle all-purpose cleaner to clean Ceiling fan blades and remove dust effectively. Let the solution sit for a few minutes before wiping it off to guarantee a deep clean.
Final Walk-Through and Touch-Ups
As you near the finish line, take a moment to conduct a final walk-through to catch any lingering imperfections or overlooked areas that need a bit more TLC. This is your last chance to make sure your new home is spotless and welcoming.
During this final walk-through, focus on the following areas:
- Touch-ups:
Wipe down surfaces, polish fixtures, and tidy up any remaining debris.
- Missed areas:
Check for overlooked cleaning tasks, such as dusting ceiling fans or cleaning out appliances.
- Extra attention:
Identify areas that need extra care, like stubborn stains or persistent odors.
- Fresh start:
Ensure proper ventilation to eliminate lingering odors and create a fresh, welcoming environment.
Frequently Asked Questions
Should You Deep Clean a House Before Moving In?
You're wondering if you should deep clean a house before moving in. Absolutely, you should! Starting fresh in a clean environment is crucial, and cleaning beforehand avoids the hassle of cleaning around clutter later on.
In What Order Should You Deep Clean a House?
"Rome wasn't built in a day," and neither is a sparkling clean home! You'll tackle the task efficiently by starting with high areas like ceiling fans and shelves, then moving to the kitchen, bathrooms, and finally, the rest of the space, top-down.
What Is the First Room You Should Clean on the Main Floor of a House?
You'll start on the main floor by tackling the kitchen, where you'll clean the fridge first to guarantee clean food storage, and then move on to the stove, oven, microwave, and dishwasher.
How to Clean a Newly Built House?
You might think cleaning a newly built house is overwhelming, but don't worry, you've got this! Start by tackling drywall dust, paint splatters, and construction debris, then move on to air vents, ducts, and filters for a fresh start.
Is Deep Cleaning Before Moving In Essential for Creating a Positive Home Environment?
Moving into a new place can be exciting, but ensuring a clean home feeling amazing is essential for a positive environment. Deep cleaning before moving in can eliminate any lingering odors, dirt, or bacteria left behind by the previous occupants, creating a fresh and welcoming space to begin making memories.
Conclusion
As you stand in your newly cleaned home, imagine the dirt and dust as the burden on your shoulders, lifting with each sparkling surface.
Your thorough deep clean is the key that opens a fresh start, filling your space with a sense of renewal and possibility.
Take a deep breath, feeling the satisfaction of a job well done, and step into your new beginning.