
To replace parts on your suction pool cleaner, start by inspecting components like hoses, brushes, seals, and filters for signs of wear or damage. Gather the right tools, such as screwdrivers and replacement parts compatible with your model. Carefully remove and swap out brushes, hoses, or internal filters, making sure everything is secured properly. After repairs, test your cleaner to confirm it operates smoothly. Keep going to discover detailed steps for each part and verify your cleaner performs its best.
Key Takeaways
- Turn off and unplug the pool cleaner before beginning part replacements to ensure safety.
- Gather compatible replacement parts such as hoses, brushes, filters, and seals, along with necessary tools.
- Carefully disassemble the cleaner by removing screws, clips, or connectors, following manufacturer instructions.
- Inspect and replace worn or damaged parts, ensuring proper fit and secure attachment during reassembly.
- Test the cleaner after repair to confirm water flow, suction, and movement are functioning correctly.

AQBB R0524800 Side B Direction Control Device Compatible with Zodiac Baracuda MX8 and MX8 Elite,MX8 Series Suction Pool Cleaners Replacement Parts
R0524800 Side B Direction Control Device Compatible with Zodiac Baracuda MX8 and MX8 Elite,MX8 Series Suction Pool Cleaners…
As an affiliate, we earn on qualifying purchases.
As an affiliate, we earn on qualifying purchases.
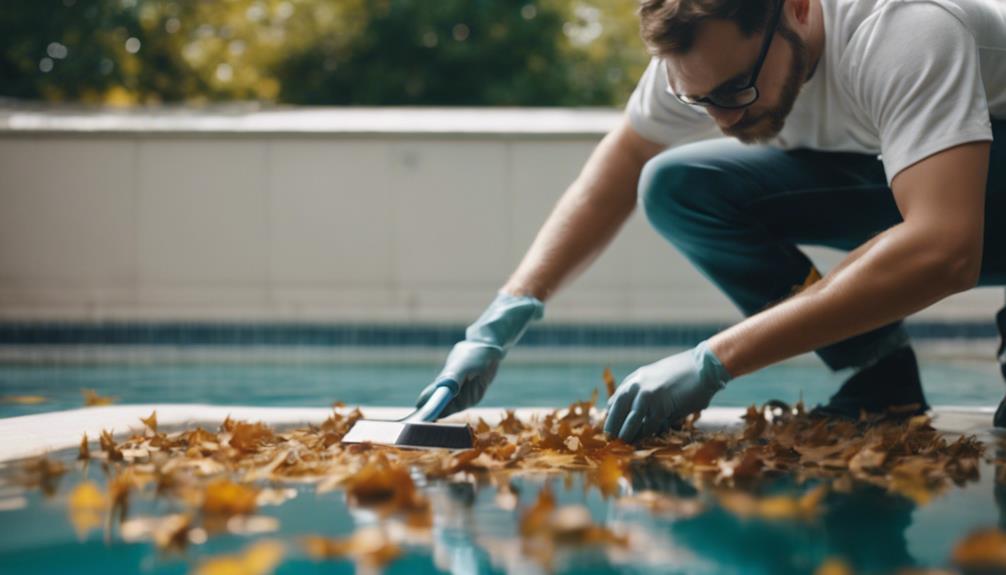
Identifying Worn or Damaged Components
To keep your suction pool cleaner working efficiently, you need to know how to spot worn or damaged parts. Regular pool maintenance includes inspecting components during your cleaning schedule. Look for cracks, tears, or warping in hoses, brushes, and seals—these are common signs of wear. If you notice reduced suction power or uneven movement, it may indicate a damaged part. Check the wheels and tracks for signs of deterioration or misalignment. Also, inspect the float and roller assembly for cracks or deformities. Staying vigilant during routine maintenance helps prevent minor issues from escalating, saving you time and money. Being aware of the performance of electric bikes can also inspire modifications to enhance your pool cleaner’s performance and durability. Additionally, understanding the various types of portable camping gear can provide insights into selecting durable and reliable replacement parts for your cleaner. Regularly reviewing top-rated laundry detergents and their features can also inform you about choosing better materials for your pool cleaner’s parts, ensuring longevity.

6 Pack Pool Cleaner Hose Replacement Kit for Mx6 Mx8,R0527700 Pool Vacuum Twist Lock Hose Replacement Parts,Single length 39 inches
Number of hoses: 6 pool cleaner hose.Single length 39 inches, and compatible with MX6 MX8 pool cleaner R0527700.Transportation…
As an affiliate, we earn on qualifying purchases.
As an affiliate, we earn on qualifying purchases.
Gathering the Necessary Tools and Replacement Parts

Before you start replacing parts on your suction pool cleaner, it’s essential to gather the right tools and replacement components. Proper preparation ensures your pool maintenance goes smoothly and aligns with your cleaning schedule. Collect basic tools like screwdrivers, pliers, and a replacement parts kit specific to your cleaner model. Use the table below to identify common tools and parts needed:
| Tool/Part | Purpose | Notes |
|---|---|---|
| Screwdriver | Remove housing or panels | Phillips or flat-head |
| Replacement Hose | Replace damaged suction line | Ensure compatibility |
| O-rings/Seals | Seal connections, prevent leaks | Check for wear |
| Brushes/Brooms | Keep debris agitated | As per cleaning schedule |
Having these ready reduces downtime and keeps your pool in top shape. Additionally, understanding the effectiveness of replacement parts can help you make informed decisions about maintenance and ensure your cleaner performs optimally. Considering the material quality of replacement components can also influence their durability and overall cleaning performance. Being aware of common issues can help you troubleshoot and address problems promptly.
Dolphin Nautilus CC Automatic Robotic Pool Vacuum Cleaner, Wall Climbing Scrubber Brush, Top Load Filter Access, Ideal for Above/In-Ground Pools up to 33 FT in Length
WALL-SCRUBBING POWER: Dolphin Nautilus CC climbs walls efficiently, ensuring thorough cleaning on any pool surface, no matter the…
As an affiliate, we earn on qualifying purchases.
As an affiliate, we earn on qualifying purchases.
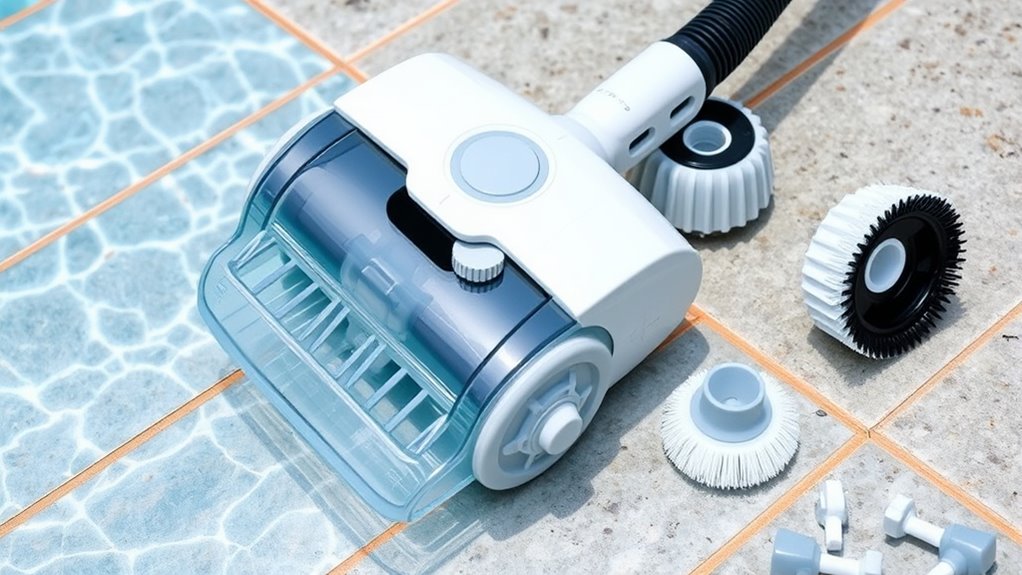
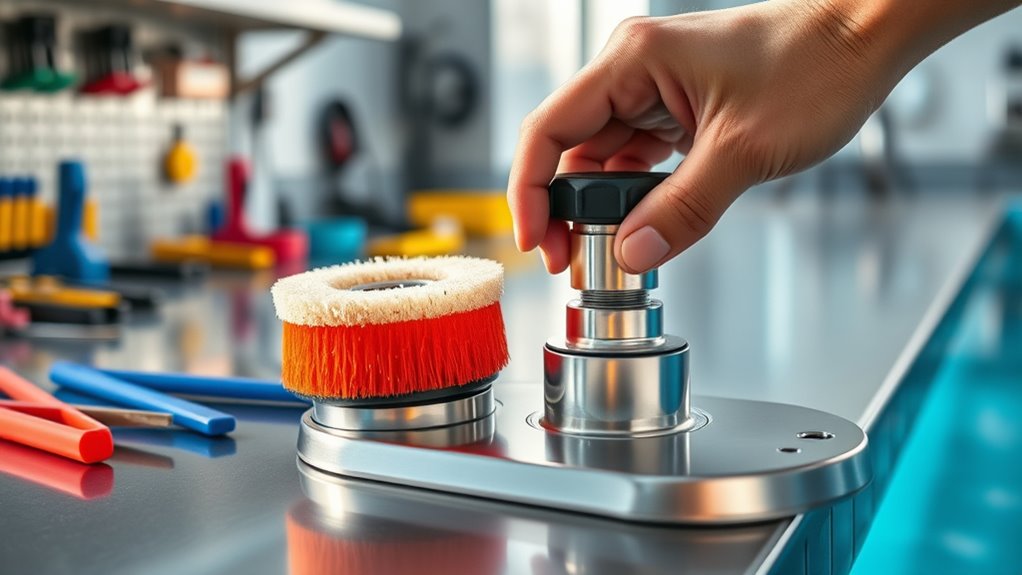
Removing and Replacing Brushes and Brooms
Removing and replacing brushes and brooms is a straightforward process that helps maintain your pool cleaner’s effectiveness. Regularly inspecting these parts ensures they’re clean and functioning properly, which aligns with your cleaning schedule. To remove them, turn off your cleaner and detach the brushes or brooms from their mounts, usually by sliding or unscrewing them. When replacing, make sure the new parts are securely attached to avoid malfunctions. Keep in mind warranty considerations—using genuine replacement parts and following manufacturer instructions helps protect your warranty. Replacing worn brushes and brooms not only maintains reliable cleaning but also extends the life of your pool cleaner. Doing this regularly keeps your pool sparkling and reduces the need for costly repairs. For optimal results, select high-quality replacement parts compatible with your cleaner model, which can also contribute to better performance and longevity of the equipment. Additionally, choosing parts that meet safety standards ensures safe operation and protects your investment. Proper tuning of your pool cleaner can further optimize its cleaning efficiency and lifespan. Regular maintenance, including timely replacements, is essential for maintaining optimal cleaning performance and preventing unnecessary breakdowns.

HTH 67227 Swimming Pool Care Filter Cleaner, Quickly and Effectively Cleans and Prolongs Life of Pool Filter, Improves Filtration Efficiency, Compatible with All Filter Types, 32oz
BENEFITS: Clears out all the gunk that the swimming pool filter catches so that it can continue to…
As an affiliate, we earn on qualifying purchases.
As an affiliate, we earn on qualifying purchases.
Swapping Out Hoses and Connections
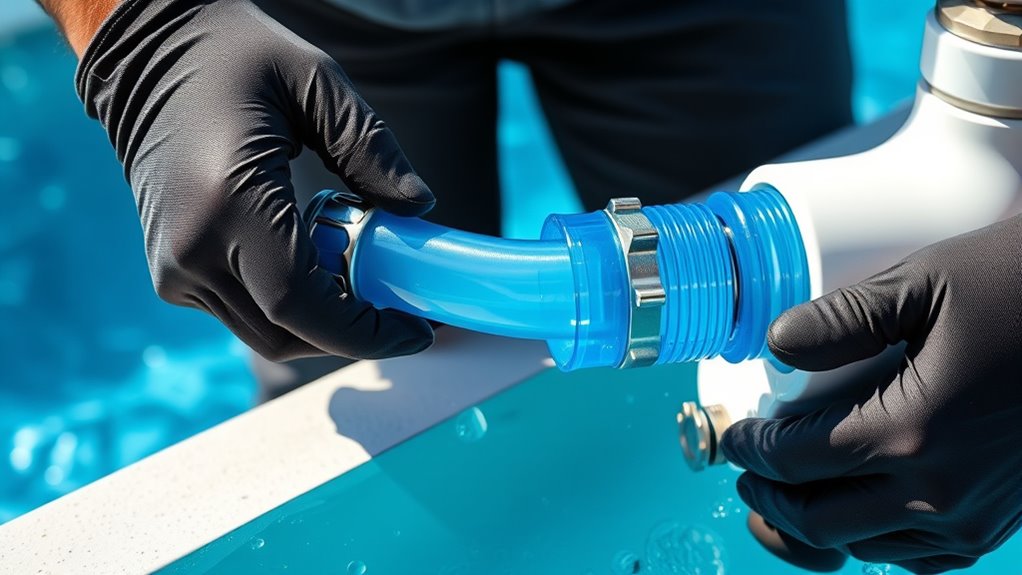
Start by inspecting your hoses for any cracks, leaks, or wear that could affect performance. Make sure all connection points are secure and tightly fitted to prevent leaks or disconnections during cleaning. If you find any damaged parts, replace them promptly to keep your pool cleaner working efficiently. Regularly check for signs of wear to catch issues early and maintain optimal function. Additionally, understanding trust issues can help you assess the reliability of your equipment and ensure it operates smoothly. Recognizing the importance of filtration systems and their role can help you select the best replacement parts for your specific cleaner. Incorporating regular maintenance practices can further extend the lifespan of your pool cleaner and ensure consistent performance.
Inspecting Hose Integrity
Inspecting hose integrity is essential to guarantee your suction pool cleaner functions effectively. You should check for cracks, leaks, or stiffness that could hinder performance. Ascertain the hose remains flexible; a stiff hose indicates age or damage. Perform pressure testing by sealing both ends and applying gentle pressure to spot leaks or weak spots. Regular inspection helps prevent equipment failure and prolongs the lifespan of your pool cleaner. Additionally, inspecting connections for secure fitment ensures optimal operation and prevents water loss during cleaning cycles. Maintaining proper connection integrity is vital for consistent cleaning results. Ensuring proper maintenance practices can also help identify issues early and maintain peak equipment performance.
Securing Connection Points
When swapping out hoses and connections on your suction pool cleaner, ensuring a secure fit is crucial for maximum performance. Loose connections can reduce suction, making your cleaning less effective and disrupting your pool maintenance routine. To secure connections properly:
- Check that hoses are fully inserted into the fittings
- Twist connections until they click into place
- Inspect rubber gaskets for wear and replace if needed
- Tighten clamps securely without over-tightening
- Remember to maintain proper connection quality to prevent leaks and ensure optimal suction. Regularly inspecting connection points helps maintain consistent cleaning performance and prolongs your cleaner’s lifespan. A snug fit maintains ideal suction, which supports your cleaning schedules and keeps your pool pristine. Regularly verifying connection points prevents leaks and improves efficiency. Remember, secure connections are essential for effective pool maintenance and prolonging your cleaner’s lifespan. Taking these simple steps ensures your suction pool cleaner performs at its best every time.
Replacing Damaged Parts
If your hoses or connections become damaged, replacing them promptly is essential to maintain your pool cleaner’s performance. Damaged parts can disrupt your cleaning schedule and reduce efficiency, making regular pool maintenance more difficult. Inspect hoses and connections regularly for cracks, leaks, or wear. To swap out damaged hoses or fittings, turn off your cleaner and disconnect it from the skimmer or pump. Remove the faulty part carefully, then attach the new hose or connection securely, ensuring it fits tightly to prevent leaks. Keeping replacement parts on hand helps you stay ahead of potential issues. This proactive approach ensures your pool cleaner operates smoothly, preserving your cleaning schedule and keeping your pool pristine. Properly maintaining hoses and connections minimizes downtime and extends the lifespan of your cleaner.
Replacing Filters and Other Internal Parts
You’ll need to identify worn filters before replacing them to guarantee your cleaner works efficiently. Proper disassembly techniques help prevent damage to internal parts and make the process smoother. Once you’ve removed the old parts, installing the new filters and components correctly is essential for peak performance.
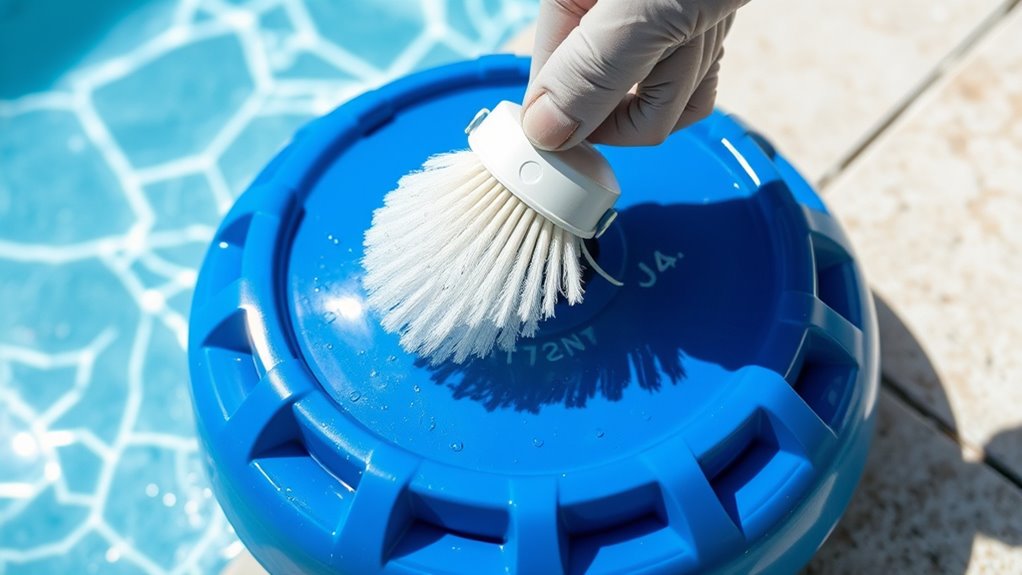
Identifying Worn Filters
Worn filters can substantially reduce your suction pool cleaner’s efficiency, making it important to identify them early. Over time, filters may become damaged, clogged, or lose their filtering ability, impacting overall performance. During routine filter maintenance, look for signs like tears, holes, or a significant buildup of debris. Additionally, if your cleaner’s suction seems weaker or it’s struggling to pick up dirt, worn filters could be the culprit. Keep in mind that adhering to regular cleaning schedules helps prevent filter wear and ensures ideal operation. To test your filters:
- Check for visible tears or holes
- Notice if suction decreases unexpectedly
- Observe if debris clogs the filter quickly
- Monitor for persistent dirt in the water despite cleaning
Timely replacement keeps your cleaner functioning efficiently.
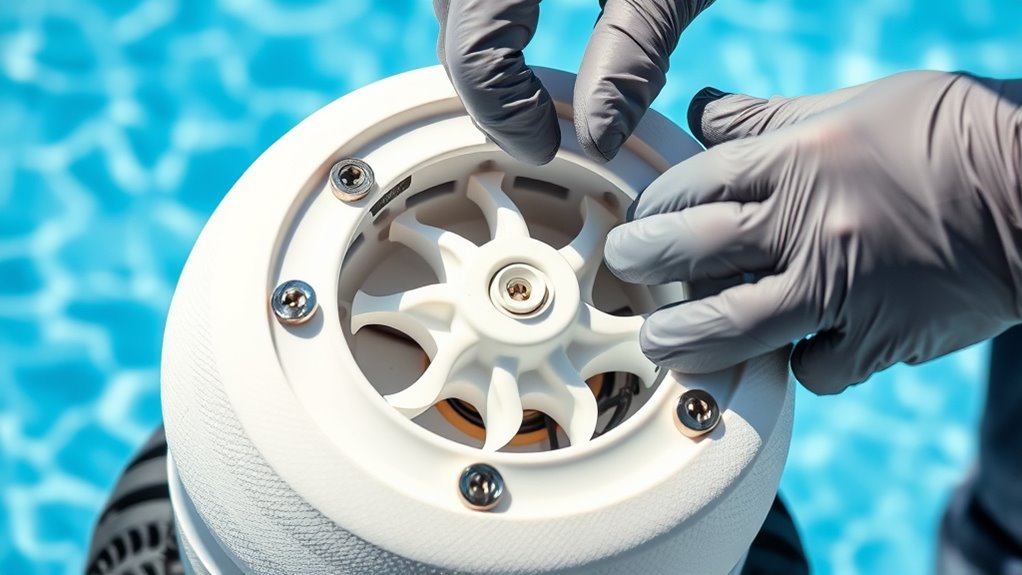
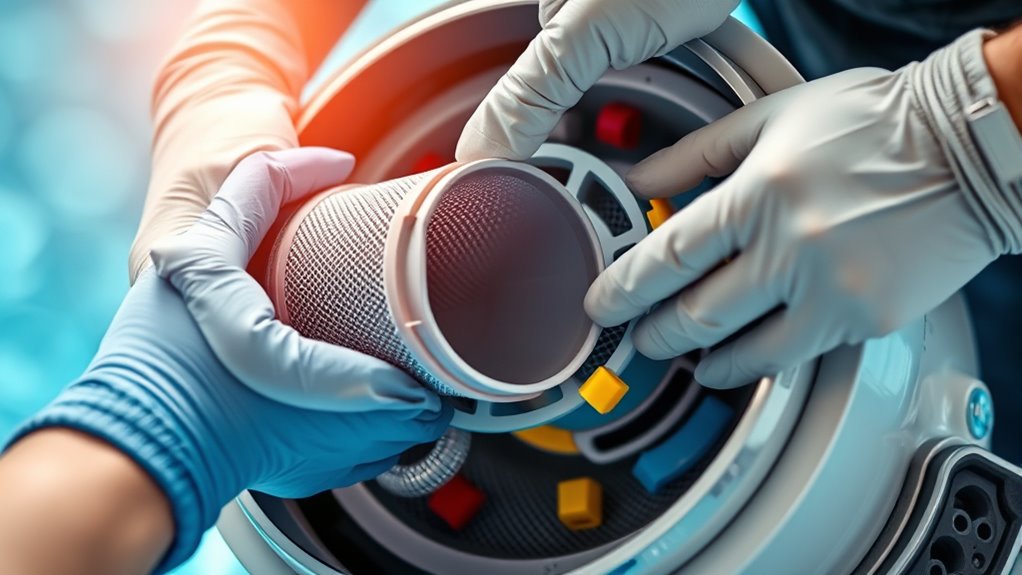
Proper Disassembly Techniques
To replace filters and other internal parts on your suction pool cleaner, start by unplugging the unit and removing it from the pool. Before disassembly, check your pool’s chemistry to ensure proper chemical balance, which prevents damage during maintenance. Wear safety precautions like gloves and eye protection to avoid injury from sharp components or debris. Carefully remove screws or clips holding the housing together, keeping track of small parts. Gently separate the casing, avoiding force that could damage internal parts. Take note of how components are positioned for reassembly. Keep your workspace clean to prevent dirt from contaminating internal parts. Proper disassembly guarantees you won’t damage delicate parts and makes reassembly easier, maintaining your cleaner’s efficiency and longevity.
Installing Replacement Parts
Once you’ve disassembled the cleaner and identified the parts that need replacing, carefully position the new filters or internal components in their designated spots. Proper installation guarantees your pool cleaner functions efficiently and supports overall pool maintenance. Before sealing everything back up, double-check that each part is seated correctly. To help, keep these tips in mind:
- Align filters securely to prevent leaks or blockages
- Confirm internal parts are fitted snugly for ideal suction
- Clean surrounding areas to avoid debris interference
- Reassemble in reverse order, ensuring all clips and screws are tight
Installing new parts correctly also helps maintain proper chemical balancing in your pool. Accurate installation reduces strain on your cleaner, leading to better performance and clearer water with less effort.
Testing the Cleaner After Repairs
After completing repairs on your suction pool cleaner, it’s vital to test it thoroughly to guarantee everything functions correctly. Turn on the pool pump and observe the water flow through the cleaner’s intake. Adequate water flow ensures the cleaner is drawing debris properly, indicating that the suction power is sufficient. Check if the cleaner moves smoothly across the pool surface without hesitation or unusual noises. If the suction seems weak or the cleaner isn’t moving effectively, recheck the installed parts for proper alignment or leaks. Make sure all hoses and connections are secure. Running the cleaner in the pool for a few minutes helps confirm it’s operating at its best. Proper testing prevents future issues and ensures your cleaner keeps the pool spotless.
Frequently Asked Questions
How Often Should I Replace Parts on My Suction Pool Cleaner?
You should check your suction pool cleaner regularly to determine when parts need substituting. Follow a maintenance schedule based on the part’s longevity and wear. Typically, brushes, hoses, and seals may need replacing every 6 months to a year, but this varies depending on usage and water conditions. By inspecting your cleaner frequently, you ensure it operates efficiently and prolong its lifespan, saving you time and money in the long run.
Can I Upgrade to Higher-Quality Replacement Parts?
Yes, you can upgrade to higher-quality replacement parts, but you should consider compatibility concerns first. Check if the upgraded parts fit your specific suction pool cleaner model to guarantee proper function. Upgrading can improve performance and durability, but always verify that the new parts are compatible to avoid damage or malfunctions. Doing so helps you get the best results without compromising your cleaner’s efficiency.
Are There Compatibility Issues Between Different Cleaner Models?
Your pool cleaner’s performance hinges on understanding model compatibility and part interchangeability—it’s like fitting puzzle pieces together! You might run into compatibility issues if you mix different model parts, which could make your cleaner as useful as a screen door on a submarine. Always check manufacturer guidelines for model compatibility before swapping parts. This way, you guarantee smooth operation and avoid any costly mistakes that could sink your pool cleaning efforts.
What Safety Precautions Should I Take During Repairs?
When repairing your suction pool cleaner, you should prioritize electrical safety by unplugging the unit before starting. Make sure you use proper tools to avoid damage or injury, and handle components carefully to prevent electrical shocks. Always follow manufacturer instructions, wear gloves if necessary, and work in a dry area. Taking these precautions guarantees your safety and helps you complete repairs efficiently and correctly.
How Do I Prevent Future Part Wear and Damage?
To prevent future part wear and damage, follow regular maintenance tips and consult troubleshooting guides to identify issues early. Keep your suction pool cleaner clean, check for debris, and replace worn parts promptly. Inspect hoses, brushes, and filters regularly. Proper storage when not in use also helps prolong lifespan. Staying proactive guarantees your cleaner operates smoothly and reduces costly repairs, saving you time and money in the long run.
Conclusion
By following these steps, you can confidently replace worn parts on your suction pool cleaner and keep it running smoothly. While it might seem complex at first, taking your time and using the right tools makes the process manageable. Remember, regular maintenance extends your cleaner’s lifespan and saves you money in the long run. Don’t hesitate to tackle repairs yourself—you’ll gain both confidence and a cleaner pool, proving that DIY can be both effective and rewarding.