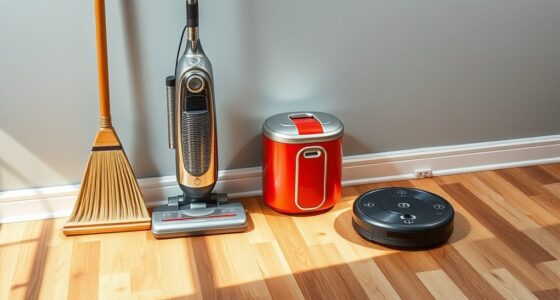
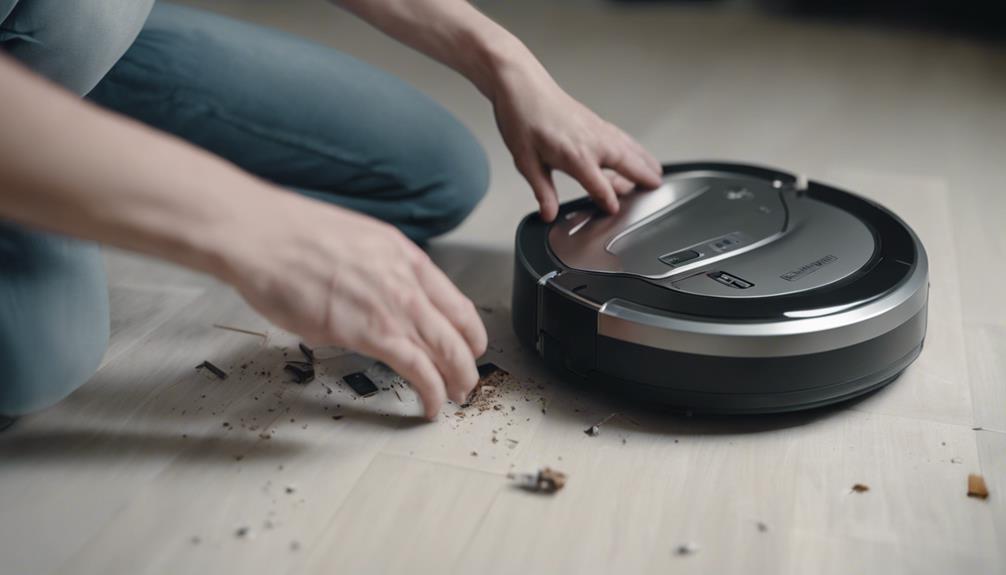
In order to open your robot vacuum cleaner, you will need tools such as a screwdriver and pliers. Carefully remove the external screws and then use a flat tool to separate the edges of the housing. Begin at the corners and lift off the cover to access components like the motor and sensors. Locate the battery compartment, check for any damage, and disconnect it gently. Clean the brush by opening the brush compartment. Refer to the manufacturer’s guide for troubleshooting tips and remember to regularly maintain the filters and brushes. Check for any clogs or blockages in the wheels and sensors to keep your vacuum cleaner in good working order. For more detailed instructions, make sure to consult the manufacturer’s manual. Following robot vacuum cleaner maintenance tips can help prolong the life and efficiency of your appliance. By routinely inspecting and cleaning the different components, you can ensure that your robot vacuum cleaner will continue to operate effectively for many years to come.
Key Takeaways
- Gather necessary tools and prepare a clean workspace.
- Carefully remove external screws and use a prying tool.
- Lift off the top cover to access internal components.
- Locate and inspect the battery compartment for maintenance.
- Regularly clean filters, dustbins, and brushes for optimal performance.
Gathering Necessary Tools
Before opening the robot vacuum cleaner, gather essential tools such as a screwdriver, prying tool, and cleaning cloth. Having a flashlight on hand can also be beneficial as it helps illuminate those hard-to-see areas inside the vacuum cleaner.
Confirm your workspace is clean and well-lit to work comfortably and prevent any small parts from going missing. It's a good idea to keep a container or tray nearby to store screws and small components during disassembly, reducing the risk of losing them.
Make sure to refer to the user manual or online guides for your specific model of robot vacuum cleaner to determine the exact tools needed for opening it up. By having the necessary tools ready and a clear understanding of what's required, you'll be better prepared to tackle the disassembly process efficiently and without any unnecessary hiccups.
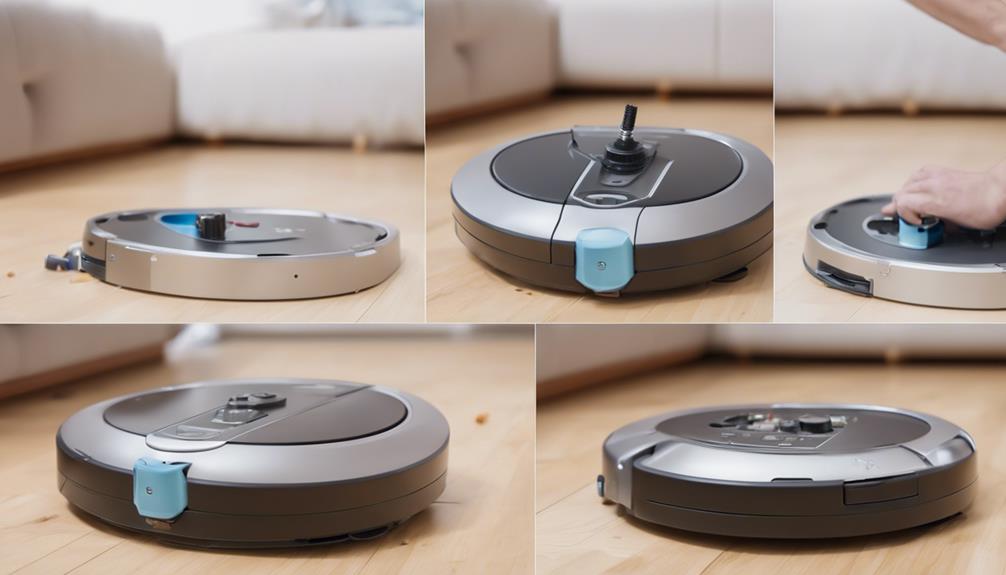
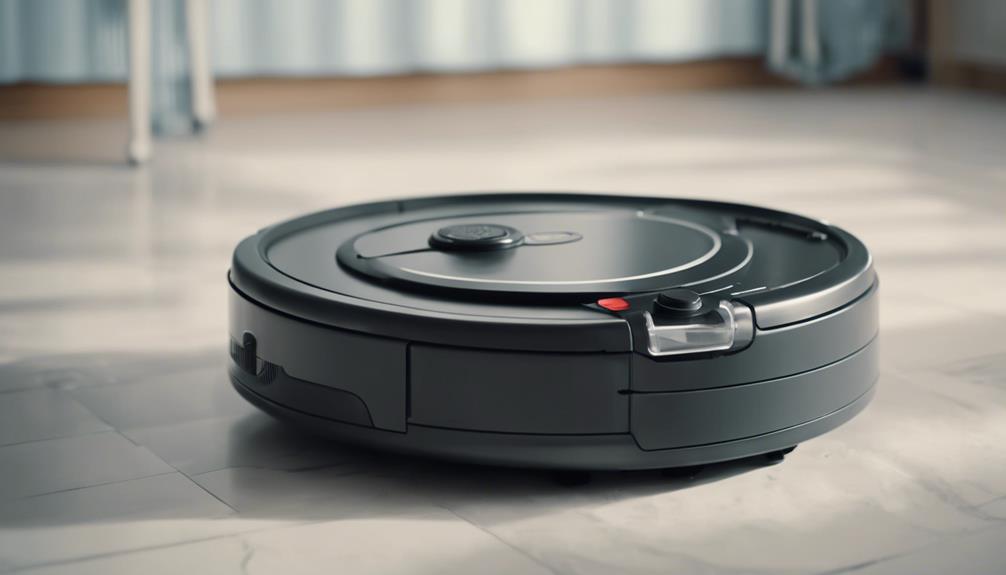
Removing External Screws
Identify the location of the external screws on your robot vacuum cleaner, typically situated on the bottom or sides of the unit. Using the appropriate screwdriver, often a Phillips or Torx, unscrew and remove these screws carefully. To assist you better, here is a visual representation of what you may see:
| Location | Quantity | Type |
|---|---|---|
| Bottom | 4 | Phillips |
| Side | 2 | Torx |
| Side | 2 | Phillips |
Make sure to keep track of the number and placement of screws to facilitate reassembly. The next step after removing the external screws is gently lifting or prying apart the outer casing to access the internal components. A common issue at this stage is misplacing screws or forgetting their original positions, so paying attention while removing them is essential. Be cautious not to exert excessive force while opening the robot vacuum cleaner to prevent damage and avoid unnecessary repairs.
Using a Flat Opening Tool
To efficiently open your robot vacuum cleaner, employ a flat opening tool to gently pry apart the housing without causing damage. Insert the flat opening tool between the seams of the robot vacuum cleaner, using steady and even pressure to avoid harming the plastic casing.
Move around the edges of the vacuum cleaner, gradually releasing the clips that hold the housing together. Be cautious around any wires or components inside the vacuum to prevent accidental damage during the opening process. The housing includes the motor and other important components that you may need to access for maintenance or repair.
Once you have successfully opened the housing, carefully lift it off to reveal the internal components. By following these steps and using the flat opening tool correctly, you can safely open your robot vacuum cleaner for necessary maintenance tasks.
Separating the Edges Carefully
Carefully separate the edges of your robot vacuum cleaner using a flathead screwdriver or prying tool. Start at a corner or seam where the top and bottom parts meet to prevent damaging the casing.
Here's how to do it effectively:
- Start at the Right Spot: Begin at a corner or seam where the top and bottom parts of the vacuum cleaner meet. This guarantees you have a good starting point for separating the edges without causing harm to the casing.
- Apply Even Pressure: Use the flathead screwdriver or prying tool to gently apply pressure while prying open the edges. Be cautious not to exert too much force in one area, as this could lead to cracking or breaking of the plastic components.
- Work Around the Perimeter: Slowly work your way around the entire perimeter of the vacuum cleaner, releasing the clips or tabs that hold the top and bottom parts together. This methodical approach helps in safely separating the edges without causing any damage.
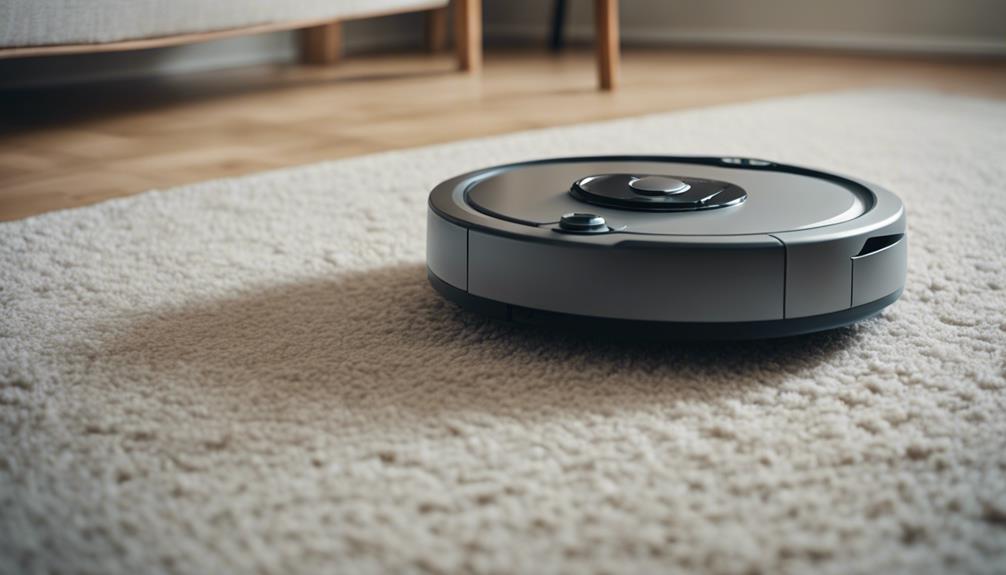
Lifting Off the Top Cover
Now it's time to lift off the top cover of your robot vacuum cleaner. This step allows you to access the inner components for maintenance tasks.
Gently remove the screws and carefully lift the cover to reveal the internal circuitry and components.
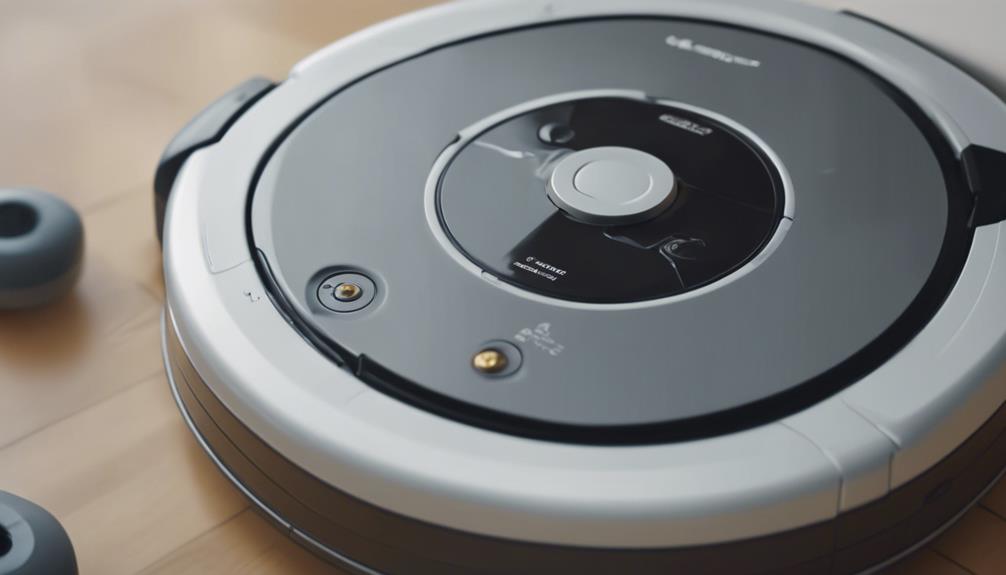
Removing Top Panel
Before attempting to access the internal components of a robot vacuum cleaner, the top panel needs to be carefully removed by lifting it off. Follow these steps to successfully remove the top cover:
- Check for Securing Mechanisms: Look for any screws or clips holding the top panel in place. Remove these screws or clips using the appropriate tools to release the top cover.
- Search for Hidden Fasteners: Some robot vacuum models may have hidden screws located underneath labels or rubber feet. Carefully inspect the top panel for any hidden fasteners and remove them before proceeding.
- Lift Off Gently: Once all screws, clips, or hidden fasteners are removed, gently lift off the top cover. Be cautious and avoid using excessive force to prevent damaging any internal components or connections. Take your time to guarantee a smooth removal process.
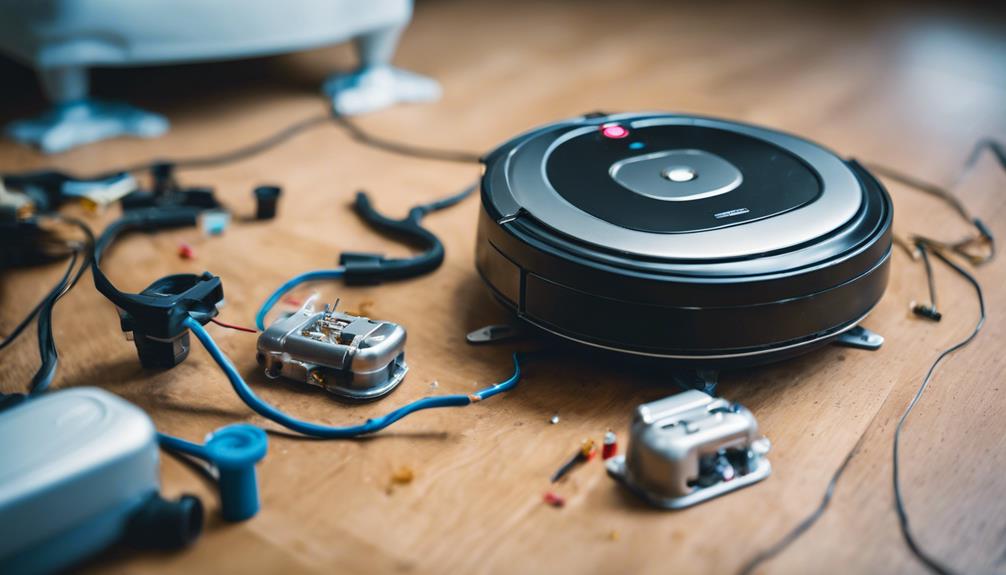
Accessing Inner Components
To access the inner components of the robot vacuum cleaner, start by removing any screws on the top cover using the appropriate screwdriver. Once the screws are out, gently lift off the top cover to reveal the motor, sensors, mainboard, and other essential parts.
Take care not to apply excessive force or damage any plastic tabs during this process to avoid complications. With the top cover removed, you can now proceed to inspect, clean, or replace any components that require attention.
Remember to keep track of the screws and components you remove to make reassembly easier later on. By accessing the inner components, you can perform maintenance tasks effectively and make sure that your robot vacuum cleaner continues to operate efficiently.
This step is important for troubleshooting issues, performing repairs, or simply conducting regular upkeep to keep your device in top condition.
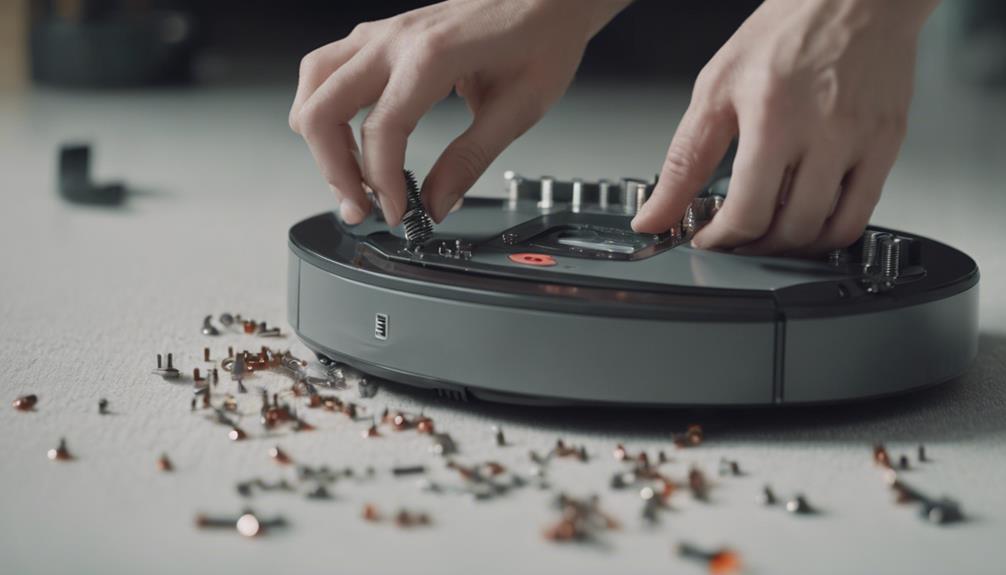
Noting Screw and Connector Locations
Take note of the locations of all screws and connectors in your robot vacuum cleaner before proceeding with opening it. Keeping track of these components will guarantee a smooth reassembly process later on.
Here are some key steps to help you in this process:
- Use a Small Container: As you remove screws and connectors, place them in a small container to prevent misplacement. This organization will save you time when reassembling the vacuum cleaner.
- Take Clear Pictures or Make Notes: Documenting the locations of screws and connectors through pictures or notes can serve as a handy reference during reassembly. This step will help you avoid confusion and ensure everything goes back in its place correctly.
- Organize Screws and Connectors: Sort the screws and connectors by size or location to make it easier to remember where each one belongs. This methodical approach will streamline the reassembly process and prevent errors.
Being Gentle and Systematic
Handle the disassembly process of your robot vacuum cleaner with care and precision to avoid causing any damage. When opening your robot vacuum cleaner, remember to be gentle and systematic in your approach. Use the appropriate tools, such as screwdrivers and prying tools, to slowly and carefully remove the necessary components.
Refer to the user manual or online guides for detailed instructions on the disassembly steps specific to your model. Begin by locating and removing visible screws holding the housing together. Then, gently pry open the housing to access the internal components. Keep track of the screws and parts you remove to guarantee a smooth reassembly process later on.
Take your time during this process and work methodically to prevent any accidental damage to the delicate components inside. By being gentle and systematic, you can successfully open your robot vacuum cleaner without causing harm.
Frequently Asked Questions
How to Open a Robot Vacuum Cleaner?
To open a robot vacuum cleaner, locate and remove the screws on its surface with a screwdriver. Gently pry open the casing using a plastic tool or flathead screwdriver. Carefully release any clips or latches.
How Do You Open the Lid on a Roomba?
You won't believe how simple it is to open the lid on a Roomba! Just flip it over, unscrew carefully, detach any wires, and voilà! You're in! Easy peasy for all your maintenance needs.
How to Open Shark AI Robot Vacuum?
To open your Shark AI Robot Vacuum, remove the dustbin and side brush for easier access to the screws. Use a Phillips screwdriver to unscrew the bottom cover. Carefully detach it to access the internal components for maintenance or repairs.
How to Change Battery in Robot Vacuum?
To change the battery in a robot vacuum, locate the battery compartment. Most robot vacuums have easy-to-access compartments. Follow manufacturer instructions to remove and insert the new battery correctly. Guarantee a secure closure for proper function.
How Do You Open a Roomba Extractor?
To open a Roomba extractor, flip the Roomba over and unscrew the brush compartment. Carefully lift the cover to reach the extractor unit inside. Gently pull out the extractor for cleaning. Reassemble by securing it back in place.
Can the Steps for Resetting a Robot Vacuum Cleaner Also Be Applied for Opening It?
If you’re wondering whether the steps for resetting a robot vacuum cleaner can also be applied for opening it, the answer is no. The resetting robot vacuum cleaner steps are specifically for resetting the device, whereas opening it requires a different set of instructions and tools.
Conclusion
Congratulations on successfully opening your robot vacuum cleaner! Remember to keep track of screws and connectors for reassembly. Approach the process with caution and patience to avoid damaging any components.
Now that you have mastered this skill, you can confidently tackle any maintenance or repair tasks that come your way. Happy cleaning!