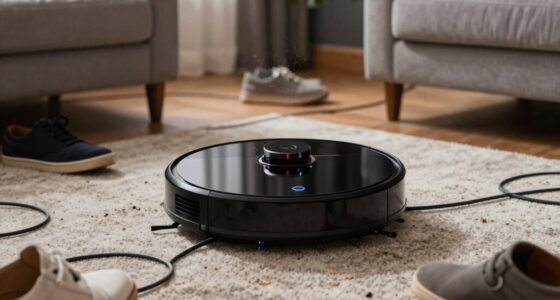
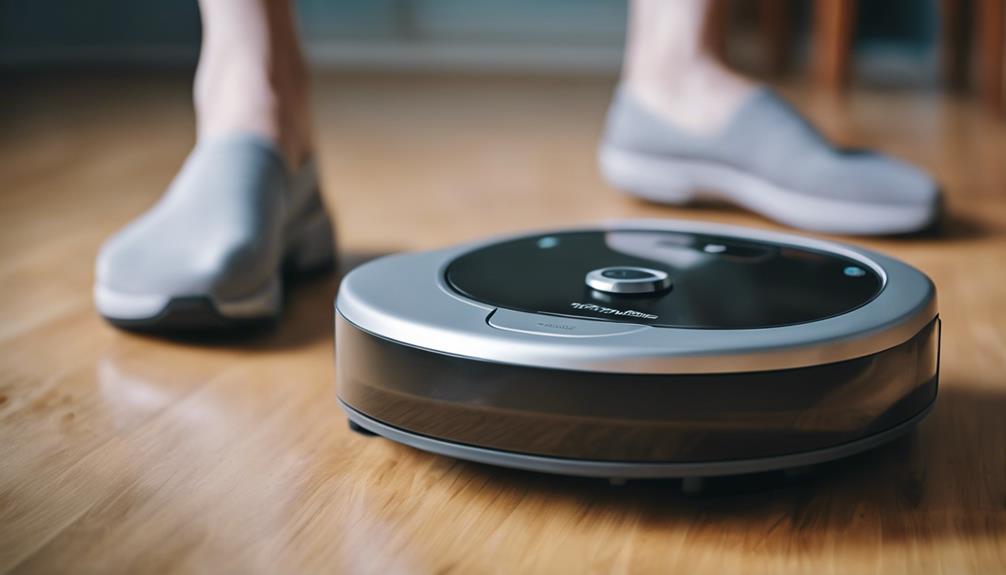
To get your robot vacuum up and running quickly, start by checking for WiFi compatibility and ensuring a stable connection. Download the official app for scheduling cleanings, following the manufacturer’s instructions. Pair your vacuum with the app using Bluetooth and set a fixed IP address for a reliable connection. Find the Access Key in the app settings for integration and connect to smart home devices like Amazon Alexa. Input room details for effective cleaning and schedule sessions as needed. Control cleaning modes, create zones, and enjoy remote monitoring. For a more detailed guide on optimizing your robot vacuum’s performance efficiently, explore further instructions. To ensure your robot vacuum cleaner performs at its peak, remember to regularly empty the dustbin and clean the brushes. You may also want to set up virtual barriers or purchase accessories for specific cleaning needs. Following these robot vacuum cleaner steps can help maintain the efficiency and longevity of your device.
Key Takeaways
- Ensure 2.4GHz WiFi compatibility and strong signal for remote control.
- Download official app, check smartphone compatibility, and pair vacuum for advanced features.
- Customize cleaning schedules to fit routine and automate sessions effortlessly.
- Assign static IP address for consistent network connection.
- Access Key for integration, connect with smart home assistants for voice control.
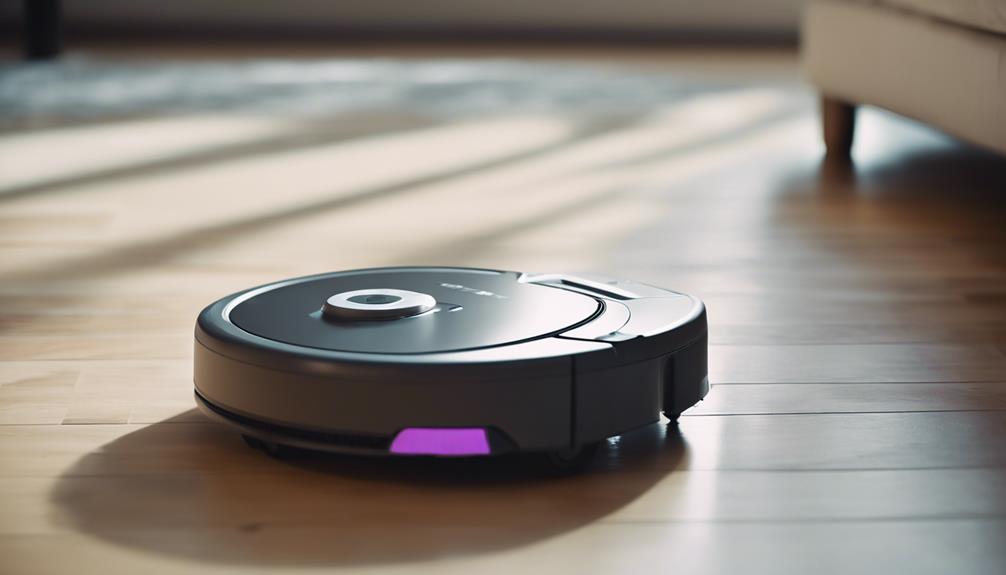
Robot Vacuum and Mop, Mapping Robotic Vacuums Cleaner with LiDAR Navigation Smart & Strong Suction, WiFi/App/Alexa/Voice Control, Obstacle Avoidance, for Home, Wood/Hard Floors, Pet Hair -Jet-black
360° LiDAR Smart Navigation: D60S robotic vacuum features advanced LiDAR mapping technology that scans your home in real-time,…
As an affiliate, we earn on qualifying purchases.
As an affiliate, we earn on qualifying purchases.
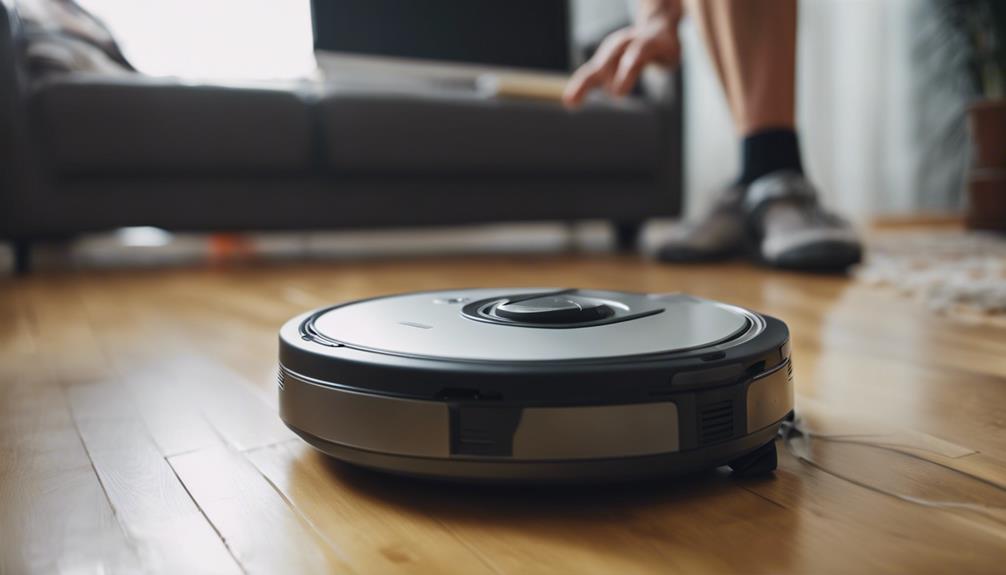
Check WiFi Connectivity
Confirm that your robot vacuum is compatible with a 2.4GHz WiFi network before proceeding with the setup process. It's important to make sure your vacuum cleaner works seamlessly with this specific WiFi frequency for best performance.
Once verified, make certain that the WiFi signal is strong and stable in the area where the robot vacuum operates. A reliable connection is essential for effective remote control and scheduling features.
To connect your robot vacuum to WiFi, follow the manufacturer's instructions provided in the app. Using the app is the most convenient way to set up the connection, as it guides you through the process step by step.
After following the prompts, verify that the robot vacuum is successfully connected to WiFi. This connection allows you to control the vacuum remotely and schedule cleaning sessions with ease.
If you encounter any WiFi connectivity issues, consider restarting the router or reconfiguring the network settings. Troubleshooting these problems promptly will ensure that your robot vacuum functions smoothly and efficiently.
Robot Vacuum and Mop, Mapping Robotic Vacuums Cleaner with LiDAR Navigation Smart & Strong Suction, WiFi/App/Alexa/Voice Control, Obstacle Avoidance, for Home, Wood/Hard Floors, Pet Hair -Jet-black
360° LiDAR Smart Navigation: D60S robotic vacuum features advanced LiDAR mapping technology that scans your home in real-time,…
As an affiliate, we earn on qualifying purchases.
As an affiliate, we earn on qualifying purchases.
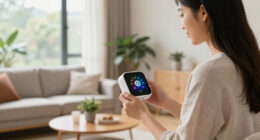
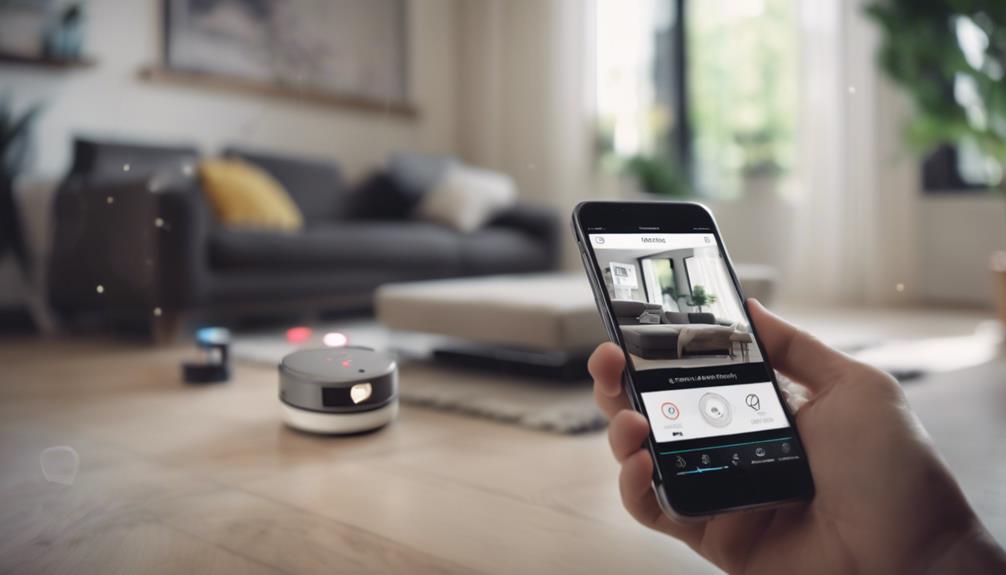
Install App for Vacuum
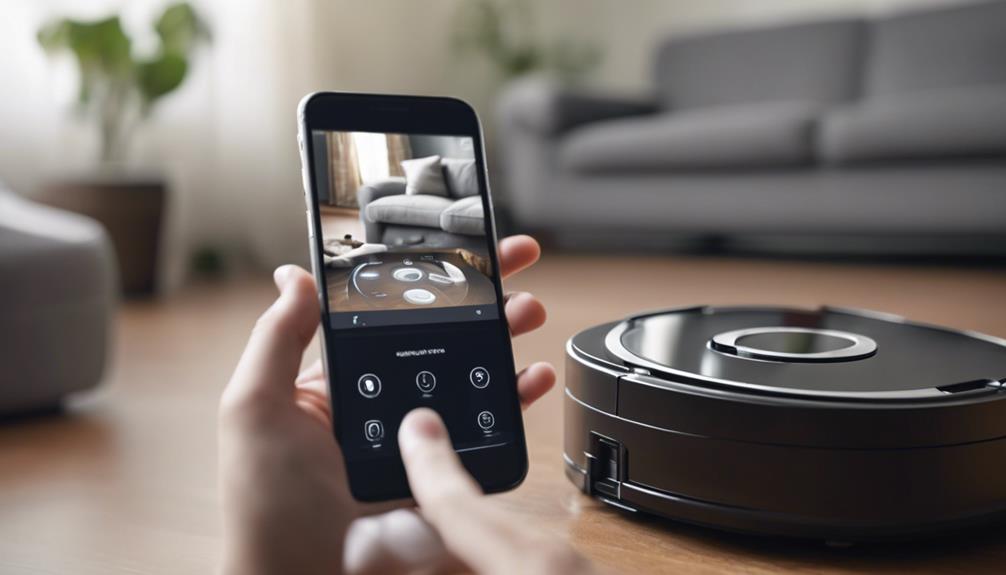
To control your robot vacuum cleaner remotely and access advanced features, you need to download and install the official app from the respective app store for your smartphone. This app is essential for scheduling cleanings, adjusting settings, and customizing your cleaning preferences. By installing the app, you can enhance the functionality of your vacuum and make your cleaning experience more efficient.
To begin, simply search for the official app of your robot vacuum on the App Store or Google Play Store. Once you find the app, download and install it on your smartphone following the on-screen instructions. Make sure your smartphone meets the app's compatibility requirements for best performance.
If you encounter any issues during the installation process, the app's support section is a valuable resource to find answers to common troubleshooting questions. Once the app is successfully installed, you'll be ready to pair it with your robot vacuum and explore its full range of features.

Tapo Dust Bag Replacement for Robot Vacuum and Mop – Includes Easy to Replace 5x 3L Disposable Dust Bags, Compatible with RV30 Max Plus & RV20 Max Plus
𝐂𝐨𝐦𝐩𝐚𝐭𝐢𝐛𝐥𝐞 𝐌𝐨𝐝𝐞𝐥𝐬 – Tapo RV30 Max Plus & Tapo RV20 Max Plus.
As an affiliate, we earn on qualifying purchases.
As an affiliate, we earn on qualifying purchases.
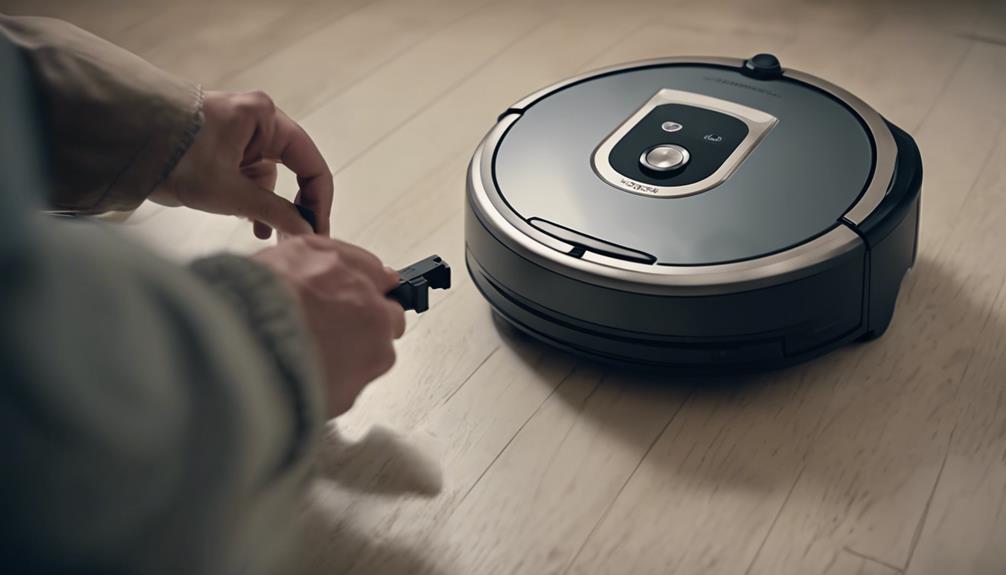
Pair Vacuum With App
To pair your robot vacuum with the app, you need to download the app from the App Store or Google Play Store. Follow the on-screen instructions to connect the vacuum to the app using Bluetooth.
This connection allows you to customize cleaning settings and schedule cleaning sessions conveniently.
App Installation Process
Make sure you have downloaded the robot vacuum's app from either the App Store or Google Play Store to begin the app installation process.
If you have trouble finding the app, you can scan the QR code provided in the instruction manual for quick access.
Once you have the app installed on your smartphone, open it and follow the on-screen instructions.
The app will guide you through the process of pairing your robot vacuum with your device. This pairing is essential as it enables you to remotely control the vacuum and set up cleaning schedules conveniently.
By completing the app installation, you activate a range of features that enhance the efficiency and usability of your robot vacuum.
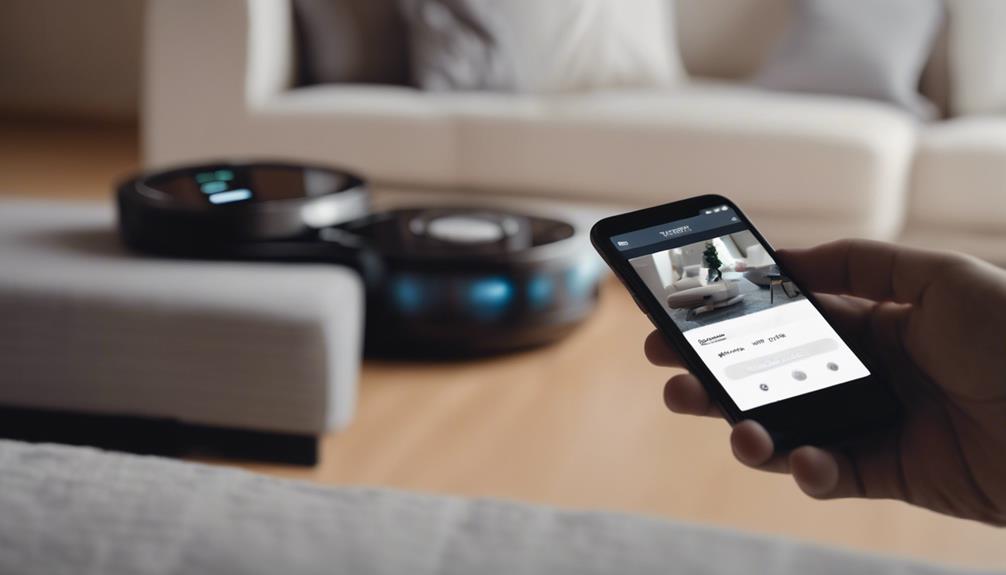
Connecting Vacuum via App
If you have successfully completed the app installation process, the next step is to connect your robot vacuum via the app by pairing it with your smartphone.
To start, make sure that Bluetooth is enabled on both your smartphone and the robot vacuum. Open the app you downloaded from the App Store or Google Play Store and follow the on-screen instructions to create an account.
Look for the option to pair the vacuum with your device; usually, this involves searching for the vacuum on the app and selecting it to establish the connection.
Once paired, you can take control of the vacuum, set cleaning schedules, and access various settings directly from your smartphone. The app provides a user-friendly interface that allows you to manage your robot vacuum efficiently.
Enjoy the convenience of monitoring and controlling your vacuum cleaner from anywhere with just a few taps on your phone.
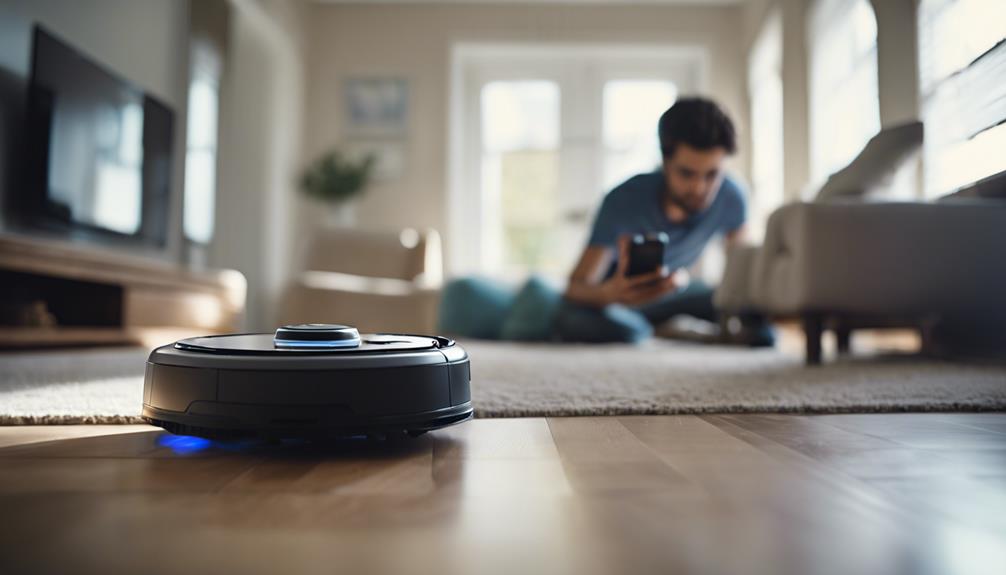
Setting Up Schedules
Pairing your robot vacuum with the app enables you to conveniently set up cleaning schedules according to your preferences. This feature offers a range of benefits, making it easier for you to maintain a clean home effortlessly.
Here's how to set up schedules effectively:
- Customize Cleaning Times: Use the app to tailor cleaning times to fit your daily routine. Whether you prefer the vacuum to run in the morning, afternoon, or evening, you can adjust the schedule to suit your needs.
- Adjust Cleaning Frequency: With the scheduling feature, you can determine how often you want the robot vacuum to clean. Set it for daily cleanings, every other day, or specific days of the week based on your requirements.
- Automate Cleaning Sessions: Take advantage of the scheduling feature to automate cleaning sessions even when you're away from home. This guarantees that your living space remains tidy without requiring your constant attention.
- Receive Notifications: Stay informed about scheduled cleanings through notifications and alerts on the app. This way, you'll always be aware of when the robot vacuum is set to clean, allowing you to prepare accordingly.

iRobot Roomba Authentic Replacement Parts – Dual Mode Virtual Wall Barrier Compatible with Roomba 600 700 800 900 Series, Black – 4636429
1-pack Dual Mode Virtual Wall Barrier gives you greater control over where your robot cleans
As an affiliate, we earn on qualifying purchases.
As an affiliate, we earn on qualifying purchases.
Set Fixed IP Address
When setting a fixed IP address for your robot vacuum, you're guaranteeing a consistent connection to your network. This setup prevents any conflicts and guarantees smooth communication between devices.
Setting a fixed IP address is a straightforward process that can be done through your router's settings.
Assigning Static IP
To assign a static IP address to your robot vacuum cleaner, access your router settings for a consistent and reliable network connection. Setting a fixed IP guarantees seamless communication and avoids potential conflicts within your network.
Follow these steps:
- Access Router Settings: Enter your router's IP address into a web browser to access the settings interface.
- Locate DHCP Settings: Look for the DHCP settings section within the router settings menu.
- Assign Static IP: Find the option to assign a static IP address and input the desired IP for your robot vacuum.
- Save Changes: Once you've entered the static IP address, save the changes in the router settings to apply the configuration.
Network Configuration Setup
Assigning a fixed IP address to your robot vacuum cleaner guarantees consistent and stable connectivity within your home network. By setting a fixed IP, you secure that the router doesn't assign a new IP to the vacuum, thereby avoiding any potential connection disruptions.
This configuration allows for easy location and control of your robot vacuum within the network, enhancing convenience and accessibility. Fixed IP addresses are particularly advantageous for devices like robot vacuum cleaners that necessitate constant communication for peak performance.
To set a fixed IP address for your robot vacuum cleaner, refer to your router's manual or online resources for detailed instructions tailored to your specific router model. Following the provided guidelines will enable you to establish a reliable network connection for your robot vacuum, enhancing its efficiency and ensuring seamless operation within your smart home ecosystem.
Take the time to configure this essential network setting to maximize the functionality and performance of your robot vacuum cleaner.
Locate Access Key
You can easily find the Access Key by accessing the settings in the robot vacuum's app or visiting the manufacturer's website. Follow these steps to locate the Access Key:
- Robot Vacuum App: Open the robot vacuum's app on your smartphone or tablet. Navigate to the settings section within the app to locate the Access Key. It's usually found under a section related to device information or connectivity settings.
- Manufacturer's Website: If you can't find the Access Key in the app, visit the manufacturer's website. Log in to your account or search for the specific product model. Look for a section that provides details on the Access Key or product registration information.
- Essential for Integration: Remember, the Access Key is important for integrating your robot vacuum with other devices or apps. It enables advanced features and connectivity with smart home systems.
- Keep it Secure: Make sure you keep the Access Key secure to prevent unauthorized access to your robot vacuum. Store it in a safe place for future reference and use.
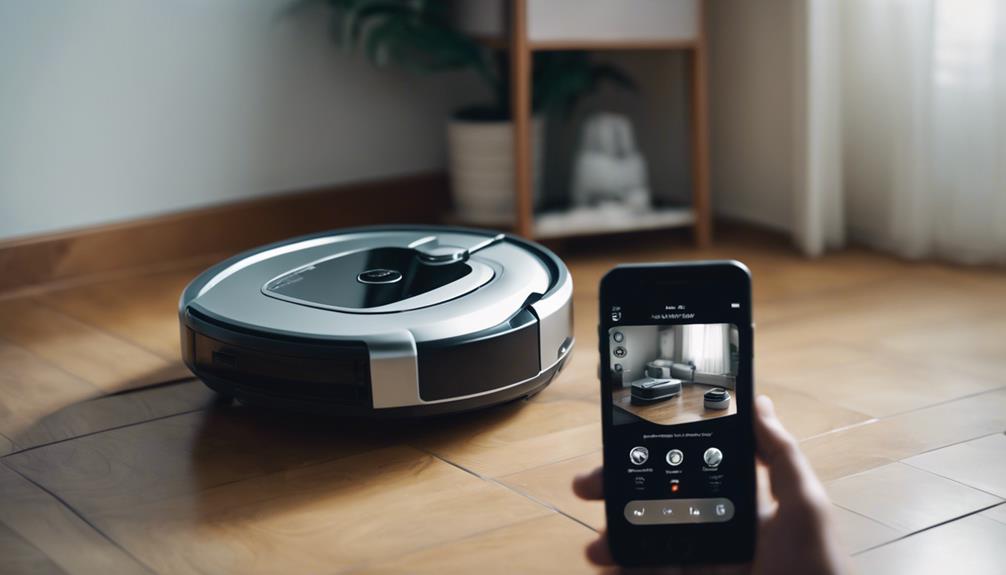
Integrate With Smart Home
Integrating your robot vacuum cleaner with smart home systems like Amazon Alexa and Google Assistant enhances its functionality and convenience. By connecting your robot vacuum to these platforms, you can enjoy the benefits of voice control, allowing you to start, stop, or schedule cleaning sessions with simple commands. This integration also enables you to monitor and control the robot vacuum remotely, even when you're away from home.
Smart home integration goes beyond basic control, offering the ability to create routines and automation that coordinate the robot vacuum's cleaning tasks with other smart devices in your home. This level of coordination enhances the efficiency of your cleaning routines and ensures that your home stays clean without requiring constant manual intervention.
Before setting up the integration, it's crucial to check the compatibility of your robot vacuum cleaner with your specific smart home system to guarantee seamless connectivity and peak performance.
Input Required Details
To begin setting up your robot vacuum cleaner effectively, start by entering essential details into the designated app. Here's what you need to do: Once the app is installed on your phone or tablet, follow the prompts to connect your robot vacuum cleaner to your home Wi-Fi network. Make sure to register your device and set up any preferences such as cleaning schedules or specific room mapping. For further assistance with the shark robot vacuum cleaner setup, refer to the user manual or online tutorials for detailed step-by-step instructions.
- Home Layout Details:
Input your room names and sizes into the robot vacuum app to help the device navigate efficiently through your space.
- Cleaning Preferences:
Customize your cleaning preferences by setting schedules, power levels, and specific cleaning zones for the robot vacuum to focus on.
- Wi-Fi Network Information:
Provide your Wi-Fi network details to ensure seamless connectivity between your robot vacuum and the app for remote control and monitoring.
- Notifications and Voice Control:
Set up notifications and alerts for maintenance reminders. If you prefer voice control, customize settings for integration with Amazon Alexa or Google Assistant.
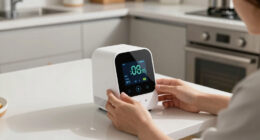
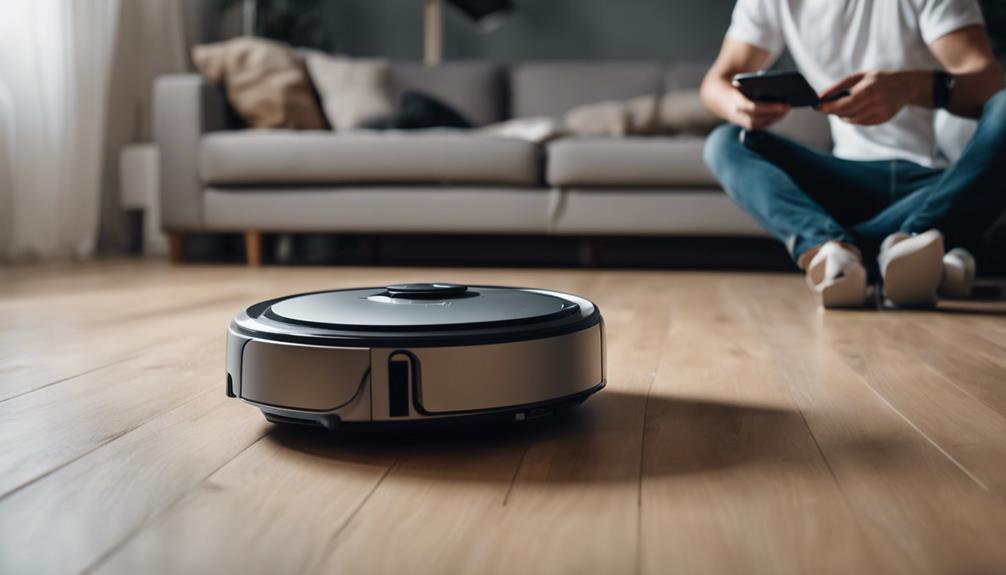
Control and Schedule Cleaning
Begin by accessing the robot vacuum's app to easily control cleaning modes, scheduling, and power settings for a tailored cleaning experience. With the app, you can schedule cleaning sessions on specific days and times, allowing for a hands-free cleaning experience that fits your lifestyle.
Take advantage of the customization features by setting up cleaning zones within the app to target specific areas in your home that need more attention. Additionally, you can establish virtual barriers or no-go zones through the app to restrict the robot vacuum's movement, ensuring it stays where you want it to clean.
Enjoy the convenience of remote control and monitoring of the robot vacuum's activities, giving you peace of mind that your floors are being cleaned efficiently. By utilizing these control and scheduling features, you can optimize your robot vacuum cleaner's performance and maintain a consistently clean home effortlessly.
Frequently Asked Questions
How Long Does Roomba Take to Set Up?
Setting up a Roomba typically takes 10-15 minutes for assembly and app installation. Once assembled, connecting to the app may take an extra 5-10 minutes. Roomba's user-friendly guides make it easy to set up quickly.
How Long Does Robot Vacuum Mapping Take?
Mapping your home with a robot vacuum usually takes 60 to 90 minutes. The process involves surveying rooms and obstacles. The time can vary depending on home size and technology used. Once done, the vacuum efficiently cleans with precision.
How to Set a Schedule for Roomba?
To set a schedule for your Roomba, open the iRobot Home app on your smartphone. Navigate to the scheduling section to customize cleaning times and preferences. Choose specific days and let your Roomba clean autonomously.
How Do You Set up Your Robot Vacuum?
Start by placing the docking station in a convenient spot for charging. Attach side brushes and fill the water tank for mopping. Download the app, create an account, pair your smartphone, and connect to WiFi for complete control.
Are the Setup Instructions for Robot Vacuum Cleaners the Same Across Different Brands and Models?
The process of installing robot vacuum cleaner can vary across different brands and models. While some may have similar setup instructions, others may require different steps for installation. It’s important to carefully follow the specific guidelines provided by the manufacturer to ensure proper installation and optimal performance of the robot vacuum cleaner.
Are the Setup Steps for a Robot Vacuum Cleaner the Same as Operating It?
Setting up an easy robot vacuum cleaner is different from operating it. The setup involves assembling the cleaner, charging, and connecting it to the app, while operating it includes scheduling cleaning sessions, handling navigation obstacles, and maintaining the device for optimal performance.
Conclusion
To sum up, setting up your robot vacuum cleaner is a simple process that can be done quickly and efficiently. By following the steps outlined above, you can guarantee that your vacuum is connected to your WiFi, integrated with your smart home, and ready to keep your floors clean.
So go ahead and get started with your new robotic helper, and enjoy the convenience of a clean home with just the touch of a button!