To keep your pet hair vacuum performing its best, clean the brush roll weekly to prevent hair buildup and check for jams. Replace or wash filters every 1-3 months, and inspect hoses and attachments for obstructions regularly. Empty the dustbin often to maintain suction, and make sure all parts are dry before reassembling. Staying consistent with these steps will prolong your vacuum’s life and keep your space cleaner—exploring these tips further can lead to even better results.

Get cleaning gear delivered free with Prime
- Fast, free delivery on millions of items
- Prime Video, Amazon Music and more included
- Member-only deals all year
Key Takeaways
- Perform weekly hair removal on the brush roll and clean the brush bar thoroughly.
- Clean or replace filters every 1-3 months, ensuring they are dry before reinsertion.
- Inspect and clear hoses and attachments weekly to prevent blockages and maintain suction.
- Empty the dustbin or dirt cup regularly, ideally after each use or when full.
- Conduct monthly checks of the motor bearings and brush bearings to prevent jams and maintain performance.

Keeping your pet hair vacuum in top shape is essential for maintaining its cleaning power and longevity. Regular maintenance ensures it continues to tackle pet hair effectively and prevents breakdowns that could leave your home less clean. To achieve this, you need a straightforward schedule that covers pet hair removal and vacuum filter maintenance, both of which are crucial for optimal performance.
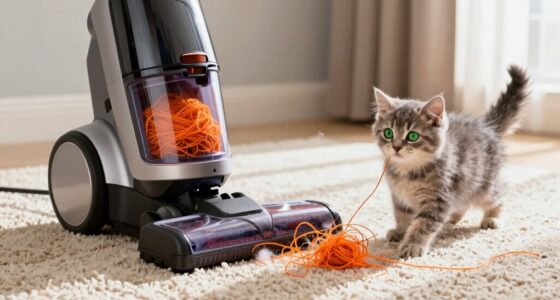
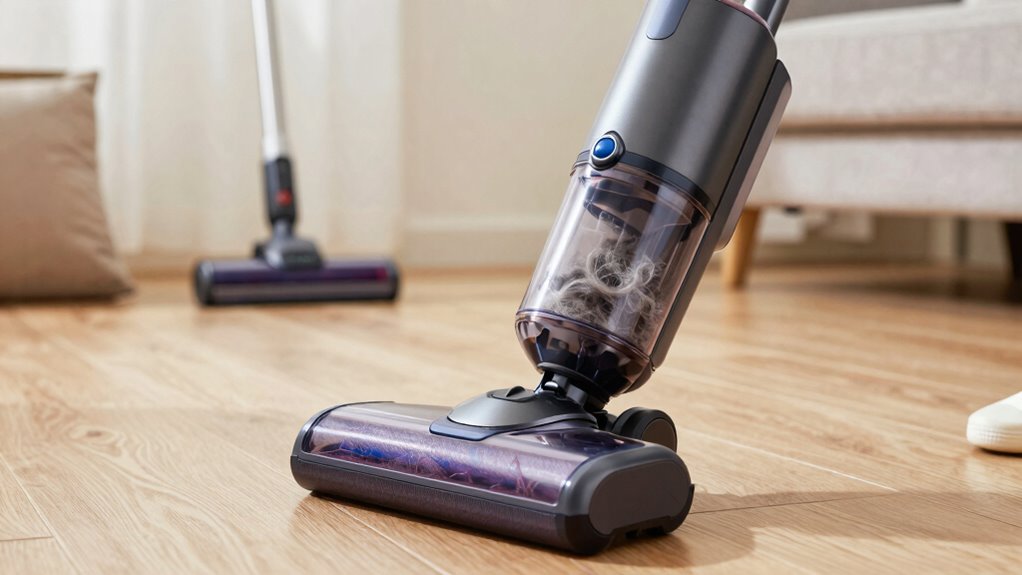
Pet hair removal should be a weekly task. Pet hair tends to accumulate quickly, especially if you have furry friends shedding year-round. Use a brush or a damp cloth to clear hair from the brush roll and brush bar. If your vacuum has a detachable brush head, remove and clean it thoroughly to prevent hair clogs. Don’t forget to check the brush bearings and remove any tangled hair or debris. This prevents the brush from getting jammed, ensuring it spins freely and picks up hair efficiently. Regularly cleaning the brush roll isn’t just about aesthetics; it directly impacts suction power and overall cleaning effectiveness. Incorporating regular cleaning routines helps maintain the vacuum’s optimal function and prolongs its lifespan.
Vacuum filter maintenance is equally important and should be part of your routine. Most vacuums have filters that trap dust, allergens, and pet dander, but these filters can become clogged over time. Check your manufacturer’s guidelines to see how often filters should be cleaned or replaced—typically every one to three months. Remove the filter carefully, tap off excess dust, and wash it with cold water if it’s washable. Allow it to dry completely before reinserting it into the vacuum. A clean filter ensures good airflow, maximizes suction, and maintains indoor air quality. If your vacuum uses a HEPA filter, replacing it periodically is vital for capturing allergens and keeping your home healthier. Maintaining good air quality is essential for a healthy indoor environment, and proper vacuum care plays a key role in this. Additionally, inspecting and replacing filters when necessary ensures your vacuum remains effective in removing airborne allergens.
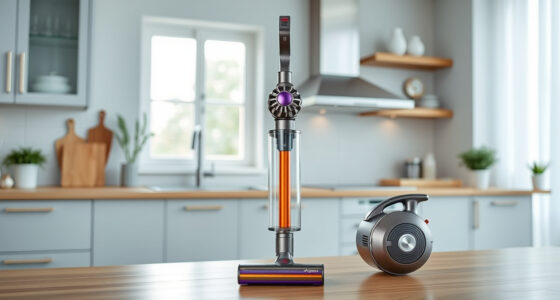
In addition to these routine tasks, inspect your vacuum’s hose and attachments regularly. Clear out any blockages or debris, especially if you notice a drop in suction. Keeping the hose clear prevents strain on the motor and prolongs the vacuum’s lifespan. Also, check the dustbin or dirt cup; empty it frequently to avoid overfilling, which can reduce suction and cause dust to escape back into the air.
pet hair vacuum brush roll cleaner
As an affiliate, we earn on qualifying purchases.
As an affiliate, we earn on qualifying purchases.
Frequently Asked Questions
Can I Use Any Cleaning Solution on My Pet Hair Vacuum?
You shouldn’t use any cleaning solution on your pet hair vacuum without checking the manufacturer’s instructions. Harsh chemicals can damage the filters and clog the vacuum, reducing pet hair removal effectiveness and overall vacuum efficiency. Instead, opt for mild, recommended cleaning agents and regularly clean filters and brushes. This maintenance helps keep your vacuum working at its best, ensuring it effectively picks up pet hair and maintains its suction power over time.
How Often Should I Replace the Vacuum’s Filters?
You should replace your vacuum’s filters every 3 to 6 months, depending on usage and filter type. Keep an eye on the filter’s lifespan—if it looks dirty or clogged, replace it sooner. Replacement tips include checking your vacuum’s manual for specific recommendations and always using compatible filters. Regularly changing filters guarantees peak suction and air quality, helping your vacuum work efficiently and last longer.
Is It Safe to Vacuum Wet Pet Hair?
Don’t try to vacuum wet pet hair; it’s like opening a can of worms. Vacuuming damp hair can damage your machine, increase vacuum noise levels, and worsen pet hair allergies. Wet hair can clog filters and cause electrical issues, so always wait until your pet’s fur is dry. Keeping your vacuum well-maintained helps reduce noise and allergens, making your home safer and more comfortable for everyone.
What Tools Are Best for Cleaning Stubborn Hair Clogs?
To clean stubborn hair clogs, use a pair of fine-tipped tweezers or a small, flexible brush to carefully remove hair buildup from the vacuum’s brush roll and intake ports. A seam ripper or a narrow nozzle attachment can also help dislodge hair stuck in tight spots. Regular pet hair removal and hair clog prevention keep your vacuum functioning smoothly, reducing the chance of future clogs and maintaining peak suction power.
Can I Upgrade My Vacuum’s Parts for Better Performance?
Yes, you can upgrade your vacuum’s parts for better performance by exploring upgrade options compatible with your model. Check your vacuum’s compatibility before replacing parts like filters, brushes, or belts to guarantee they fit and function properly. Upgrading certain components can improve suction power and cleaning efficiency, making your pet hair vacuum more effective. Always follow manufacturer guidelines to avoid damage and maximize the benefits of your upgrades.
Conclusion
Stick to this maintenance schedule, and your pet hair vacuum will perform like new. Regularly cleaning filters and emptying the bin prevents buildup, ensuring peak suction. Notably, some experts suggest that vacuuming in the opposite direction of carpet pile can dislodge embedded hair more effectively, extending your device’s lifespan. By staying consistent with these tips, you’ll keep your home cleaner and your vacuum running smoothly—proving that a little routine care truly makes all the difference.
Halloween Picks
halloween
As an affiliate, we earn on qualifying purchases.