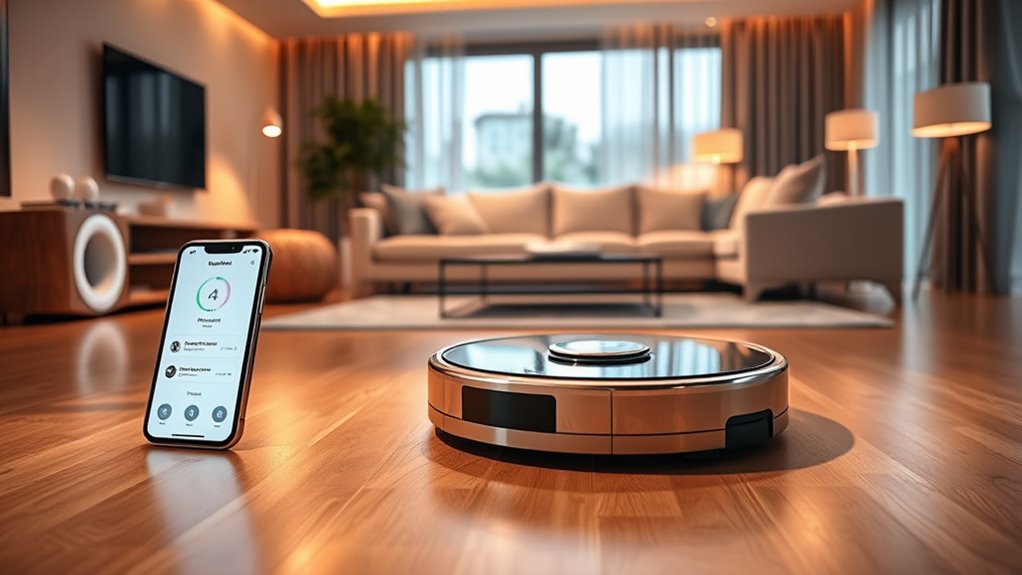
To set up your smart home vacuum successfully, start by choosing a model with good battery life, low noise, and positive reviews. Prepare your space by removing clutter and ensuring compatibility with your Wi-Fi network. Download the app, connect the device, and customize your settings and schedules. Test it out and troubleshoot any issues. For the best results, maintain the device regularly. Keep going, and you’ll discover how to optimize your smart cleaning system effortlessly.
Key Takeaways
- Choose a smart vacuum with long battery life, low noise, and positive user reviews for efficient home cleaning.
- Prepare your space by clearing clutter, pet hair, and ensuring your home’s Wi-Fi is strong and compatible.
- Download and install the app, create an account, and connect the vacuum to your Wi-Fi network securely.
- Customize cleaning schedules, zones, and voice control settings to fit your household needs and smart home ecosystem.
- Test the device, monitor performance, perform regular maintenance, and update firmware for optimal operation.

AlloyMove Cordless Vacuum Cleaner, 550W 50KPA 80Mins Self-Standing Cordless Vacuum for Home, With Wall Mount Charging/LED Display/Anti-Tangle Brush Stick Vacuum for Carpet/Pet Hair/Hardwood Floor, A05
- Powerful Turbo Suction: 50kPa with 4 adjustable levels
- Long Battery Life: Up to 80 minutes runtime
- Removable Lithium Batteries: Easily replaceable for extended use
As an affiliate, we earn on qualifying purchases.
As an affiliate, we earn on qualifying purchases.
Choosing the Right Smart Vacuum for Your Home
Selecting the right smart vacuum depends on understanding your home’s specific needs. Consider how long the device’s battery life lasts; if you have a large area, you’ll want a model with extended battery performance to clean thoroughly without frequent recharging. Noise levels also matter, especially if you live with children, pets, or work from home. Look for a vacuum that operates quietly to avoid disruptions while maintaining effective cleaning. Pay attention to battery recharge times and runtime to ensure your daily routine isn’t interrupted. Additionally, check user reviews to gauge real-world battery performance and noise levels. Choosing a model that balances long battery life with low noise will make your automated cleaning seamless and efficient, fitting smoothly into your home environment. Battery longevity is a key factor in maintaining consistent cleaning schedules and reducing the need for frequent recharging.
Preparing Your Space for Automated Cleaning
To guarantee your smart vacuum cleans effectively, you need to prepare your space by removing obstacles and clutter. First, pick up loose cables and small objects that could get tangled or blocked. Second, clear pathways on hardwood floors to prevent the vacuum from getting stuck or missing spots. Third, vacuum or sweep pet hair from high-traffic areas to reduce buildup and improve cleaning efficiency. Pet hair tends to cling to rugs and furniture, so removing it beforehand helps your vacuum do a thorough job. Keep in mind that clutter-free floors allow the vacuum to navigate smoothly and optimize coverage. Additionally, ensuring your vacuum’s filtration system is free of blockages helps maintain optimal performance. Taking these steps ensures your cleaning sessions are effective, especially on hardwood floors where debris can easily scatter.
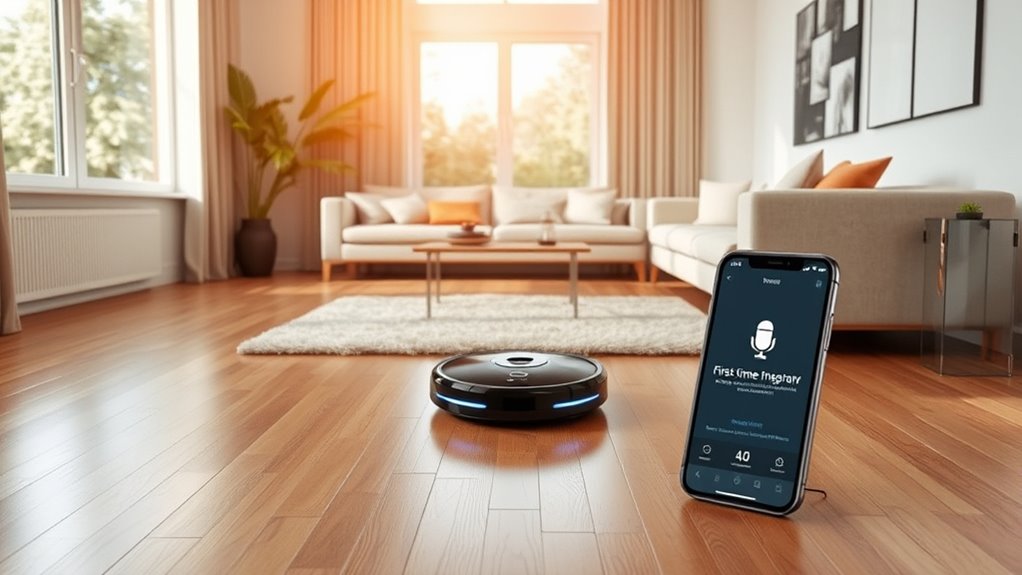
Downloading and Installing the Corresponding App
First, make sure the app you download is compatible with your device’s operating system. Then, follow the step-by-step instructions to install it smoothly. Once installed, you’ll be ready to connect your smart vacuum and start cleaning effortlessly. To enhance your experience, consider tuning your smart home devices for better performance and integration.
App Compatibility Checks
Before you can control your smart home vacuum, you’ll need to download and install its compatible app. Confirming app compatibility is key for smooth operation, voice command integration, and battery life optimization. To confirm compatibility, follow these steps:
- Check your smartphone’s operating system (iOS or Android) matches the app’s requirements.
- Verify your Wi-Fi network type supports the app’s connectivity needs.
- Review the app’s permissions to ensure it can access voice assistants and battery management features.
- Ensure the app’s color accuracy supports your device’s display for clear visual instructions and notifications.
Step-by-Step Installation
Once you’ve confirmed your app is compatible with your device and network, it’s time to download and install the app. Head to your device’s app store, search for the vacuum’s official app, and tap download. Once installed, open the app and follow the prompts to create an account. During setup, you’ll often see tips about maintaining battery life and dust bin capacity; these guarantee your vacuum runs efficiently. Proper app setup helps you monitor battery performance, so you know when to recharge, and track dust bin capacity to prevent overflows. Connecting your device via the app also allows you to customize cleaning schedules and receive alerts. A smooth installation ensures your vacuum operates at peak performance, maximizing battery life and dust bin capacity for a cleaner home. Understanding sexual health risks can also help you make informed decisions about maintaining your device and health.
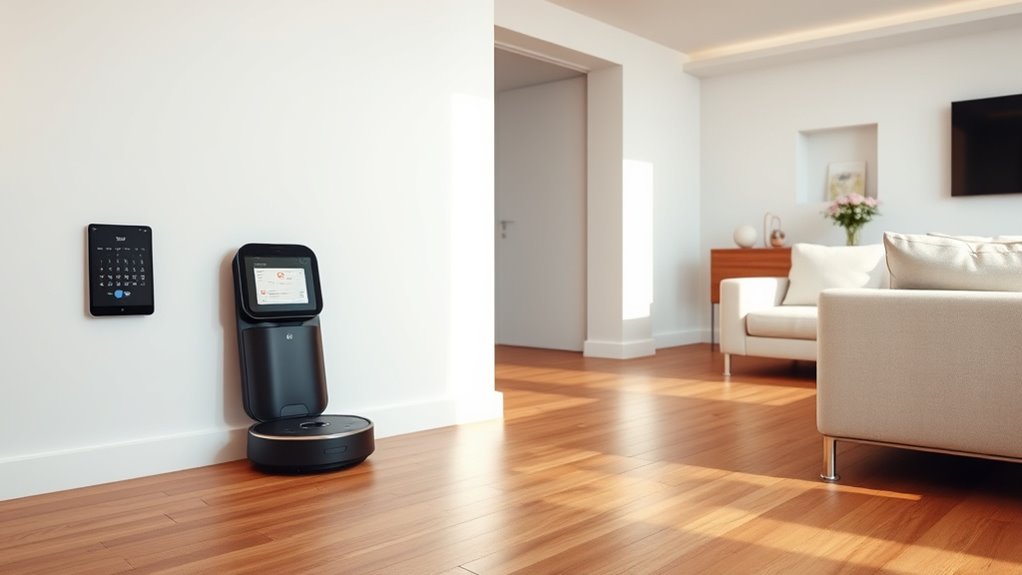
Connecting Your Vacuum to Wi-Fi and Smart Home Network

Connecting your vacuum to your Wi-Fi and smart home network is a straightforward process that allows you to control and schedule cleaning sessions remotely. To do this, you’ll typically:
- Turn on your vacuum’s Wi-Fi mode and open the companion app on your smartphone.
- Select your network and enter the Wi-Fi password to connect.
- Follow prompts to link your vacuum to your smart home system, enabling voice commands.
- Ensure your network supports the necessary protocols for smooth integration, similar to how vehicle tuning can optimize performance with proper setup.
Keep in mind, enabling voice control may raise privacy concerns, so review app permissions carefully. Once connected, you can start cleaning with simple voice commands, making your routine more convenient. Just verify your network is secure to protect your privacy and prevent unauthorized access.
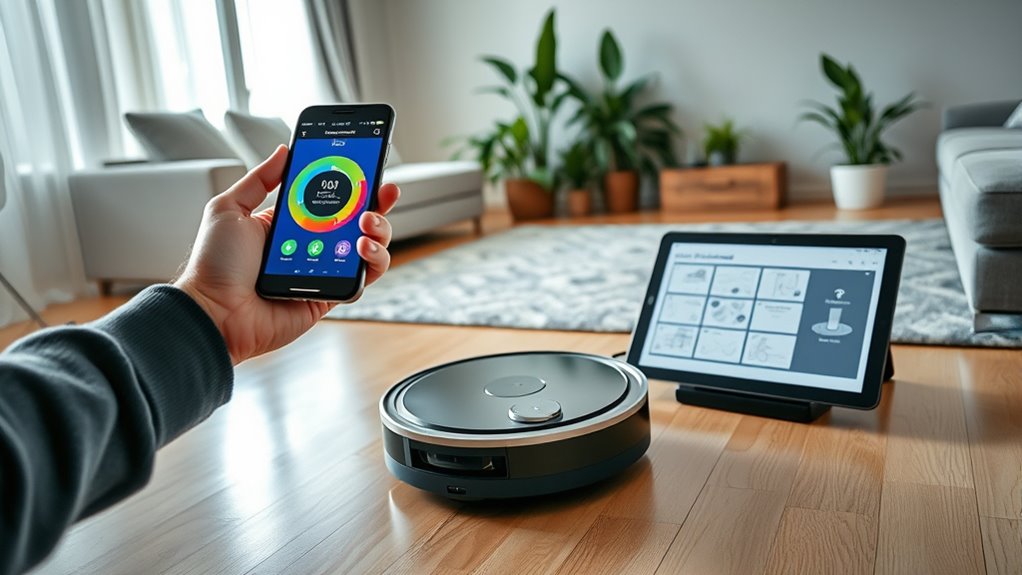
Configuring Basic Settings and Preferences
To guarantee your smart home vacuum operates efficiently, start by customizing its basic settings and preferences through the companion app. Set up voice control options so you can activate the vacuum hands-free, making cleaning more convenient. Adjust cleaning schedules and select specific areas to target, ensuring the device fits your routine. Pay attention to battery life settings; enable features like low-battery alerts or power-saving modes to extend usage time. Fine-tuning these preferences helps optimize performance and ensures the vacuum responds accurately to your commands. Regularly review and update your settings as your needs change, keeping your smart vacuum functioning smoothly and efficiently. Proper configuration is key to integrating your device seamlessly into your daily cleaning routine. Understanding fan culture can also help you better connect with other users and industry professionals, enhancing your overall smart home experience.
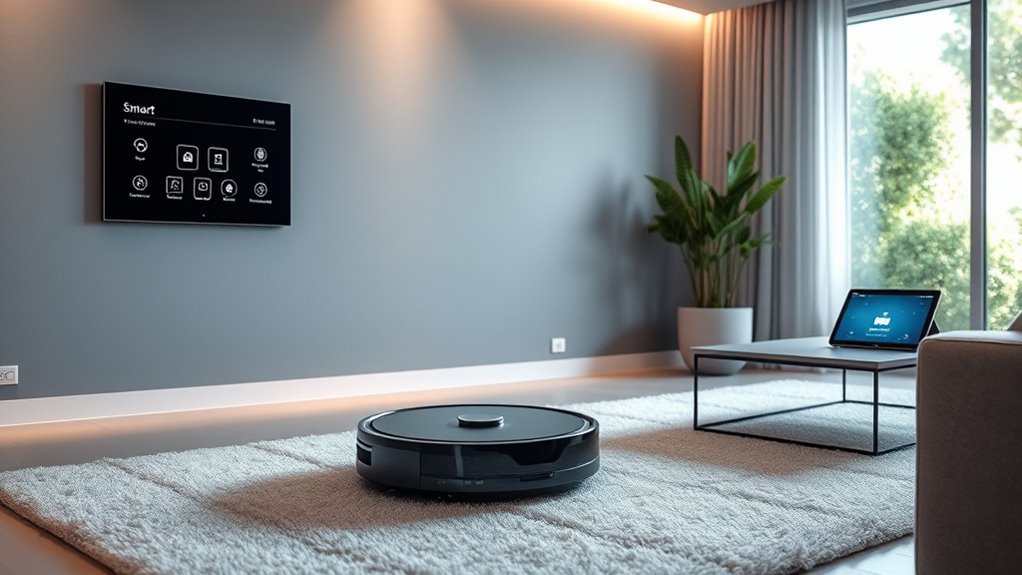
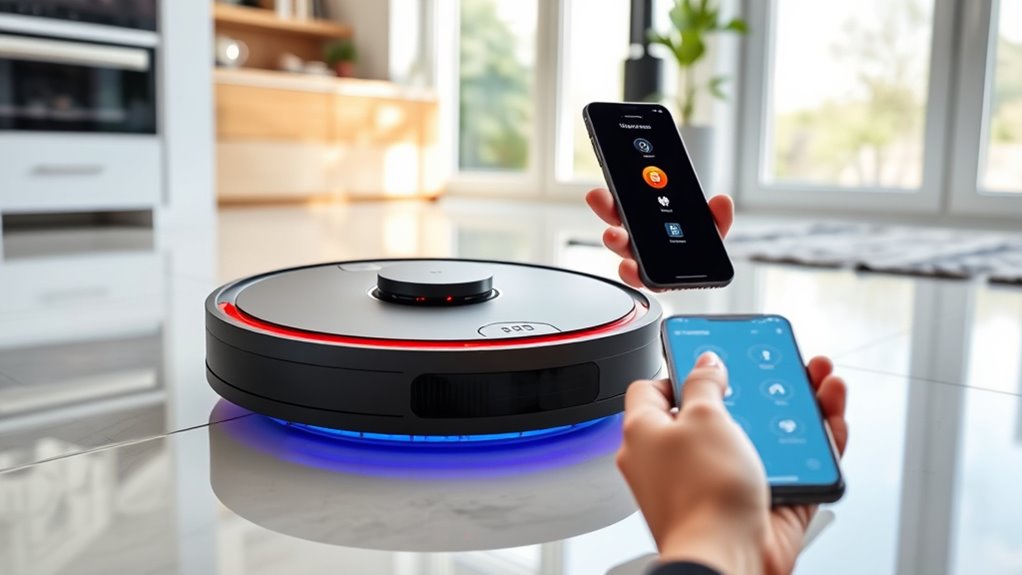
Integrating the Vacuum With Your Smart Home Ecosystem
Start by checking if your vacuum is compatible with your smart home system to avoid connection issues. Once confirmed, use the app to connect the device smoothly and explore automation options that fit your routine. This way, your vacuum seamlessly integrates and operates alongside your other smart devices. Additionally, understanding smart home ecosystem compatibility can help optimize overall device performance and user experience.
Compatibility Checks
Before integrating a smart home vacuum into your ecosystem, it’s vital to verify its compatibility with your existing devices and platforms. Compatibility testing ensures smooth device interoperability and prevents future issues. To do this effectively, consider these steps:
- Check if your vacuum supports the same smart home platform (e.g., Alexa, Google Home, or Apple HomeKit) you already use.
- Confirm the vacuum’s ability to connect with your Wi-Fi network and other smart devices.
- Review the manufacturer’s specifications for compatibility with your device versions or operating systems.
- Evaluate whether the vacuum’s connection methods and wall organization systems are compatible with your home’s infrastructure.
Performing thorough compatibility testing helps you avoid surprises during setup and guarantees seamless operation. Ensuring your smart home vacuum works harmoniously with your existing system is a key step toward a successful integration.
App Connectivity Tips
Connecting your smart home vacuum to your ecosystem can seem straightforward, but guaranteeing smooth app integration requires attention to detail. First, guarantee your app is updated and compatible with your device. Use a strong Wi-Fi connection during setup, and follow prompts carefully. Check that your user interface is intuitive and allows easy configuration of voice control features. To avoid issues, verify your voice assistant is linked properly within the app. Additionally, ensuring your device supports app connectivity can prevent potential frustrations. Test that your commands respond correctly to confirm a successful setup.
Automation Settings
Integrating your smart home vacuum into your ecosystem allows for seamless automation and enhanced convenience. To maximize its settings, start by enabling voice commands for hands-free control. Next, set schedules so your vacuum automatically cleans when you’re away or asleep. Finally, monitor the battery life regularly to ensure your vacuum doesn’t run out mid-clean. Additionally, consider hydrocolloid technology to optimize your cleaning routines, as it promotes efficient impurity removal and faster healing. Here’s what to focus on:
- Enable voice command integrations for quick, effortless control.
- Create cleaning routines that sync with your daily schedule.
- Keep an eye on battery health to maintain peak performance.
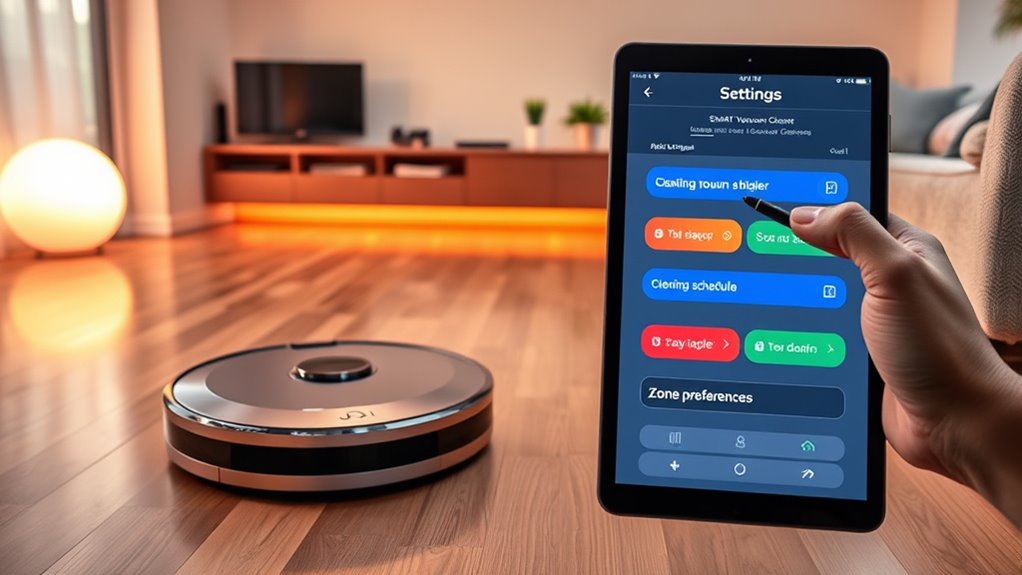
Setting Up Cleaning Schedules and Zones

Setting up cleaning schedules and zones allows you to customize your smart home vacuum to fit your daily routine and household needs. With cleaning schedules, you can set specific times for your vacuum to operate, ensuring your floors stay clean without manual intervention. Zone mapping lets you designate specific areas for targeted cleaning, so the vacuum focuses on high-traffic or messy spots. To get started, access your vacuum’s app and navigate to scheduling options. Define the days and times you want cleaning to occur, and set zones for areas that require extra attention. This level of customization helps maximize efficiency and keeps your home consistently tidy. Properly configuring cleaning schedules and zones guarantees your vacuum works seamlessly with your lifestyle, saving you time and effort. Additionally, understanding paint sprayer performance metrics can help you choose the right equipment for any home improvement project.
Testing Your Smart Vacuum and Troubleshooting Common Issues
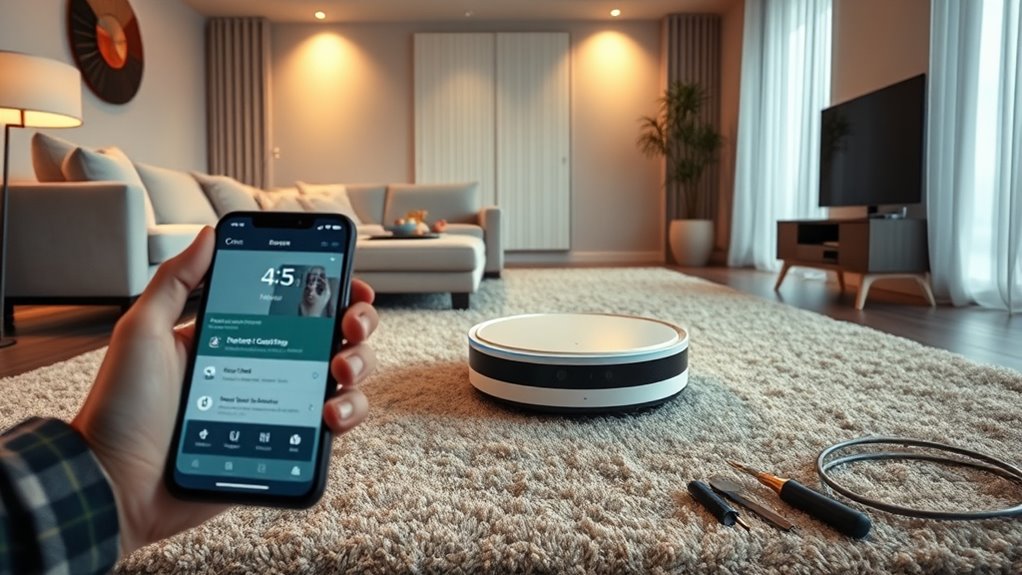
Once you’ve configured your cleaning schedules and zones, it’s time to test your smart vacuum to verify everything works smoothly. Start by giving voice commands like “Start cleaning” to ensure your device responds accurately. Check the battery life by monitoring how long it runs before needing a recharge, so you can plan for recharging times. If issues arise, troubleshoot with these steps:
After setup, test your smart vacuum with voice commands and monitor battery life to ensure smooth operation.
- Confirm the vacuum’s Wi-Fi connection is stable.
- Reset voice command settings if it doesn’t respond.
- Reposition the charging dock to ensure proper charging.
- Automation’s Role in Business Intelligence to analyze your device’s usage data and optimize cleaning patterns.
Observe if the vacuum navigates correctly and adheres to your zones. Address any issues promptly to keep your smart vacuum running efficiently and extend its battery life.
Maintaining and Updating Your Device for Optimal Performance
To keep your smart vacuum running smoothly, make sure you install regular software updates. It’s also important to perform routine hardware checks to catch any potential issues early. Staying on top of these tasks helps guarantee your device operates at its best every time you use it. Additionally, regularly inspecting your device’s filter replacement indicators ensures optimal filtration performance and air quality.
Regular Software Updates
Regular software updates are essential for keeping your smart home vacuum running smoothly and efficiently. Firmware updates improve device performance, fix bugs, and add new features. You’ll often receive app notifications when updates are available, prompting you to act. To guarantee your vacuum stays in top shape, you should:
- Check app notifications regularly for firmware update alerts.
- Download and install updates promptly to avoid performance issues.
- Keep your device connected to Wi-Fi during updates to prevent interruptions.
- Monitoring AI vulnerabilities helps ensure your device remains secure and trustworthy.
Routine Hardware Checks
Keeping your smart home vacuum in top shape goes beyond software updates; it also requires routine hardware checks. Regularly inspect the battery to guarantee it maintains good battery longevity, so your device runs efficiently without frequent recharges. If you notice reduced run time, consider replacing the battery or cleaning battery contacts. Additionally, check the dustbin capacity; empty it frequently to prevent clogs and maintain suction power. A full dustbin can hinder cleaning performance and strain the motor. Clean filters and brushes to remove debris and prevent malfunctions. These simple hardware checks help extend your vacuum’s lifespan and ensure it performs at its best. Consistent maintenance keeps your device ready to tackle dirt and dust effectively, saving you time and effort in the long run.
Maximizing Your Smart Vacuum’s Features for Convenience
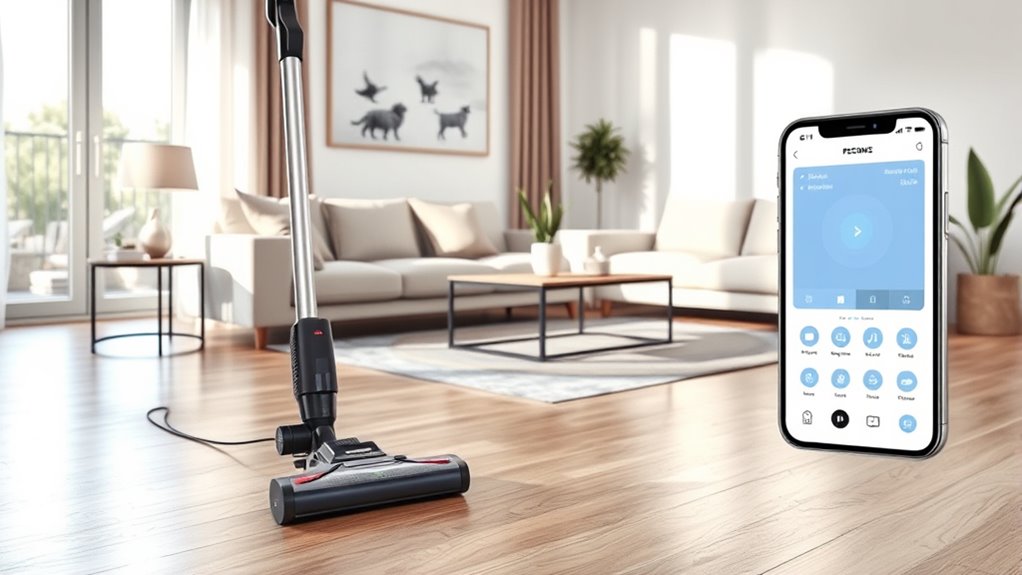
Activate the full potential of your smart vacuum by taking advantage of its advanced features. First, integrate voice command technology to start, stop, or direct your vacuum hands-free. Second, utilize app controls to customize cleaning schedules and zones for maximum efficiency. Third, focus on battery optimization by setting docking routines and adjusting cleaning modes to extend runtime. These features make your vacuum more convenient, saving you time and effort. Voice command integration allows quick control without lifting a finger. Battery optimization ensures your device is always ready when you need it. Additionally, understanding tuning features can help you better customize your device’s performance settings for optimal results. By mastering these features, you’ll keep your home clean effortlessly and prolong your vacuum’s lifespan. Take advantage of these options to truly make your smart vacuum a seamless part of your daily routine.
Frequently Asked Questions
How Do I Ensure My Smart Vacuum’s Privacy and Data Security?
To guarantee your smart vacuum’s privacy and data security, start by changing default passwords and enabling two-factor authentication. Be aware of privacy concerns by reviewing the device’s privacy settings and permissions regularly. Make sure your Wi-Fi connection uses data encryption, and keep the firmware updated to patch security vulnerabilities. Additionally, read the privacy policy to understand how your data is used and shared, and disable features you don’t need.
Can I Manually Control the Vacuum Without the App?
Isn’t it reassuring to know you can take charge anytime? Yes, you can manually control your smart vacuum using physical buttons on the device. This allows you to operate it without the app, giving you immediate control when needed. Simply locate the control panel on the vacuum, press the designated buttons, and start cleaning or pause as desired. This manual option guarantees you’re never completely dependent on digital connectivity.
What Should I Do if the Vacuum Gets Stuck or Jams?
If your vacuum gets stuck or jams, first pause it to prevent further damage. Use obstacle removal techniques like clearing hair, string, or debris from the brushes and wheels. Check for obstacles blocking its path and remove them. To prevent future jams, make certain the vacuum’s sensors are clean, and avoid cluttered areas. Regular maintenance helps with jam prevention, keeping your smart vacuum running smoothly and efficiently.
How Do I Update the Vacuum’s Firmware Safely?
Updating your vacuum’s firmware is as simple as pressing a button—think of it as giving your device a power boost! To do it safely, connect to a secure Wi-Fi network, follow the manufacturer’s instructions, and avoid interruptions. Always check for official firmware updates, as they include security precautions that protect your device from vulnerabilities. Regular updates keep your vacuum running smoothly and securely, like a well-oiled machine.
Is It Compatible With Voice Assistants Like Alexa or Google Assistant?
Your smart home vacuum is compatible with voice assistants like Alexa and Google Assistant, enabling voice command integration. You can easily control it with simple voice commands, making cleaning more convenient. Just confirm your vacuum supports smart home compatibility, and connect it through the app. Once set up, you’ll enjoy seamless operation, allowing you to start, stop, or schedule cleanings hands-free, enhancing your overall smart home experience.
Conclusion
Getting your smart vacuum set up is a game-changer—over 60% of users report cleaner homes and more free time. By choosing the right device, preparing your space, and customizing settings, you’ll enjoy seamless cleaning routines. Don’t forget to keep your device updated for peak performance. With a little setup, you’ll experience the convenience of automated cleaning, making your home smarter and your life easier. Ready to enjoy a spotless home with less effort?